Hybrid/Digital Scrapbooking : 6 things to do with Title + Journal Photo Overlays
A little something to dress up your photos : 6 Things to do with AE Title + Journal Photo Overlays
Yesterday we took a look at layout sized overlays. Today I want to focus on smaller overlays that are designed to be used right on top of a 4x6 photo (or as a journal block) and can be used as a brush (the .ABR file - to learn how to load brushes into Photoshop, read here) or as a .PNG file.
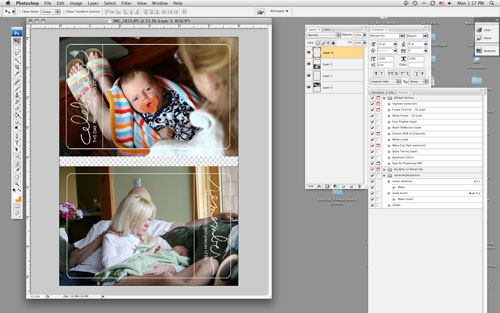
Same process as yesterday in terms of opening your photo and the .PNG file overlay in Photoshop, selecting the overlay with the move tool (the black arrow), then dragging and dropping the overlay on top of your photo.
Here are 6 ways to play with these photo overlays:
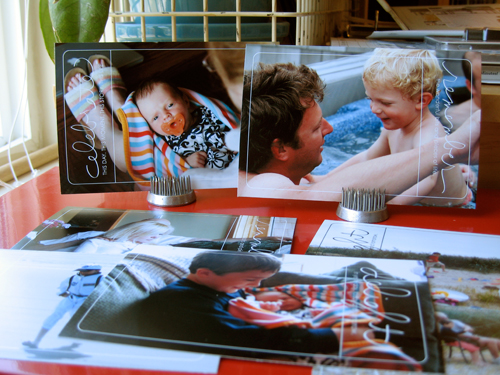
1. Add the overlay to a photo, print at home/upload to your favorite developer + add it to a page just like you would a regular photo. When printing at home on 8.5x11 photo paper I usually create a new canvas that is 6 inches x 10 inches. I open a couple photos, drag + drop them onto the canvas, open the overlays and drag + drop them onto the photos, and print.
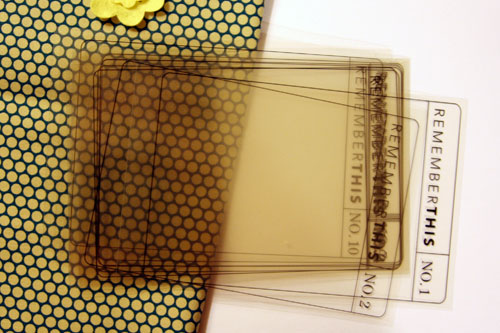
2. Print overlay on a transparency + add to a layout (could be on a photo or a group of photos or on journaling, etc).
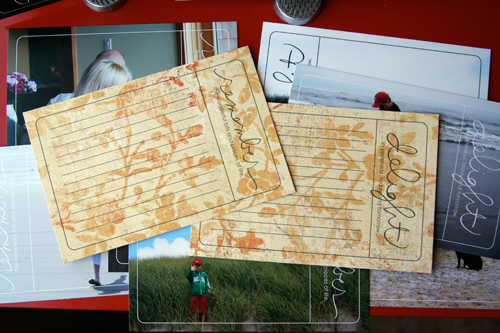
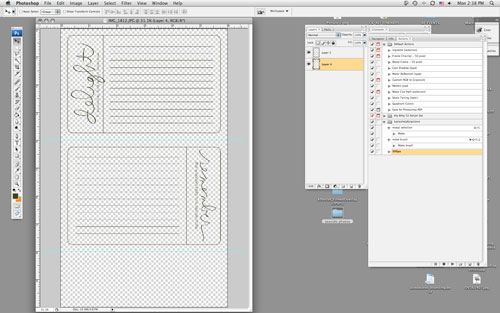
3. Print lined version onto cardstock or patterned paper for a journal block.
To print on patterned paper I opened a new file (6 inches x 10 inches) and placed two photo overlays on the canvas. I cut my patterned paper to fit in my 8.5x11 printer, loaded it in the printer, and hit print.
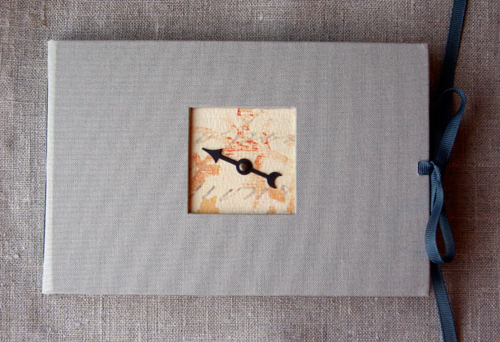
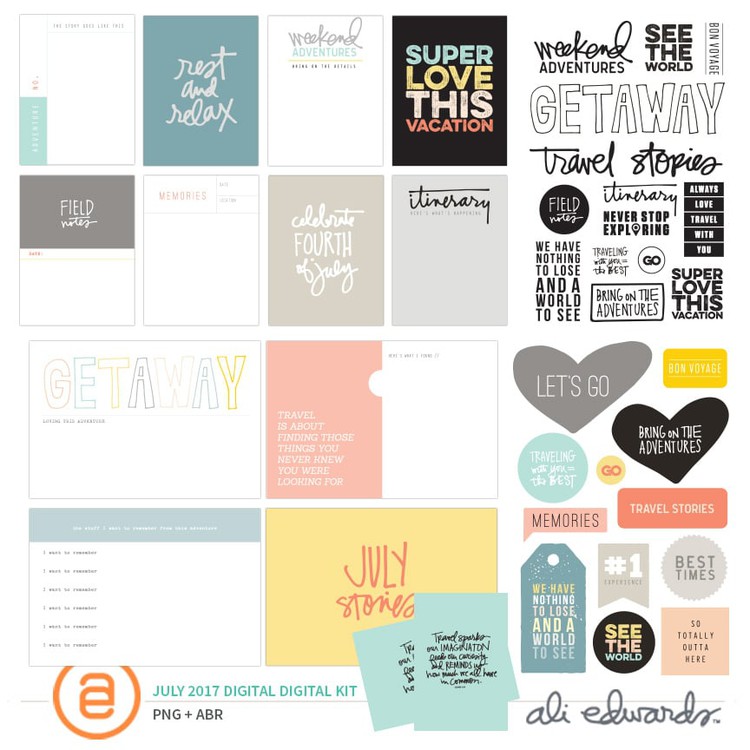
4. Print on transparency + bind together into a transparent mini book. The ones featured below are part of a travel set - each theme includes no. 1 through no. 10. My plan is to use the fabric to create a cover + use the transparencies for the interior pages (adding the photos + journaling on top of the overlays rather than underneath).
5. Print lined version and bind together into a mini book (or adhere onto a chipboard book) - great for a travel book.
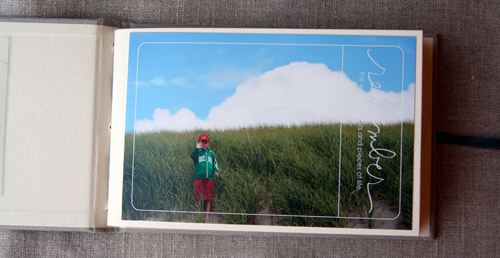
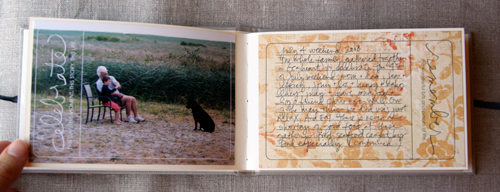
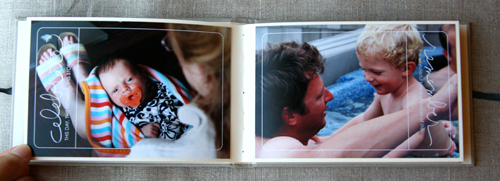
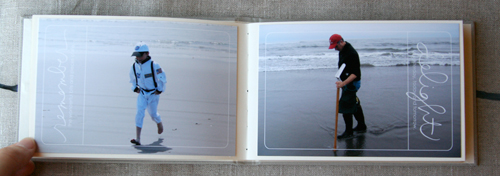
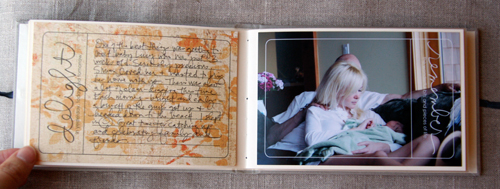
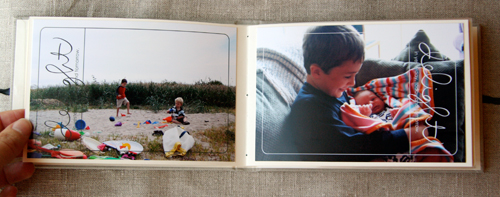
6. Create a 4x6 album that includes the photo overlays in conjunction with the journal blocks. This one is super simple and would make a great gift. If you don't print your photos at home you can add the overlays to your photos before uploading or taking your photo card to the developer.
[ 4x6 album: Kolo; Spinner: Tim Holtz; Patterned Paper: My Mind's Eye; Photo Overlays: Ali Edwards for Designer Digitals Number One + Number Two ]
Enjoy!
Another great site to check out for digital education is Scrap Girls. Check out their University section for a ton of tutorials. I found this section on Digital Brushes especially helpful.
For more information on hybrid and digital check out Getting Started With Digital Scrapbooking.





toujours autant d'inspiration !
tes realisations sont superbe :0)
always inspirate !
your realisation were beautiful :0)
Sign in or sign up to comment.
Hello from Canada,
Your overlays are the most awesome thing ever! I never considered digital until now!I was wondering though how I might resize the photo overlays to fit my 6X6 photo, somehow it's a little bit too big. As well, how do you change the overlay from black to white in photoshop? I appreciate any help you can provide. Danielle
Sign in or sign up to comment.
You are a wonderful person for posting this. I had (still have) no idea on photo overlays. Thanks for the advice.
Sign in or sign up to comment.
awesome. going to DD while the sale is on to find your overlays.
thanks heaps for the inspo.
Sign in or sign up to comment.