Tuesday Tutorials : Christine Middlecamp : "Almost Perfect" Layout

This week Tuesday Tutorials welcomes Christine Middlecamp.
Christine's work is all about the details.
I really appreciate that a big part of her creative process is the craft of building each page. I see the layers she creates as a metaphor for the layers we all accumulate in our lives from moment to moment, year to year. I love that I can look at her work and see all kinds of interesting combinations of elements to try out on my own projects.
Growing as a creative person often involves "trying on" different styles as we come to discover what is just right for us. One of the things I hope you take away from this tutorial series is the opportunity to be inspired by people who may approach things differently than the way you naturally create.
For today's tutorial Christine has put together a great set of PDF instructions for you to download that showcases her entire approach step by step. True to her individual style her instructions are just as detailed as the pages she creates. Thanks so much for participating Christine!
Here's a look into Christine's process:


Most scrapbookers are collectors by nature. We love to collect product to use on projects. Who doesn’t look forward to the latest releases produced by some of our favorite manufacturers every Summer and Winter during the popular event, CHA? It’s this time of year that I often run across links to sneak peeks of new product when visiting some of my favorite scrapbooking websites. I follow the trail of mentioned links in hopes of finding inspiring, newly designed products. I establish a long list of must-haves and patiently wait for the new products to reach store shelves. I’m fully aware that inspiration is right around the corner following CHA, and that by adding new scrapbook items to my collection, I’ll be motivated to try new techniques and build on old ideas needing update.
My heavily detailed scrapbooking style is the result of many years of collecting paper goods. I use an assortment of products to create multi-layered layouts that can often take up to two days to complete. Before starting a layout, I organize small piles of supply items around my work area, including rub-ons, label stickers, letter stickers, word stickers, stamps, chipboard pieces, die-cuts and more. I’m of the philosophy that if things are organized and accessible, more can be accomplished. I’m also inclined creatively to work with a large variety of paper goods. To create these detailed layouts, selection is key. My collection of paper goods is ultimately what drives my work. Without it, my scrapbooking style would be very different.
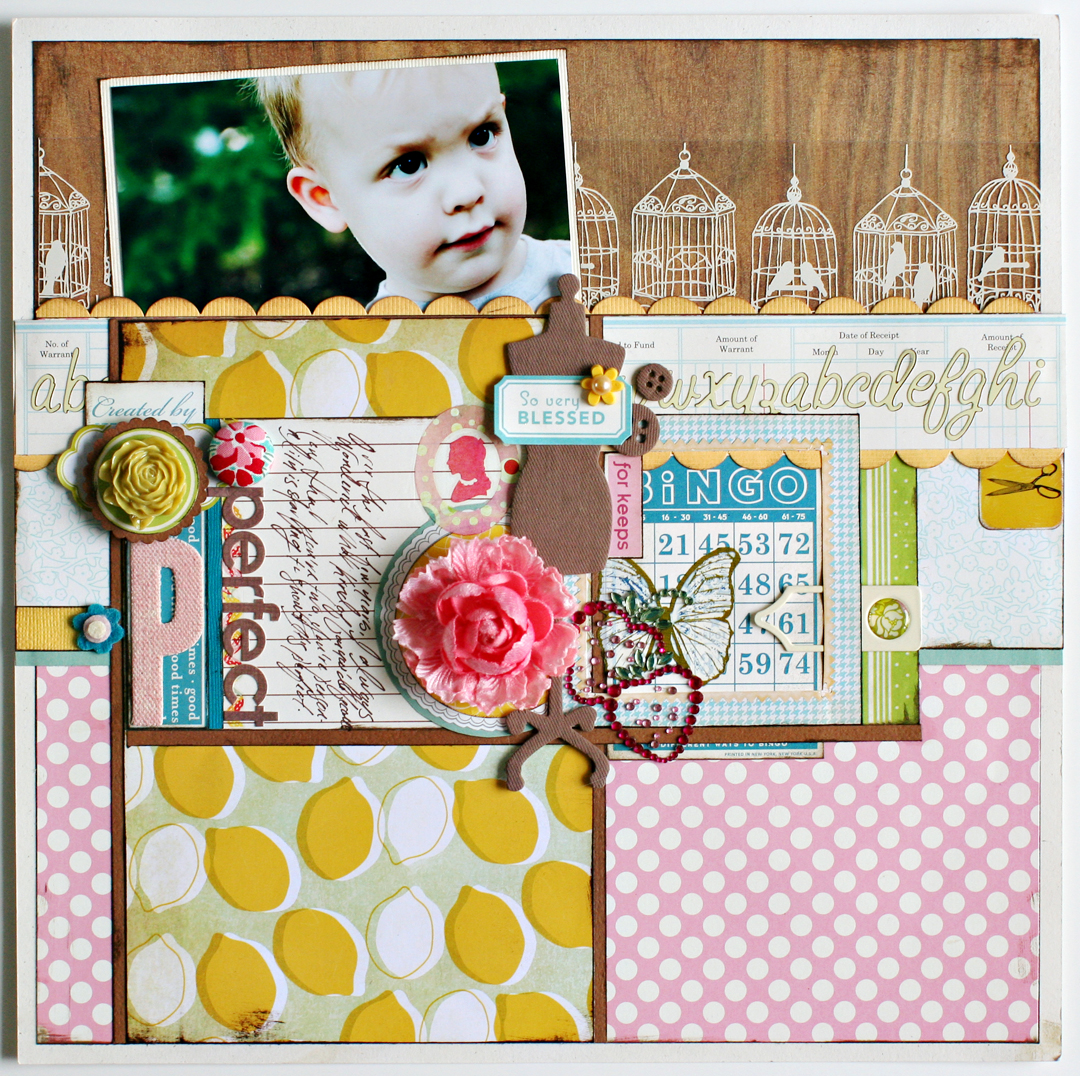
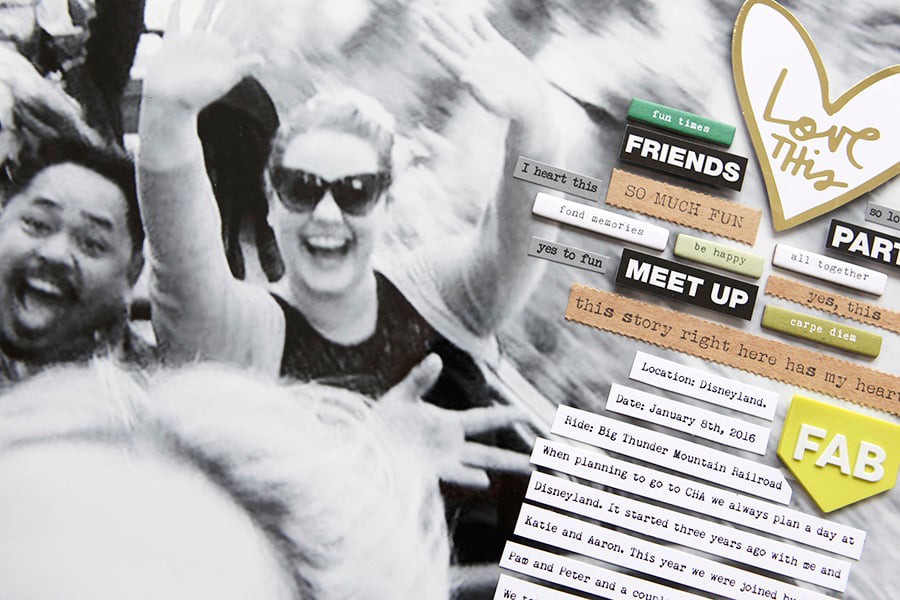
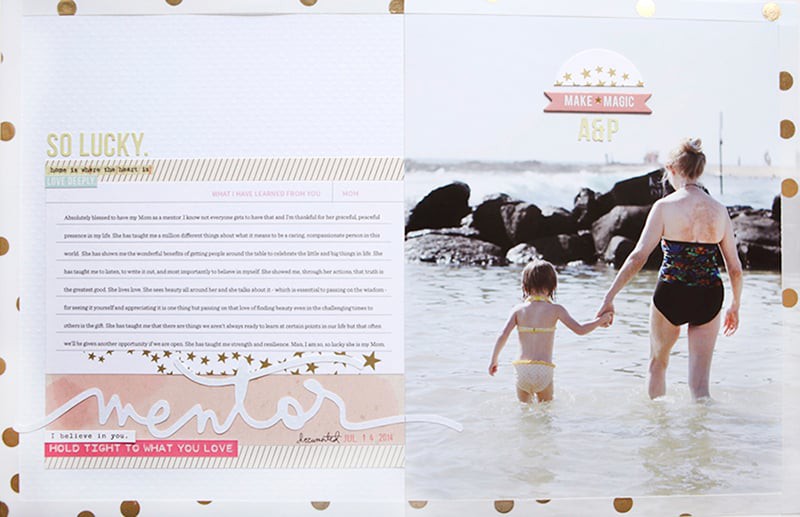
Lately I’ve been inspired by the retro-kitschy scrapbook products being put out there by manufactures and digital designers. They’re fun, interesting and a great way to offset an otherwise traditional layout. For my layout tutorial, I focused on using pastels, vintage elements, and retro inspired patterns to create a softly spoken layout about my son.
To learn how to create the following layout, click below to download the instructions and supply list (choose number one or two depending on your internet speed):
LARGE FILE : Download Almost Perfect Layout Instructions (this is a large file - 50MB -so depending on your internet speed it may be quick or could take awhile)
SMALL FILE : Download Almost-perfect-layout-instructions-low (1MB)
and
Download Almost Perfect Supply Product List
I use a host of scrapbooking techniques when working on layouts. There
are a select few I use over and over again. Some of them have evolved
over time, but for the most part, they remain the same. I depend on
them to build heavily detailed layouts. In supplement of the tutorial,
I’ve put together a small compilation of those techniques I can’t live
without when scrapbooking. Find them below:
PATTERNED PAPERS
Pattern paper is a great way to carry a theme throughout a layout. It doesn’t have to be specific to the theme though! In this layout, I spoke of my son’s blooming personality. I love watching him grow and evolve as a child. I think every mother enjoys watching her children grow up. My pattern paper choices are reflective of the happiness I feel when I’m with him. I’m especially fond of the “lemon” paper. It’s rhythmic, bright and does a great job of capturing the essence of the layout.
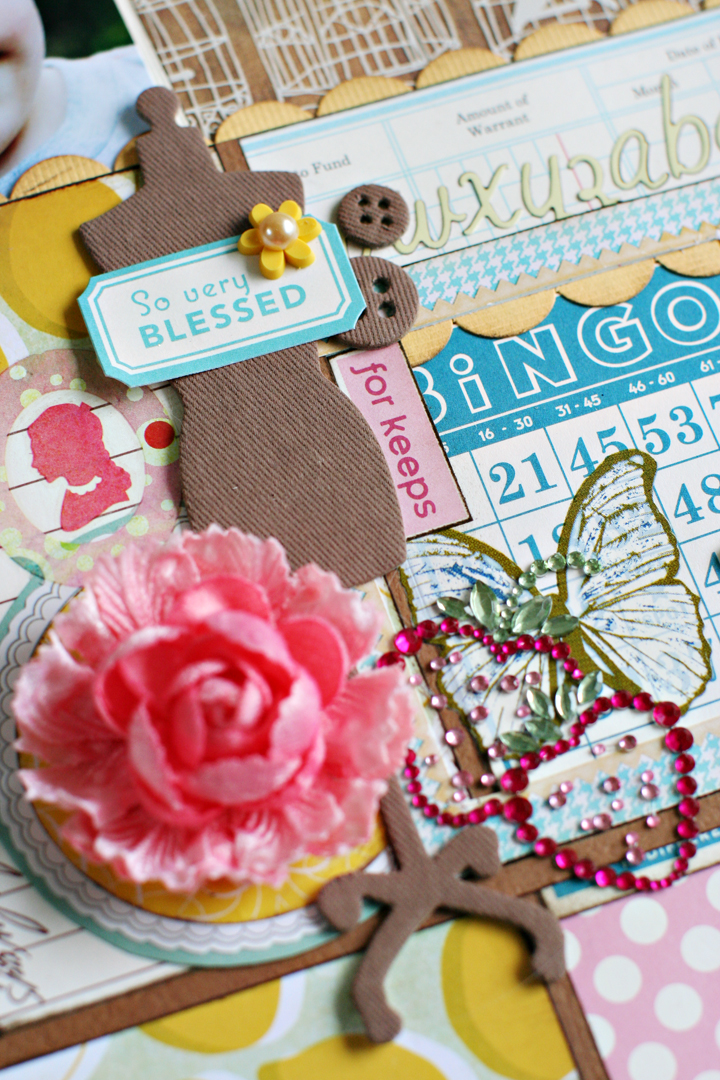
COLLAGE GROUPINGS
Creating miniature collages is easier than you think. The key is locating a place for the collage on your layout. Pay attention to direction. Follow the lines. Where do your eyes take you when looking at your layout? Find an intersection on your layout and create a collage! The task of creating the collage might take a little extra time, but it’s a practical way to add detail. Collages don’t have to be perfect! The only rule of thumb I follow is to maintain a relationship between the items in the collage via proximity and direction. Keep things close together and pay attention to whether something is horizontal or vertical.
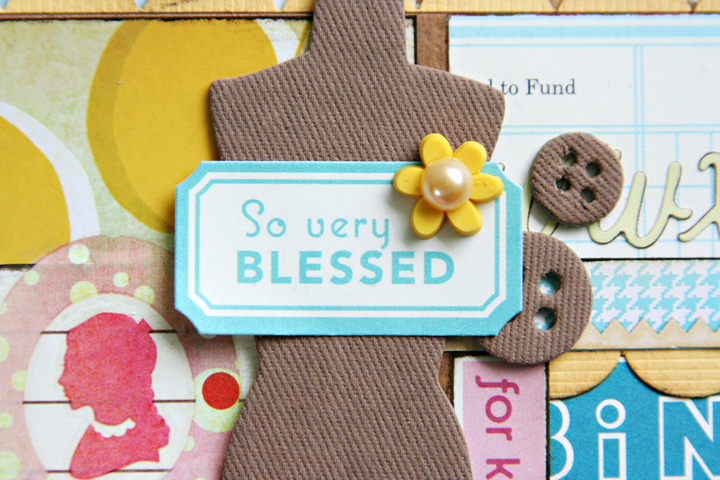
SIMPLE LAYERING
The basis of layering doesn’t have to be complicated. Actually, layering is a “simple” technique. It’s a matter of putting one thing on top of another. It’s the collection of “layers” that ultimately completes the heavily detailed appearance of my layouts. In the example above, I combined a sticker, chipboard piece and flower w/pearl. The simplicity of the combination is charming and sweet.

POP-DOT DIMENSION
Need a lift? Foam Core Pop Dots find their way on my
layouts all the time. If an area of collage is feeling “dull”, bring
one of the elements off the page with a pop-dot. I actually struggled
with this area of the layout. The alpha stickers felt flat, even with
the fabric brad and felt flower. By “popping” the resin flower off the
page, the area’s awakened and the title of the layout is more
noticeable.

HAND-MADE LAYERED FLOWERS
I rarely use flowers “as-is”. I enjoy layering flowers with other kinds of scrapbook supply items like label stickers, die-cut flowers, cardstock, paint, glitter, brads, epoxy stickers, buttons and rhinestones. I use a combination of all these items along with pop-dots to create hand-made layered flowers. I have small drawers in my scrapbook area devoted to color coordinated die-cut pieces ideal for using with flowers. It’s my favorite technique. Even though most of my layouts are about my young son, I still use flowers on almost all of his layouts. I simply can’t go without.
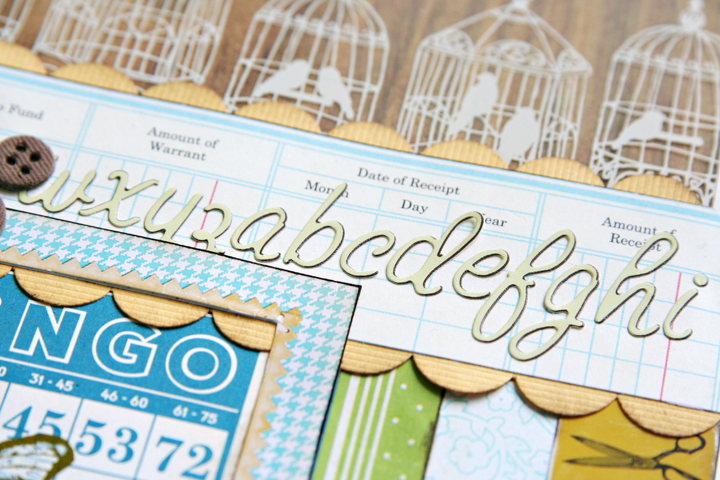
WORKING WITH LINES
Lines on a layout are like roads on a map. They create flow and structure. You wouldn’t know which direction to go if they weren’t there. Lines are easy to add to a layout. I like to use thin paper strips, borders, titles, repetitive elements, and large embellishments for creating directional movement on my layouts.


great tutorial! I love christine's style and visit her blog often to try and learn how to layer things on my layouts. thanks for sharing such great tips... I love your tuesday tutorials!
Sign in or sign up to comment.
Love it. Thanks so much for the Tutorial. Christine is so talented!
Sign in or sign up to comment.
I love this layout but am wondering how she stores them so that they don't go flat. Are they in plastic?And how can she put them in an album that closes! Hope to hear from you on this!!!!
Sign in or sign up to comment.
Hi Ali thank you for sharing the lovely Christine. I adore her stuff:)
Sign in or sign up to comment.
This is awesome! Love the layout, the details and best of all, love the introduction to a new blog. I think this is my favorite tutorial yet!
Thanks to Ali for Tuesdays and Christine for participating.
Sign in or sign up to comment.
Another fabulous Tuesday tutorial! I love Christine's work and her approach to creating. thanks for sharing. tena
Sign in or sign up to comment.
Thanks so much for all these great Tuesday Tutorials! I love how every week you bring in something so different. I love Christine's work. Her art is so amazingly detailed and beautiful. I've always been too intimated to try her type of layering but the break down of her creative process is so insightful! Thanks again!
Sign in or sign up to comment.
Thanks for introducing me to Christine's work- it is so rich and detailed and beautiful. As a one photo scrapper who relies heavily on embellishments I am eager to use elements of her style - especially the collage area. Love your Tuesday Tutorials!
Sign in or sign up to comment.
Thanks so much for sharing this, Ali! Christine has such an "eye" for layering and I've always wondered what her process has been. Glad I could read about it here!
Sign in or sign up to comment.
I would also be interested to know how these layouts go into albums without getting squashed. They are so tactile and touchable that you really don't want to hermetically seal them under plastic! I use the American Crafts 12x12 D-ring albums, but end up cutting large paper down to make my pages, then punching my own holes. I just wondered what other people did. Thanks!
Sign in or sign up to comment.
love the instructions and supply list!!!
Sign in or sign up to comment.
To answer my own question: I discovered that Christine posted something on her blog addressing just this question – and she indeed stores her layouts in a "traditional" album. Here's the link: http://retrospection.typepad.com/my_weblog/2009/07/layouts-storage.html#comments
Interesting – I would have thought that plastic sleeves somehow contradict "tactil" layouts as these, but apparently they seem to work for so many people, so maybe I should just go for it someday …? I still would love to hear of other possibilities, if anyone came up with any ways to avoid the plastic feel. Or is it nothing to avoid?
Sign in or sign up to comment.
WHOOO HOOO. THanks! Love Christine's work, always a fan.
Sign in or sign up to comment.