Tuesday Tutorial : Tim Holtz : Captured Memories

captured memories ©2009 tim holtz®
The world of scrapbooking has many interpretations. In fact, the definition of the word “scrapbook” means:
scrap·book (skrāp'bŏŏk')n. A book with blank pages used for the mounting and preserving of pictures, clippings, or other mementos.
One may say that scrapbooking always has to follow this definition when in fact it doesn’t. One of the cool things for me when it comes to scrapbooking is the ability to follow my own muse and design projects that use the same key elements but share my memories my way. Whatever creative journey you take, remember you don’t have to follow the rules, you can always make them up as you go along, just make the time to create and capture your own memories your way.
These projects use Ranger’s line of “memory” products which include memory glass, memory frames, and memory capsules. These are so fun, easy to do, they don’t take much time to put together, and of course unlimited possibilities. The hardest thing to decide is what you’re going to use your finished work of art for - jewelry? embellishment on a book cover? photo charm? holiday ornament? The list goes on. So while those wheels are starting to turn in your head, let’s go through the basics of how to make these captured memories.Supplies:all supplies below available online from eclectic Paperie
Ranger: distress inks, ink blending tool, glossy accents, memory glass, memory frames, memory capsules, black archival ink
Tim Holtz Idea-ology: jump rings, mini pins, mini paper clips, ball chain, tiny attacher
Stampers Anonymous: visual artistry clear stamps
Tonic: Tim Holtz scissors
Misc: dictionary paper, tiny key, tag, misc. beach elements
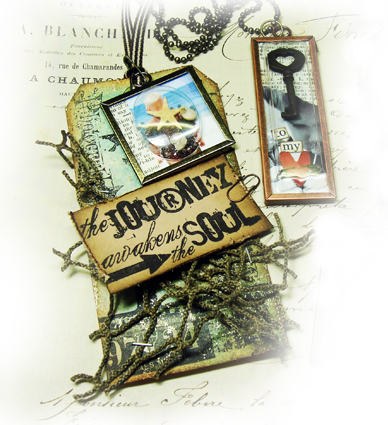
project #1 paradise found
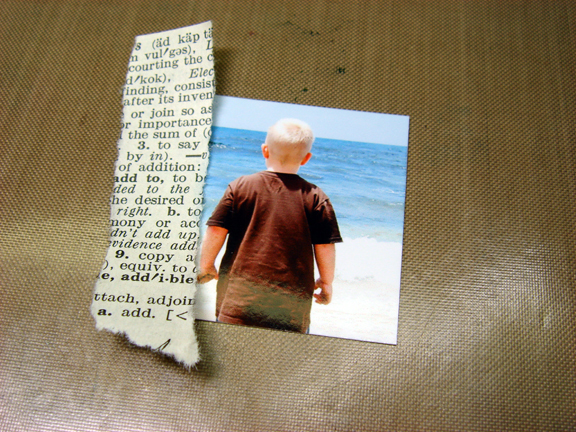
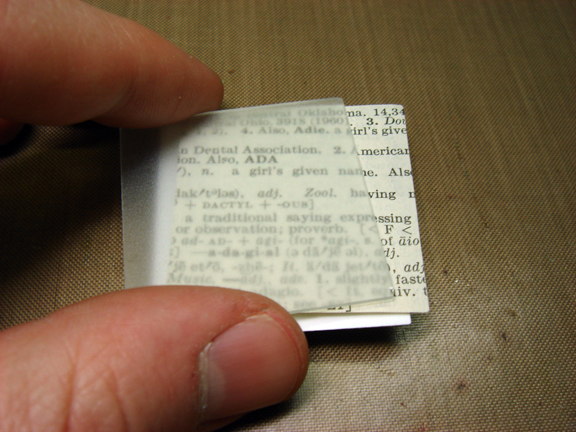
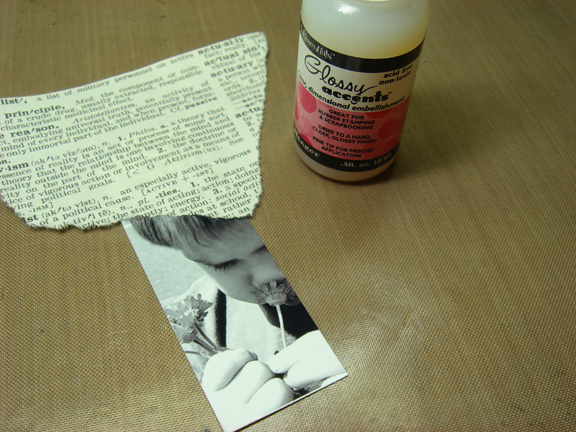
1. Select size of memory glass to use and cut photo to size. It’s important to keep the perspective of the photo when you’re cropping down to smaller sizes. Since the largest size of memory glass is 2x2 your photos can end up pretty small. One tip I have for this is don’t worry what you’re cropping off as long as your main focal image is visible. So for that spare arm or half a head in the shot simply tear a piece of dictionary paper, or any other paper and cover up those unsightly cropping casualties - no problem!
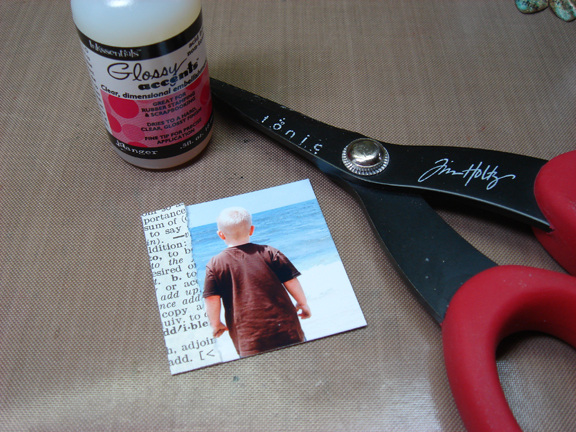
2. Next adhere that paper to your photo using your favorite adhesive and trim to the photo size.
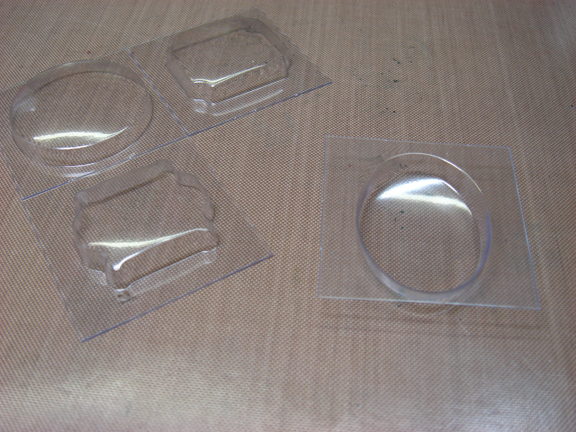
3. Now you need to select your memory capsule that fits your photo. One of the most important things when creating these memory pieces is that everything you’re working with on each project stays the size of your glass that you started with. Since it’s all made to fit together you need to keep this in mind during each step. The memory capsules are plastic bubbles designed to fit over the memory glass and inside the memory frame. These can be used to create “shakers” with elements shaking around, or just a way to incorporate a dimensional object into your project.

4. Place memory capsule (opening side up) and pour in “beach mix”. There are so many things you can use for “shakers” like beads, sand, watch parts, glitter, and anything tiny enough to move around.
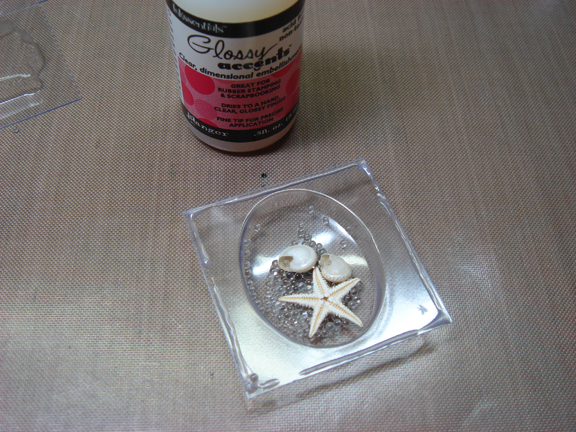
5. Apply a small amount of glossy accents around the edge of the memory capsule.

6. Press your photo background face down over capsule and let dry.

7. Cut a piece of background paper the same size of your memory glass to cover the back of your photo.
8. Place background paper and memory glass on top of the back of your memory capsule to create a sandwich - you do not need to adhere any of these layers together, the frame will keep it all together.
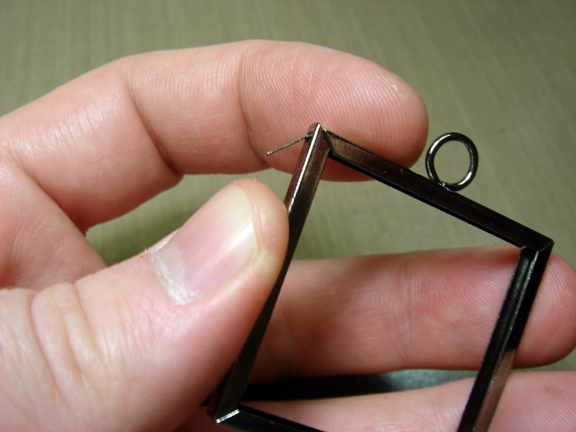
9. Open memory frame by carefully bending up the tab on the side of the frame.

10. Grab both sides of the frame corner and pull apart. One of the most important things when working with the memory frames is to remember never straighten out any of the metal edges. Otherwise the metal can become stressed and break apart.
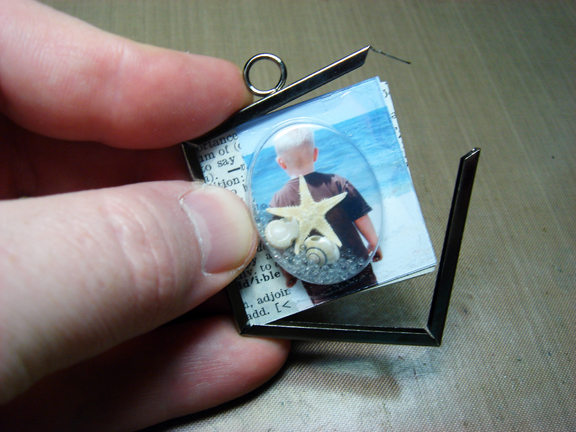
11. Insert capsule, collage, and glass sandwich into the track of the frame - be aware of the position of the frame jump ring and position it on the top of your project.
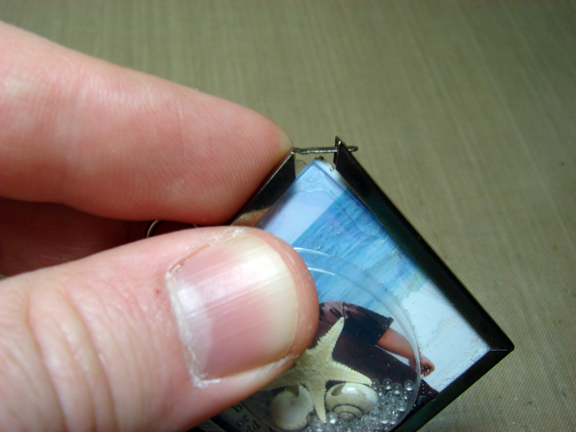
12. Begin wrapping the frame around everything being sure all layers remain in the memory frame track. Sometimes you will need to squeeze the sides together to make sure it fits inside the track. If parts of the capsule or background are too big, you should trim them off - do not force into the track of the memory frame or you could risk breaking the memory glass.
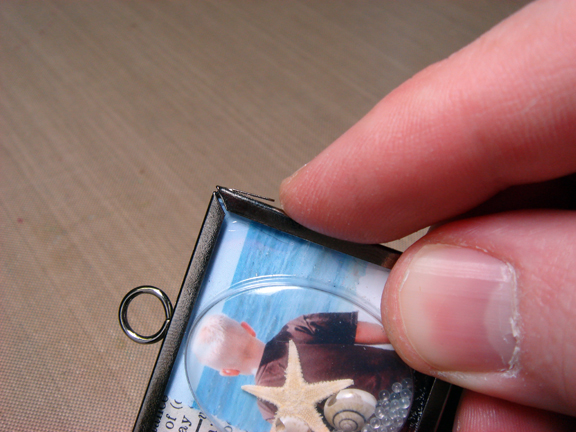
13. To secure closed, re-insert the tab on the frame back into the slot in the frame and bend back down - that’s it! How simple was that??? Now you have a custom photo charm!
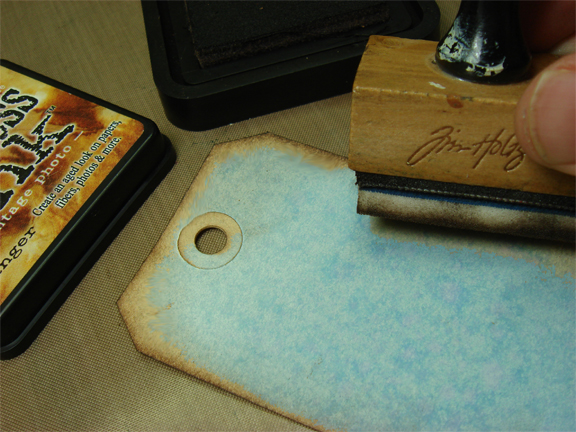
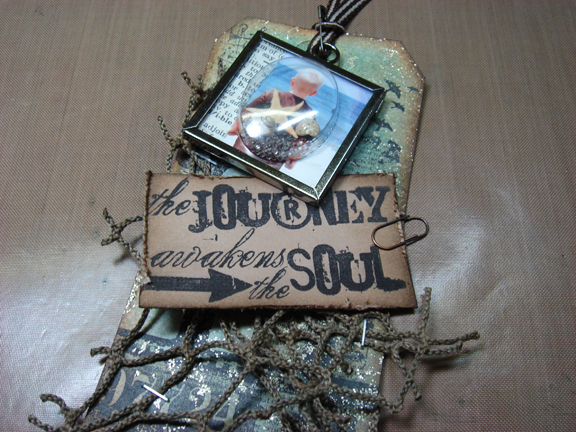
14. Ink tag with distress ink using ink blending tool.
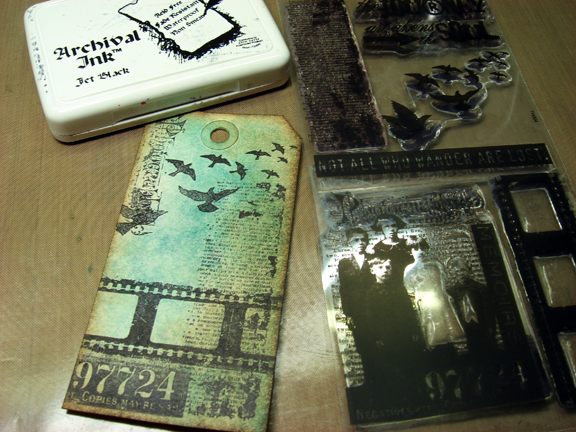
15. Stamp various images on your tag for a background.

16. Place fish net around corner of tag and secure with tiny attacher in various areas.
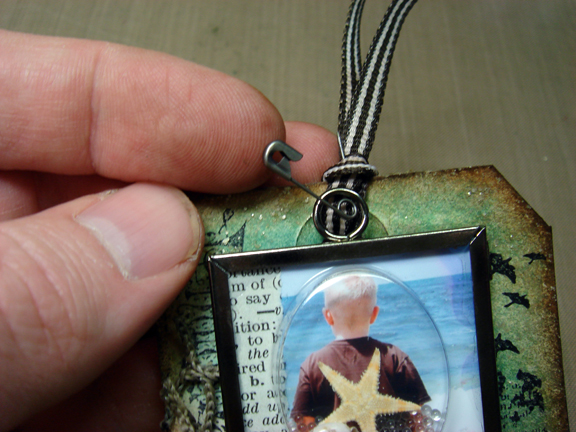
17. Tie ribbon through hole in top of tag and pin your photo charm to the ribbon with a mini pin.
project #2 key to my heart
1. Select size of memory glass to use and cut photo to size. Remember to adhere collage paper to cover up those random crop casualties.
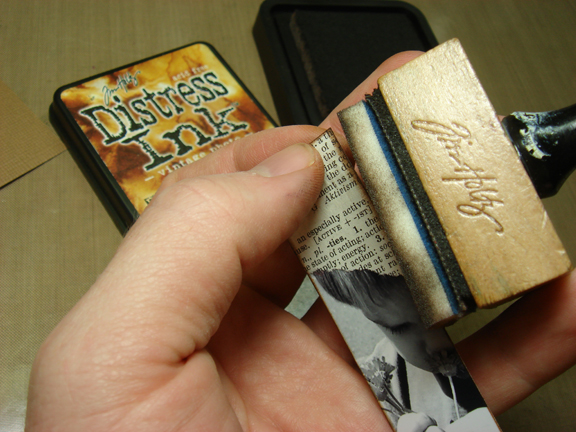
2. Ink edges of your photo with distress ink using an ink blending tool.
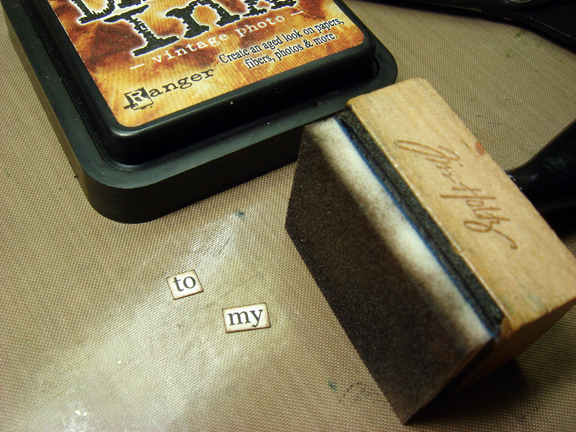
3. Print words “to my”, cut, and ink the edges with distress ink.
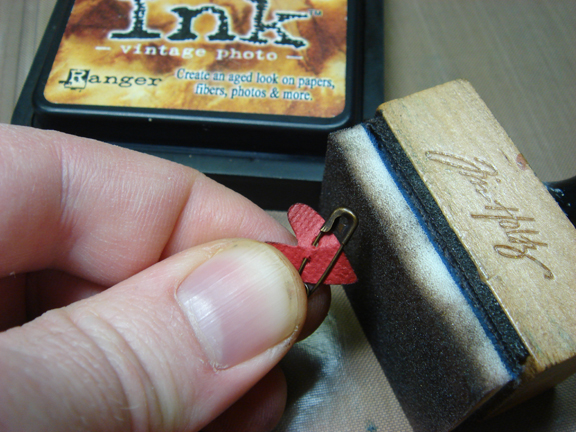
4. Punch a mini paper heart, pin with a mini pin, and ink the edges with distress ink.
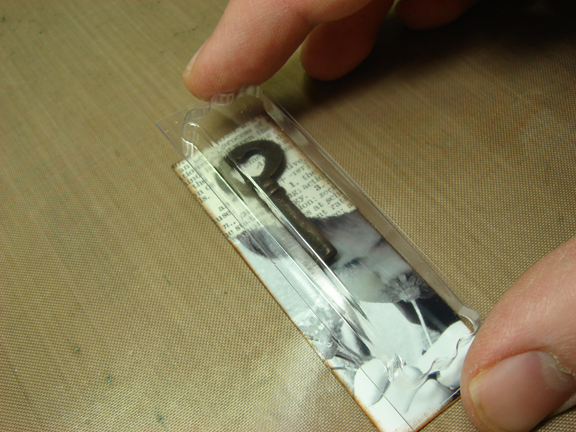
5. Place a small key or charm over your photo background and place the memory capsule over the top to make sure the capsule fits and lines up with the edges of the photo. This is am important step when using dimensional objects in your memory capsules. Sometimes where you want to put an object doesn’t always fit inside the capsule so checking this before adhering anything save time and frustration later.
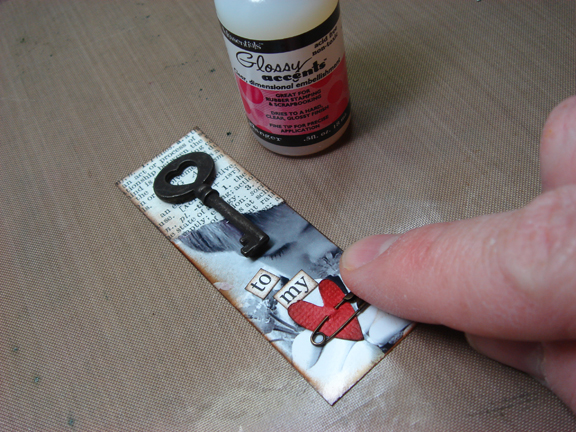
6. Once placement is determined, adhere all elements (key, words, heart) to your photo background.

7. Place memory capsule over photo background and place on memory glass. *Remember to include a background paper behind the photo if you want.
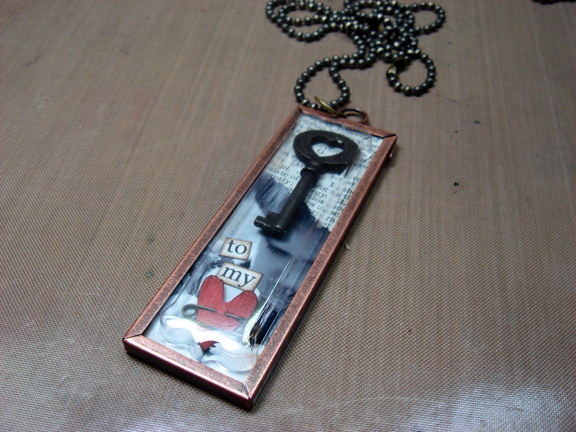
8. Follow directions for memory frame assembly - be sure the jump ring is on the top and attach a jump ring through top jump ring of frame and insert ball chain through jump ring. There you go - wearable memories!

 Tim Holtz is the Education Director for Ranger Industries, one of the leading manufacturers of innovative inks, paints, and embossing products. Tim plays an integral part in the development and design of cutting edge paper crafting products. Tim had teamed up with various key companies including Advantus/Tim Holtz idea-ology, Tonic Studios, and Stampers Anonymous to bring unique products that work hand in hand with Ranger’s extensive lines.
As a well known designer, Tim travels across the country and internationally to educate and introduce people to his world of ink techniques, clever projects, and so much more. His DVDs and books are filled with creative and inspiring ideas for the beginner paper crafters and beyond. He truly lives his motto that creativity is an endless journey...
In a world where the moments of our lives can be captured and created in art of the everyday, it’s important it reflects our own unique personality. Finding just the right objects, accents, and tools to use are most important. Whatever your artistic vision is, exploring the imaginative is a chance for our creativity to escape understanding. Remember life isn’t about finding yourself - life is about creating yourself...
For more information about Tim and to view project demos visit www.timholtz.com and www.timholtz.typepad.com.
Comments
Sign in or sign up to comment.
54 comments
Absolutely creative!!! thanks for the tips and ideas, and thanks for give us all you creativity!!! gorgeous tutorial!! =)
Replies
Sign in or sign up to reply.
Love Tim Holtz....his demo videos are a must see...and I'm really hoping he does 12 tags of Christmas again this year...totally cool! Thanks for highlighting his work.
Replies
Sign in or sign up to reply.
Awesome!!!!
Replies
Sign in or sign up to reply.
Always love your projects!!!! Thanks for sharing today.
Replies
Sign in or sign up to reply.
I LOVE memory capsules! I can think of a dozen ways I would use them right now. Awesome projects!
Replies
Sign in or sign up to reply.
I love this project!!!! I can't wait to start making these for holiday gifts!!!
Replies
Sign in or sign up to reply.
Memory Capsules! love them!!!!
Replies
Sign in or sign up to reply.
Great TT! Worth waiting for and will definitely try some of these technics.
Replies
Sign in or sign up to reply.
Awesome projects!!!! I love that Tim incorporated photos in the two pieces... what a perfect marriage of capturing scrapbooking and altered art! He ROCKS!
Replies
Sign in or sign up to reply.
Very cool! I have all of these supplies & I just got some great photos of my son at the beach today. Thanks Ali & Tim! :)
Replies
Sign in or sign up to reply.
This would be super fun for Grandparents Day presents! Hmmmm......
Replies
Sign in or sign up to reply.
Thank you for a wonderful tutorial! It's the first I've seen with the Memory Capsules so well displayed - thank you!
Replies
Sign in or sign up to reply.
He IS the Master! Great job, TFS!
Linda Cain
Replies
Sign in or sign up to reply.
Those are amazing. I wish I had some of those capsule things here to create right now! off to on line shop a few. Thanks to Ali for having Tim and to Tim for being as creative as ever!
Replies
Sign in or sign up to reply.
Tim is the best! I did these projects in his class this year at CKU Nashville and they were so fun! Thanks for reminding me of how awesome they are.
Replies
Sign in or sign up to reply.
This is some amaZING and inspiring projects. Tim always makes everything look so easy.
Replies
Sign in or sign up to reply.
i love everything tim does! thank you.
Replies
Sign in or sign up to reply.
These are way to fun. I've seen them and admired them but wasn't to sure how to go about putting them together. Thanks.
Replies
Sign in or sign up to reply.
Fabulous, simply fabulous...bravo Tim and Ali! This made my day which was pretty hectic and at times frustrating. Its such a wonderful reminder to enjoy the journey and let it go! Tomorrow is a new one...thanks!
Replies
Sign in or sign up to reply.
Awesome projects Tim! Thank you for sharing!
Replies
Sign in or sign up to reply.