Tuesday Tutorials : Wilna Furstenberg : Coffee Cup Minibook

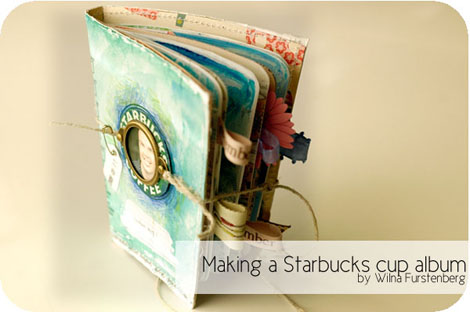
This week Tuesday Tutorials welcomes Wilna Furstenberg with a very, very cute coffee-cup inspired minibook. Wilna has put together a fantastic pacakage including three tutorial downloads for completing the project (available at the bottom of this post), a video on binding, and a Flickr gallery featuring other artist's versions of this project.
Here's Wilna:
Three things that are my favorites: My Husband Jaco, coffee and drinking coffee with Jaco. So, one day I thought about making an album of these 3 things. Recycling has never been this much fun. I am just excited to be able to share this with you!
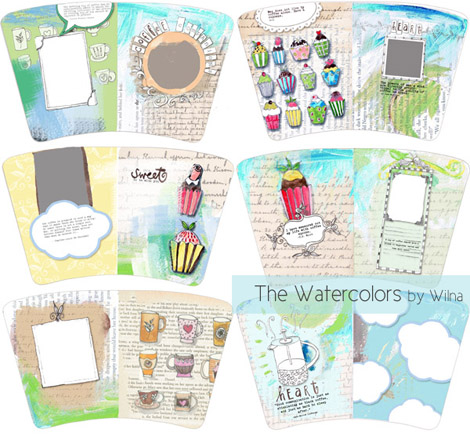
We will be making a little album from a tall size Starbucks cup. I designed 6 pages for you that you can download and print (see bottom of this post). Of course, you can use your own creativity too! This is so much fun to make. And if you are not a coffee drinker, customize it to your favorite drink!
We will be adhering these pages back to back to make 3 double sided pages. To bind them is a bit tricky so I made a video to show you how. As English is my second language, and I can’t always explain myself so well, i thought to rather show you. Don’t make fun of my accent behind my back :).
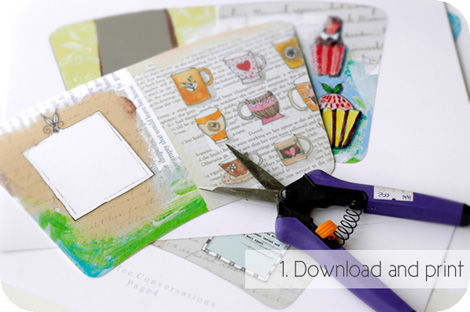
1. Download the PDF file called Watercolor. Print out the 6 pages. I printed mine on Kodak Matte photo paper. Make sure the settings of your printer is on Matte paper. Choose the highest quality your printer can print. You can also burn the PDF file on a CD and have it printed at your favorite print store. Each page is 11x8.5.
Cut out the 6 pages and now we are ready to begin!
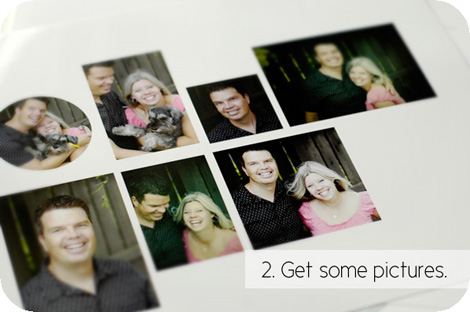
2. I used Photoshop Elements and cropped a few pictures and printed them out on one page. You need 8 pictures (this is flexible of course). An easier method is to use 6x4 pictures and just cut them smaller! I have included some specific measurements for the pictures - it’s in the class notes (one of the last pages): Download Class Notes.
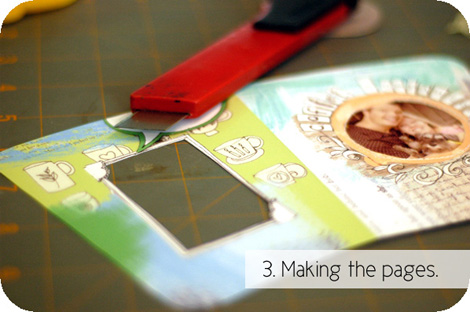
3. I added my pictures to the pages by cutting into the Watercolor pages with a craft knife and adhering the pictures from the back. If you look at the picture here, you will see I even stitched with my sewing machine on the picture. If you don’t have a sewing machine, you can add the stitches with your hand...or not!
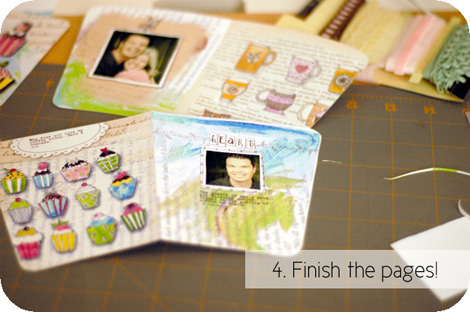
4. Important to note:
Finish each page completely with pictures and embellishments and journaling before we adhere and bind them. This will make it much easier in the end...(ask me how i know). Once you have added pictures and your choice of embellishments to every page, it’s time to adhere them together. This can be a little tricky, so make sure you read the instructions carefully!
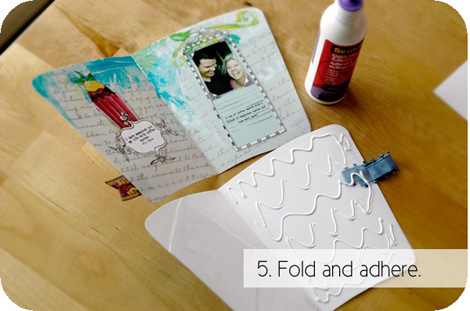
5. Important to note: Now you will choose a “friend” for each page and we will adhere them back to back. First, fold each page in half. One page will fold with the blank part inside and one will fold with the blank part to the outside. Now, glue (or double sided tape) the one half of the page (like in the picture) then adhere the other page to the one with the glue. I used Scotch quick dry adhesive. However, I think double sided tape will work better.

6. Now add glue to the other half and adhere the second half. By using this technique to adhere the 2 pages, you will find that they fold better. You might have to trim some bits of white paper on the edges.
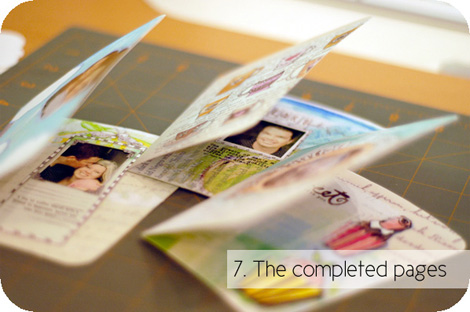
7. After you have adhered the 6 pages back to back, you now have 3 double sided pages. You will have to trim a little border here and there...(i did too). You can add some pages by just tracing one of these pages on some double sided patterned paper and embellishing it!
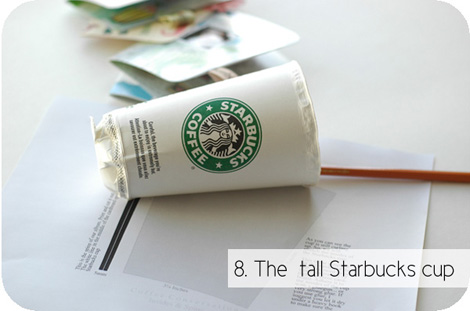
8. Find a tall Starbucks cup. Roll up the rim and punch out the bottom till your cup looks like this (I used the blunt side of a pencil to punch it out). If you can’t find a Starbucks cup, I have one that I scanned for you. You can download & print the PDF and cut it out (Download Templates)! Print the inside template (also shown in the picture).
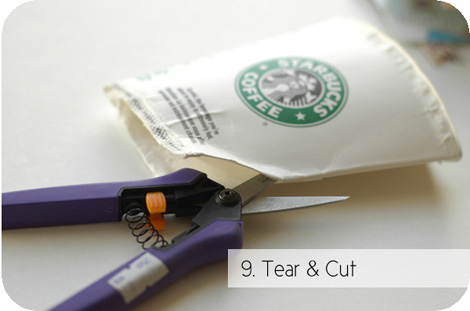
9. Tear out the bottom with your hands. Start by making a small hole with your scissors to give you a head start. If you want it neater, you can cut it out. Next you want to fold it flat and cut open the right side.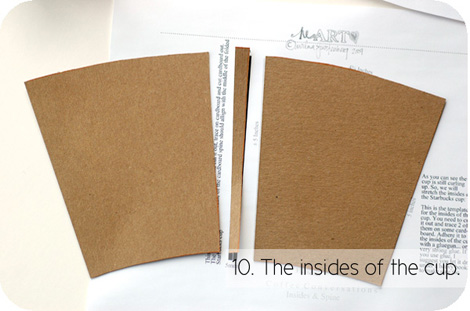
10. As you can see, the cup is still curling up. That’s why we are making insides for it out of cardboard to stretch it out and make it flat. You will find a PDF with a template for the insides of the cup. Print and cut it out and use it as a template to trace on a piece of cardboard (not too thick). You need 2 for each side and one little piece for the spine.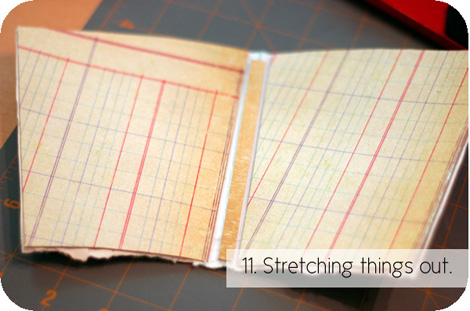
11. As you can see here, I covered the cardboard with some Making Memories Patterned paper. You can use any paper you want. Then the next thing to note is that I used a glue gun to adhere the cardboard to the cup. This worked really well as the cup’s insides are glossy and not any adhesive will stick to it. If you are using glue, make sure you press it under a heavy book for an hour or two. ALSO note: The middle of our cardboard spine should align with the middle of the cup’s fold.
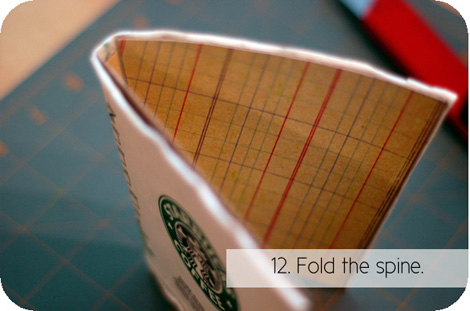
12. In this picture you can see how I folded the front and back cover around the spine. I folded each side and used a bone-folder to flatten the fold.
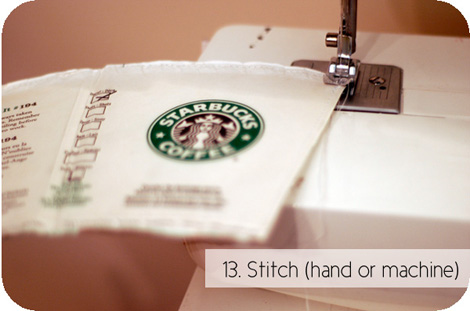
13. I used my machine and stitched around the edges of the cover. You can do this by hand too. I suggest you make little holes first with a paper piercer to have a little mercy on your hands. : ) The stitches will prevent the insides of the cover curling over.

14. To finish the cover, I used some watercolors and painted the outside. There is really no right or wrong here. Just keep a kleenex ready to dab away what you don’t like. I first painted with blue and then added some green while the blue was still wet to get that blended look.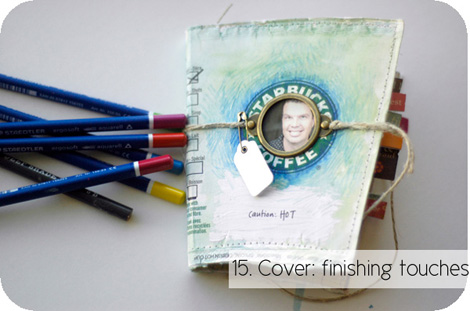
15. Here is what I did to add the finishing touches to the cover: I used Staedtler watercolor pencils (blue and green) and colored around the Starbucks Logo. The I adhered a Making Memories Vintage findings label holder and some string + the little lag. I used a hot glue gun to adhere the string to the front of the cover just so it will stay put. I also covered the text on the cup with paint.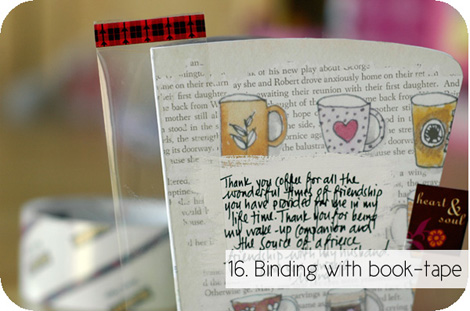
16. I made a little video explaining how to bind the album:
Binding the little Album. from Wilna Furstenberg on Vimeo.
Now we will bind the 3 double sided pages together. Take one of the pages and adhere a strip of book tape (I used Scotch Book Tape) on the fold, like you can see in the picture.
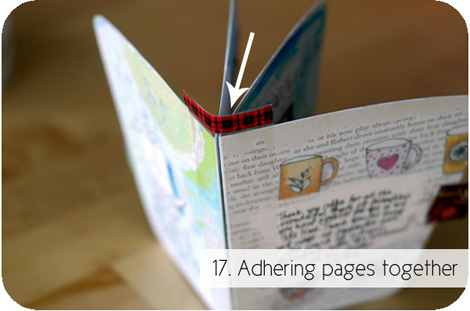
17. As you can see in this picture, the next step is to line up the second page so that they align perfectly. Now, simply fold the tape over and trim the edges. NOTE: you will find that in the middle of your new booklet, there will be a sticky bit (see the arrow) where the tape used at the back will show. Simply cut another strip of tape the length of the pages and adhere it on the inside to cover the sticky bit and to make the binding a bit stronger.
18. Open the inside pages where you can see through the Book Tape. Now position the insides on the spine of the cover. I used my Machine to stitch though the tape to adhere the insides to the cover. I have done it many times using needle and thread too... you don’t have to stitch through the whole length, a couple of inches in the middle will be sufficient.
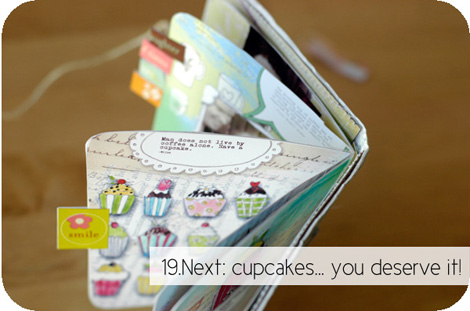
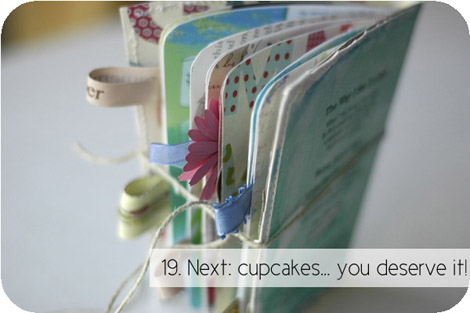
And Viola! Your album is all done. Now you have permission to eat a cupcake.
To see some more examples of this album, I asked some awesome designers to make one too and this is what they came up with: FLICKR gallery. I was so inspired and I am sure you will be too.
Downloads:
Download Class Notes
Download Templates
Download Watercolor


what a neat idea ,love how that cup transformed into beautiful memory keeper :)wish to be so smart:)xox
Sign in or sign up to comment.
so cute, love the idea, very creative
Sign in or sign up to comment.
This is so stinkin' cute. She is one talented lady! I want to make one Right. Now.
Sign in or sign up to comment.
this is SO cute...i love it.
Sign in or sign up to comment.
Oh my, what a great idea!!!! Wilna, you make the cutes things!!! Ali, thank you for sharing!
Sandra :-)
Sign in or sign up to comment.
OMG!!! absolutely stunning mini album, thanks for this fantastic tutorial and files, clever!! =)
Sign in or sign up to comment.
Wow! That is really cool. Thanks for sharing...
Sign in or sign up to comment.
nice work...
Sign in or sign up to comment.
This is such a cute idea! I love to recycle items - especially from starbucks! :)
Sign in or sign up to comment.
Really lovely!!! Thanks for sharing!
Sign in or sign up to comment.
Great job Wilna. Love the first project! Your creativity is inspiring.
Peace, D
Sign in or sign up to comment.
GO WILNA!!
Love to see good ol' SA gal doing her stuff in the NHemi!! LOL
Good on you girlo! And love your 'goed' you do ... dis so baie oulik om met ander goed te werk!! Geniet maar verder!
Def going to keep eyes peeled on your site!
Groete!
Sign in or sign up to comment.
I love mini albums and this project would be a great addintion to my collections. Thanks for the weekly cup of inspiration!
Sign in or sign up to comment.
Awesome to see Wilna featured here! Love her work and her blog!
Sign in or sign up to comment.
WOW! Wilna, this is so cool! Thank you for all the time and effort for putting this all together! I love you blog, too... It's so encouraging. Thank you for being such a blessing to my life. :-)
Sign in or sign up to comment.
OMG - I LOVE that - what a cute "girlfriends" mini book that would make. . .
Hillary
Sign in or sign up to comment.
This project is adorable, and so is Wilna. Thanks for the introduction, Ali.
Sign in or sign up to comment.
This is beyond cute!!!! My best friend loves Starbucks and scrapbooking, she would go mad for this!!
Thanks for sharing!
Alison
Sign in or sign up to comment.
Thanks for this fantastic mini album!
I'll try to do it!
Sign in or sign up to comment.
Wow! I love the creativity of this. I will be trying this one (although I'll be substituting the Canadian staple Tim Hortons cup).
Sign in or sign up to comment.
thanks Ali for finding Wilna! this is so great. I am going to do an album like this, but I will use a Tim Horton's coffee cup! (all you Canadians out there know what I'm talking about!- nothing like a Timmies!)
Thanks Wilna for sharing and for all the fantastic details!
(by the way, I LOVE your accent!)
Sign in or sign up to comment.
Beyond darling. Can't wait to tear open my next Sbucks cup and get crafting. Thanks for the inspiration, Wilna!
Sign in or sign up to comment.
this is SUCH a great idea!! my DH is attached at the hip to Starbucks, so this is a perfect idea :) Thanks so much, Wilna, and thanks for featuring her, Ali!!
Sign in or sign up to comment.
Wow!! How creative she is!! I've got to give this a try... Thanks to you both!
Sign in or sign up to comment.
Love this! Can't wait to make one of my own! Thank you for sharing such a great project form such a talented lady.
Sign in or sign up to comment.