Get Organized for Week In The Life : Guest Post by Aby Garvey
GET ORGANIZED FOR WEEK IN THE LIFE
This past weekend I started getting organized for the Week in the Life project. This will be my second time participating in this project—and I have to say, I can hardly wait for Monday to get here! I’m really excited to share the process I used to get ready and get organized for it.
Keep in mind the purpose of planning for a project like this isn’t to take the spontaneity or creativity out of it. But rather, when you get organized you actually create space for spontaneity and creativity. Spend some time the next few days getting organized for A Week in the Life by first becoming clear about your goals for the project, and then, by collecting and organizing your project supplies.
CLARIFY YOUR GOALS
For me the first step in any project is to become clear about my goals for that project: why am I doing the project, what is the desired end result, and when will I work on it? A Week in the Life is no different. If the word goal doesn’t work for you, choose a different word—one that resonates with you. Create a project mission statement, inspiration statement, or creative manifesto by simply spending a few minutes to think about why you’re doing this project, what you want out of it, and when you’ll work on it.
Consider Why
What is your motivation for doing Week in the Life? Or in other words, what do you want out of this experience and creative process? My overriding reason is to simply capture the everyday details of our lives right now. I tend to fall back on big-event-memory-keeping, so this project gives me the chance to zero in on the details—the people, places and things in my life right now. I would absolutely love to have a visual record of these types of things from my childhood or any other earlier time in my life.
What’s your why? What’s you’re reason for participating in Week in the Life?
Consider What
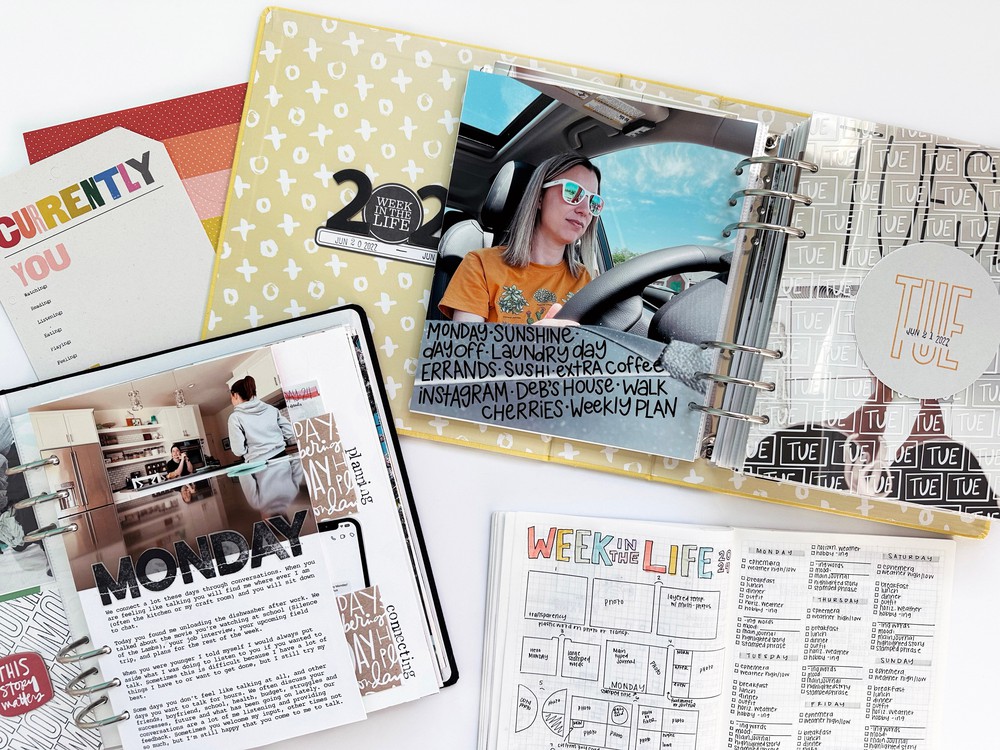
The next step is to decide on my final output—what will my project look like in the end? Last time I did this project I used 12 x 12 divided sheet protectors. I plan to do this project many more times and I’d like all of my Week in a Life projects to live together in a single album. This time, however, I will be using divided sheet protectors and journaling cards from my Project Life kit. I may also add additional sheet protectors for memorabilia and other oversized items that don’t fit into the divided sheet protectors.
Knowing my final output will help me make sure I collect enough journaling, photos, and memorabilia throughout the week. At a minimum, I need to fill eight 4” x 6” pockets and eight 3” x 4” pockets per day.
What will your finished project be? What size album will you use? Do you want a stand-alone project or would you like to add to your Week in the Life album in the future? What do these decisions mean for you in terms of photos, journaling, and memorabilia to capture throughout the week?
Decide When
The final step in the goal setting process is to decide how to fit Week in the Life into your life. To do this I pulled out my calendar and thought—wow, what a busy week we have planned! My calendar includes a jam-packed week with something each night of the week—everything from a band concert to a birthday celebration. Honestly, it is a perfect week to document—I’ll just have to get creative in terms of fitting all the steps involved in this project into my schedule.
Taking the photos won’t be such a problem—I would be taking my camera to many of these events anyway. But, making sure I capture the notes for my stories will be a bit trickier. I need an on-the-go solution that will allow me to fit in note taking during little pockets of time, such as while I’m waiting at lessons and before concerts start. Also, because our schedule is already filled to the brim, I know that it isn’t realistic for me to finish my project during the week, but instead I will focus solely on taking photos, collecting memorabilia, and recording notes for journaling. Then, I’ll carve out time the following week to print and edit photos and pull together my finished project.
When will you fit this project into your life? Pull out your calendar and take a look at what you already have going on next week. Then look for ways to get creative and fit Week in the Life into the nooks and crannies in your schedule. For example, can you get up a half hour earlier to download photos and organize memorabilia, or maybe stay up half hour later? Remember that it’s okay to capture one week, and pull your project together the following week.
GET ORGANIZED
Now that you have clarified your goals for participating in Week in the Life, it’s time to have some fun and get organized. First, we’ll clear out the clutter and create space for this project. Then, you’ll collect and organize your supplies.
Clear the Clutter + Create Space
Use this upcoming project as a catalyst to declutter and create space for Week in the Life. Take time in the next few days to finish up any lingering creative projects that may distract you or vie for your attention next week. Put away long term projects that you can’t finish up before next week, or decide not to finish (ever) a project that has lost its luster and just doesn’t interest you any more. Put away any supplies from projects-past that are cluttering up your work area. If you come across any supplies you know you don’t ever want to use, get them out of your space altogether by donating them to a friend, a local charity, or even your child’s craft supply stash.
If you scrapbook in a shared space, such as on your kitchen table or in the desk in your home office, make sure these surfaces are clear and clutter free. File away paperwork in the office and clear off the kitchen counter. Take care of any to-dos such as paying the bills or calling about the washing machine warranty so you don’t have to worry about these tasks during a Week in the Life.
Do a bit of mental decluttering, too. If you tend to get stuck starting or finishing scrapbook projects due to perfectionism, decide to let go of perfectionism—if even for just this week. Perfectionism and scrapbooking are like oil and water—they just don’t mix. Embrace the imperfection in the process. Embrace the fact that you may not capture everything you want to capture, and simply let the project take on a life of its own. Decide to enjoy the process of seeing where this project takes you.
These simple decluttering projects will create space—both physical space in your craft area and creative space in your mind. All that’s left to do now is collect your supplies and organize them!
Collect + Organize Your Supplies
Now that you’ve created space and put away your creative clutter, it will be easy to get organized for the upcoming week. Below is a list of items to collect and organize, broken down by the various elements of the project—taking photos, writing stories, and collecting memorabilia.
Get Organized to Take Photos
-
Declutter your memory cards by downloading photos. -
Charge your camera’s batteries. -
Create a list of photos to take each day or throughout the week. -
- A directory for each day such as “Week in the Life – Day 1 – Monday”
Set up directories for your photos. I created the following directories for my Week in the Life project:
A directory for photos to edit and print.
A directory for non-day-specific photos. This is the place to photos
such as the inside of your cabinets and closets or home décor items that
are out on display. These photos will be great filler photos if you
find yourself short a photo or two on any particular day of the week.
- A directory for each day such as “Week in the Life – Day 1 – Monday”
- Make sure you’ll be in some photos, too! Get out the tripod or make arrangements with your family members to take photos of you throughout the week. Share with them the types of photos you’d like—un-posed photos of you doing everyday things.
- Prepare your family and friends to be photographed. Let your family members and friends know about your project and what it means to you. Ask your family members if there’s anything special they’d like documented this week, and then ask them for their help and cooperation. At a minimum, my kids will know that they will be photographed a lot more than usual next week, and I may turn over the camera to them a time or two to let them capture me.
Get Organized to Collect Memorabilia
-
Create a list of items to collect each day such as mail, to-do lists, grocery lists, emails, text messages, tweets, blog posts (either those you read or those you write), papers from school, receipts, event programs, brochures, menus, etc. -
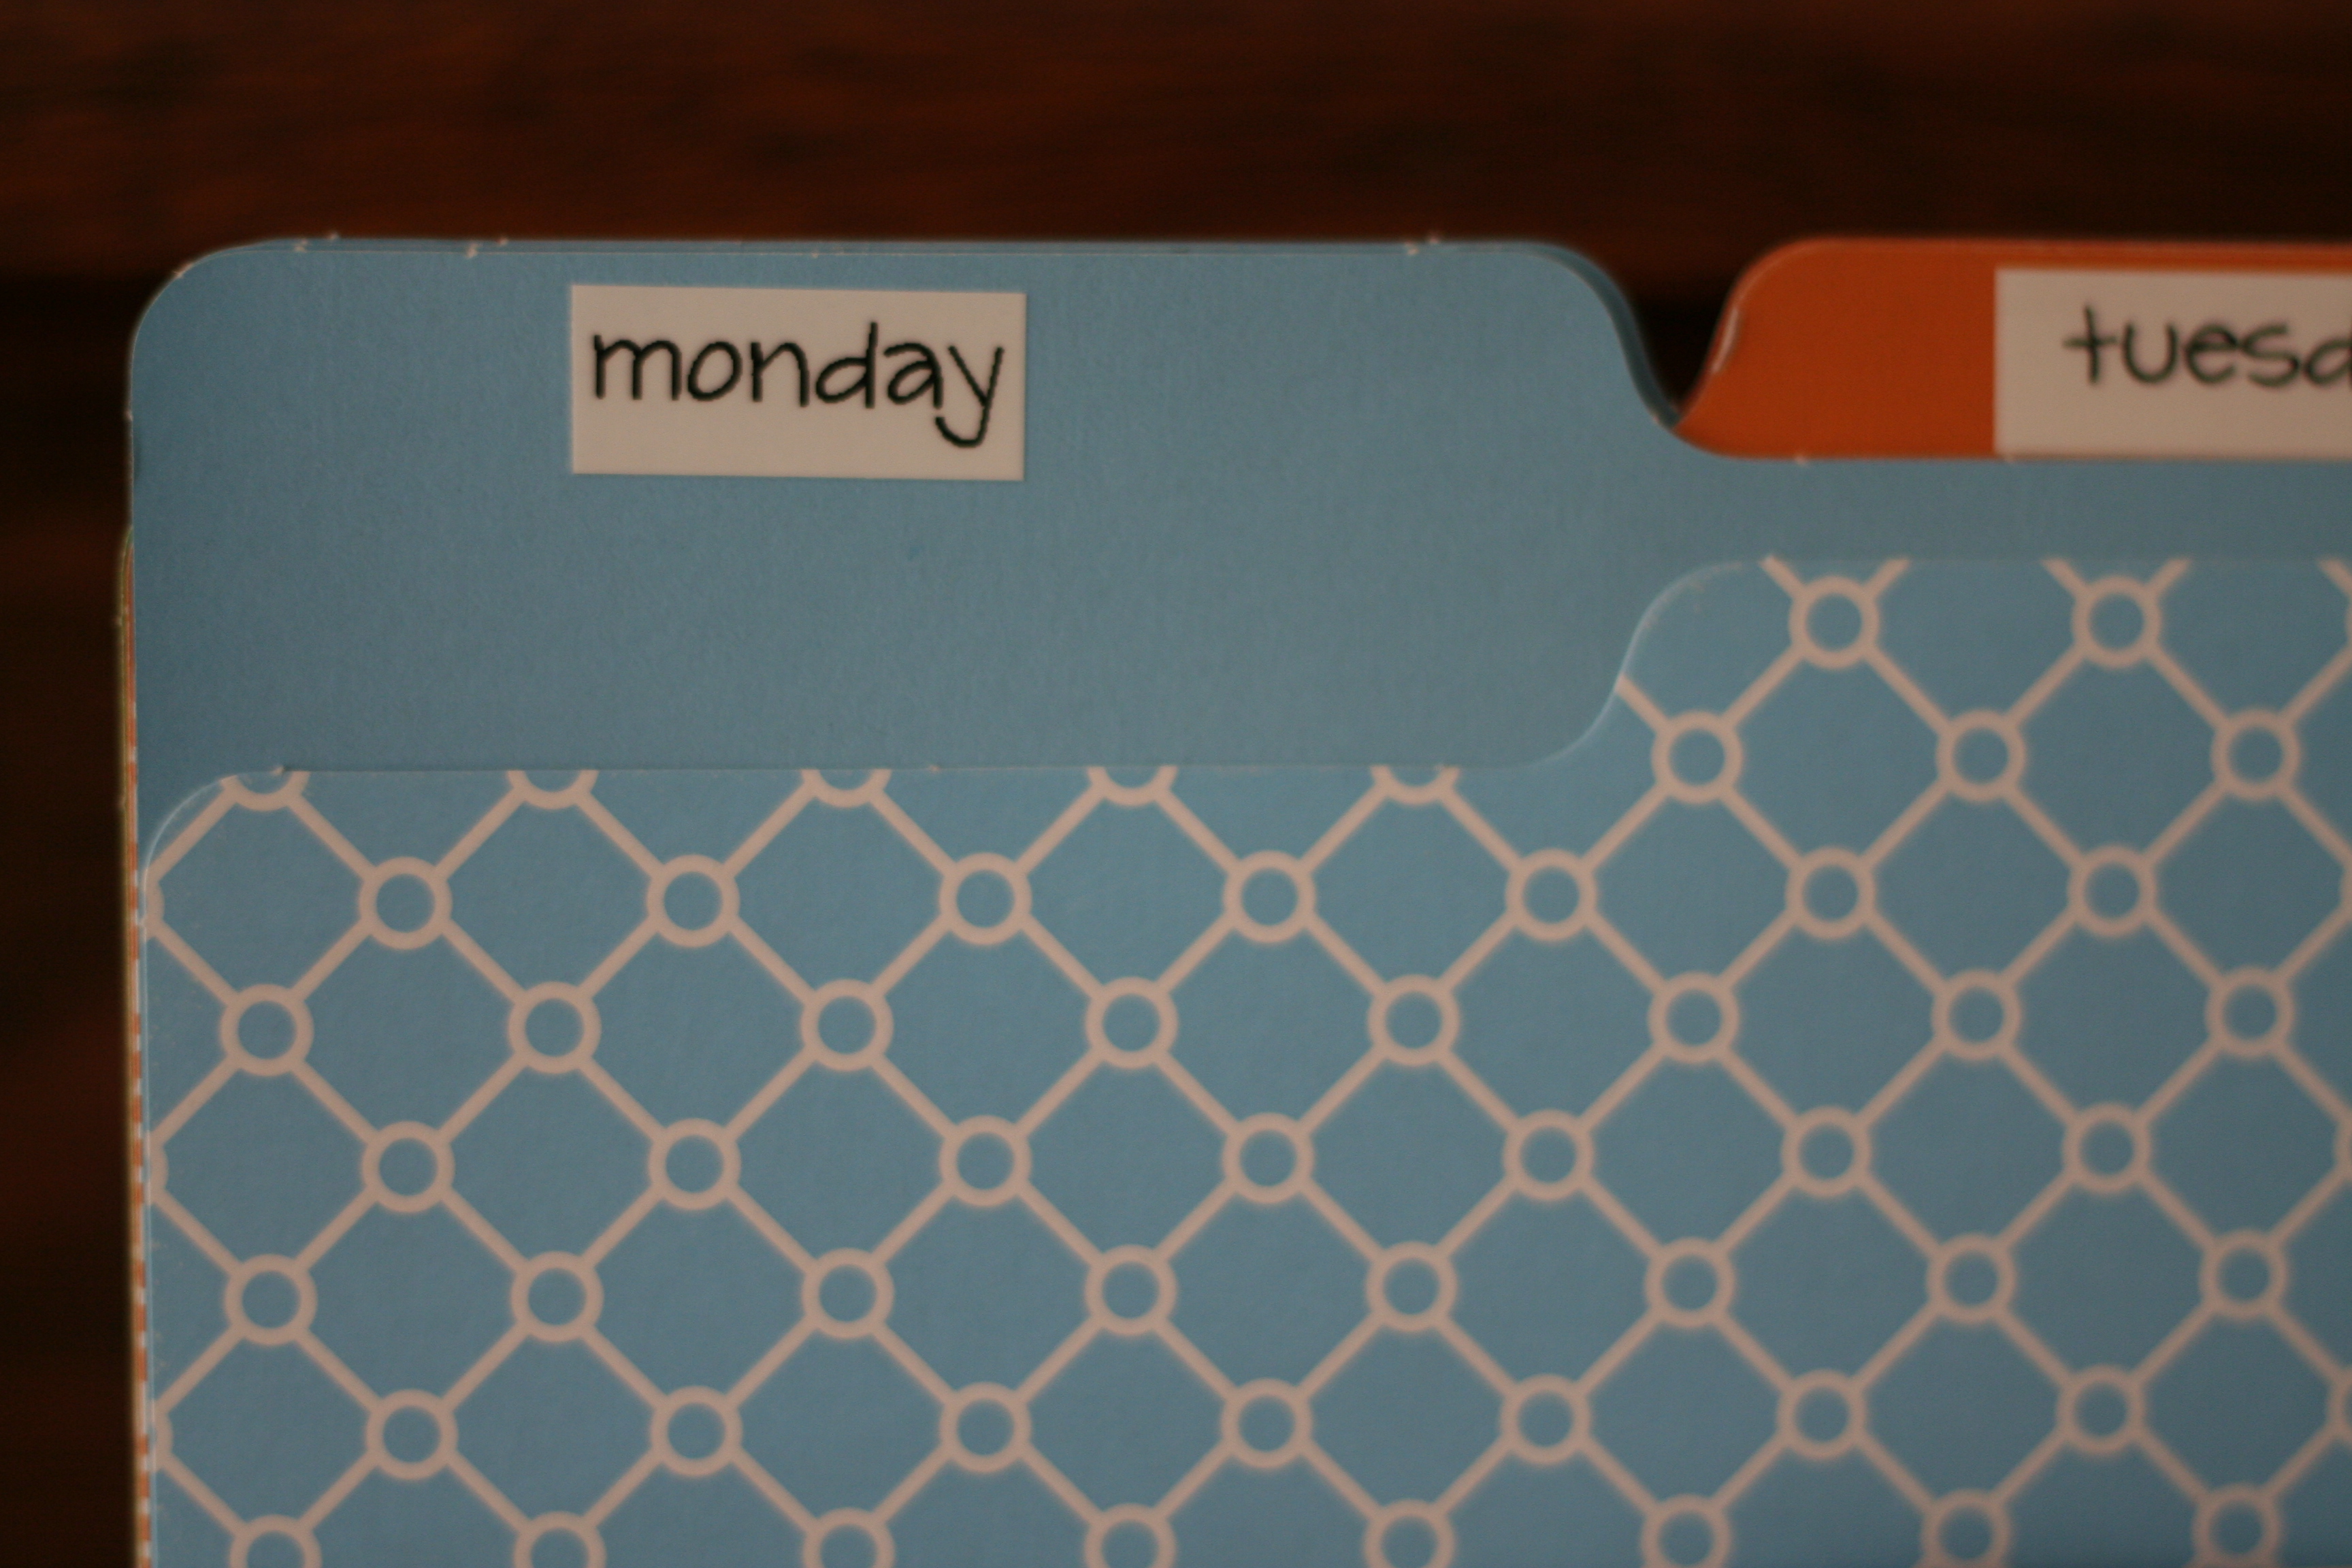
Set up daily file folders to keep these items organized by day.
Get Organized to Write Your Stories
-
Make a check list of notes or stories to capture each day throughout the week. (See Ali’s list from Monday for ideas.) -
Decide how to capture your notes. You could use a small notebook, your computer, or even your smart phone or Twitter.
PULLING IT ALL TOGETHER
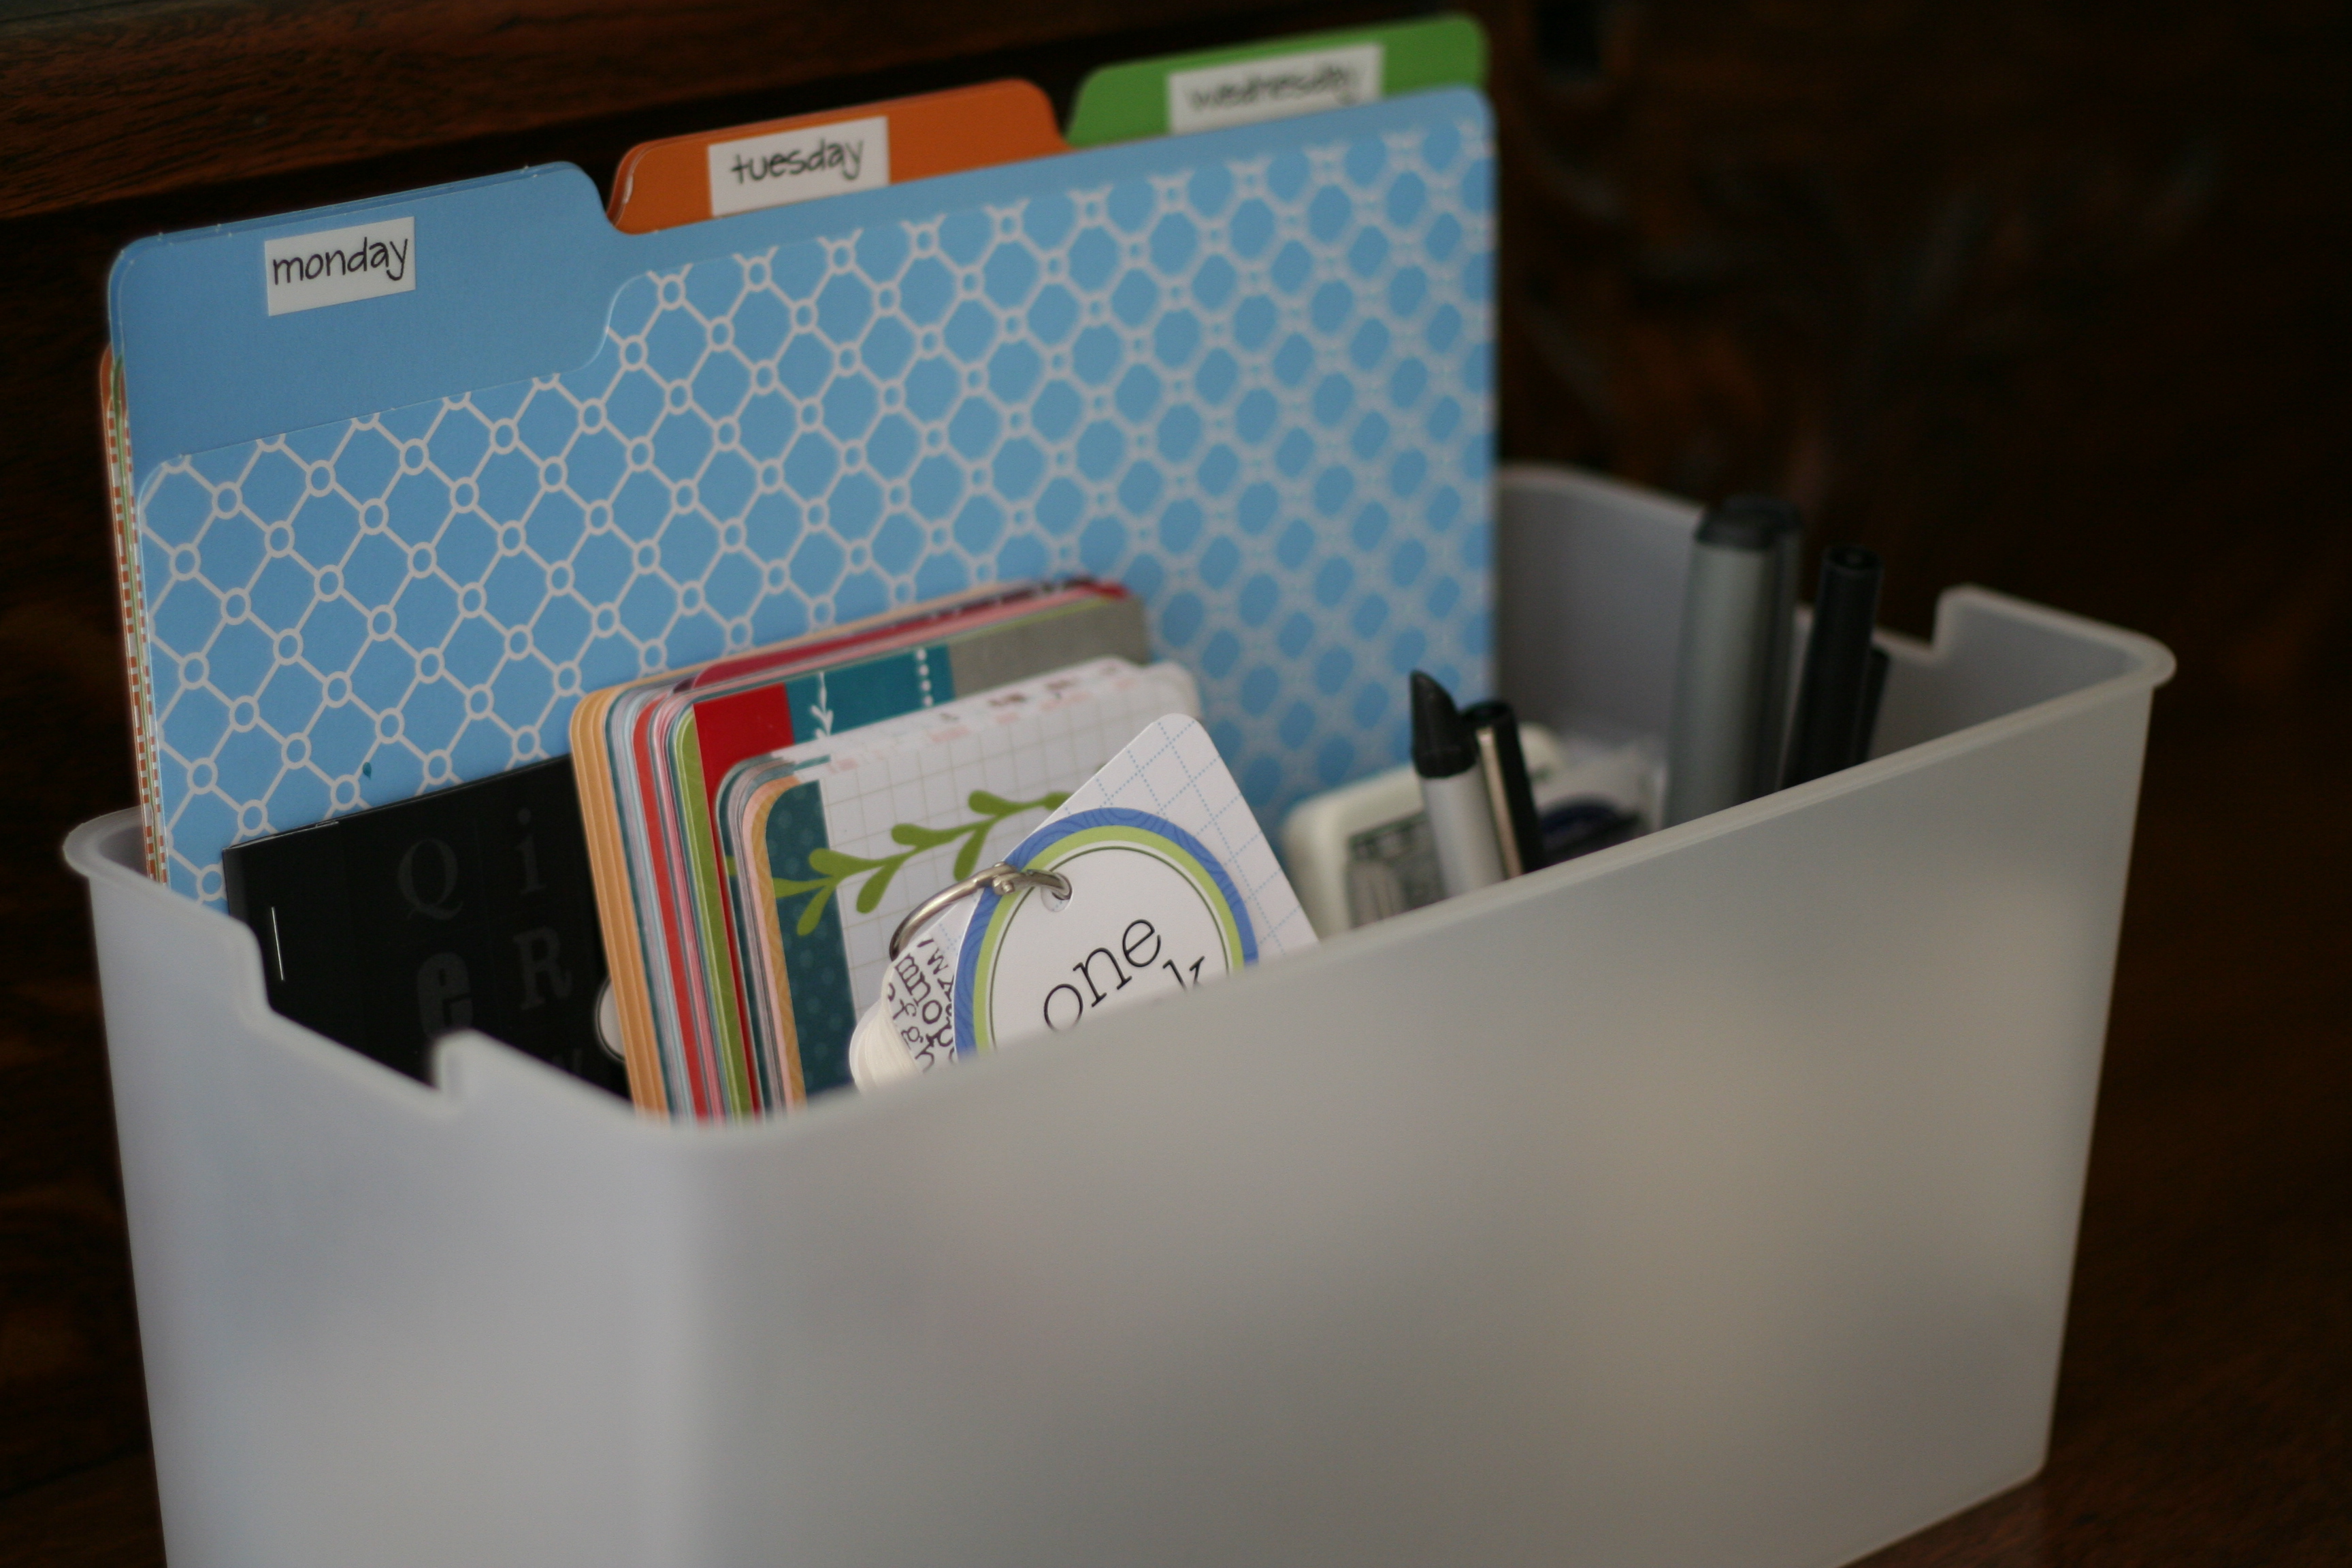
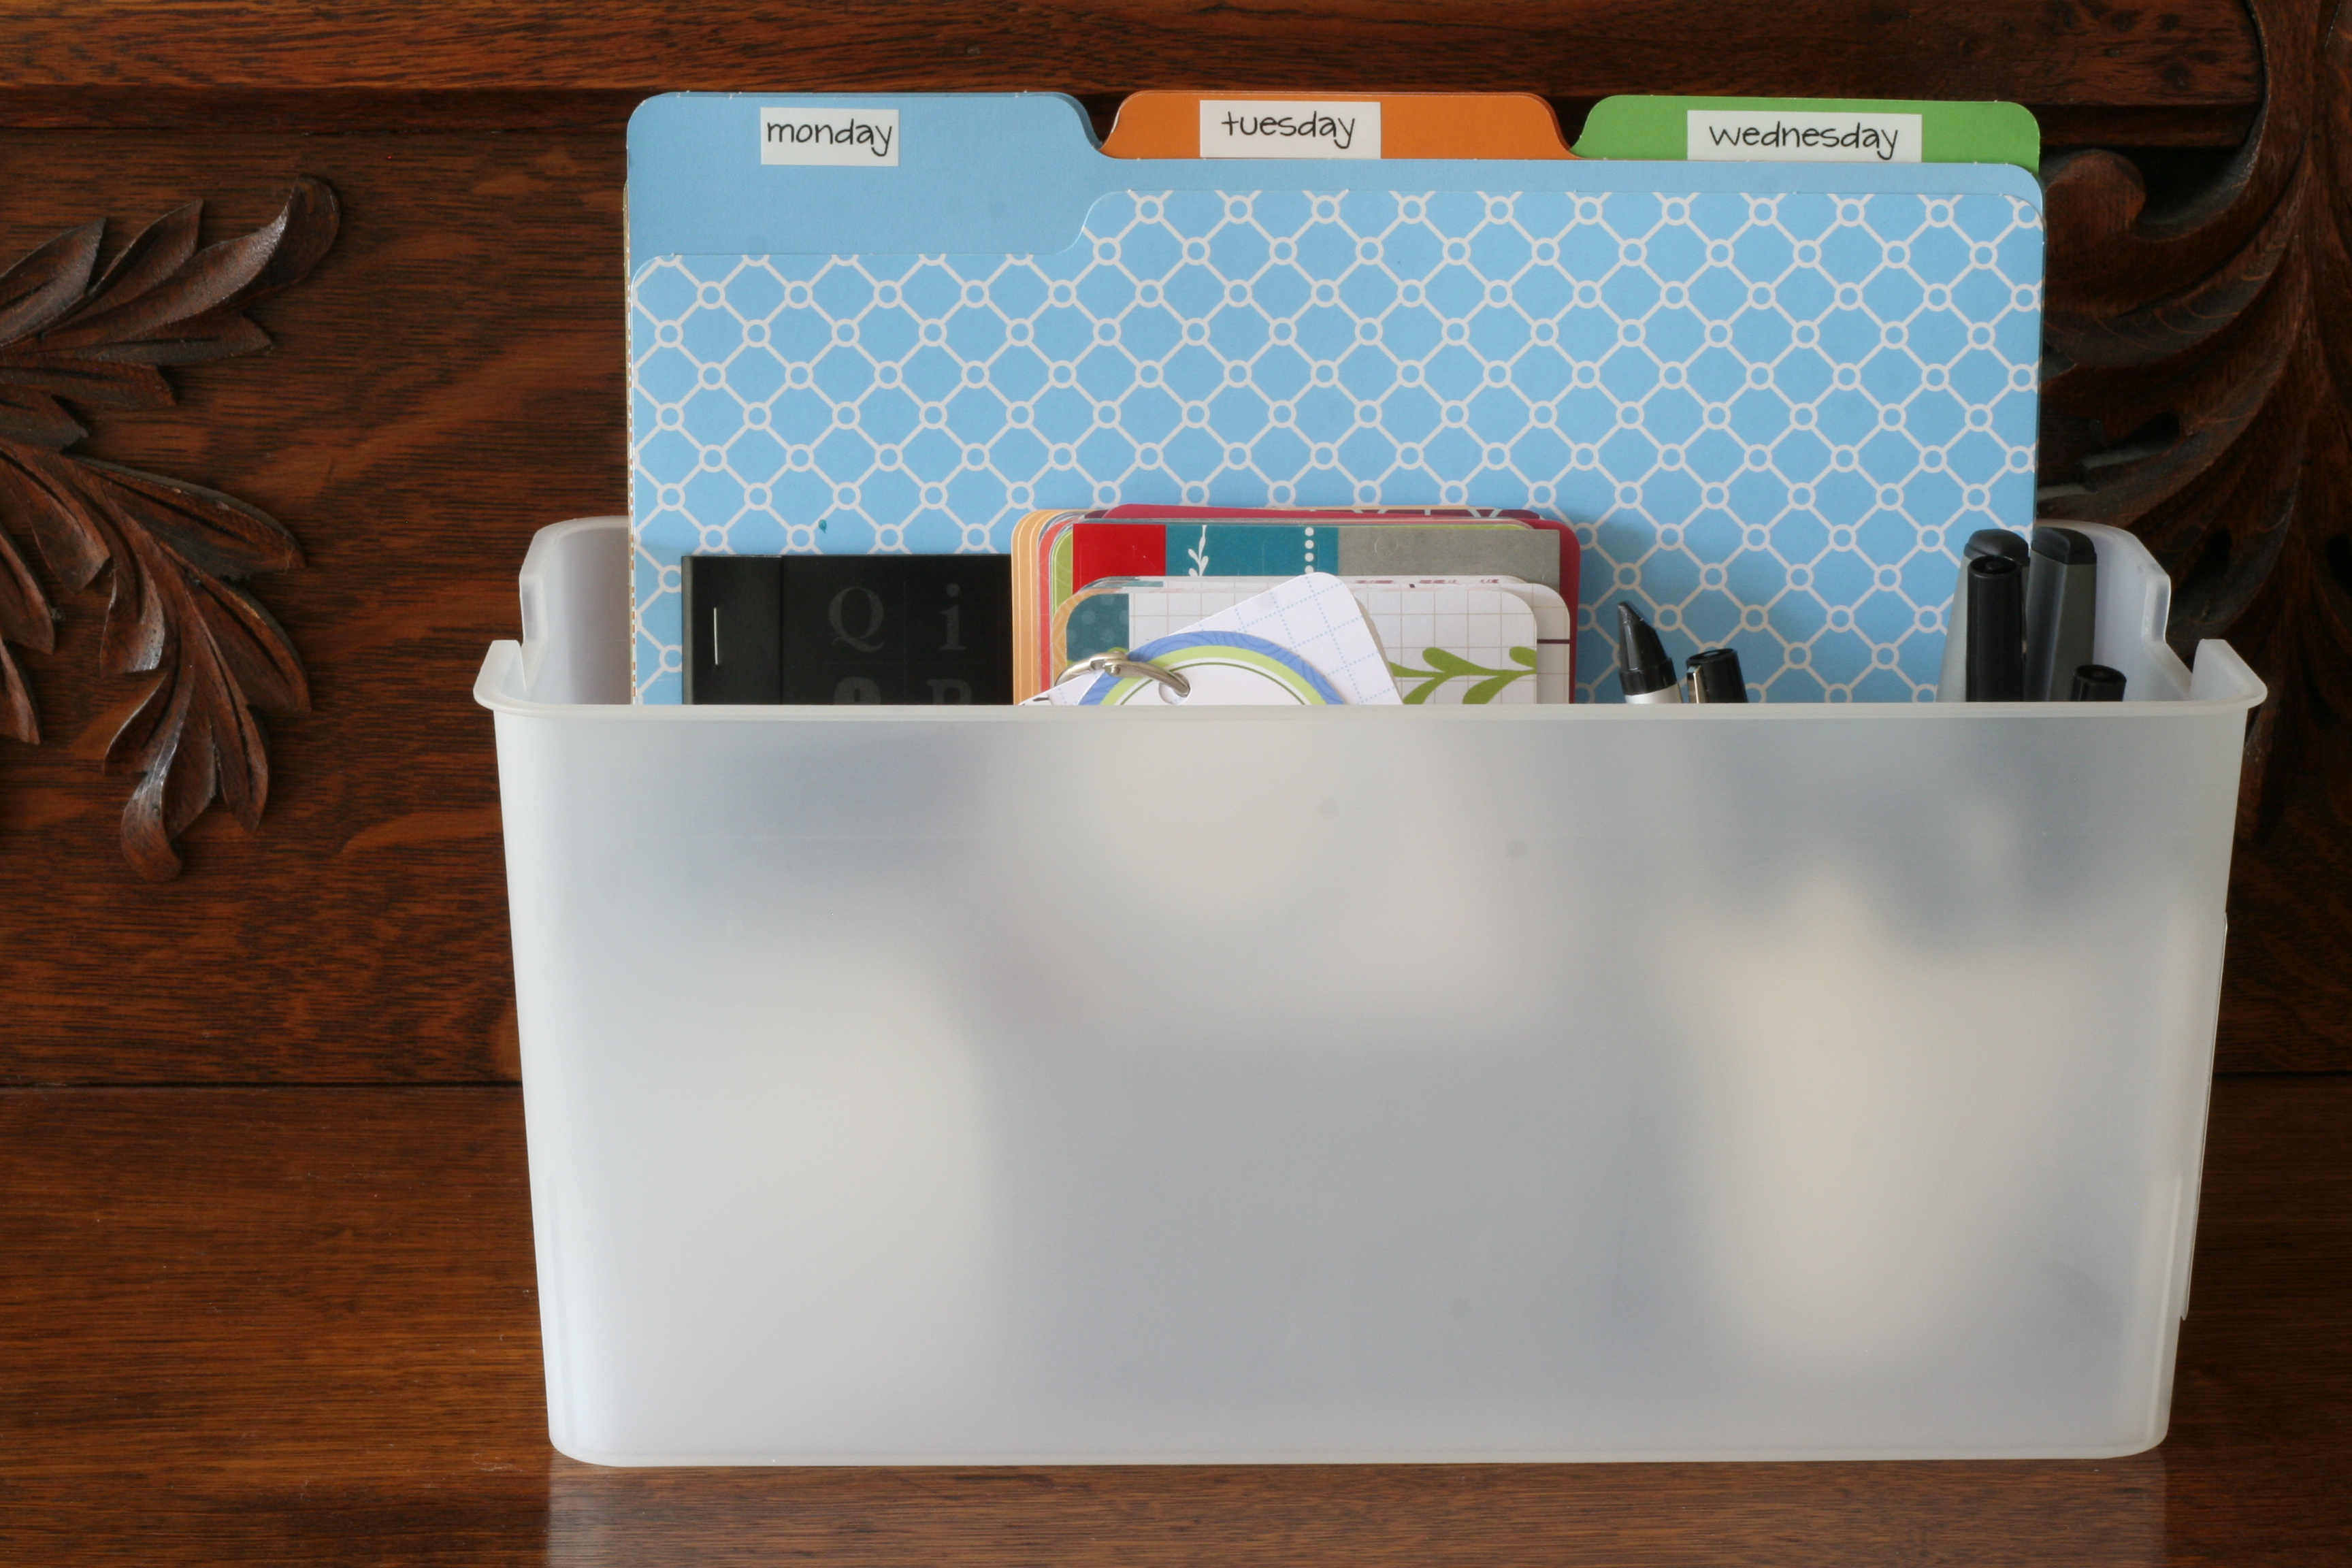
Once you have collected your supplies, pull them together into a portable container or a designated area in your now clutter-free craft space. I used an ITSO bin from Target to pull together my basic project supplies—daily file folders for collecting memorabilia, journaling cards, markers, and other basic supplies I for my finished project. This ITSO bin is big enough to hold 12 x 12 cardstock, so it could be your one-stop-shop for all your Week in the Life supplies.
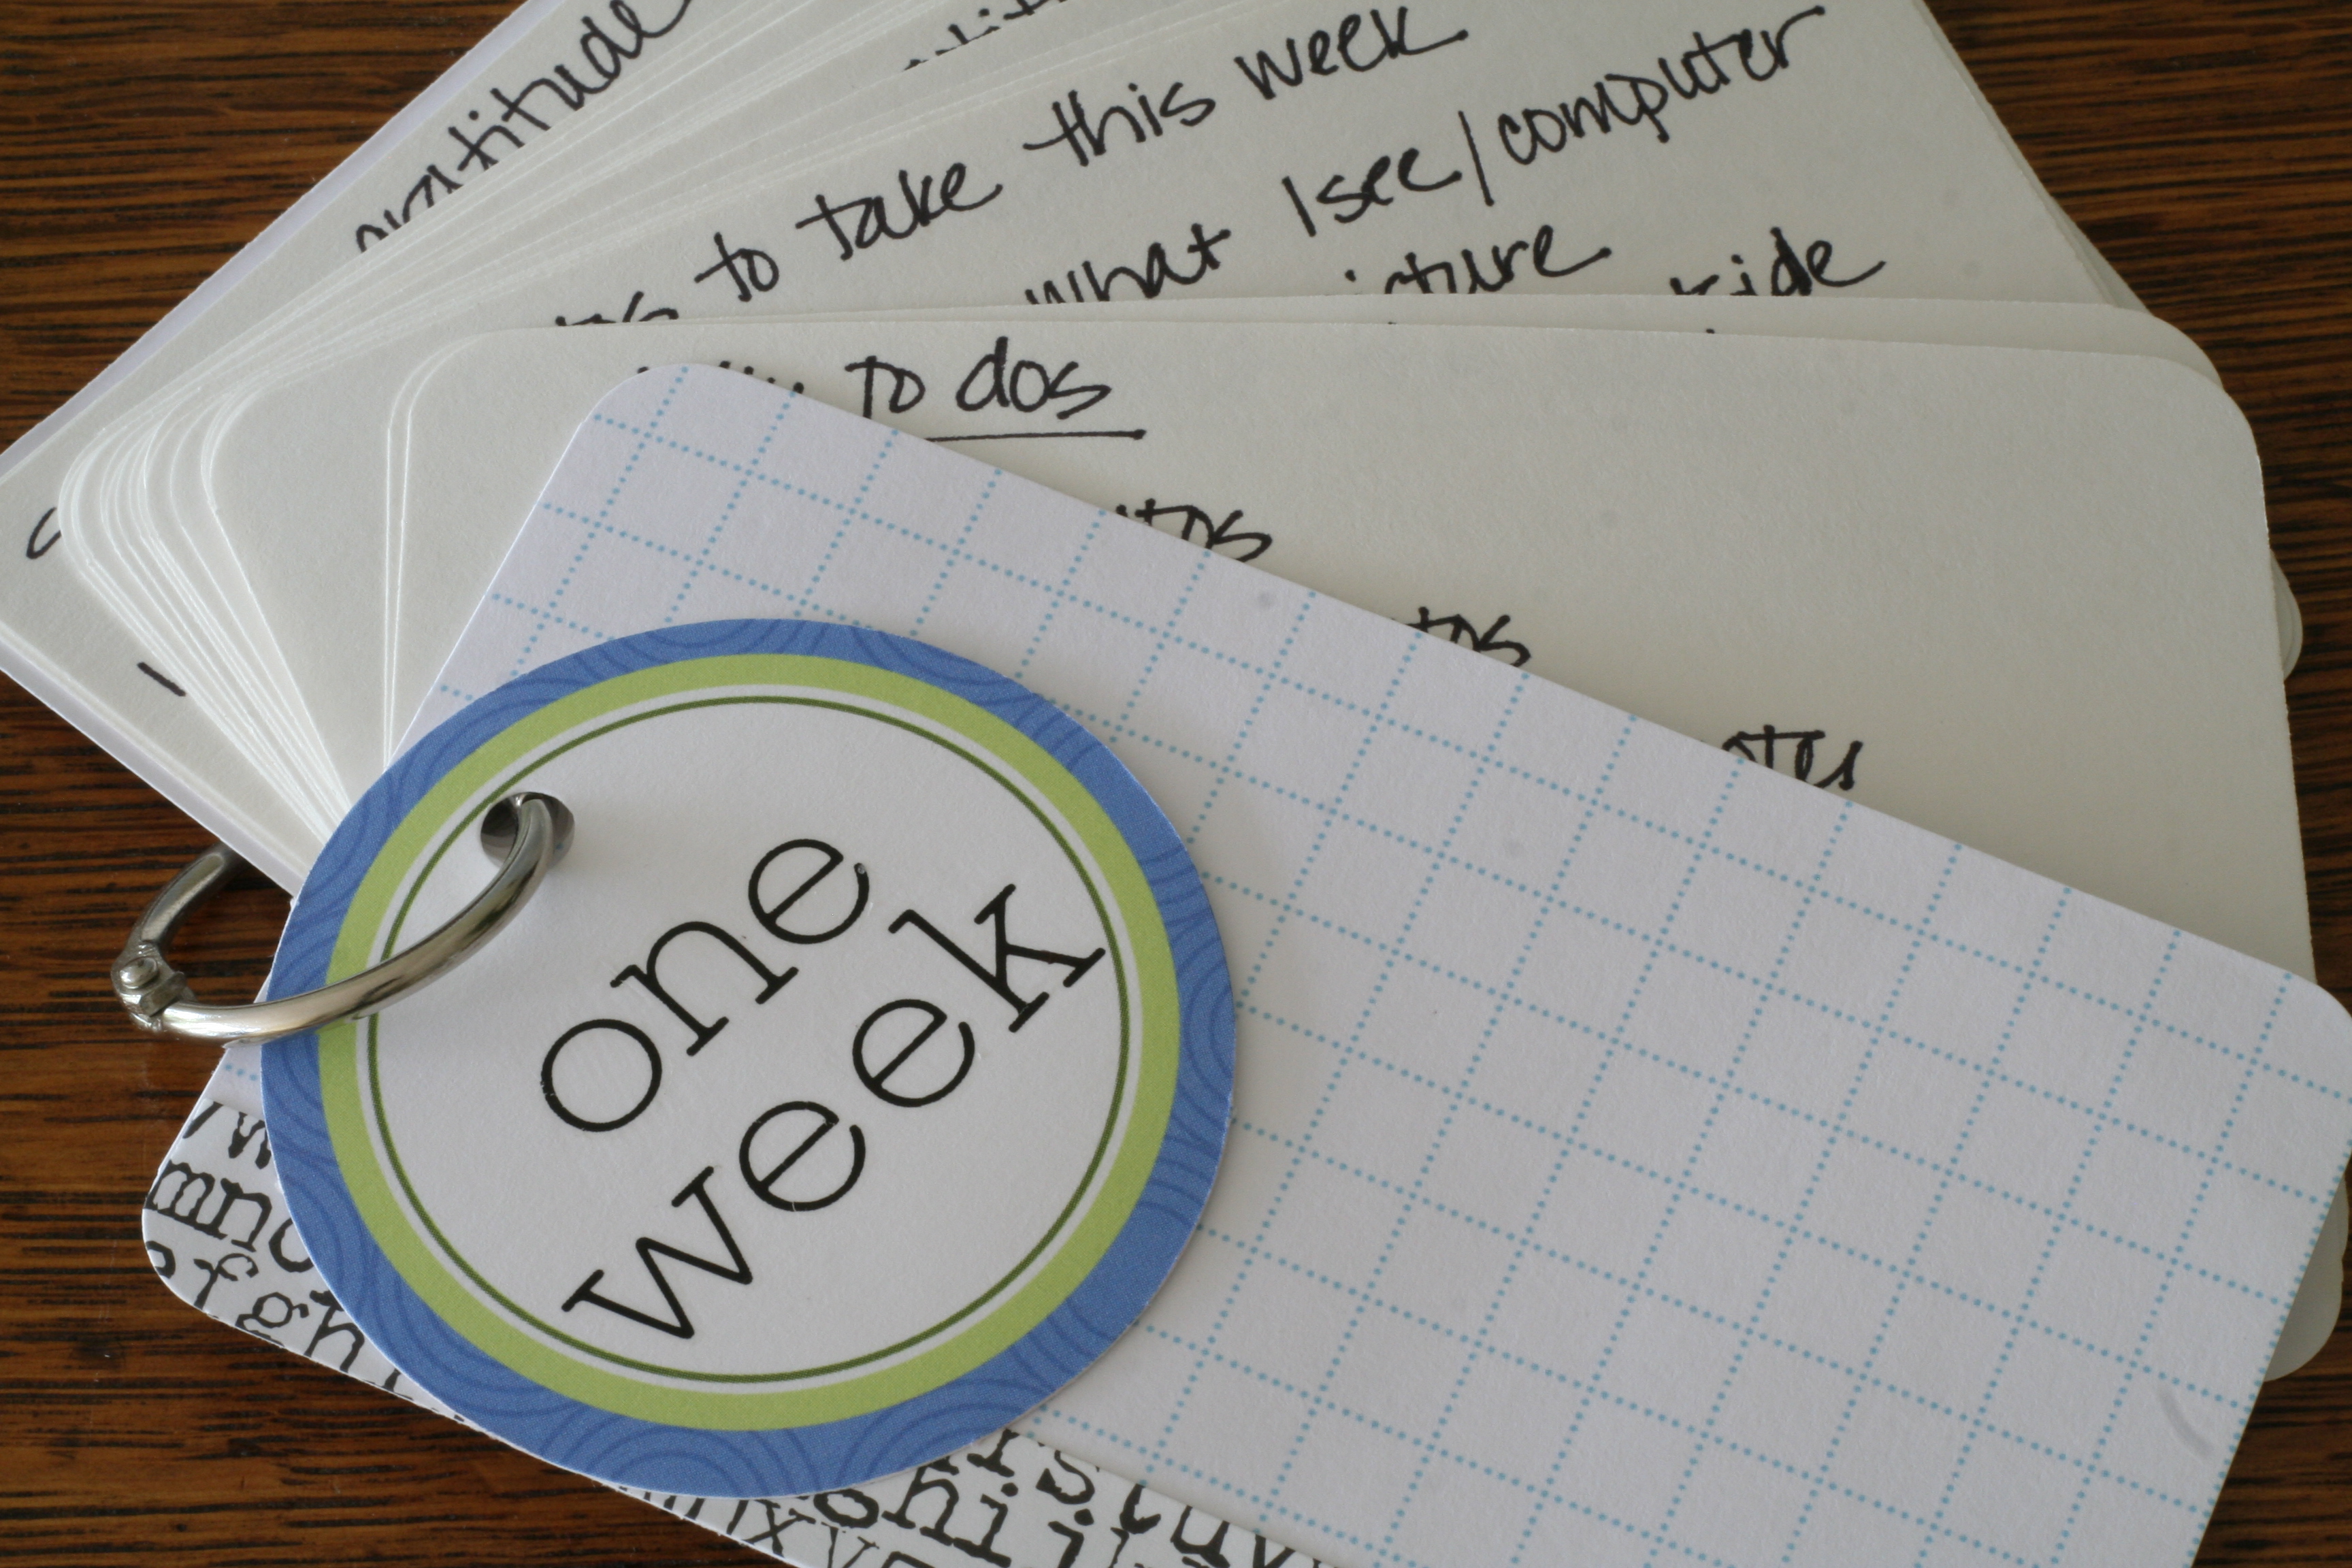
Consider creating a simple note-taking solution like this booklet made out of index cards. Inside are checklists of photos to take and memorabilia to collect, as well as journaling note cards. I created cards for each day of the week to prompt me to capture the same details everyday: daily schedule and routines, daily gratitude and observations, everyone’s mood, the weather, and meals. I also included blank cards to capture anything else that strikes me as interesting or relevant as the week unfolds.
The small and portable solution will fits nicely in my ITSO bin as well as in my purse, allowing me to capture notes any time I have a free moment. I also put a daily to-do in my planner to start each day with a recap of the prior day so I can fill in any holes on my daily journaling cards.
So now there’s just one question left to ask: Is it Monday yet? (I can hardly wait!) I hope you have fun getting ready for Week in the Life!
ABOUT ABY : Aby Garvey is an organizing expert who believes organizing can be creative and fun—the more you love an organizing solution the more likely you are to use it! She is the co-owner of www.simplify101.com, a professional organizing business that specializes in online organizing workshops. Aby is a scrapbooker, the co-author of The Organized + Inspired Scrapbooker and the author of the Happy Scrapper e-book. Visit Aby’s website to sign up for her monthly organizing newsletter.


I just finished re-organizing and arranging my office the wee hours of this morning! What a timely and inspirational post Ali - thank you!
LOVE the booklet made from index cards idea!
Wishing you a FABULOUS weekend ahead!
Sign in or sign up to comment.
My apology, I meant to thank you Aby! *blush*
Sign in or sign up to comment.
ooh! Think i'm going to do this. I have loads of scrapbooking stuff and never got around to using much. This seems a great place to start!! Thanks Ali. xx
Sign in or sign up to comment.
I love this! I'm going to participare for sure! Hopefully by the end I can post it up in pdf format on my blog! woohoo!!!
This is awesome. I'm very excited.
Sign in or sign up to comment.