Go Anna Go | Hybrid Scrapbook Layout + Video Tutorial

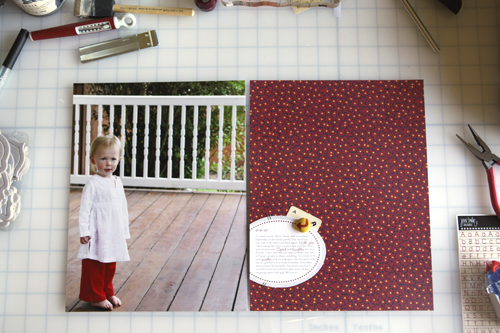
Go big. That's what I wanted to do when I saw this photo of Anna.
Go big with the photo and go big with the pattern paper.
I've done a few layouts in the past that incorporate full page photos like this one and this one. I love the look. I'm especially inspired by the way Laura Kurz does this (see more of her work: Two Peas | Studio Calico) and the way Karen Russell used to do it when she was scrapbooking more often.
For this photo + story I decided to create a layout that also left much of the pattern paper just as it is...lovely all on it's own. This is a great idea for those of you who buy pattern paper but never use it because you think it's too pretty.
TIP | Use that pretty paper. They will make more!
Here's a look at my process for putting together this two-page layout:
(1) Begin with one full page 8.5x11 printed photo + one 8.5x11 sheet of
pattern paper (I cut this down from 12x12). Here at home I'm using a HP Photosmart B8550 Inkjet Photo Printer
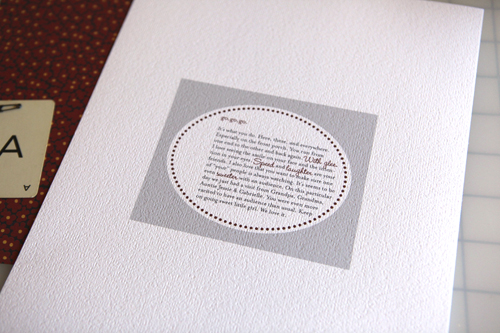
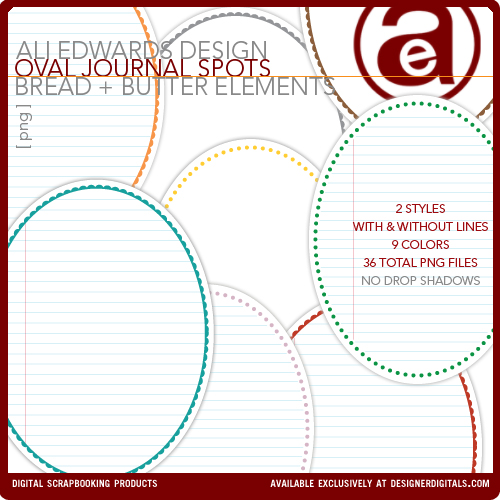
(2.) To tell your story, use one of my Oval Journal Tags or a similar product you may already have in your stash (or just cut an oval from a piece of cardstock and hand-write your story). Here's the details on using the oval journal tags in Photoshop (read on for the video tutorial):
- Open the oval .png file of your choice from the Bread + Butter Elements: Oval Journal Tags folder.
- Using the T tool, type your story. To add some interest mix script + serif fonts and recolor the script words. I used Wendy LP Medium for the script and MrsEaves for the serif (serif simply means a font with little "feet" at the ends of each letter).
- Use the eyedropper tool to "grab" the same red color as is used in the oval journal tag. Use that same red to recolor the script font words.
-
Option: Recolor background area to make cutting easier. This is really an optional step. I ended up liking having the gray around the outside of the oval on my layout. To do this I created - Print on white cardstock.
Oval Journal Tags available at Designer Digitals.
Here's a video tutorial that shows my process for typing my journaling on the oval in Photoshop Elements:
Ali Edwards' Oval Journal Tag Tutorial from Ali Edwards on Vimeo.
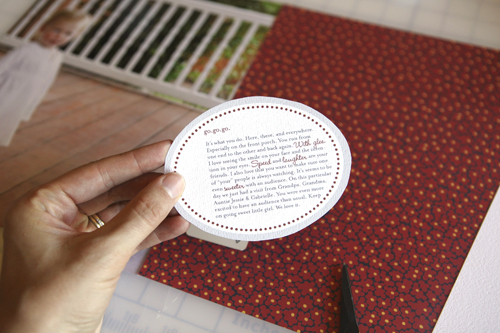
(3.) Cut oval from white cardstock. I did a quick cut here - it's far from perfect and I like it that way.
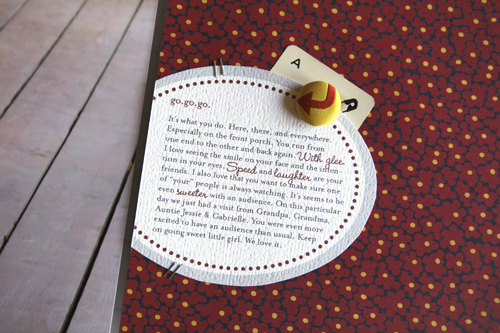
(4.) Adhere the journaling oval about 2/3 of the way down the page (add a little initial card behind the oval - this one is from my random stash of stuff so unfortunately I don't have a source for more). Trim off excess from the oval journal that goes over the edge of the pattern paper or have it overlap onto your full page photo.
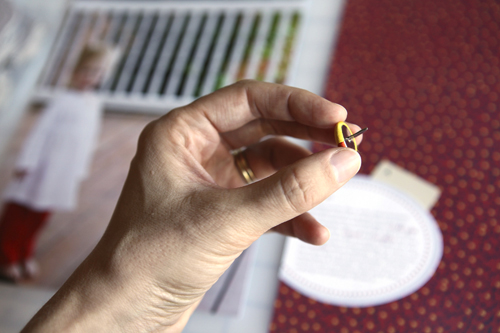
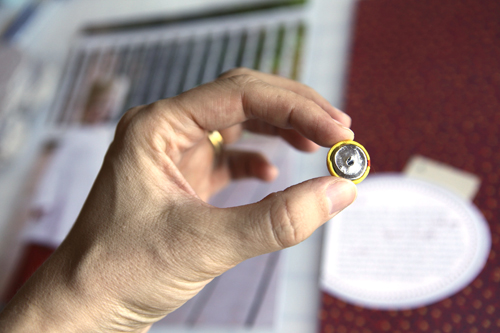
(5.) Attach the Basic Grey Wander Collection Stitched Brads. Sometimes with these fabric brads I remove the back rather than sticking it through the page. It often depends on how many layers the brad will need to go through. In this case I wanted to use glue dots instead so I could stick the mini-safety pin under the fabric brad (sticks with the help of the glue dot).
Brad-backing removed with pliers. Glue dot adhered.
(6.) Mini staples and mini-safety pin added.
(7.) Celebrate another story told!
THE STORY | It’s what you do. Here, there, and everywhere. Especially on the front porch. You run from one end to the other and back again. With glee. I love seeing the smile on your face and the intention in your eyes. Speed and laughter are your friends. I also love that you want to make sure one of “your” people is always watching. It’s seems to be even sweeter with an audience. On this particular day we just had a visit from Grandpa, Grandma, Auntie Jessie & Gabrielle. You were even more excited to have an audience than usual. Keep on going sweet little girl. We love it.
SUPPLIES | Pattern Paper: Jenni Bowlin Snack Time; Oval Journal Tags: AE Bread + Butter Elements Oval Journal Tags; Fabric Brads: Basic Grey Wander Collection Stitched Brads; A Card: Vintage; Mini Stapler: Tim Holtz Tiny Attacher; Mini Safety-Pin: Tim Holtz Mini Pins






thanks for the great tutorial.
Sign in or sign up to comment.
My 16-month old twins love running back and forth, laughing and yelling. It is so much fun for them!
Sign in or sign up to comment.
Hi Ali,
This layout is lovely. Your daughter is so cute! :o)
Thanks for the video. I always learn a lot watching tutorials. I have one question about the journaling and the fonts you used for it. I love the idea of mixing different fonts. In the video I saw that you resized the Wendy font to a larger size because it was very tiny at the beginning. How do you keep the space between the lines of text even? When I resize single words in a text, the space of the line with these words changes as well. When I change it back, parts of the enlarged word gets cut off at the top or bottom. I have no idea how to fix that... Please excuse my clumsy English - I hope you can understand what I wanted to say ;)
Thanks Ali!
Carolin
Sign in or sign up to comment.
BoyaQQ merupakan situs resmi yang menyajikan permainan bandarq online dan sudah berdiri sejak tahun 2015 memberikan pelayanan terbaik 24 jam penuh http://qqboya.xyz/
Sign in or sign up to comment.
Venue in Delhi is the best Wedding planner and Decorator in Delhi, it's a website that provides best of best venues in your budget.
Visit:- http://www.venueindelhi.com/
http://www.venueindelhi.com/wedding-venues-in-delhi/venue-in-gurgaon/
http://www.venueindelhi.com/wedding-venues-in-delhi/venue-in-nh-8-and-puspanjali/
http://www.venueindelhi.com/wedding-venues-in-delhi/wazirpur-and-gt-industrial-area/
http://www.venueindelhi.com/wedding-venues-in-delhi/venue-in-gt-karnal-road/
http://www.venueindelhi.com/wedding-venues-in-delhi/venue-in-noida-and-greater-noida/
http://www.venueindelhi.com/wedding-venues-in-delhi/venue-in-mundka-and-rohtak-road/
Sign in or sign up to comment.