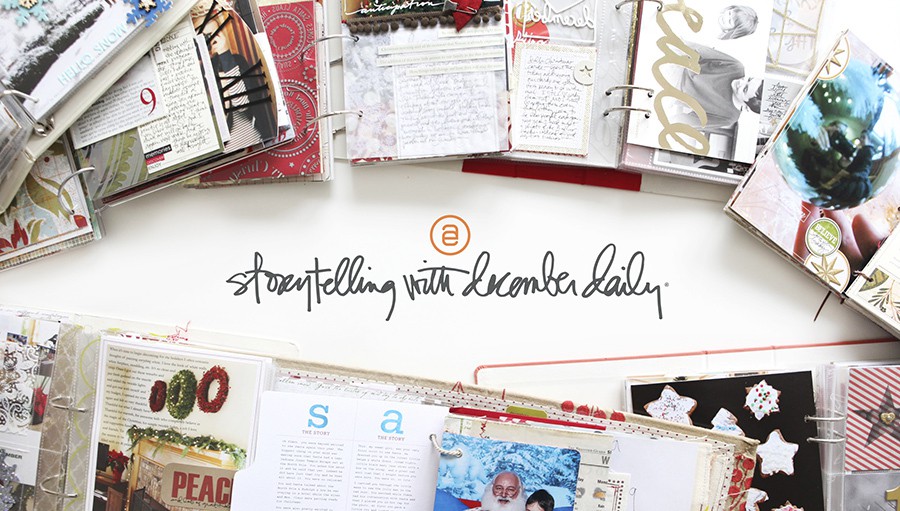
December Daily 2010 | Cover Option One Step By Step

Today I want to share my process for creating my one of the cover options. Later this week I'll share more information on the other cover and how to work with the 6x8 overlays.
MORE INFORMATION
Before I dive into the first cover I wanted to address a couple things that came up in the comments on the first post for 2010:
BINDER RINGS: The binder rings I currently have on the album come with the Teresa Collins Bracket Shape Covers. They are 1.5 inches. They fit right now but will likely be too small to hold it all together once I add the photos + journaling (even though that will just be adhered to the current pages). I'm ordering some loose leaf binder rings that are 2 inches and 2.5 inches via Amazon.
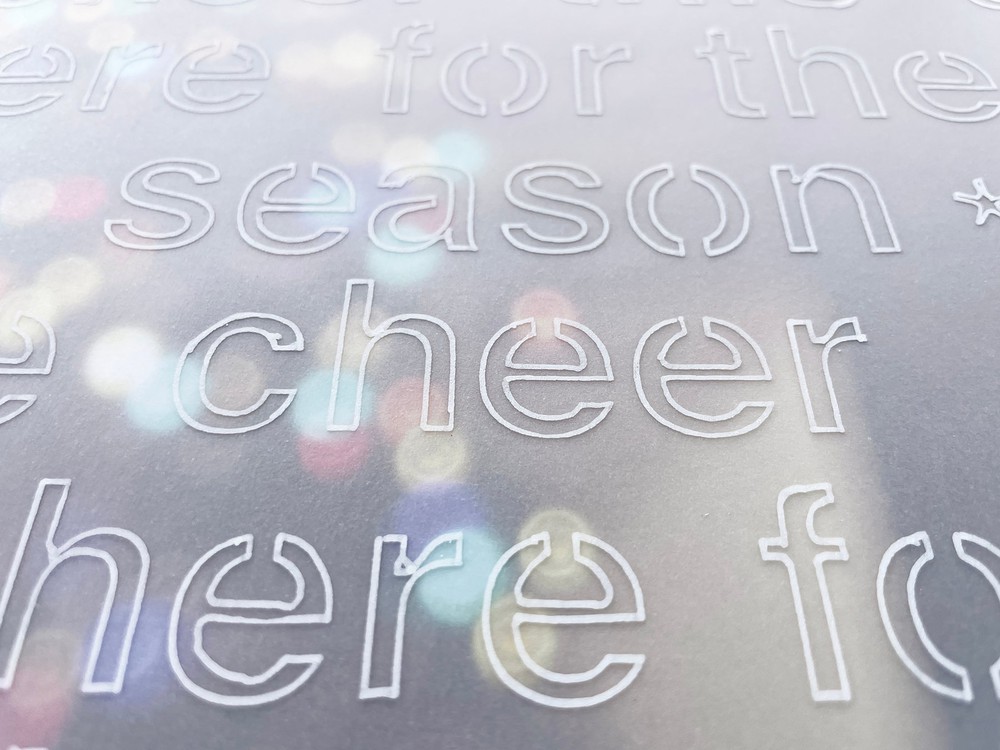
TRANSPARENCIES: The transparencies I'm using are thicker than the ones you would buy at an office supply store. The Hambly transparencies ones are especially sturdy. The Clearly Heavy from Hambly is a blank transparency (no design printed on it) that is even thicker - I used that for the number die cut paper and for the day with just the small red frame + stamp (day 12 I think).
HOLE-PUNCHING: Crop A Dile - my favorite hole-punching tool that goes through a wide variety of surfaces.
ADHESIVES: For adhesives on the transparencies I used either stitching with my sewing machine or a regular tape runner. With the tape runner you can see it just a bit but it's not too bad...sometimes I will cover it up on the other side with another embellishment.

COVER OPTION ONE
Option one is to use the Teresa Collins Bracket Shape Covers. These have a great text-print on the front and would work just fine without doing anything to them (a great option if you are wanting to keep things simple). In my case I chose to use it as a chance to experiment with some techniques that I love: painting, embossing, misting with ink, etc.
As this was a bit of an experiment you'll see some places where I did things that might seem out of order (watch the letter stickers). I was learning as I went and having fun in the process.
To begin, create a title with random letter stickers on top of a sheet of Claudine Hellmuth 8.5x11 Sticky Back Canvas (see image at top of post: supplies are listed below). I liked having the letters overlap/

Using Studio Calico's Mister Huey Schoolhouse ink mist, spray directly on top of the sticky back canvas. You can use as little or as much mist as you like. I first saw this technique used by Leah Fung in Scrapbooks Etc.'s October 2010 issue and I have wanted to try it ever since. I was also really inspired by seeing what Ronda was doing with these mists while we were in Greece.

Let it dry. Leave the letter stickers on the background (on my image I removed them, but ended up putting them back on again). I hung mine up on my bulletin board due to the amount it was curling. I left it there overnight.

Peel off the sticky-back canvas and adhere to the bracket cover. This image above shows the front of the cover when you first purchase it.

Use a craft knife to trim off the excess of the sticky back canvas.

With the stickers still on the canvas, use a polka dot mask (I used an older one from Heidi Swapp) to create the dots. Mist with Studio Calico's Mister Huey Calico Cream.

After misting the circles I decided I wanted them darker so I used the mask again with cream paint.

Here's what the cover looked like after doing the paint circles. Now I felt like the paint was too bright.

To tone it down a bit again I sprayed more of Studio Calico's Mister Huey Schoolhouse ink mist.

Remove the letter stickers.

I decided that because this is a mini book that will likely be touched quite a bit that embossing the whole thing would be a good idea.

Here's a look at the cover coated in Ultra Thick Embossing Enamel (UTEE) (before it has melted with the heat gun). To get the powder to stick you need to use some embossing ink. Either Versamark or Ranger work great.

Using a heat gun, melt the embossing powder.

I found that I needed to follow these steps a couple times. After embossing the entire cover once. I went back and re-covered with embossing ink + powder and used the gun again. My goal was to get it to a smooth rather than bubbly layer.

I did the second round just a bit at a time to make sure it was getting smooth.

End result. Nice and artsy. Fun techniques to try.
Here's a look at what I did on the other side:

For the inside of the cover I decided to adhere the sticky back canvas first, trim, add the letter stickers and then paint with cream.

After painting cream I used two different mists over the top of the letter stickers (Dark Calico and Warm Calico).

Remove the letter stickers and enjoy!
COVER ONE SUPPLIES
CHIPBOARD COVER • Teresa Collins Bracket Shape Covers: Scrapbook.com
CANVAS PAPER • Claudine Hellmuth Sticky-Back Canvas: Two Peas | Scrapbook.com
SPRAY INK • Studio Calico Mister Huey Schoolhouse, Warm Calico, Dark Calico
LETTER STICKERS • Basic Grey: Kioshi (Two Peas | Scrapbook.com), Eskimo Kisses (Two Peas | Scrapbook.com); American Crafts: Remarks Serendipity, Sothebys; Studio Calico: Home Front (Two Peas | Scrapbook.com)
MASK • Heidi Swapp Circles
EMBOSSING INK • Versamark
EMBOSSING POWDER • Ultra Thick Embossing Enamel (UTEE)
One of the albums I investigated for my 2010 December Daily was the new Anthology Portfolio Binder from House of Three/Pink Paislee (Two Peas | Scrapbook.com). What most interested me are the variety of page protectors that come with the album (you can also purchase refills). I love it, it's totally cool, but I decided against it because I don't think it's large enough to handle 25+ days. Prior experience has shown me that these December Daily albums tend to get really full really fast. That said, it's one of my favorite new products on the market and I'm thinking of other projects I could create to use with that album.
For a full list of December Daily posts go here.

Clickin' Moms is the place for women with a passion for photography. Find inspiration, information and advice for capturing the best photos of your family. Even if you're not ready to sign up yet, subscribe to the free newsletter link at the bottom of this page for exclusive vendor discounts and tutorials.


thanks for sharing Ali !!!
Sign in or sign up to comment.
I'm so glad you commented on the new album! I knew the December Daily was coming soon, so I actually purchased it to do mine in. We'll see if it works or not for me, but I'm totally excited about it.
Thanks for the step by step on your process, too! Super cool.
Sign in or sign up to comment.
thanks for sharing and taking the time to take pic and post it in the blog with so much detail. I really enjoy reading the part on the embossing. good idea. will give it a try too.
Sign in or sign up to comment.
Funny! I embossed my cover last year with a red embossing powder on a christmas red cover, made it look even more Christmassy. My letter stickers kept coming off though so I painted over them with mod podge to keep them in place.
Sign in or sign up to comment.
fantastic step by step instructions. I usually mod podge things but the embossing looks great- i will have to give that a try
Sign in or sign up to comment.
I tried this but the color ran under the stickers and so no contrast - any suggestions.
Hi Sharon - what kind of background paper were you using?
Sign in or sign up to comment.
Hi Ali - I used the sticky back canvas.
Sign in or sign up to comment.
Ali-
You are such an inspiration to us all. Dec. Daily has become a tradition for so many. Thanks for sharing. Can't wait to get started.
Sign in or sign up to comment.
Ali,
Did you find the 2.5" rings on Amazon? I'm finding 2" and 3", but not 2.5. Just curious. :)
Sign in or sign up to comment.
[...] had kept trying my own version of this technique Ali shared here. And I was trying this on separate paper, intending to glue it to the chipboard [...]
Sign in or sign up to comment.
[...] If you haven’t visited her blog in the last few days she’s outlined her process for creating her cover. It’s beginning to get me very excited for the holiday season. Now I have to pick out my [...]
Sign in or sign up to comment.