December Daily 2010 | Working With The 6x8 Printable Overlays (+ Video Tutorial)
![]()
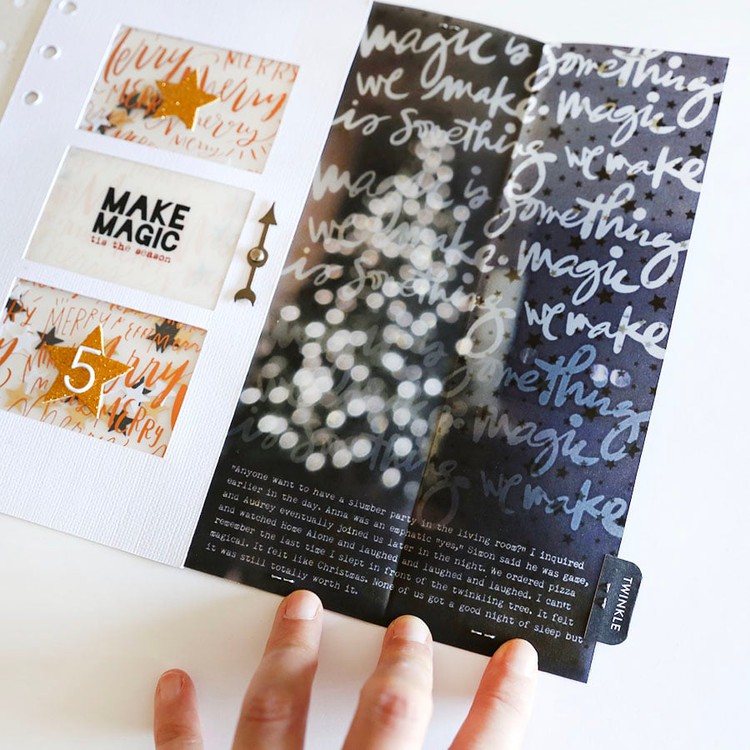
One of the key elements of my 2010 December Daily are these 6x8 overlays available through Designer Digitals. Below I've included a few different ways to work with these overlays including information on how to open and print the PDF file, how to open and recolor PNG files in Word, and an 8 minute video tutorial on working with the PNG file in Photoshop Elements (includes recoloring and photo-cropping information if you want to add the overlay onto a photo before printing).
When you purchase and download this package from Designer Digitals you will find that it includes the following:

1. A folder of the daily PNG files sized to 6x8 (December 1 through December 31).
2. A print-ready PDF file.
3. A preview file.
4. My terms of use (personal use only).
PDF FILE
Let's start with what's most likely the simplest way to get these files printed: the PDF file.

Double click on the print-ready PDF file to open - for most people it will open in Adobe Reader. If for some reason you don't have Adobe Reader on your computer already you can download it free here.
The PDF pages include "crop-marks" that will help you trim these pages to the exact 6 inch x 8 inch size. Go to file/print and your print dialog box should pop-up.

IMPORTANT NOTE: When printing the PDF file, make sure that you have selected "shrink to printable area" rather than "fit to printable area" under Page Scaling. This will position the overlay and crop marks in the middle of the page at the correct size. If you select "fit to printable area" it will stretch the overlay and it will end up printing larger.
I printed all my overlays on Bazzill Cream Puff cardstock using my HP Photosmart B8550 
PNG FILES
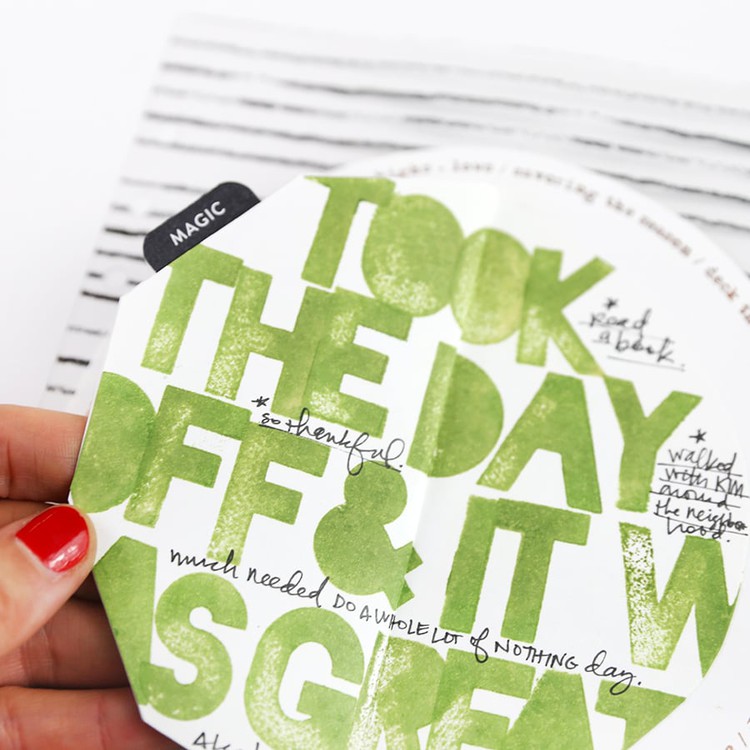
If you'd like more control over how the overlays look, or want to place one on a photo, or want to make any other adjustments, you'll want to use the PNG file.
RECOLORING A PNG FILE IN WORD
You do not need to have Photoshop Elements to recolor or print a PNG file. Here's how to do it with Microsoft Word:
1. Open a new Word file.

2. Go to Insert/Picture/From File and navigate to the PNG file you downloaded to your computer and select the day you want to work with.

Here's what the PNG file looks like when it opens in Word.

3. To recolor the lines of the overlay, go to View and select the Formatting Palette (I'm working in Word for Mac 2008). Click the Recolor icon near the top and select More Options at the bottom of the menu to choose a color. Click the color and the overlay should automatically change to that color.
4. Print on cardstock.
RECOLORING AND ADDING OVERLAY TO A PHOTO IN ELEMENTS
I've put together a quick video tutorial for those of you who might be interested in learning how to recolor or add an overlay to a photo in Photoshop Elements. You can download a free trial version of Elements here. If you'd like written step by step directions for recoloring PNG files in Elements, go here.
Ali Edwards' 2010 December Daily 6x8 Overlay Tutorial from Ali Edwards on Vimeo.

One thing to keep in mind with the overlays is that in addition to being printed directly on cardstock, they also work great layered on top of a photo. More information on that is included with the video above. Depending on what photo you choose to use they might offer a great spot for journaling as well.
Please let me know in the comments if you have any additional questions on working with these overlays.
More information on the December Daily project can be found here.


I have read so many posts concerning the blogger lovers but this paragraph is really a fastidious article, keep it up.
Sign in or sign up to comment.
I am using the PNG files in another scrapbooking software, I have used your PNGs successfully with my software in the past.I want to use as an overlay, on top of a photo. For some reason the 4x6 journaling cards (DD 2013) aren't working as overlays. They are coming out opaque, even though I am sure they are the PNGs I am trying to use. Do you know why?
Sign in or sign up to comment.
Thank you so much for the awesome tutorial! I've seriously been wasting so much time trying to figure out how to do these sorts of thing in elements with no luck, just frustration! ha
Finally, after probably 30 hours of trying to learn myself I've printed off my first edited photo with some PNG stamps that I purchased through Studio Calico! yay! THANKS to you :)
I would love to see a basics course by you showing the ropes of how to load, and use all the digital bits available in the scrapbooking world on photos in Elements. I love how you and others use them on your photos and in albums. Thanks for sharing the brains! :)
Sign in or sign up to comment.