Love, Santa Tags | Two Peas 20 Days Of Holiday Sharing

Two Peas invited me to participate in their 20 Days of Holiday Sharing event this year.
I've always loved Tim's Christmas tags and I know that many of you are following along with him again this year. In thinking about what I wanted to create for Two Peas I thought of Tim's tags and then I thought about what I could do to put my own spin on them.
It was right about that time that I got a message from Santa! He asked me to help him create gift tags for our family - what an honor! With that in mind I embarked on a mission to make four special Love, Santa tags.

Here's a look at how I created these tags:

I started with four shipping tags. I'm using Avery® Pre-Strung Shipping Tag.
From a sheet of paper (I just used some extra cardstock) punch four hearts. The punch I used is from Marvy (it's the pink one). I don't see it on their site anymore so maybe they are discontinuing it - I think I found mine at Micheal's a few months back. Here it is at Joann's.
Each of the four tags is a little different in the steps I went through to get to the end. They all include a heart and they all include the word santa. Here's a closer look at the front of each one:
TAG ONE

Start with a punched heart (use just a bit of temporary adhesive to hold it in place) and adhere random letter stickers spelling out your word.

Cover the letters with spray ink. I used Studio Calico's Schoolhouse Mister Huey. Let it sit for a few minutes or dry completely. I can't wait that long so I usually remove the heart and letter stickers when it's still a bit wet.

Using a piece of paper with the heart already punched out, lay it on top of the tag and stamp over the heart area with Versamark (clear embossing ink). Apply Ultra Thick Embossing Enamel (UTEE - embossing powder - I like the really thick stuff) and use a heat gun to melt. This is cool as you end up with only the heart area embossed.

TAG TWO

For the second tag I started with the same as the first - a punched heart and random letter stickers.
This time, instead of using the spray ink, I embossed over the entire area.

Here's what it looks like with just the Versamark ink applied. I made sure to get as good of coverage as I could in-between the letter stickers using the corner of the pad.

Here's what it looks like after pouring the Ultra Thick Embossing Enamel on top and cooking it with the heat gun.

After I embossed the tag I placed the piece of paper with the heart cut out (see that same image from the last tag) on top of the tag and applied Christmas Red Stickles with my finger.
TAG THREE

Same starting place. This time I used Studio Calico's Apple Jack Mister Huey spay ink (forgot to get a photo of just the sprayed step).

After spraying and removing the punched heart and the letter stickers I place the piece of paper with the punched heart on top and rub Stickles over the top with my finger. This time I used the Platinum Stickles.

TAG FOUR

Tag Four stared off with Christmas Red Stickles.

Then I covered up the Stickles portion and sprayed Studio Calico White Mister Huey over the top.

Ends up looking like this - hard to tell that there's white ink on there, but there is.

On top of all that I added the letter stickers. It's really all about creating layers and then covering things up to add on the next layer so that the previous layer can show through. In this case I wanted to have white letters...
After all that I sprayed Studio Calico's Apple Jack Mister Huey on top (a lighter spay than on the other tags to make it a bit more "spray-ish."

THE BACKS OF THE TAGS

I wanted to add something to the back of each tag so I decided to do fabric on two and pattern paper on the other two. The pattern paper is from The Girls Paperie. I used an extra tag as a template, laid the paper/fabric on the back, and cut around the outside.
I used the Creatopia machine to get adhesive all over the backs of the tags (including the fabric pieces). They do have a cartridge for fabric adhesive but I just used the regular one and it worked ok for what I needed it to do.
After adhering the backs I ran them all through the Brother XL2600I Sewing Machine

Santa told me that we could re-use these tags again next year so rather than adding a To/From on the tag itself I attached a little metal rimmed tag with the name of the person receiving the gift. These feel really great in your hands.

I think I'm going to do more of these if I have a chance. Definitely a fun project - can't wait to see them on the actual gifts!
Thanks again to Two Peas for inviting me to participate in the 20 Days of Holiday Sharing.
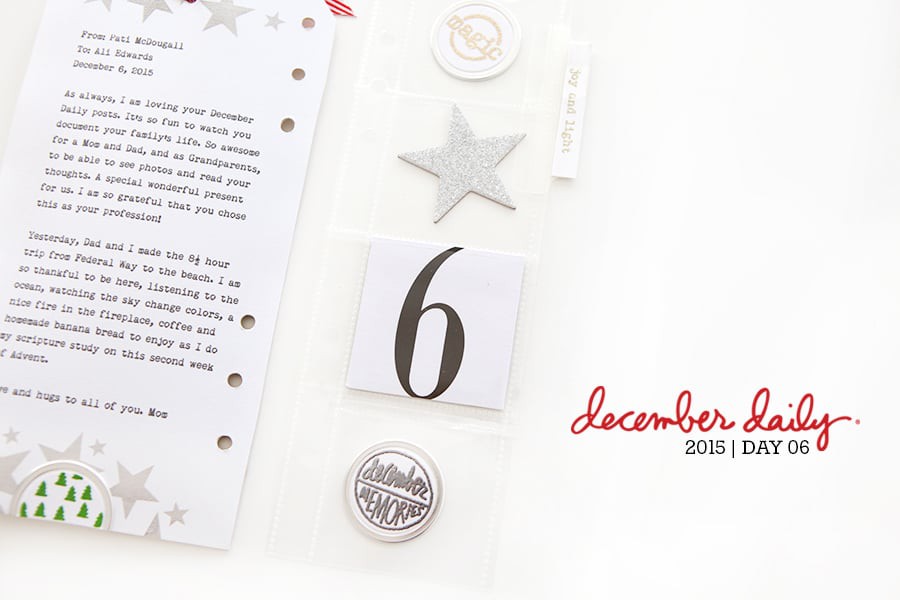
If you are looking for Day Six of December Daily you'll find that here.


[...] This post was mentioned on Twitter by Ali Edwards, DigiShopTalk.com. DigiShopTalk.com said: These are gorgeous! Thanks for sharing! RT @aliedwards: Sharing the How To behind my Love, Santa tags #craft: http://bit.ly/eTfDZO [...]
Sign in or sign up to comment.
Your tags remind me of some nice tags I kept that were attached to new clothes. Combining different materials for different sized tags strung on one piece of string or leather or even a rubber band, the haptic and visual aspects really drew me in - your post is a great inspiration to use the same "formula" of mixing materials and sizes for other projects. Thanks!
Sign in or sign up to comment.
I love that you are too impatient to wait for the spray to dry completely - that is so me! :)
Sign in or sign up to comment.
These are TOO CUTE! Love this idea. I may definitely make a set for use when kiddo is slightly older.
Sign in or sign up to comment.
How cute! :)
Sign in or sign up to comment.
I love this idea. Now that my daughter is older (12 1/2) she wants to do this project... I am sure it will be fun!! Thanks for sharing.
Sign in or sign up to comment.
Love these, thank you for sharing! ♥
Sign in or sign up to comment.
So very cute! Thanks for the idea!
Sign in or sign up to comment.
These are absolutely adorable!!!
Sign in or sign up to comment.
These are awesome, Ali! I was needing some tag ideas and was loving the idea of using some misting (like the # tag you misted for your DD). I'm hoping you don't mind if I lift the idea? My tags have to be from us. If I make these and say "Santa", I'm certain my little guy will be onto me about Santa :O so I'm making mine as tags for me & my hubby prezzies.
Totally putting it out there to share! I thought about that too - and figured I could use the excuse that Santa asked me to make them...since I'm in constant contact of course!
Sign in or sign up to comment.
Awesome idea Ali; I am totally inspired to try something like this for my Dec Journal page which will include tags for "to do's".
Sign in or sign up to comment.
Those Tags are ROCKIN.. I think I need to go make a tag right about now! :)
Sign in or sign up to comment.
These are so beautiful Ali, I love what you share.
Sign in or sign up to comment.
What a sweet set of tags! And how awesome to do these for the Big Guy himself! =) Your sweet family will love these, as I'm sure they love all the things you make for them. =)
Sign in or sign up to comment.
this year I've been trying ways to re-use gift wrapping etc and love your idea of using the small metal rimmed tag for the names so the bigger piece can live on.
Sign in or sign up to comment.
These are so cool and fun. Love that you stitched around them too.Santa will love them and be so thankful for the help!!
Sign in or sign up to comment.
LOVE these ali - you may make me an embosser yet!
Sign in or sign up to comment.
These are great! Just the right amount of messy+technique+sewing+fun :)
I was thinking you could use a versamark pen (if you have one) to fill in the hard to reach spots between the letters.
Sign in or sign up to comment.
so in love with these!!
Sign in or sign up to comment.
wow, loving these tags!
Sign in or sign up to comment.
I love these tags they are amazing thanks for sharing and for some great ideas! xx
Sign in or sign up to comment.
New look of shipping tags, I also have some and I think I could create some for Valentines. I'm pretty geared up this Christmas.
Angles as Cupids would be lovely.
Sign in or sign up to comment.
[...] Ainda dá tempo de criar alguns enfeites para a árvore de Natal {via Ali Edwards} [...]
Sign in or sign up to comment.
Im gonna make my own tags! Hope you don't mind me lifting this idea and use it in my scrapbook projects. These are so great! Thanks for sharing!
Sign in or sign up to comment.