Heart This Photo | Scrapbook Layout
Tags: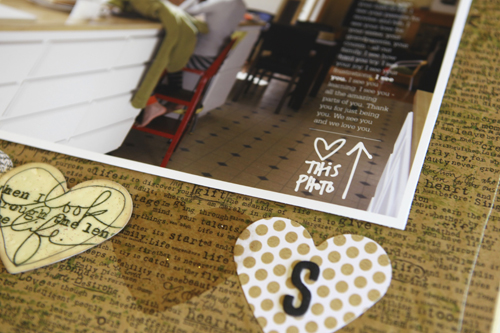
LAYOUT IDEA |Take an everyday photo and tell a story about your life. Don't talk about what's happening in the photo - talk to the person in the photo. What do you want to say to them right now? What love can you spread? What joy can you bring? How can you build them up through your words?

Here's the photo that inspired this page and the prompt:
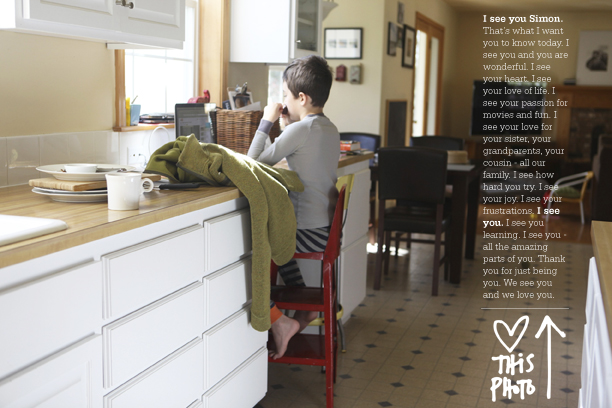
JOURNALING | I see you Simon. That's what I want you to know today. I see you and you are wonderful. I see your heart. I see your love of life. I see your passion for movies and fun. I see your love for your sister, your grandparents, your cousins - all our family. I see how hard you try. I see your joy. I see your frustrations. I see you. I see you learning. I see you - all the amazing parts of you. Thank you for just being you. We see you and we love you.
In Photoshop I added my journaling and used my Life In Pictures Brushes & Stamps as a title/word art on top of the photo.
After printing I got down to the business of creating a home for my photo and journaling. I knew I wanted to do something a little artsy with the background.

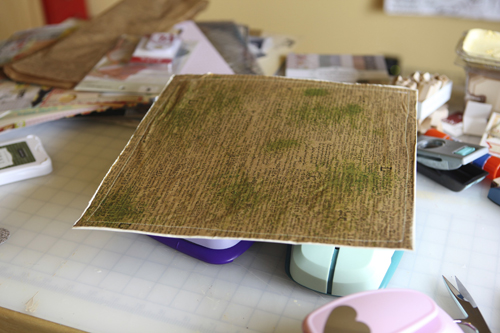
I started with a sheet of 12x12 kraft cardstock.
7gypsies recently released this awesome kraft tissue paper with my favorite pattern called Life Collage (they used to offer pattern paper with this pattern - I love it). I was excited to try it out as a background for this layout.
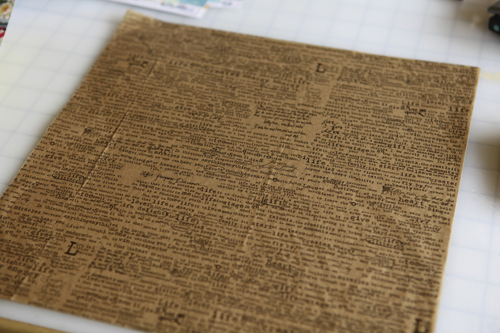
To adhere it I used a glue stick on top of the kraft cardstock, laid the tissue paper on top, used a brayer to flatten it out, and trimmed the excess from around the edges. I ran it through my sewing machine to add a cream stitched border.
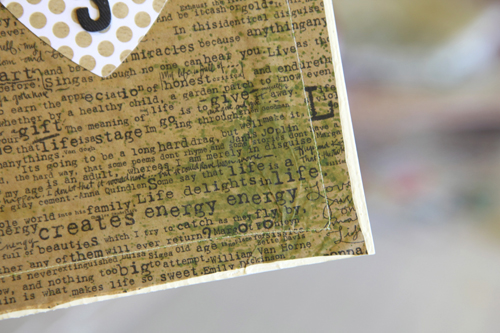
Next I applied green spay ink (Mister Huey Pickle). Just a couple sprays here and there and then I used a paper towel to rub it around a bit.

This is a strange photo but what I wanted to show you here is how I added a painted border around the edges of the background. I grabbed a large sheet of scrap paper (this one is packaging from my over-sized photo printer paper) and placed a line of paint right onto the paper. I love using this technique to add paint to any edges - just place your edge in the paint and slide.
This is what the paint looks like after it's dried.
To allow the paint to dry I just laid it on top of a few punches.

Once the painted edges were dry I was ready to adhere my photo + journaling and get down to business with a few hearts.
To adhere my photo I used foam dots from Scrapbook Adhesives.
In the photo above you can also see where I started to lay out the hearts (large pink Marvy punch was used for those hearts). Pattern papers include We Are Memory Keepers Debonair and Fancy Pants Design Its The Little Things 6X6 Paper Pad. On the other heart I used a set of stamps from Technique Tuesday called Life In Photos.
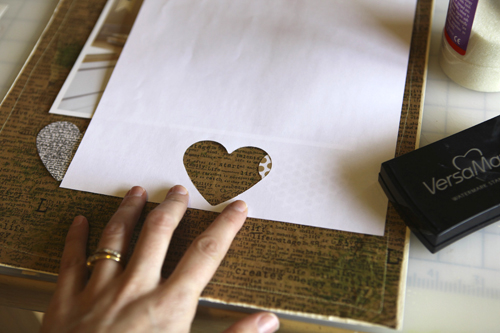
Instead of going with four punched hearts I decided to make one of the hearts with the negative space and embossing ink + powder. I laid the sheet of paper right where I wanted to place the heart, applied the ink by turning the pad over and stamping directly onto the paper and then I dumped UTEE on top.
I love UTEE.
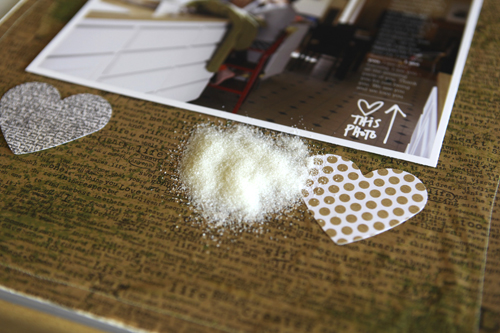
This is what it looks like before using the heat gun and after the excess UTEE has been removed.

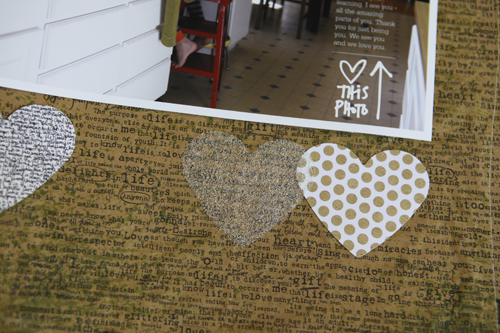
This is what it looks like after melting the UTEE.

I also ended up adding UTEE on top of the stamped heart.
Here's one more look at the full page:
SUPPLIES
Kraft Cardstock | Bazzill Basics
Pattern Tissue Paper | 7gypsies Life Collage Tissue
Pattern Paper | We Are Memory Keepers Debonair, Fancy Pants Design Its The Little Things 6X6 Paper Pad
"Heart This Photo" Digital Element | Ali Edwards Life In Pictures Brushes & Stamps
Stamps | Technique Tuesday
Embossing Powder | UTEE
Embossing Ink | Versamark
Letter Sticker | American Crafts Black Doll Fabric Chipboard Peachy Keen Thickers
#9 Flag | Jenni Bowlin Numbers Flag Banner Stickers
Spay Ink | Studio Calico Mister Huey Pickle
Cream Paint | Delta
Heart Punch | Marvy Uchida


Comments
Sign in or sign up to comment.
76 comments
Love how you play with your layouts!
Replies
Sign in or sign up to reply.
Need to look and see if 7gypsies makes that tissue in white. . .I missed out on the paper version the first time around. Sweet layout - and I really enjoyed reading Simon's update yesterday. I worked as a PCA with kids with special needs after I graduated from college and quickly realized it takes a village of committed, caring people in kids' lives (and adults, too!).
Replies
Sign in or sign up to reply.
Lovely and way cool...what a powerful message of love for him.
Replies
Sign in or sign up to reply.
I love what you did with this layout. i love using my stamps and punches on my layouts and cards.
Replies
Sign in or sign up to reply.
LOVE IT!!!
Replies
Sign in or sign up to reply.
Great layout! A lot of cool ideas!
Replies
Sign in or sign up to reply.
Love it!
Replies
Sign in or sign up to reply.
I think you're starting to turn a little bit Rebecca Sower - and that's a COMPLIMENT! Merging her love for romance/nostalgia/hands-on dimension/storytelling with your graphic design/story gathering is a scrapbooking marriage made in heaven. <3
Replies
Sign in or sign up to reply.
WOW Ali this is great. Need to try this
Replies
Sign in or sign up to reply.
Ali, you are truly gifted. I love your work! Thank you for sharing and teaching us new techniques.
I wish I knew how to get computerized messages onto my photos. I will continue to surf through your website to see if I can find a tutorial on how to add text to a photo.
Be blessed always.
Replies
Sign in or sign up to reply.
Oh, Ali! I love this layout -- LOVE, the words and the design and the photograph. I almost started crying because I remember thinking as a kid, "I wonder if they even see me?" about my parents. Of course, they did and I know this now. But, how cool for Simon that when he starts to wonder about this question, the answer will be there for him.
So moving.
Replies
Sign in or sign up to reply.
This a fabulous layout! The heart techniques are really fun and the message in the layout is lovely. Thanks for the inspiration.
Replies
Sign in or sign up to reply.
This is gorgeous and I loved the tutorial. Thanks for sharing.
Replies
Sign in or sign up to reply.
Thanks for sharing this layout - I love every element you have used to weave such a simple yet meaningful layout for the everyday. For this we are blessed. Thanks for the prompt to remember. .. . . . .
Replies
Sign in or sign up to reply.
i adore this ali. the techniques and the words... truly something special.
Replies
Sign in or sign up to reply.
Beautiful layout and story...love the idea of writing words to the person in the photo; very meaningful.
Replies
Sign in or sign up to reply.
That is oh so cool! I've got to try that soon :) Thanks for sharing your layouts! They are so inspiring!
Replies
Sign in or sign up to reply.
the journaling, really special :)
Replies
Sign in or sign up to reply.
This is so inspiring! I have a photo on my desk that is begging for attention and now I know what I'm going to do with it. The journalling is so perfect! Thanks for sharing your awesome ideas, Ali!
Replies
Sign in or sign up to reply.
makes me want to pick up some glue, paper and embossing powder again...I love digital, but this is inspiring!!
LOVE that photo of Simon.
Replies
Sign in or sign up to reply.