December Daily 2011 | The Foundation Pages, Part One
Tags: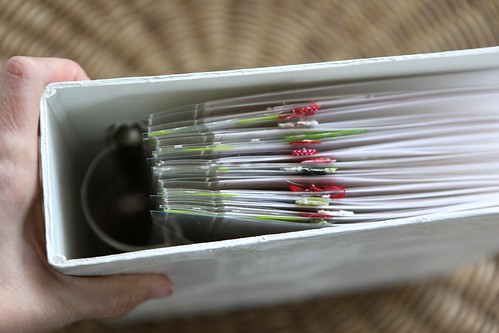
Welcome to December Daily 2011!
Today I'll be sharing some of my foundation pages (the base pages that I set up in advance to simplify the process of documenting in December). I'm still waiting on a couple items from the Studio Calico kit - namely the letterpress number coasters and the American Crafts letter stickers. As soon as I get those into my album I'll share the second set of pages.
You can see the exterior and interior of my album cover here.
A couple things to note as we begin this year:
ONE | If this is your first time embarking on a December Daily project I highly recommend checking out my compilation page that has links to all my previous albums and posts.
TWO | There's no right or wrong way to approach this project. Find a groove for yourself and go with it. I liked my general design approach in 2010 (see below) so I'm repeating a lot of those elements again:
THREE | I loved the size last year which is why I'm repeating it again this year - well almost - this year my foundation pages are 6x8.5 inches. In looking back at my album from 2010 I felt like this size was really great for both the photos and the words. I definitely might be ready for a change up again in 2012. You can view all my pages from 2010 in my Flickr Gallery here.
FOUR | This project is always a great opportunity to use what you have at home. As in year's past, there is a kit available - this year it's through Studio Calico. As you'll see below I'm using a combination of things that I have on hand and pieces from the kit.
FIVE | This is a daily project. My approach is to highlight one story per day. Some days it's a holiday related story and other days it's something entirely not related to Christmas. For me it's about documenting our lives during the season. Maybe you want to approach it this year as a gratitude album - pick one thing you're thankful for each day and highlight that. Or maybe you just want to highlight specific special stories as they come up vs. daily documentation. Again, it's completely up to you. My hope is to simply encourage you to get some of these special moments and stories of the season recorded.
SIX | I'm planning to continue Project Life right on through December. For December Daily I usually choose just one story per day. Since there are definitely more than one story each day I know I'll be able to find some good bits of life to continue adding to Project Life over the course of the month.
SEVEN | Sometimes people see my foundation pages and say, "there's not a lot there." And you're right. There's not a lot. But what I've done is set myself up with a solid foundation to build upon during December. By having at least some of the work done in advance I'm not trying to do everything (printing pages, choosing products, etc) during December. I know from past experience that setting myself up in this way has lead to a much better chance of success in getting my stories told.

In thinking about my own album this year here's some things that were top of mind for me in terms of design:
Calm. Whites, creams, silver with a little bit of red and green.
Stitching. I love the look of both machine and hand-stitching on paper. This is the machine I use: Brother XL2600I. It was recommended by Mary Ann Moss who runs an awesome class called Remains Of The Day among other cool creative adventures.
Glitter/sparkle. I'm going to argue that glitter can still be calm. Think twinkle lights vs. Times Square.
Stars. I found as I was looking through my stash of holiday supplies that I had a bunch of star stuff I've been accumulating. It started to become a theme I was excited about and I'm going with it.
Photo & Story-centric. Just like last year I plan to include quite a few full page photos again. Looking back through my 2010 album it's one of my favorite parts.
2011 DECEMBER DAILY FOUNDATION PAGES | PART ONE
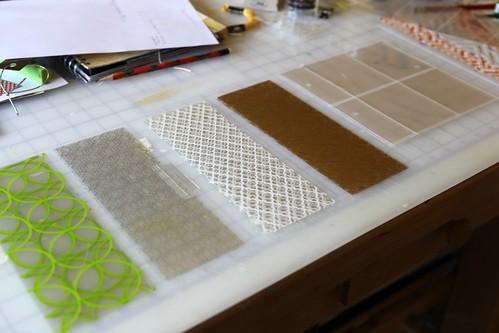
One of the things I really liked in last year's design was having a transparent page in the middle of each daily spread. I allocate two pages (a spread) for each day, with the exception of Day One. This year I made them about 1/3 the size and used a total of 4 Hambly transparent 12x12 sheets (I used Hambly White Lattice, Gold Mini Brocade, Chicken Coop Silver and Chic Green Circles). Hambly has added a page to their site to make choosing some transparencies for December Daily easy - click here to view their selection.

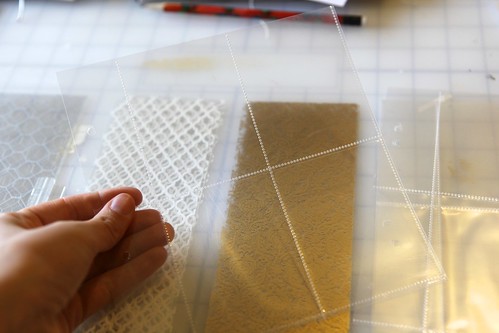
From each 12x12 transparent sheet I cut 5, 3 x 8.5 inch pieces.
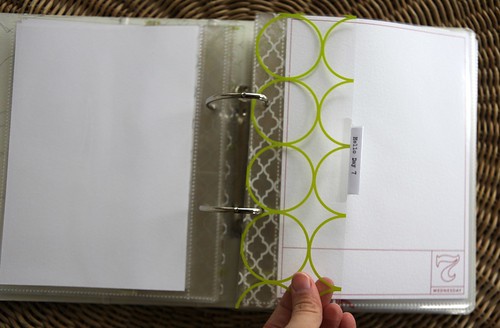
In addition to the transparent sheets I added in six We Are Memory Keepers 8.5x11 Page Protectors that I cut down to fit in the album. I cut each one so that I ended up with four pockets.
Basically I wanted 26 inserts.
Along the edges of each of the Hambly pages I added some ribbons/twill/lace from my stash or an Avery 2-inch plastic tab.
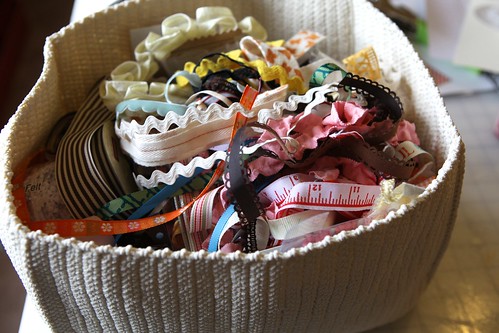
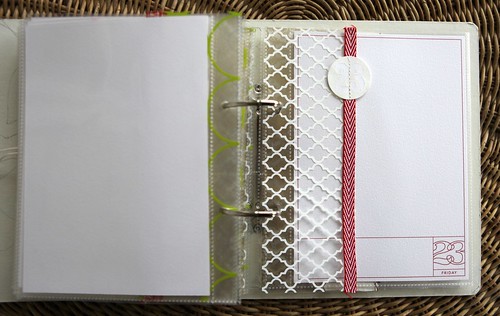
They ended up looking something like this.
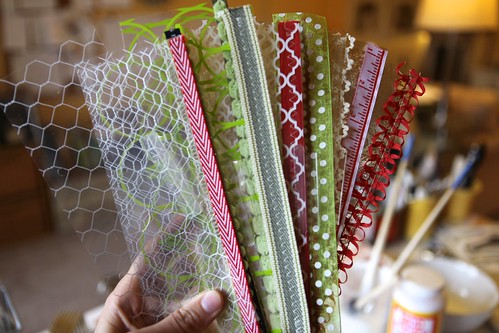
I put them in order, starting with a 4-pocket page followed by one of each of the Hambly transparent designs. I repeated that throughout the album.
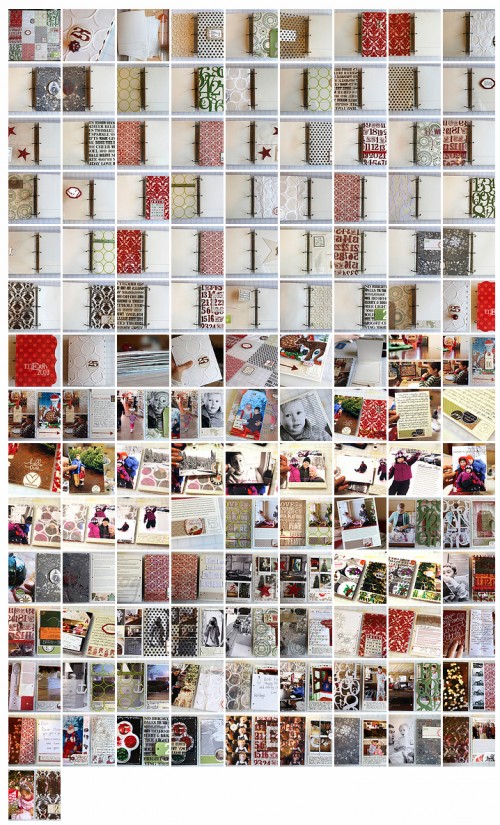
Here's a look at how the pages came together. Remember, today I'm just sharing some of the pages - the rest will come later this week when I get some additional items from the Studio Calico kit.
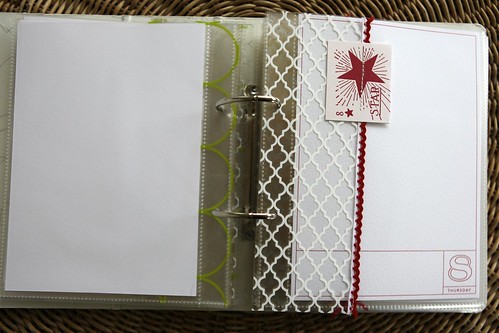
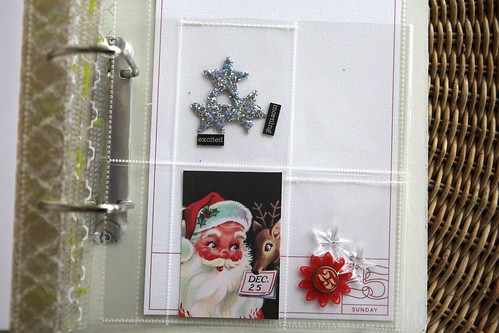
DAY ONE
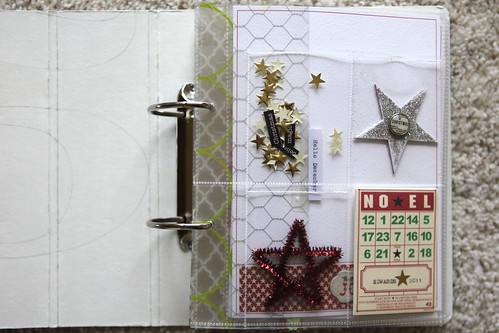
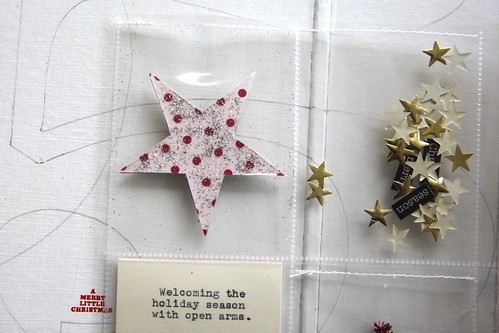
My album begins with a 4-pocket page with a variety of star-focused embellishments.
I was inspired by this image found on Pinterest (confetti pockets) and wanted to do something similar with a few small gold stars (and also keep it in mind for things to add later in the month). After sticking the little goodies inside I stitched the pocket closed with my sewing machine.
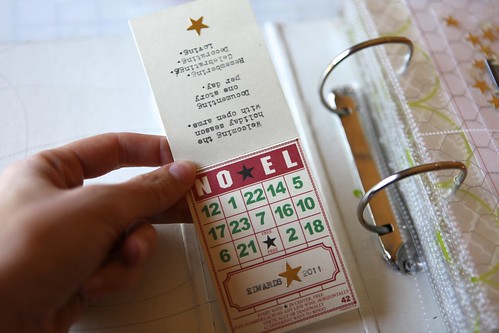
Inside the bottom left pocket I included a Bingo Place Card from Jenni Bowlin. On the front I typed "Edwards 2011" and on the back I typed the following:
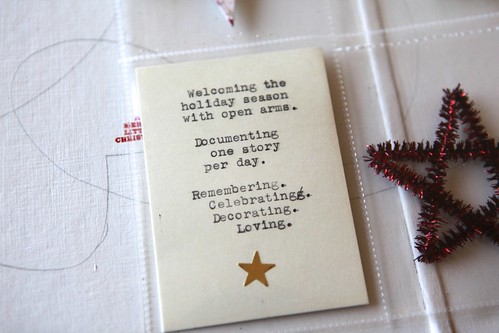
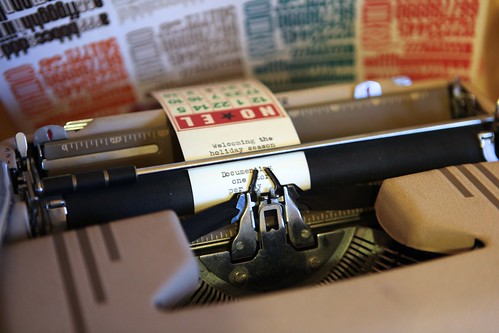
And yes, I literally ran it through my typewriter.
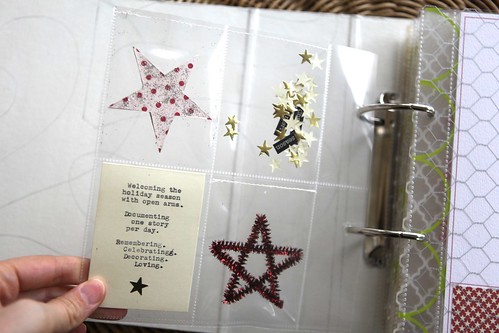
The Bingo Place Card isn't stitched in but the rest of the embellishments have a line of stitching about 1/8-1/4 inch from the top.

Since this is Day One I ended up with the 4-pocket page plus a Hambly insert. All other spreads have just one insert in between the pages (as you'll see below).
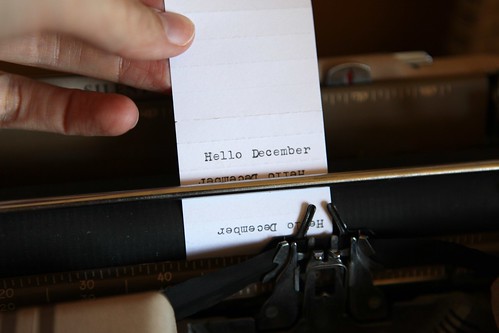
I ran the paper from the Avery 2-inch plastic tab through my typewriter. It's an old one I picked up at an estate sale - super fun to play with for projects like this.
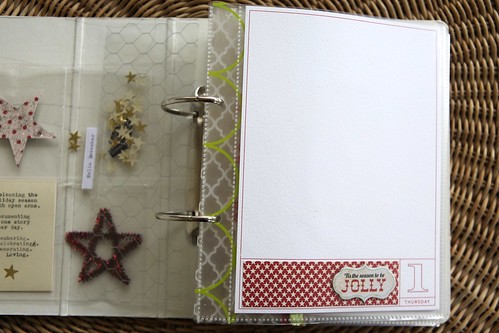
For most of the days throughout the month I'll be adding pattern paper along the bottom in the space designated on the 2011 December Daily Overlay Package. I liked doing that during the month last year rather than in advance. Each of my days from 1 through 25 has a printed piece of cardstock ready to go. I'll add photos, ephemera and stories directly onto this cardstock throughout the month.
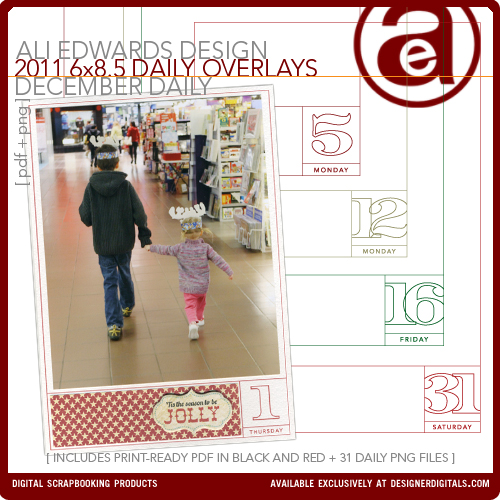
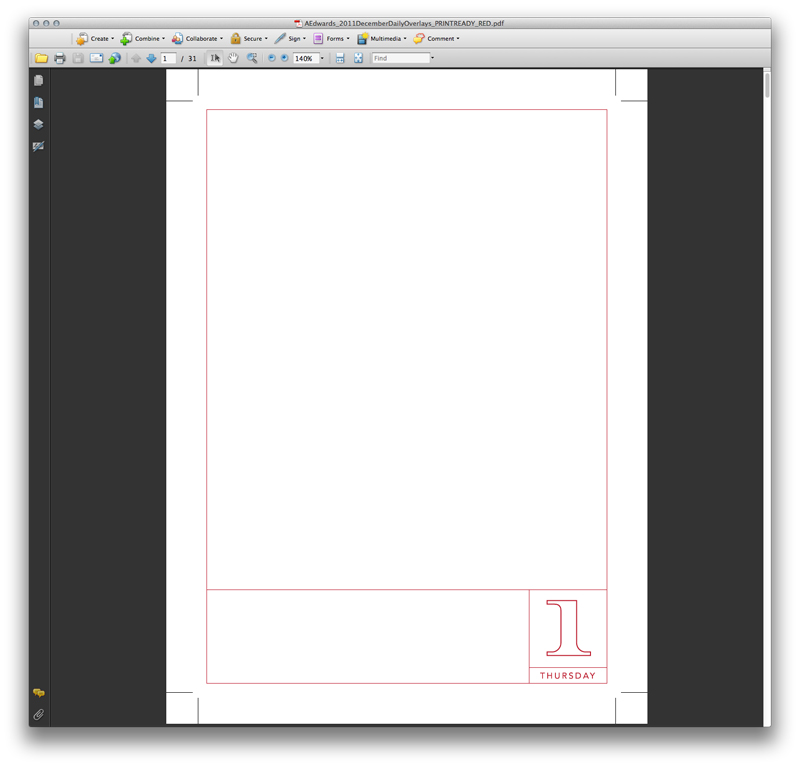
The 2011 December Daily Overlay Package includes 31 individual PNG files (dates and days of the week are customized for 2011), and print-ready PDF files in both black and red. As you can see above I'm using the red file this year. The PDF files include crop marks to show you right where to trim after printing. I printed my pages on Bazzill White 8.5x11 cardstock. These pages are 6 inches x 8.5 inches tall - sized to fit the album included with the kit from Studio Calico. I did a video tutorial on working with these overlays last year - the same steps still apply: Working With The December Daily Printable Overlays
Again, it's essentially the same format as last year - just a little taller and with the red option included in the package (and the days/dates correct for 2011). My plan is to also use the 6x8.5 December Daily Layered Templates as the companion page to these overlays. This is very similar to what I did last year.
DAY THREE
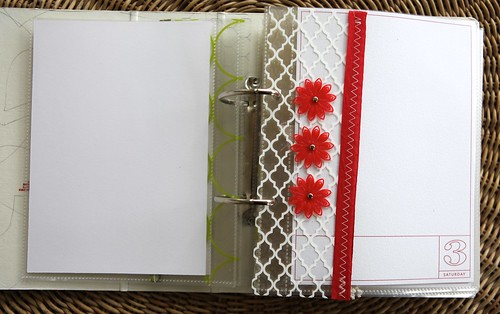
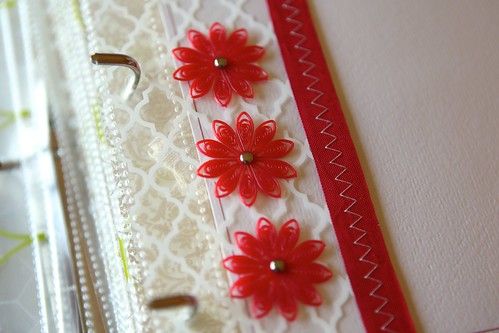
Sometimes instead of an actual number I'm showing a certain number of something. In this case, three of the Jenni Bowlin Red Doily Flowers. This tends to be easier to do in the smaller numbers.
DAY FOUR

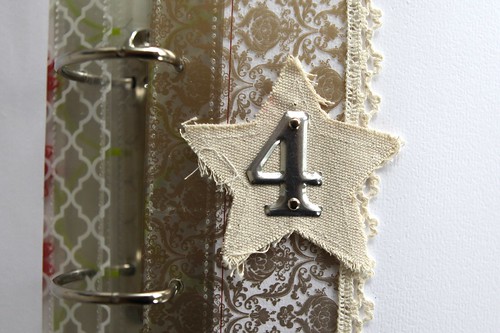
Canvas Corp Mini Canvas Star + Tim Holtz Metal Number.
DAY SEVEN
DAY EIGHT

I cut out the number 8 star card from the Jenni Bowlin Christmas Accessory Sheet, folded it over and stitched it onto the Hambly transparency.
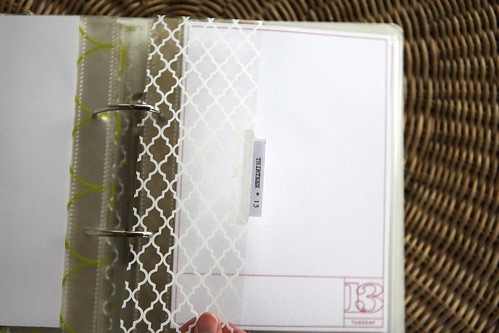
DAY THIRTEEN
DAY FOURTEEN
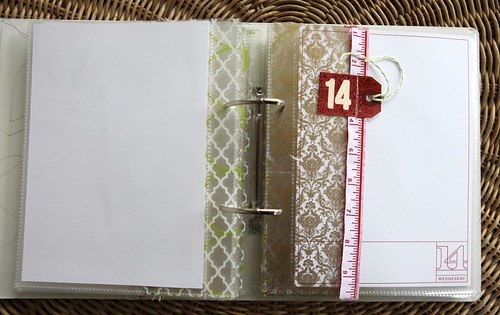
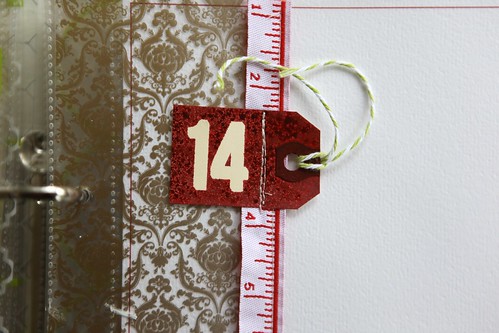
For Day Fourteen I grabbed a small manila tag, adhered a couple of the Jenni Bowlin Red And Black alphabet stickers and used a Studio Calico Mister Huey (exclusive to the kit) to spray on top. After the ink dried I pull off the number stickers and stitched the tag onto the ribbon/transparency combo.
DAY SIXTEEN

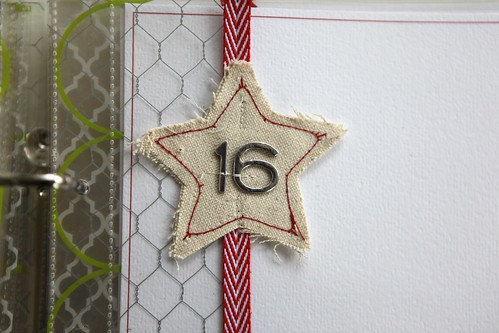
Canvas Corp Mini Canvas Star + American Crafts Hardcover Silver. I stitched around the edge of this one with red stitching. I also stitched the numbers in place with cream - a little more guarantee that those chipboard letters will stay in place.
DAY EIGHTEEN
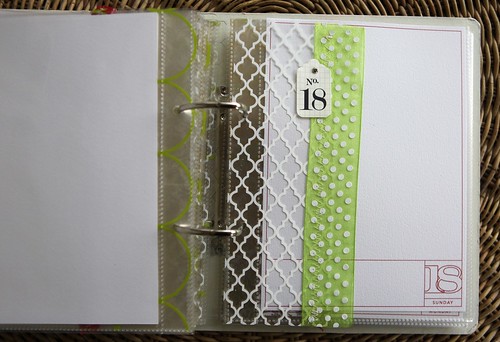
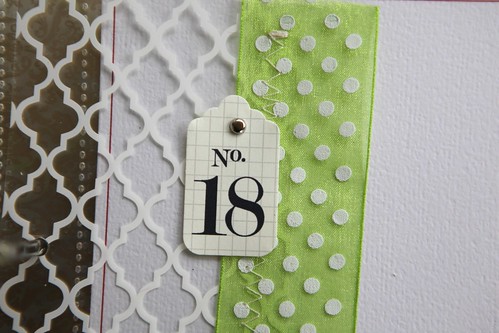
Number tags from Bananafish Studio.
DAY NINETEEN

DAY TWENTY-ONE

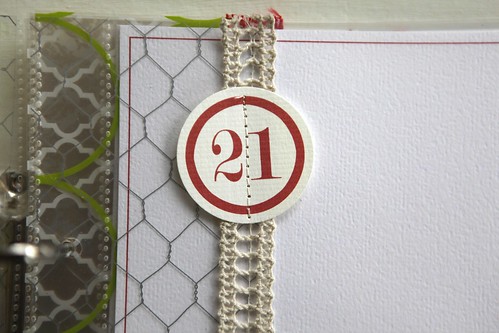
Red number tags from Every Jot And Tittle. I think I've used these circle numbers in almost every one of my December Daily albums. Love that I've been able to use them from year to year (different numbers in different years).
DAY TWENTY-THREE
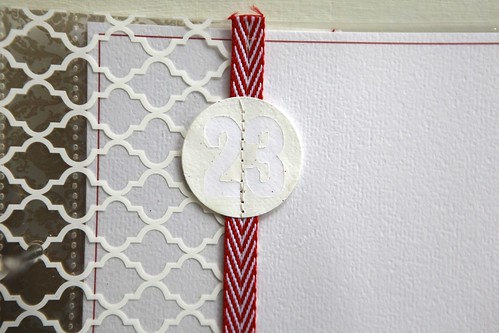
For this one I punched a 1.5 inch circle from white cardstock.
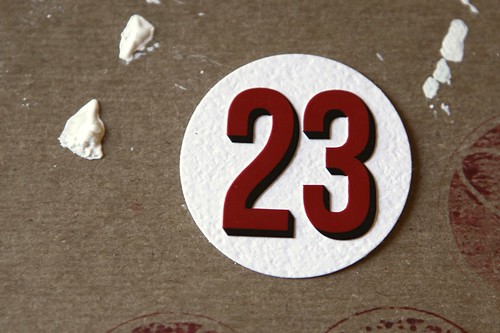
I placed the Jenni Bowlin Red And Black alphabet stickers numbers onto the circle.
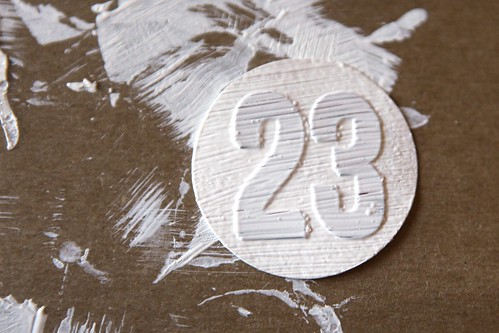
Covered it with gesso/white paint. Let dry.
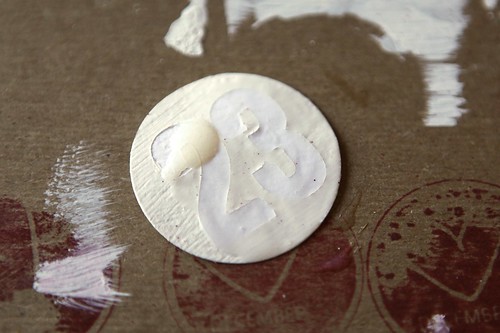
Peel off the number stickers and cover with Glossy Accents.
DAY TWENTY-FIVE

Maya Road Trinket Pin Stars (pulled the pin portion off the bottom of the star before placing inside the pocket), Jenni Bowlin Christmas Accessory Sheet, Jenni Bowlin Red Doily Flowers, silver stars from Prima, Authentique Wonder Diction Word Stickers.
SUPPLIES
DECEMBER DAILY KIT |Studio Calico
PRINTABLE OVERLAYS | Ali Edwards for Designer Digitals 2011 December Daily Printable Overlays
STAMPS | AE Holiday Boxes, November 2011 Studio AE Technique Tuesday Stamp Set (available November 1)
BINGO PLACE CARD |Jenni Bowlin Christmas Bingo Place Cards
DIVIDED PAGE PROTECTORS |We Are Memory Keepers 8.5x11 Page Protectors
CARDSTOCK | Bazzill Basics White Orange Peel Texture 8.5 x 11
STAR PUNCH |Fiskars Extra Large Twinkle Twinkle
CANVAS STAR | Canvas Corp Minis
GOLD STARS |Gold Foil Star Stickers
INDEX TABS |Avery 2-inch
TRANSPARENCIES | Hambly White Lattice, Gold Mini Brocade, Chicken Coop Silver, Chic Green Circles (click here to view a selection of recommendations from Hambly)
LETTER STICKERS |American Crafts Hardcover Silver
CLEAR STARS |Maya Road Trinket Pins
DECEMBER DAILY SPONSORSHIPS
A limited number of December Daily business sponsor spots are available for 2011 - both for giveaways and daily sponsorship. Please email me sponsors@aliedwards.com for more information.

TODAY’S POST SPONSORED BY |Elle's Studio
Elle’s Studio has some great items for your upcoming holiday scrapbooking - their numbers and journaling tags also work great with your December Daily projects! Use coupon code ALIHOLIDAY on any order over $45 and your order ships for free, today and tomorrow only! Also, today only, you’ll receive a free Halloween Tidbit, with any order, for their October special and some of their last call Halloween items are 30% off!


Comments
Sign in or sign up to comment.
155 comments
DEAR ALI,
THIS IS SO BEAUTIFUL AND PEACEFUL AND MAGICAL!! SO MANY THINGS TO LOVE ABOUT THESE PAGES, MY VERY FAVORITE IS THE PAGE PROTECTORS IN THE FRONT & BACK!!!! I'VE SEEN THOSE CONFETTI WINDOWS AND WAS THINKING OF DOING THEM TOO, LOVE YOUR STARS IN THEM MUCH BETTER!! LOVE YOUR LITTLE SEWN BASKET THING TO HOLD YOUR TRIMS IN, so adorable!! THIS IS MORE STUNNING THEN LAST YEARS I THINK. SO FUN TO SEE ALL YOUR STARS, SO MANY DIFFERENT KINDS. GREAT FOUNDATION ALI EVEN WITHOUT THOSE MISSING PIECES YOUR WAITING FOR.
SOOOOOO EXCITED TO SEE THIS TODAY, WAS REALLY HOPING WE WOULDN'T HAVE TO WAIT TILL LATER. I COULD GO ON AND ON ABOUT HOW GORGEOUS THIS IS BUT YOU ARE GOING TO HAVE HUNDREDS OF COMMENTS TO READ ON YOUR ALBUM.
THANK YOU THANK YOU SO MUCH FOR SHARING AND INSPIRING US!! I WILL BE COMING BACK AT LEAST 10 TIMES TODAY TO LOOK AT THIS AND SMILE TODAY.
HAVE A GREAT AND FUN HALLOWEEN WITH YOUR FAMILY!!!
HUGS DAWN
Replies
Sign in or sign up to reply.
So excited to see yours today Ali! I'm going digital and have my pages here http://www.digitalscrapbookinghq.com/december-daily-foundation-pages/
Replies
Sign in or sign up to reply.
Thanks for so much detail, I can appreicate how much time it must take to share. I really enjoy seeing your foundations as you plan them and build them. For me that is often the hardest part, i.e. just getting started. So cool that you have picked stars as a kind of theme!
Replies
Sign in or sign up to reply.
Stalking your site has paid off. I get to read this little treasure before heading off to bed (am in Australia). One thing I love to see about your DD is your progression over the years. Earlier on there were lots of envelopes and different sized pages but the last couple of years you have it more uniformed. I love it all.
One question: what are the measurements of the large rectangle on the DD overlays? The one where your words/pic will go (above the patterned paper and the day).
Replies
Hey Brooke - let me add that to my next post - have company here today :).
Sign in or sign up to reply.
Once again you never disappoint. Always get 100's of ideas from you! Is the album available for purchase by itself? I have a huge drawer of Christmas goodies I need to use, but would love to have this album. Thanks for sharing, c
Replies
Hi cheryle - the album is not available by itself - it was made exclusively for the kit.
Sign in or sign up to reply.
This is stunning. I love your color scheme of calm creams and red, with a little sparkle. I'm loving the size of that AC album, and your designer digitals temlplates, this is going to be magnificent when it's all put together. Thanks for sharing.
Replies
Sign in or sign up to reply.
Ali, it's BEAUTIFUL! Thanks for sharing!
Replies
Sign in or sign up to reply.
Fantastic Ali! This is our first December Daily and are loving your progress posts. Thanks for the inspiration.
Replies
Sign in or sign up to reply.
Oh Ali! This December Daily is going to be beautiful. You always seem to pull all the best stuff together easily. Wish I was better at that. It also looks like it might be easier this year just printing your picture and adding the bottom patterned paper and embellishment to match the colors in the picture or journaling or whatever. I love that this project can be as easy or more involved if you want that. LOVE the binder, but felt the kit was a little out of my range price wise (since I want to buy Project Life as my Christmas present this year). I wish the binder was sold separately (and maybe they will in the future) but this concept can be used with many sizes-another plus. Would also love to see some other choices of your inlays for 4x6 prints for those of us who don't print our own pictures. Maybe you could start Project Ali in your 6x9 size! LOL-Im sure you had that on your agenda! Thanks again Ali for starting our Holidays out with December Daily excitement.
Replies
Sign in or sign up to reply.
Super awesome Ali! I'm so anxious to get my goodies in the mail and start making my foundation pages. I'd have to look back at last year, if I remember correctly, but do you think you will be adding a link up so we can share our foundation pages from our individual blogs/Flickr? Thank you (for the millionth time) for the inspiration!
Replies
Yes - I'll definitely be doing that - I'll add that to my next post (showing the finished foundation pages).
Sign in or sign up to reply.
I am even more excited to get my SC DD kit. Thank you again for all your enthusiasm and inspiration!
Replies
Sign in or sign up to reply.
I can't imagine how long this took you + to document every page. Oh, how i wish we could sit down together and work on our dailies :)
Replies
Sign in or sign up to reply.
Love it all Ali! You are such an inspiration. I am so excited for this project this year. Really liking the canvas stars!
Replies
Sign in or sign up to reply.
I am so happy and excited to see this! I can't wait to get my SC DD kit and play too! I have already picked out the stars in my scrap stash and am so ready to get started on this! Your pages are beautiful!
Replies
Sign in or sign up to reply.
Just wonderful! Thanks for sharing Ali. I'm really looking forward to getting started. Can I ask -- what do you use to cut through the transparent pages? I purchased a few and they seem pretty think. I love the stitching -- I really regret not learning to sew!
Replies
Hi Jennifer - I just lay them on my paper trimmer - works great.
buy yourself a cheap sewing machine or use a friends at first it's not hard to sew! you will love it!
Sign in or sign up to reply.
it's beautiful! i love this project...thanks for sharing.
Replies
Sign in or sign up to reply.
hi ali! i remember you did a pocket with gold stars in it a few years ago for CK magazine loved it! also love the idea of the transparency inserts i probably won't do one between every page but will do a few i still have the red number transparency you gave with a kit when i attended a class in portland at a scrapbooking convention in feb. 2008 will incorporate that! love the DD album you are putting together!
Replies
Sign in or sign up to reply.
Awww! I am so glad I stopped in here today - I was just thinking about December Daily. Can't wait to start. Thank you for the continued inspiration.
Replies
Sign in or sign up to reply.
I have decided to follow you this year and do my very first DD. I have purchased the SC kit which im soooo excited about. Your foundation pages are wonderful. Im really looking forward to joining in this year x
Replies
Sign in or sign up to reply.
These pages are inspiring me to do December Daily this year. I had intentions in the past years, but didn't actually get around to doing it. I had downloaded 2009 December Daily overlays... but never used them. *sigh*. HOpefully this will be the year. Blessings,
Replies
Sign in or sign up to reply.