Photographing Project Life

One of the questions I often receive is about photographing projects - specifically photographing Project Life spreads inside the page protectors.
There are lots of different ways this can be accomplished. Through my own trial and error, here's how I'm currently getting the job done.

I have a room right off my office (second floor) that Katie and I are using as a space for photographing projects (and playing on creative Fridays). The room was painted white last January when my Mom and I and Katie painted the main office. Previously before purchasing the table from Ikea I laid my album on the floor - still near the window using natural light - and shot looking down.
One of the biggest things about this spot is that the sun does not shine directly into the windows. There's a nice, soft, diffused light in the room. On the day we took these photos it was overcast, about 33 degrees outside.
I turn off the lights so I'm just taking advantage of the natural light coming in from the windows. Turning off the lights reduces the overhead glare. I take photos during the day whenever possible - it's interesting to watch the light change in there throughout the day ranging from a warmer light in the morning to a cooler light in the afternoon.
I shoot in AV mode on my camera (Canon 5D) with a 24-70 lens (love this lens because it can get pretty wide). Most often I set the ISO at 400 but sometimes it's less than that depending on how bright it is outside and the time of day. I often adjust the exposure (to over-expose using the exposure compensation meter inside the viewfinder).

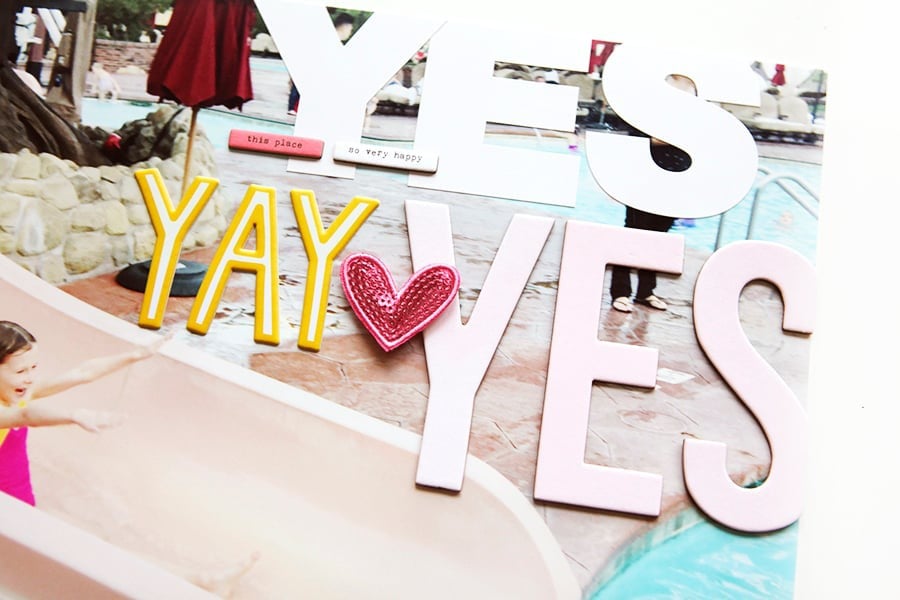
I move around quite a bit t0 reduce any glare and usually shoot from the side to capture close up images like this:

Often the position I used last time will have glare this time. Sometimes I need to be a little higher or a little lower to eliminate the glare.
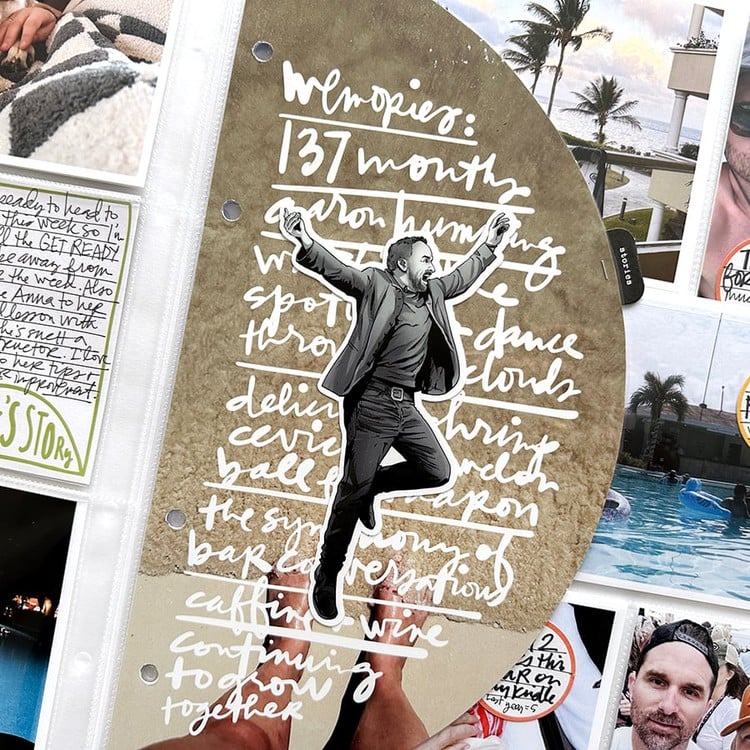
To capture the full spread I shoot straight down while standing on a chair. Depending on your lens you might need to shoot your project laying on the ground so that you are able to get the full spread in the frame. Part of the reason I stand on the chair is that I want the white of the table as the background (vs. the carpet). You could also achieve the same white background by shooting down onto a piece of white posterboard.

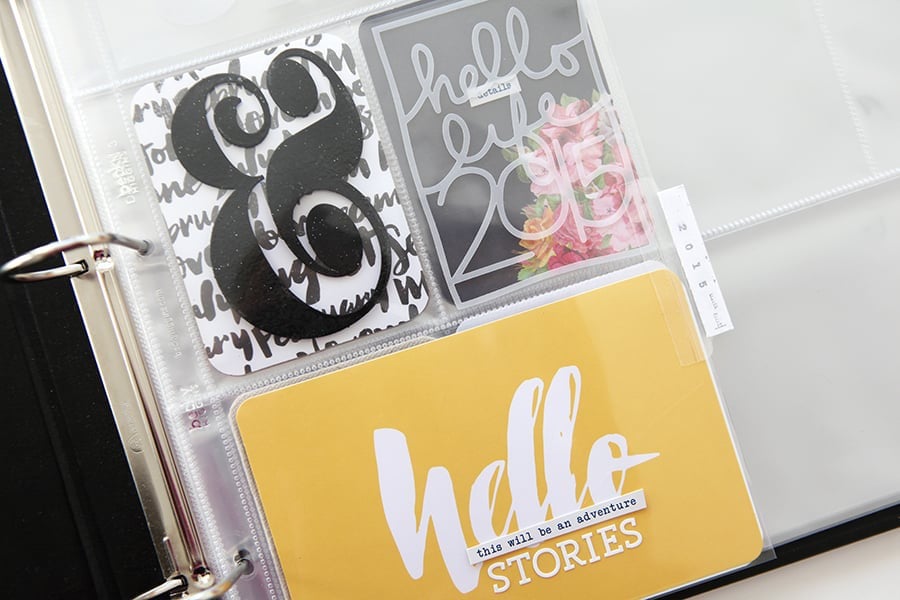
Here's an example of a recent spread shot in this same situation:

I've found that I'm having to edit images less with this new set up. If I do much editing it is still usually to lighten things up just a bit more and for that I either adjust the levels or curves in photoshop.
Some things to consider:
LOCATION | Take a really good look around your house. Maybe it's your kitchen counter or in your bathtub or a spot in one of your kid's rooms. Most people have windows in their house and more likely than not you have a space in your house with light that will work. If you can't find any decent spots try walking outside your house - backyard, porch, sidewalk, etc. From the Creative Team at Studio Calico I've learned that many people are laying their projects on white poster board before photographing.
TIME OF DAY | This sort of photography is really not suited to be done in the evening. I know because I've done it many times and have always been disappointed with the results (and the resulting struggle to try to make it look better in Photoshop). Don't get me wrong, I love taking photos in low light - but for me those usually involve people with a light source illuminating them (like the photos I take peeking into Simon's room when he's reading before bed). I generally shoot my Project Life spreads in the mid-morning/early afternoon.
LOW LIGHT | If your absolutely only choice is to shoot in low light here's some tips:
Elise also had a great post called The Answers To All Your Project Life questions where she included an image of how she photographs her pages (bottom of the post). Jenni showed where she shoots her pages on her back porch here via Elle's Studio.
View my Project Life archives here.


[...] crear, imaginar, pensar, inspirarme… Y en esas estaba yo, cuando hace unos días leí en el blog de AE: “…y jugar en los viernes creativos…”. ¡Me dio una ENVIDIA! de esas malas [...]
Sign in or sign up to comment.
[...] post about taking photos of her projects that is simple and easy to follow. Ali Edwards has one here of how she photographs her Project Life and I found this one from the Elle’s studio blog is also helpful for [...]
Sign in or sign up to comment.
[…] so there’s a lot of glare. By the way, if you want to take better photos of your layouts, this post by Ali Edwards was super helpful. I didn’t do that here, but I did do it here if you want to check out my […]
Sign in or sign up to comment.
[…] You can read a post about some of my tips for photographing Project Life here. […]
Sign in or sign up to comment.
[…] Det går att ta bra bilder med dagens mobiltelefoner eller plattor, men att skicka via mobilen gör ofta att bilden blir väldigt liten i storlek. Och när en bild ska användas i tryck/tidningen räcker inte kvalitén. Fler tips om fotografering i det här engelska blogginlägget: Photographing a photo album. […]
Sign in or sign up to comment.
Hi-
Wondering if sometime in the future you can share your updated process on photographing layouts. Are you using your IPhone now? Do you use studio lighting like your product shots? Are you outsourcing?
Thank you - I appreciate everything you share :)
Sign in or sign up to comment.