Weekend Creative | Valentine Initial Bags (+ Silhouette Video Tutorial)
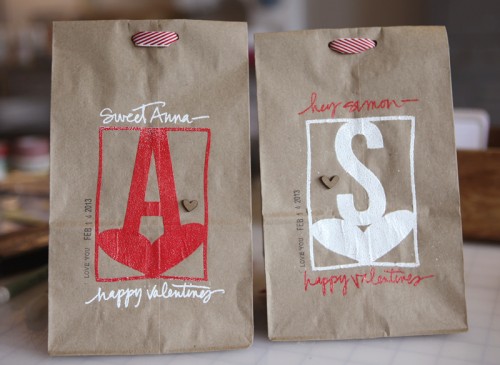
To go along with the Silhouette Portrait™ Giveaway over on my blog today I put together a fun little project and tutorial that walks you through the process of creating Valentine bags using Silhouette's Double-Sided Adhesive. I made one for Simon and one for Anna and will be adding some treats and goodies and giving them to them on the 14th.
SPECIAL PROMOTION | When you use the code "EDWARDS" between February 1st-February 14th you will be able to get 1 Silhouette Portrait™ and 1 double-sided adhesive starter kit for $179.99.
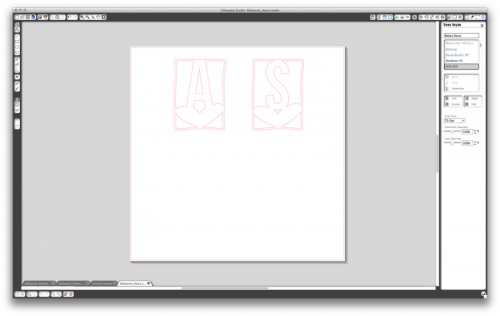
To begin I wanted to share a video tutorial on how to trace and weld shapes together using the Silhouette Studio software.
AE Tutorial | Tracing And Welding With The Silhouette from Ali Edwards on Vimeo.
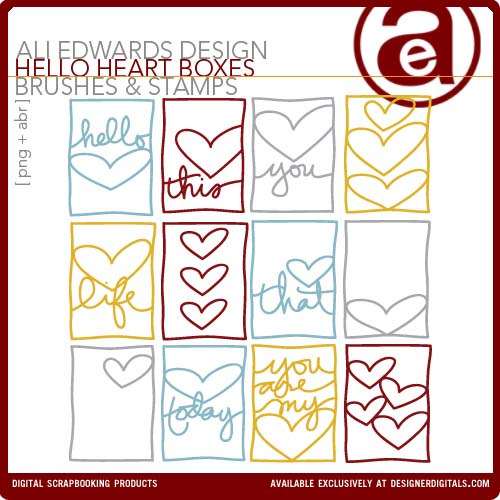
For this project I used my Hello Heart 3x4 Boxes and the font Bebas Neue.
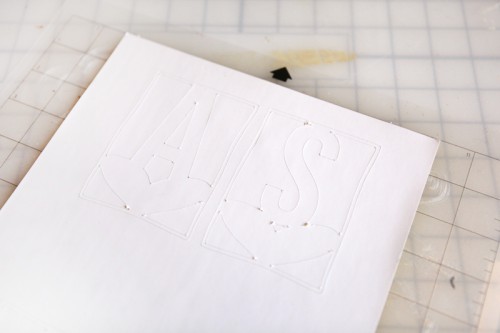
For the cut settings I just chose Double-Sided Adhesive and changed my blade setting to 6 (following what it said on the screen).
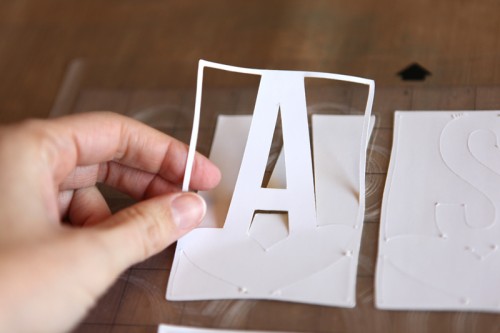
That's what it looked like when it came out of the Silhouette.
Make sure you are peeling all pieces of the adhesive back paper from the mat.
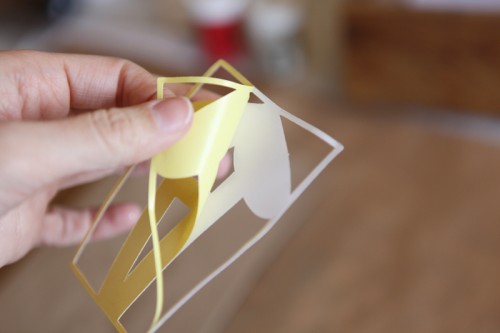
Next pull off the yellow backing so you have one sticky side. Make sure that the sticky part stays on the piece you want to adhere.
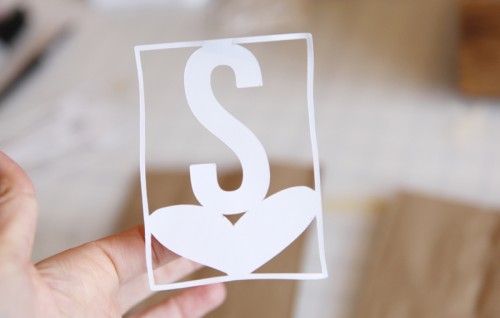
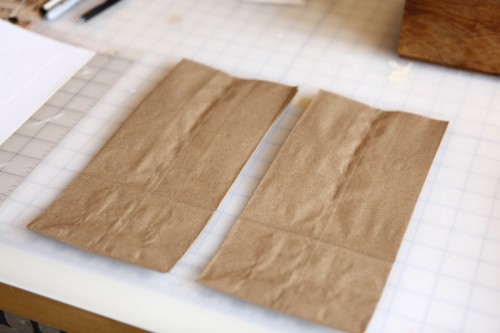
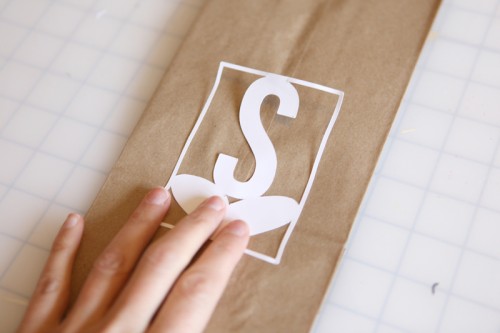
Adhere your design to the lunch bag.
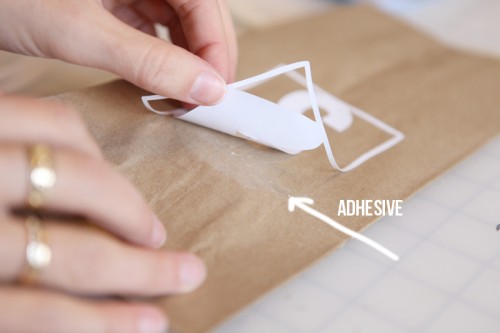
Gently lift the paper up off the adhesive. It's hard to see in the shot above but there's adhesive left on the bag - this is what the glitter or flocking or embossing powder is going to stick to.
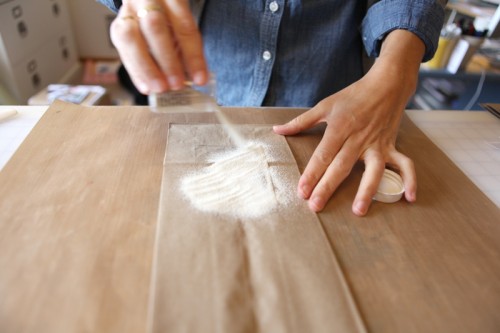
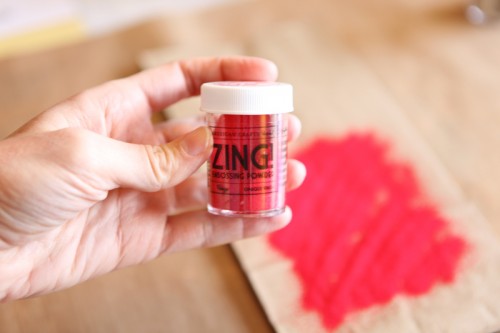
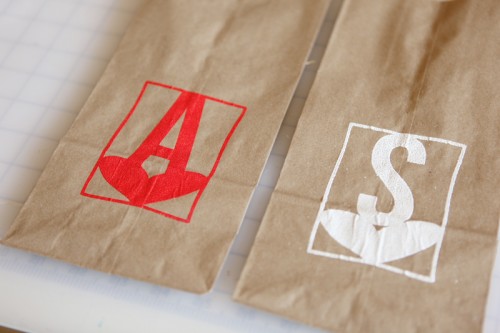
I decided to emboss because it's what I love. I embossed one with White Zing Opaque.
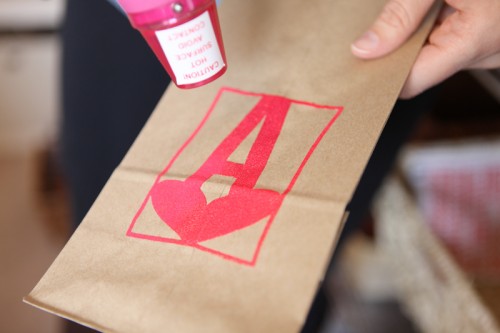
And the other with Rouge Zing Opaque.
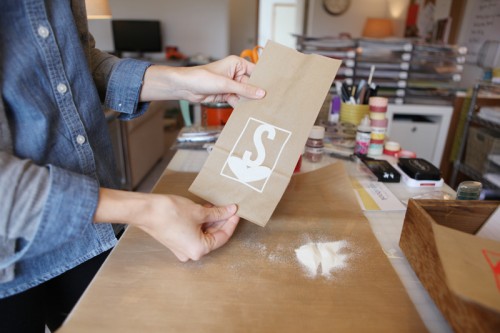
That's both of them after they've been hit with the heat gun.
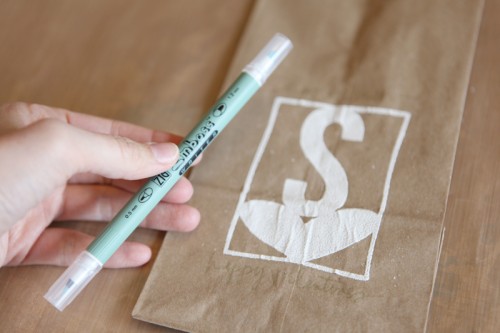
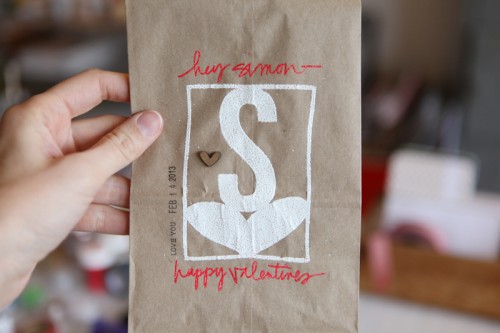
From there I used a Zig Emboss Writer to add a little something to each bag above and below the "S" and the "A." This pen is an awesome tool for being able to write and then heat emboss.
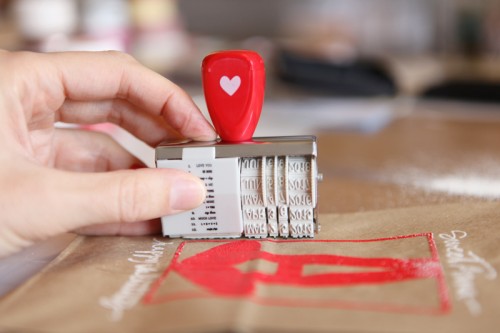
This adorable little love-themed date stamp is from American Crafts and is available at Target. Big thanks to Janice who brought this to me at CHA.
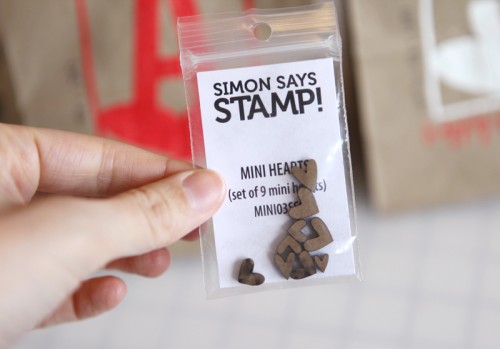
These cute little wood mini hearts are from Simon Says February Card Kit called Style Of Love. I adhered one to each bag using Glossy Accents.
Ribbon used on the top is a Red White Twill from Paper Source that I cut in half the long way to create two long pieces of ribbon.
SUPPLIES | VALENTINE BAGS
Click on the images to link to the products.
|
|




Awesome! Now I have to try it so I can remember how to do it. Thanks!
Sign in or sign up to comment.
Very nice! Thank you.
Sign in or sign up to comment.
Super cute! What a nice surprise for your kids :)
Sign in or sign up to comment.
nice idea!!
Sign in or sign up to comment.
Fun project and great tutorial!
Sign in or sign up to comment.
Love it, thx
Sign in or sign up to comment.
Would love to win. Tks for the chance.
Sign in or sign up to comment.
I love all the ideas you share--
and I'd love a silhouette! I have a fairly old Cricut and would like to update.
Sign in or sign up to comment.
Hi Ali! Thanks so much for your reply above. I tried using some of your older products and they worked really well! I was wondering if they might be a little thin so I added a 2px stroke and that was perfect. I'm so happy to see your Higher Ed brushes! I'm a Ph.D student and these will be perfect for my Project Life pages! AND I just found out that it's Quarterly Sale time so yay! :)
So great Monica! Thanks for the feedback!
Sign in or sign up to comment.
Well I don't have a silhouette but I loved watching the whole process on the video and through the pictures. I didn't exactly catch the font name you used for the initials names of your children, was it "bibesnew" ?
I do have a craft robo, wonder if I can use it and have the same result. Thank you for sharing awesome tips and ideas !
Sign in or sign up to comment.
looking great ~ thanks for the idea.
and for sharing.
Sign in or sign up to comment.
Can you buy the double sided adhesive by itself somewhere? Also I have a Cameo on its way to my house right now and I don't know anything about digital anything! I am wondering if your DD products can be cut without upgrading the software to the designer edition. Thanks so much!
Sign in or sign up to comment.
Oh found the link of the font on your post, thank you !
Sign in or sign up to comment.
[...] Tracing and welding PNG files with the Silhouette Studio® Software [...]
Sign in or sign up to comment.
[...] Click here for a tutorial that shows you how to trace my digital PNG files with the Silhouette. [...]
Sign in or sign up to comment.
[...] Click here for a tutorial on tracing these PNG files and cutting them with the Silhouette. [...]
Sign in or sign up to comment.
[...] It’s been awhile since I added a see-through Silhouette 4×6 cut so I was happy to add another one of those in again. This one (“being together”) is from the Family 4×6 Sentiment Boxes. Learn how to trace and cut PNG files with the Silhouette here. [...]
Sign in or sign up to comment.
Thank you so much for the tutorial! I'm going to have to figure out that big Cameo I have sitting downstairs now ;) and search for some more of your tutorials on it, thanks a bunch!!
Sign in or sign up to comment.
[…] Tracing and welding PNG files with the Silhouette Studio® Software […]
Sign in or sign up to comment.
[…] First up is Delight 4×6 Sentiment Boxes. These continue to be a popular item that can be added on top of photos in photoshop or traced and cut with a Silhouette. Check out a tutorial on how to do that here. […]
Sign in or sign up to comment.
[…] Tracing and welding PNG files with the Silhouette Studio® Software […]
Sign in or sign up to comment.
[…] Tracing and welding PNG files with the Silhouette Studio® Software […]
Sign in or sign up to comment.
[…] I included a couple of my own designs such as the December Daily™ 4×6 Sentiment Boxes that I cut with the Silhouette and that same POW glitter paper. Check out this tutorial on how to trace and cut my digital PNG files using the Silhouette Software. […]
Sign in or sign up to comment.
[…] Hello Life 2014 is a PNG file available here that was traced and cut with the Silhouette. This set is on sale 30% off through the 10th along with all my other brush sets. You can learn how to trace my PNG files using the Silhouette software here. […]
Sign in or sign up to comment.
[…] cut the PNG file using the Silhouette. Learn how to trace PNG files using the Silhouette software here (video […]
Sign in or sign up to comment.