Summer Voices | Ann-Marie Morris
We’re on summer holiday and we’ve invited some of our friends to share their voices and projects here over the next 2 weeks. Say hello to Ann-Marie Morris:
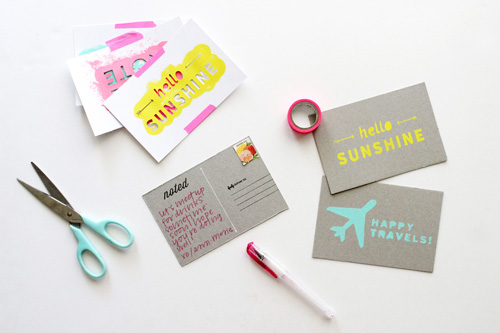
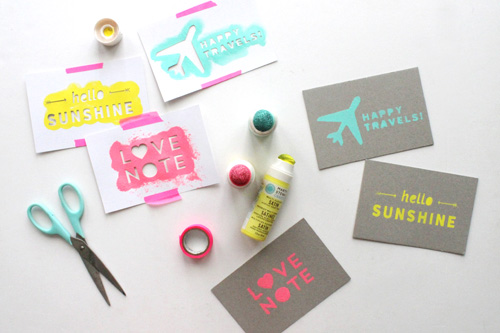
Hi! My name is Ann-Marie Morris and I am so thrilled to be contributing to Ali's Summer Series! Today I am going to share a quick and easy tutorial on how to make DIY chipboard postcards using a small handful of crafting supplies. Whether you are visiting far-off places or simply taking advantage of a staycation, sending a little happy mail to friends and family is a great way to celebrate your Summer memories!
INSTRUCTIONS:
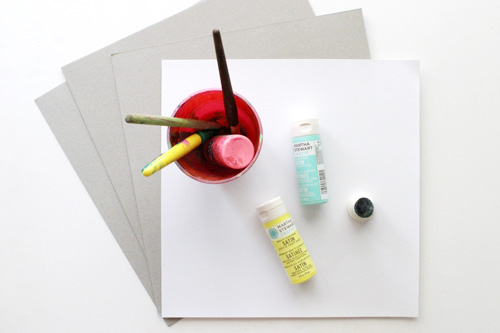
Here's what you'll need to make chipboard postcards:
- Chipboard sheets (can be found at most craft stores)
- 1 sheet of 12 x 12" cardstock
- Cameo / Silhouette die-cutting machine (you can also use an Xacto knife for similar results)
- Craft paint (I recommend Martha Stewart's brand)
- Martha Stewart's paint dauber tips or any foam brush / dauber
- Washi Tape
- Pen

Open up the Postcards file in Silhouette Studio (click here to download!)
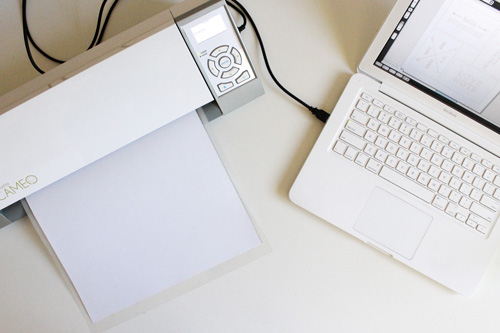
Place a sheet of 12x12" cardstock onto your adhesive cutting mat and load it into the Cameo. From there, adjust your cut settings to Media: Cardstock / Speed: 2 / Thickness: 33. Once everything is ready to go, hit "Cut Page."
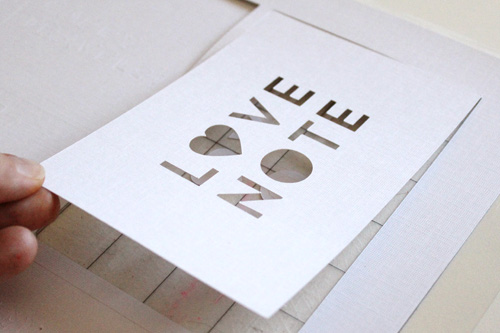
After all of the designs have been cut, gently lift each postcard from the adhesive cutting mat and place to the side for a moment.
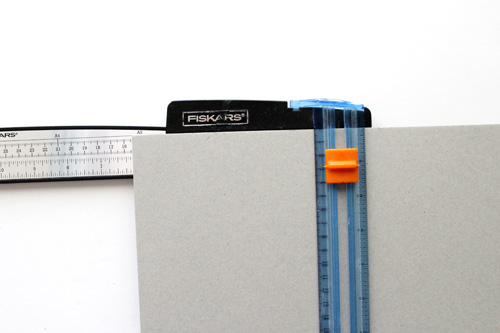
Trim your chipboard sheets down to 4 x 6." (I used my Fiskars paper trimmer to score the sheet and then used an Xacto knife to cut all the way through.)
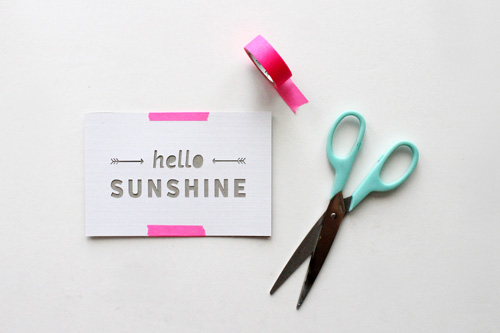
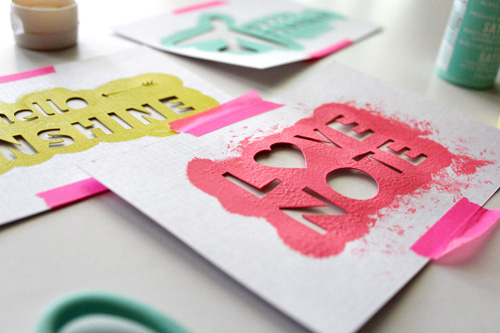
Place each stencil over the chipboard sheet and apply washi tape to the top and bottom to temporarily hold the two components together.
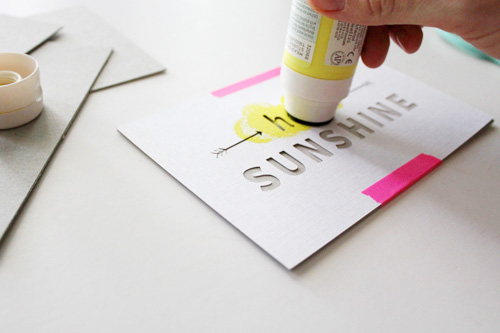
If using Martha Stewart's craft paint, remove the paint cap and screw on the paint dauber tip. Otherwise, dip a foam brush / dauber directly into the paint.
To begin, dab over the stencil and make sure to apply an equal coating and not lift any of the flaps. Every so often, check to see if you have missed any spots or need to add an additional coat. Remember that the beauty of making things by hand comes from slight imperfections, so don't stress if the paint lines aren't precise! I guarantee that your postcard recipient will love it no matter what!
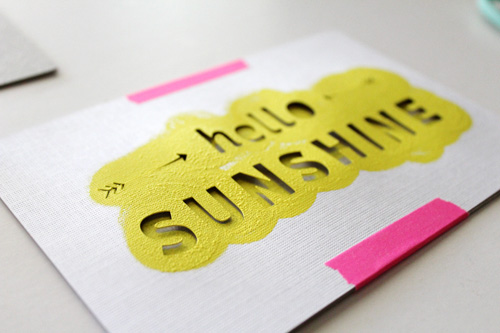
Once you have finished painting over the entire area, carefully remove the stencil from the chipboard and let dry.
Repeat the same process with each of the designs.
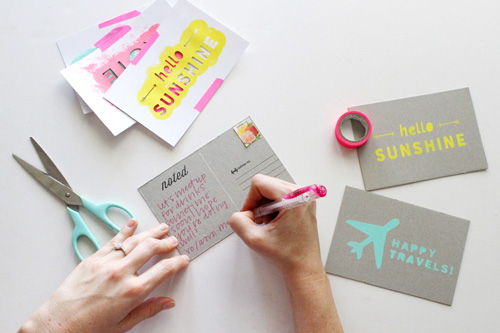
Once all of the postcards have dried, flip them over and write out your messages. I dressed mine up with a few rubber stamps and a bright pink pen, but the customization options are completely up to you. Finally, drop your postcards in the mail and brighten someone's day!
Happy Summer!
CONNECT WITH ANN-MARIE | Blog | |Instagram | Pinterest | Twitter | Shop

TODAY'S POST SPONSORED BY | BIG PICTURE SCRAPBOOKING
Our community of instructors and members mingle in custom classrooms uniquely designed to deliver expert guidance and engaging ideas so that you can more fully explore your creativity. At BPC, you'll find a myriad of super convenient self-paced classes as well as interactive multi-week workshops on topics ranging from scrapbooking to photography, journaling to personal well-being—but it is the light-hearted and liberating philosophy behind our education that sets us apart and enables you to find your muse, follow it and immerse yourself in personal expression. Sign up for a free class today!


Thanks for the fun tutorial, I scrapbook and my teenager likes to use the "This Is Not A Journal" by Keri Smith series - we will both enjoy using this technique in what we create!
Sign in or sign up to comment.
Thank you for the neat technique and the Silhouette file! Lovely project.
Sign in or sign up to comment.
What a fabulous idea, and those punches of color are so fun!
Sign in or sign up to comment.
cute idea! have yet to make stencils with silhouette...
Sign in or sign up to comment.
Great idea! I love something that can be replicated quickly yet crafty!
Sign in or sign up to comment.
Great idea, love sending happy mail!
Sign in or sign up to comment.
Awesome idea. Thanks for the freebie - definately going to do this!
Sign in or sign up to comment.
These looks like awesome fun! I wish I had a silhouette!
Sign in or sign up to comment.
[...] I shared a DIY postcard tutorial on Ali Edwards’ blog yesterday! [...]
Sign in or sign up to comment.
Thank you for this! I have been trying to come up with some ideas for handmade hello notes to mail out this month! Love love love this awesome idea!
Sign in or sign up to comment.
ty for the file!
Sign in or sign up to comment.
[…] Ann Marie Morris en Ali Edwards.com […]
Sign in or sign up to comment.