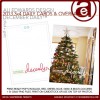
December Daily® 2013 | Interior Pages & Video Overview

On Monday I shared how I put together my cover and title page for my 2013 December Daily™ album.
Today I'm sharing my preparations for the interior pages, including a video overview you will find below. These pages will become the home for my daily stories of December.
For December Daily™ my "pattern" each year is choosing one single story (or one moment) to document/highlight each day. Sometimes it's Christmas related and other times it's just an everyday thing like going to the dentist. In the past I have set up the pages in advance and fit the story to each day. This year I'm wanting more freedom to not be stuck with a 6x8 page protector if what I really want are 2, 3x4's and a 4x6. It's worked just fine for me in the past but this year I'm ready for a little more creative freedom.
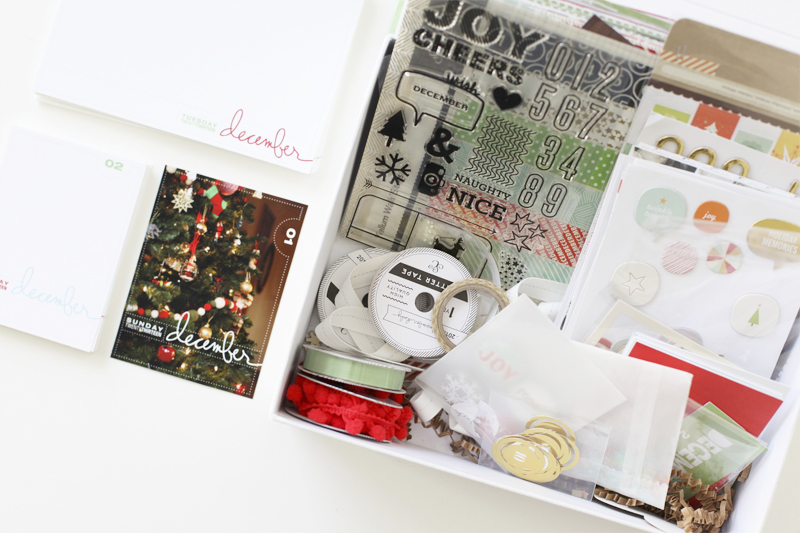
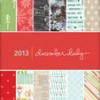
This year I'm primarily using items from the Studio Calico December Daily™ 2013 kit. There are a limited number still available if you would like to purchase this kit for your holiday documentation.
DO SOMETHING NOW.
Even if you don't plan to pre-make all your pages it's a pretty good idea to set aside some time to think ahead about your album.
Think about what works best for you - you - not your best friend or your neighbor or your internet buddy. It might be planning out some pages, it might be printing journal cards, it might be creating a bunch of see-through elements like I did, it might be pre-making all your pages or simply gathering up all your supplies into one box or onto a tray.
I think the key is to do something now so you aren't completely overwhelmed when December hits.
THE TASKS I'M DOING BEFORE DECEMBER
- Complete my cover and title page.
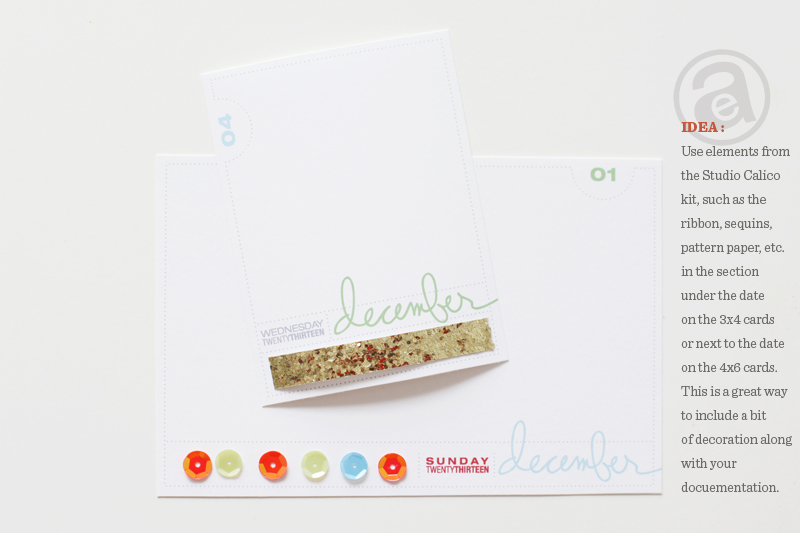
- Print out the 3x4 and 4x6 printable daily cards. I'm waiting to embellish them on the actual days so I'll know which one I'm using. I love that the kit includes sequins, ribbon, glitter tape, pattern paper and other embellishments that fit just right on the journal cards.
- Create a see-through element/card for most of the 25 days. See examples below.
- Start thinking about the ways I'd like to celebrate the holiday season. Each year for me this is a bit different. Last year I was away from home for a portion of the month so I planned accordingly (smaller album, printed all my same size journal cards in advance, etc). What plans can you make now (or what can you plan to do less of) that will help you truly embrace the spirit of the season?
THE PRINTABLES
The next step for me after my cover and title page was to print out the 3x4 daily journal cards and the 4x6 daily journal cards which are available at Designer Digitals. Even though I don't know which ones I'm going to use in which pockets just yet (besides a few I've placed in my album already), I printed them out so I have easy access to them in December. These mulit-color printables were printed on Epson Matte Presentation Paper.
These digital packages include PNG files that can be used as overlays on top of your photos during the month (see examples below) + a multi-colored PNG file + 6 PDF files in five different solid colors and the multi-colored version I'm using in my album.
These would also work great if you don't plan on doing a specific December Daily album but would like to add 4x6 or 3x4 cards to Project Life.


There will be more layered templates and holiday products coming soon, including 6x8 and 12x12 overlays and templates.
These are the multi-colored 4x6 printable:
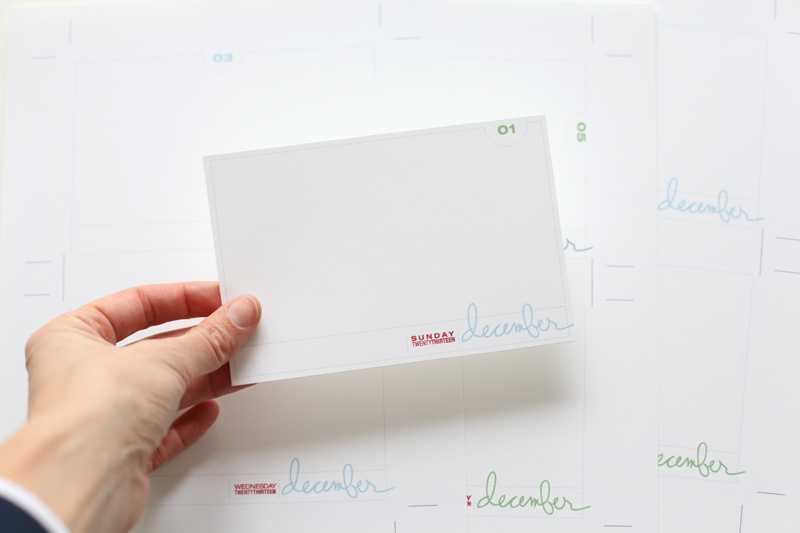
NOTE | Make sure when printing the PDF file of these that you select "actual size" or "don't shrink page to fit" otherwise your journal cards will come out too small. I always recommend a test print (even though I messed up this time again so if you do know you are in good company).
THE VIDEO OVERVIEW
To get an idea of what my album looks like right now I shot some video yesterday to walk you through the things I've already inserted into the pockets.
THE INSIDE PAGES
As I mentioned above, one of the things I really want to include/create in my album this year are see-through elements. To achieve this I sacrificed (meaning I cut up) a couple page protectors to use as the base layer for embellishment cards.
HOW I STRUCTURED THE PAGE PROTECTORS | The album in this kit includes four different page protector configurations. When placing them in my album I decided to just alternate them for now and then I can move them around as I see fit while I'm documenting December. This gives me a basic structure I can follow OR I can break free from that and move things around.
Here's a look at what I've included so far:
Details on my title page can be found here.
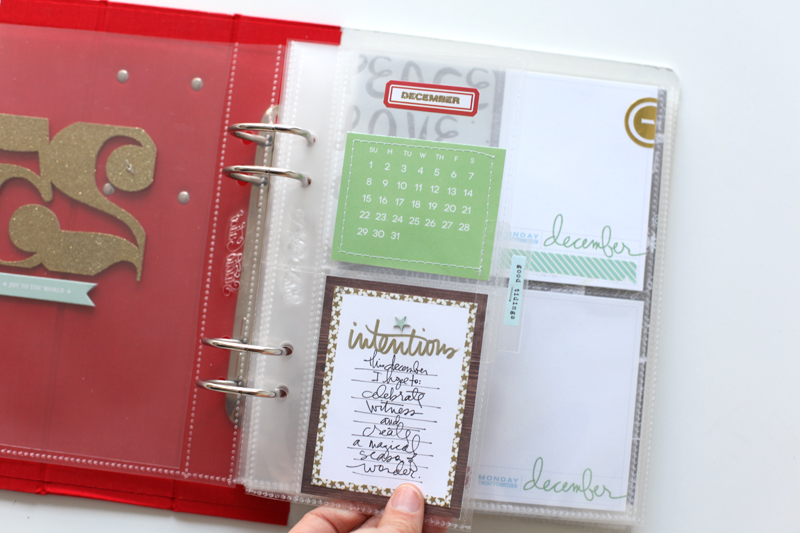
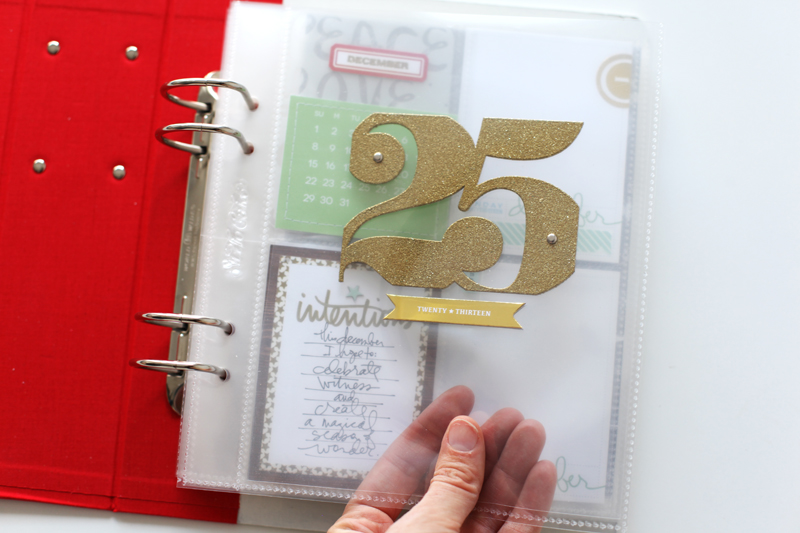
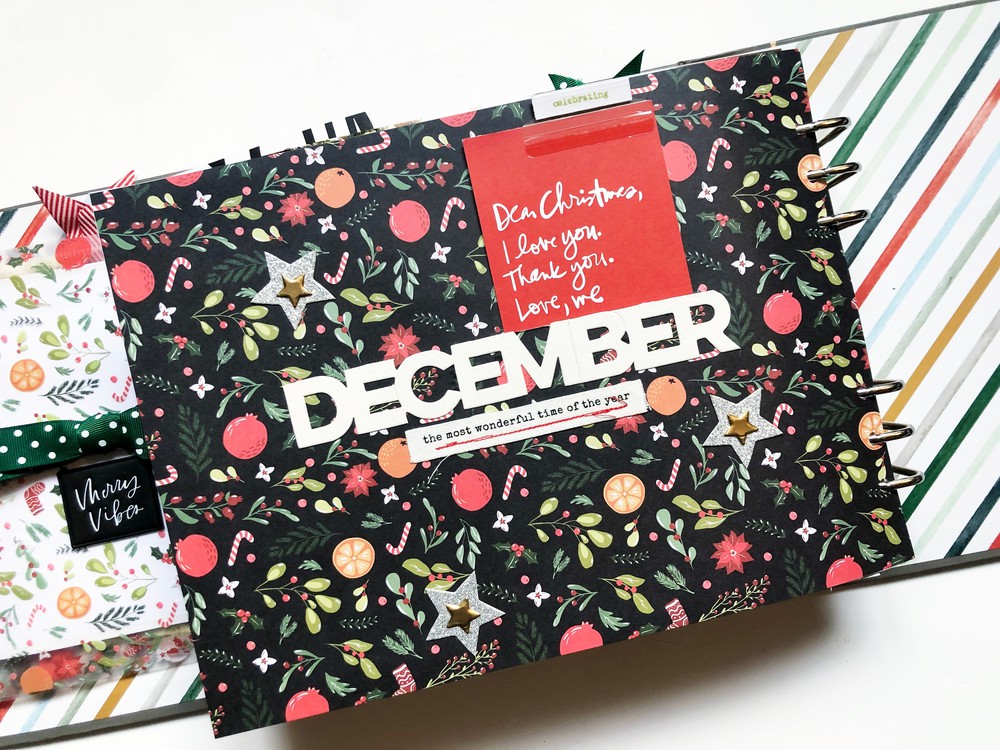
For the first page in my album I cut one of the 4, 3x4 pocket pages in half.
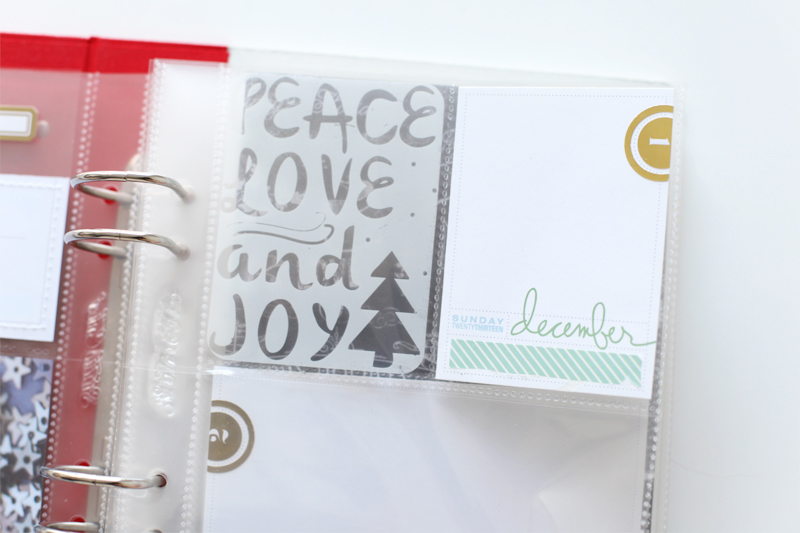
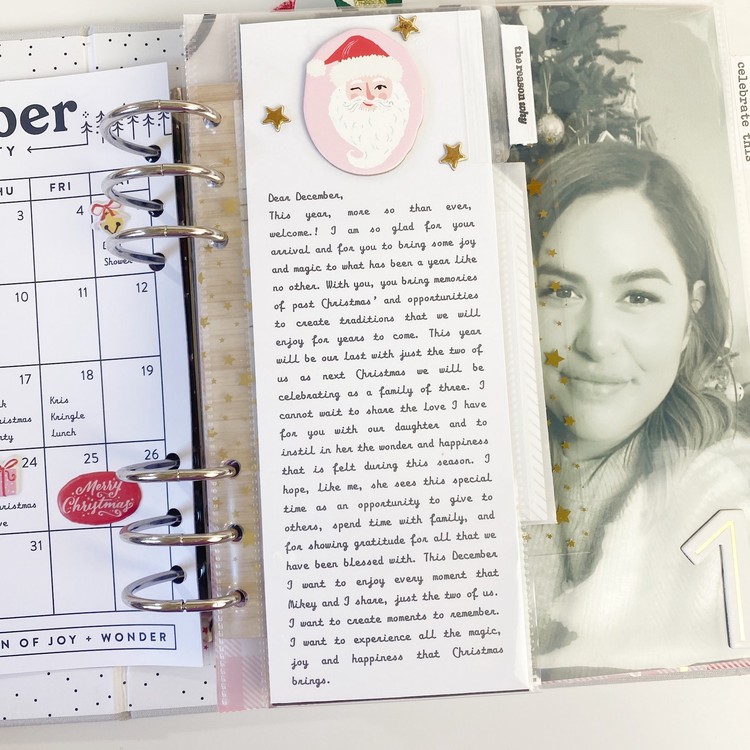
In the top pocket I added a card that includes a portion of the December calendar card + some left over page protector transparency + a label sticker + stamped and embossed in gold "December."
Along the edge I added an Avery 2-inch index tab down the side and cut up some of the word pattern paper that reads "good tidings" to slip inside.
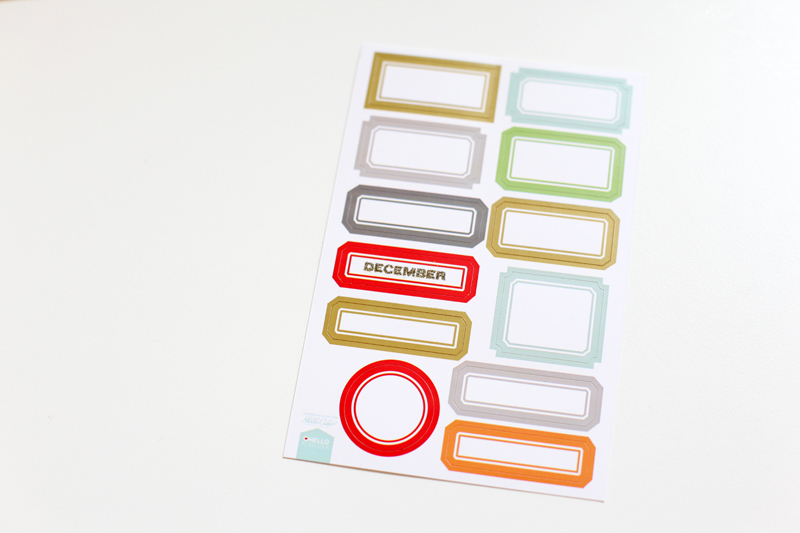
I stamped and embossed "December" directly onto the sticker sheet.
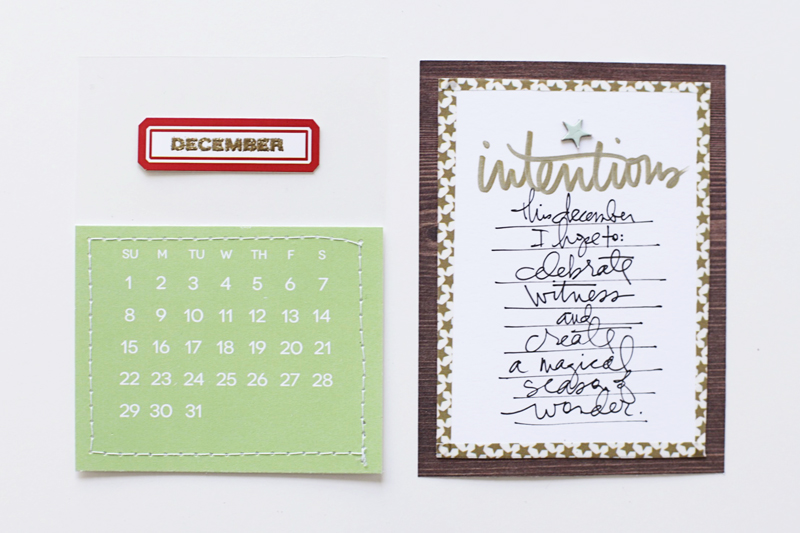
The "intentions" card includes a 3x4 woodgrain pattern paper background + a piece of white cardstock + a star washi tape border. I hand-wrote the word "intentions" with a gold metallic marker. The small star is from the chipboard set in the kit.
I left the back side of the calendar and the intentions card blank and will fill them in on December 1st.
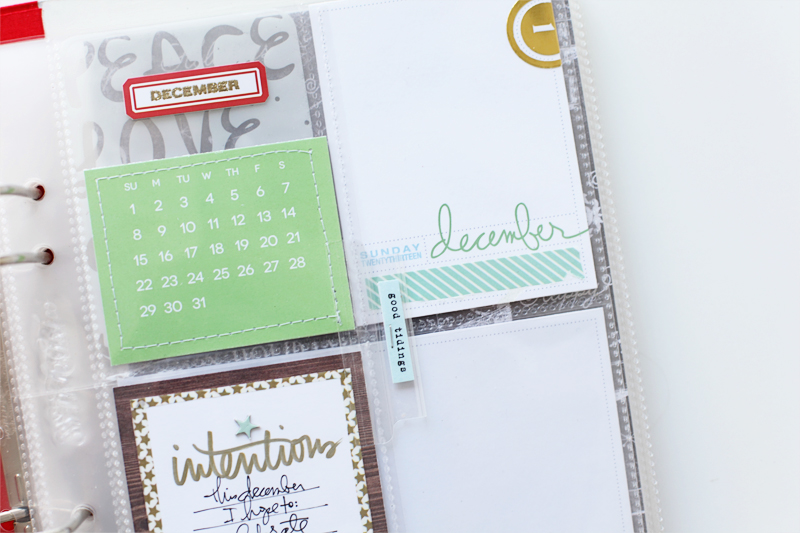
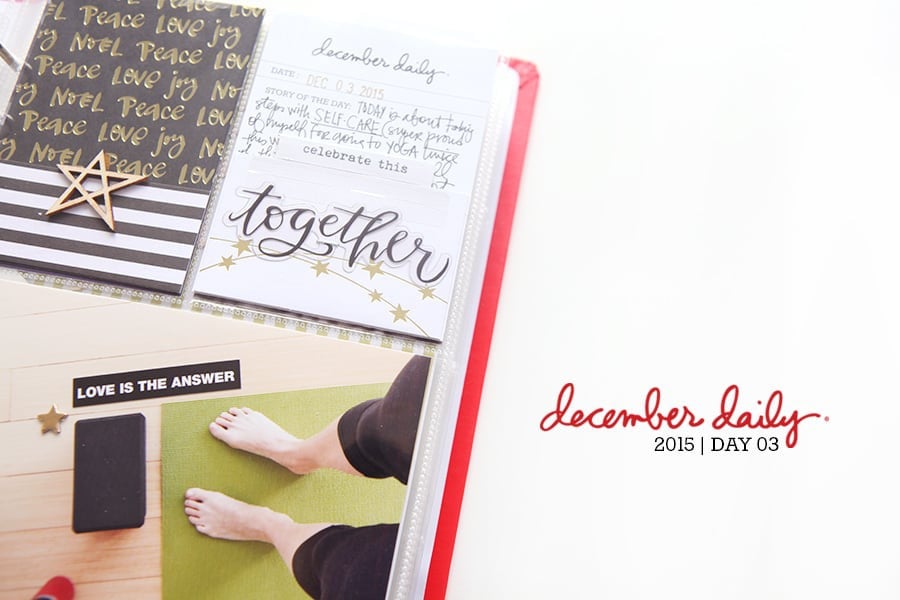
To show you how I intend to use the journal cards I've added a few here in the beginning. You can see Day One above. The gold circle number clips fit perfectly over the number circle on the journal cards (both sizes). I adhered them with a glue pen and trimmed off the excess along the edge. I also added a strip of light blue washi tape along the bottom.
The journal card was paired with the transparent "peace, love and joy" card.
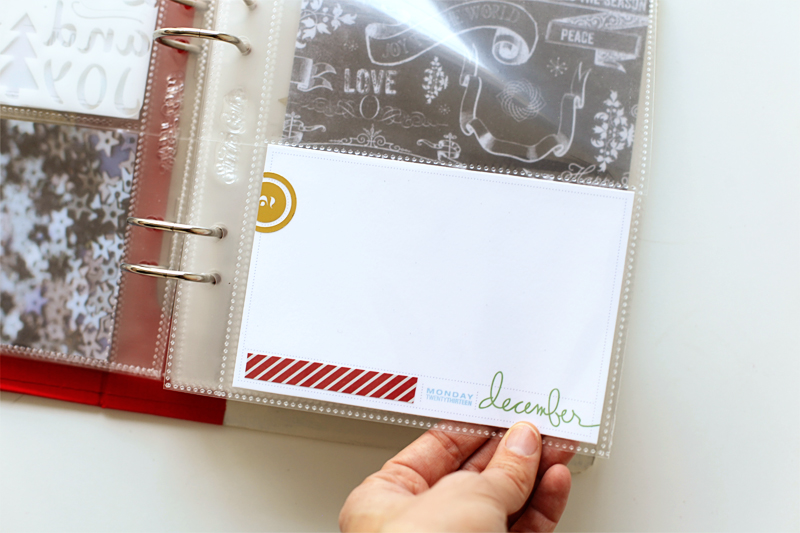
For Day Two I added a 4x6 daily journal card + a gold #2 circle clip + a piece of pattern paper.
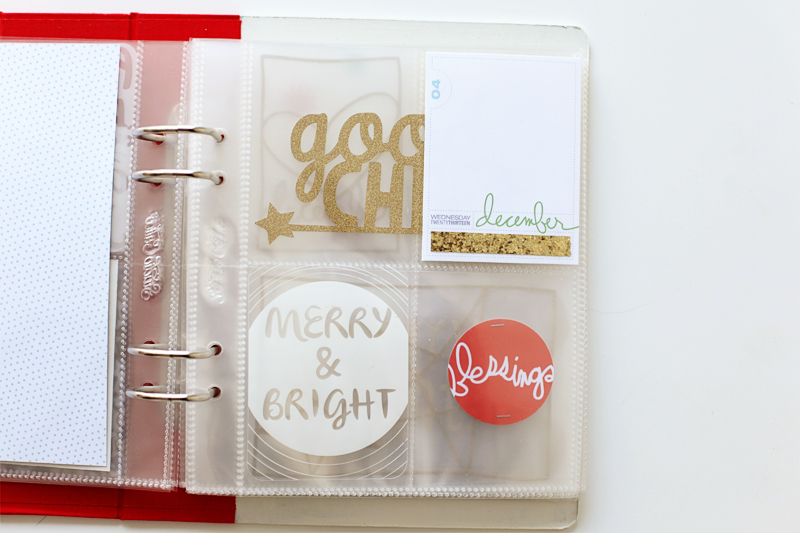
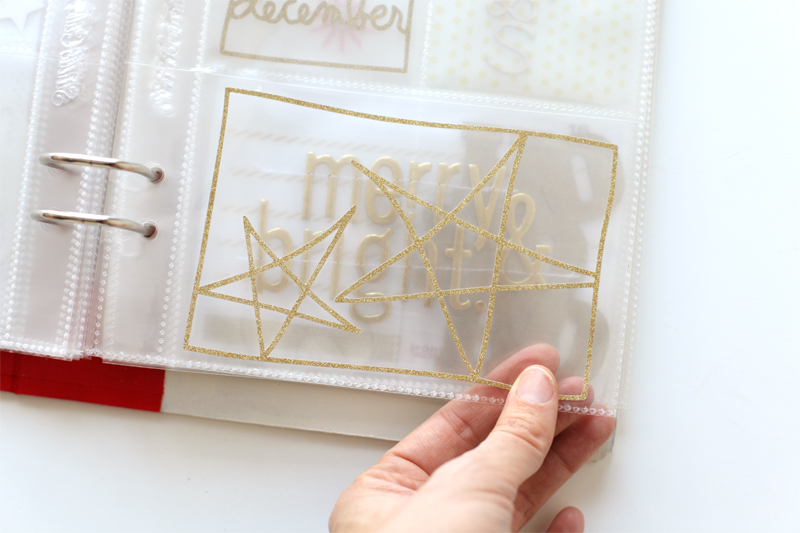
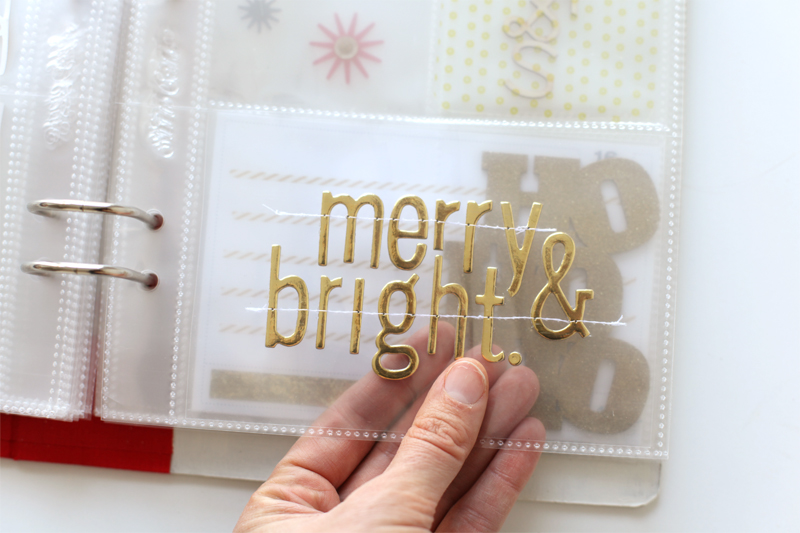
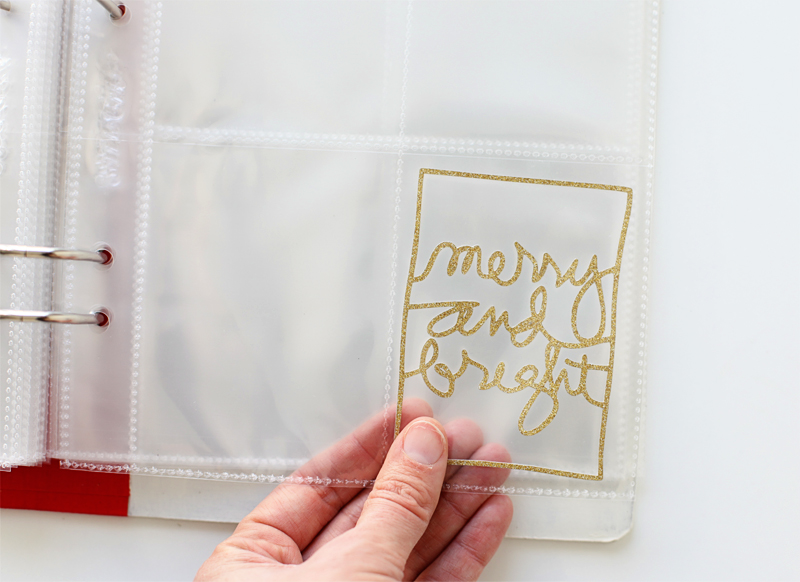
For Day Four I included another journal card in the top right pocket with the awesome gold glitter washi adhered in the space designated for embellishments. The "merry and bright" transparent card was inserted in the bottom left pocket.
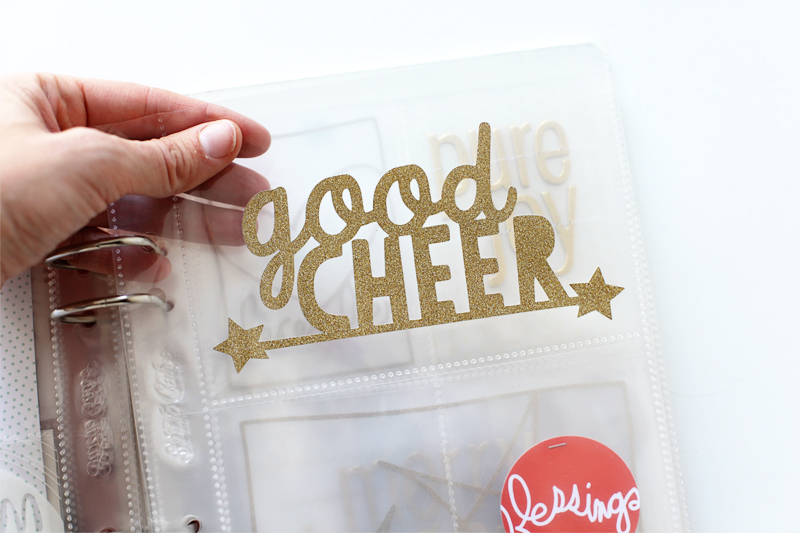
"Good cheer" is one of the cut files that's included in digital package when you purchase the December Daily™ kit from Studio Calico (you can find these printables and cut files on your dashboard over at Studio Calico if you've already purchased the kit).
This die-cut was simply slipped into the pocket (vs. attaching it to a transparent background).
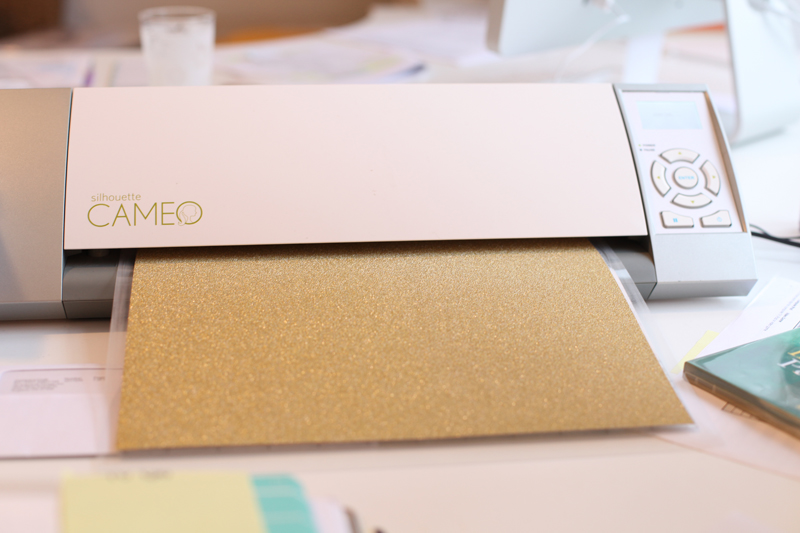
I cut out "good cheer" using the Silhouette and some of the gold POW glitter paper from American Crafts. I was able to find this paper locally at Micheal's.

I punched this "blessings" circle from a 3x4 journal card using a 2-inch circle punch and stapled it to a 3x4 piece of page protector and slipped it into the pocket. On the back I adhered a circle punched from one of the pattern papers.
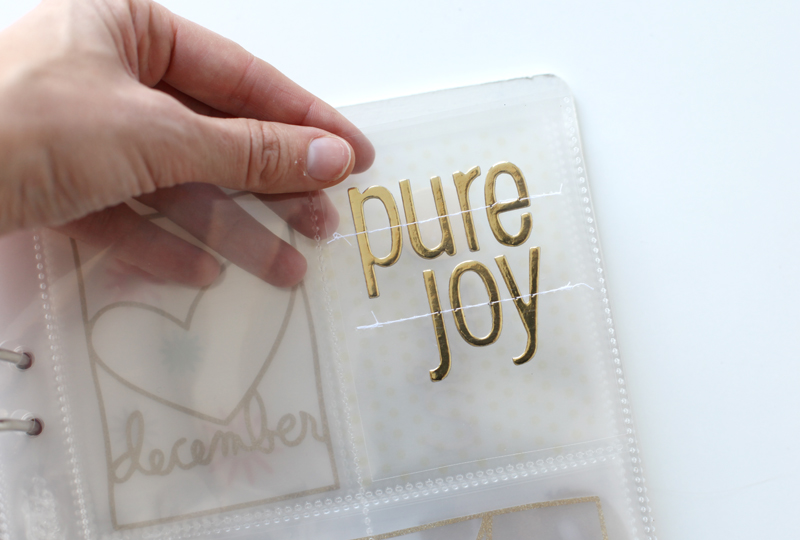
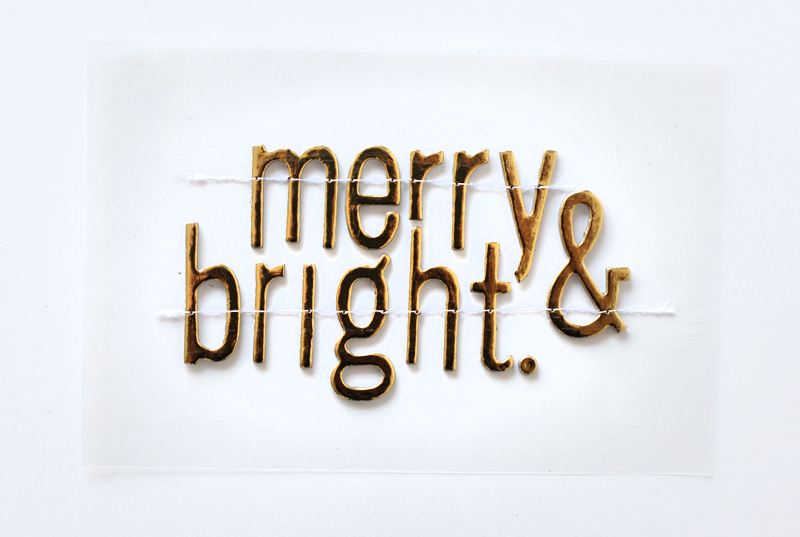
"Pure joy" was created by cutting a 3x4 piece of page protector (remember I talked about sacrificing a few page protectors to create backgrounds for my see-through elements) and then adhering the chipboard letters and running the whole piece through my sewing machine.

After stitching it I slipped it into the pocket.
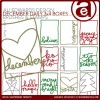
I included a couple of my own designs such as the December Daily™ 4x6 Sentiment Boxes that I cut with the Silhouette and that same POW glitter paper. Check out this tutorial on how to trace and cut my digital PNG files using the Silhouette Software.
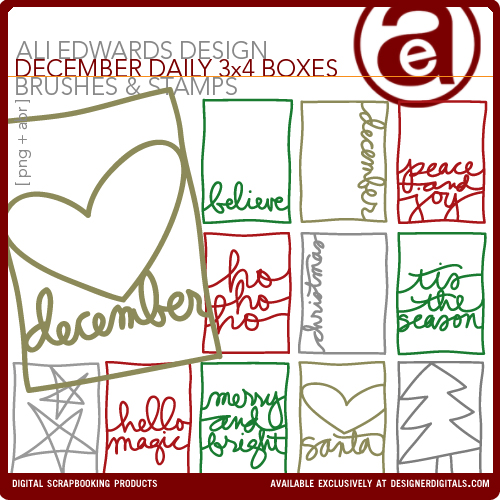
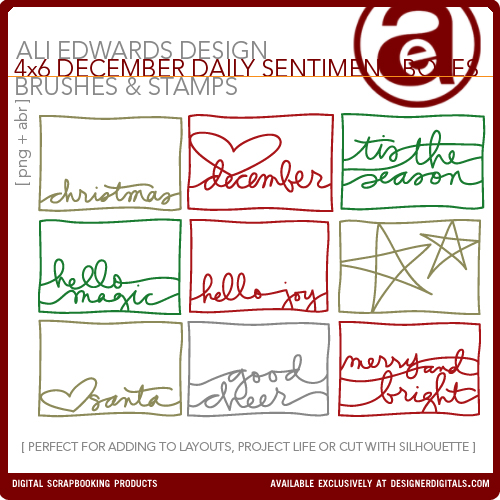
December Daily™ 3x4 Sentiment Boxes and December Daily™ 4x6 Sentiment Boxes.

On the next page I included another Silhouette cut in the 3x4 size from my December Daily™ 3x4 Sentiment Boxes package.
I liked that first "pure joy" insert so much that I created another one this time in a 4x6 size. To have enough letters I cut a "u" to make another "r" from the gold chipboard alphabet set. I also cut a portion of the "r" off on the bottom and also trimmed the "y" to accommodate the "t." I will likely make at least one more of these with the remaining letters (or use some of the wood veneer letters).
Yes.
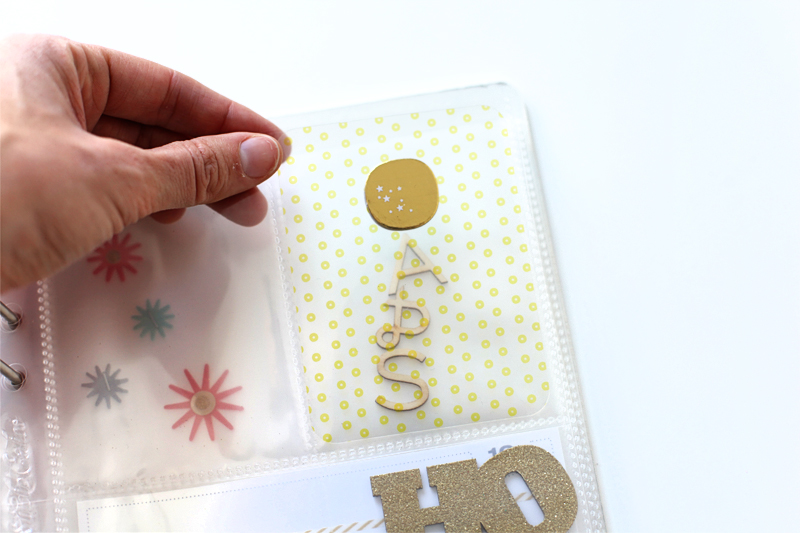
The kit includes a fun 3x4 transparent pattern circle card. I added a chipboard circle to each side. I'll likely add something else to this card once I know what my story for that day will be during the month.
The "A & S" wood veneer letters were slipped into a pocket behind this card as a reminder to use them together to tell a story about Anna and Simon together.

The gold glitter Zing made another appearance on top of the Ho Ho Ho wood veneer.
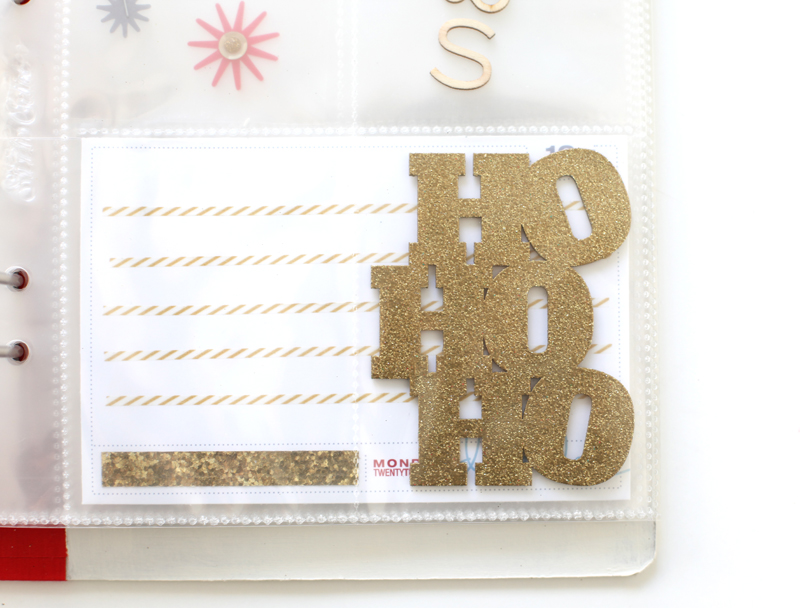
It fits right in a 3x4 pocket.

I used the awesome thin gold washi to create lines for this journal card. It will either be Day 16 or I can cover the 16 with one of the gold circle clips. Text will be added during the month.

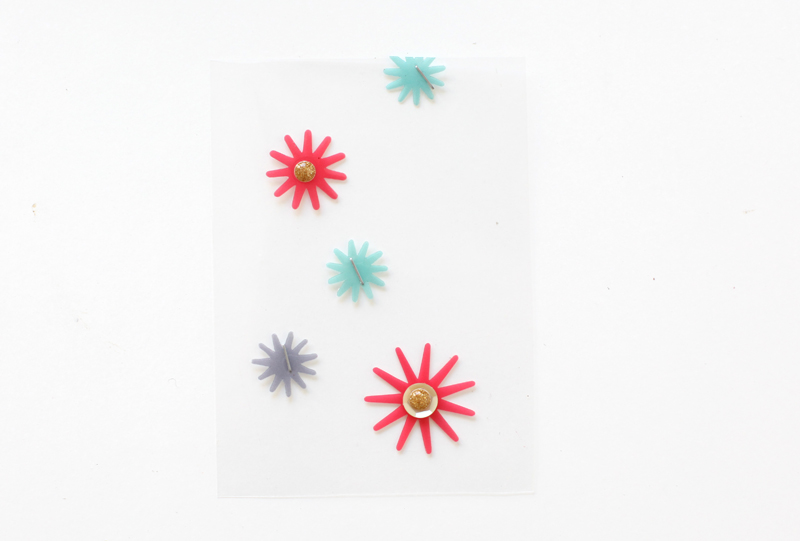
Cute little transparent starbursts were stapled (the small ones) and adhered using glue dots (the larger ones).
And one more of the December Daily™ 3x4 Sentiment Boxes cut with the Silhouette.
That's a look at where I'm at right now. I might do a few more transparent pages before December hits or I might just wait to be inspired by our daily life during the month.
I'm excited to see what you guys come up with this year whether you are using the kit or a fun combination of other supplies!
SUPPLIES | DECEMBER DAILY™ 2013 FOUNDATION PAGES
      |


Ali any ideas how to incorporate DEcember Daily into a PL album only for those of us not doing a totally seperate December DAily album?
Sure! If I was going to do that I'd use those printable cards in either the 3x4 or 4x6 size for all my journaling (nice to have cohesiveness throughout the month) and pair those with my photos.
Sign in or sign up to comment.
I just received my Summer Manifesto album from Blurb and am thinking about doing something similar with December Daily this year: setting a list of intentions and documenting the outcome.
I have loved the way that my past December Daily albums have told the full picture of the holiday season. I especially love the surprises (the bad hospital visits and car troubles, and life troubles that were documented because they happened, even though they were far from the plan).
But I have often felt trapped by the days I didn't remember to take pictures or the several days in a row where I didn't complete the layout and "fell behind." And in 2 of the 4 year sI have attempted this, I gave up before finishing an album.
With Summer Manifesto, I felt the freedom to have the story take place "in the season," without being tied to a particular date. And sometimes writing about why something I wanted to do didn't quite work out, was as fun as documenting the things that did.
I think taking that approach with December Daily may give me the flexibility I need to tell the stories I want to tell and get the album done, as opposed to fully documenting a week or two and then getting to busy or overwhelmed to finish the story.
Love that you are making it work for you!
Sign in or sign up to comment.
I did not get any thin gold washi tape in my kit. Was suppose to be? Love your videos. Thanks!
Pretty sure it's supposed to be (just checked the list of contents on their site and it's included).
Yep - should be there. If not, start a conversation with their customer service and they'll get you taken care of (it's really small and might be buried in your box) :).
Yup, I almost threw mine out with the brown crinkle paper! It's really hard to see!!!
Hey Marsha, I thought mine was missing at first too but it got stuck in the brown crinkle paper that is put in their as cushion. Check there because I know this happened to a lot of people. HTH!
Sign in or sign up to comment.
Ali, I'm planning to do the Day in the Life for October 31, November 30 and December 31 to complete my year. But I can't seem to download the daily sheets from past posts. Could you help me? Thanks.
Sign in or sign up to comment.
oh i love your DD I would pay to have one already made and set up...
Sign in or sign up to comment.
[…] you seen Ali Edwards’ December Daily 2103 beginnings video? She is so very inspiring! If you haven’t seen it yet, head over and watch – I’ll […]
Sign in or sign up to comment.
I'm so excited to add some transparent elements to my layouts. Thanks so much for sharing your creativity and talents!
Sign in or sign up to comment.
Hi Ali! Love this project & so excited for December!!
I saw in a post of yours a while back the type of daily calendar/planner you use. I wanted to look into it for my 2014 personal calendar. I cannot find where you posted about it now. Would you mind sharing that information again please?
Sign in or sign up to comment.
Ali, I am wondering where I can find the code for the December Daily blog badge? I have scanned back through your info on DD and cannot seem to find it?
Sign in or sign up to comment.
I've always loved that little box in your digital files to add embellishments. We ordered my kit this morning! Super excited, especially to have an album. I usually create first and find an album later. I'm yet to get an album for last year. They are hard to find here!
Sign in or sign up to comment.
Will there be a Flicker December Daily 2013 group this year? Always love looking through all the pics there.
Sign in or sign up to comment.
Can't wait for this coming weekend to start mine….Yay!!!
Sign in or sign up to comment.
Hi Ali,
So excited to get started with my December Daily again this year. Thanks for the early inspiration. Two questions...
#1) About the Printable Journal Cards...I like to use Printstagram to print my Instagram pics (With little kids, it's just easier to use my Iphone as a camera). I usually print 4x4. Which printable journal card size would you recommend for 4x4 pics? 6x8?
2) I'm considering the purchase of the December Daily Kit but again, I'm not sure the page protectors and some of the layouts will work with 4x4 photos. Any advice?
I appreciate all the hard work you put into making this project accessible to all of us. Thank you!
Truly,
Cole
Sign in or sign up to comment.
Very similar to the plan I have (in regards to what to prep ahead and what to leave). I LOVE the intentions page in the front part! and the ziz zap journal lines on that one card. Thanks!
Sign in or sign up to comment.
Ali- love how you make the emphasis on doing what works for you! And not what others are creating:) I purposely did not look at yours or anyone else's December daily until now. Not spoiling the creative process:) it was my treat once I was done to check out your fabulous foundation. So, much new inspiration to incorporate without losing my vision:) this will be my first time participating and the prep makes it seem possible to finish and focus on the season! Thank you for sharing!
Sign in or sign up to comment.
I LOVE your homemade transparencies! Especially the ones with the stitched on Thickers. I never would have thought of making my own...now I'm sure there will be at least a few in my journal this year! =)
Sign in or sign up to comment.
love the December daily - this is my first year doing it and I'm vey excited,
just wanted to ask a question - did you use a mod podge on the front cover once you painted it???
thanks looking forward to your future posts
Sign in or sign up to comment.
So inspiring! Love your pages! Thanks so much for sharing! :)
Sign in or sign up to comment.
[…] December Daily 2013 Interior Pages | aliedwards.com […]
Sign in or sign up to comment.
Hi! This is my first year and so far love the project! I have purchased the 4x6 and 3x4 cards and have even chose the "actual size" option - but they are still printing too small. Is there something else I can do? Thank you for any help!
Did you get an answer for this because mine are the same way. The wording is way too small, I can't even read it.
Also, have no idea how to print a bunch on one piece of cardstock and need that option - isn't there a sheet that has several a page so it's not so wasteful?
I know I'm a bit behind with these questions but it took weeks for my product to arrive and I didn't play with the downloads until I had the kit. If anybody wants to email me at butdoctorihatepink AT gmail COM I'd appreciate it. I'm a techy except when it comes to picture stuff, for some reason that alludes me.
Sign in or sign up to comment.
[…] December Daily is a project started by Ali Edwards (you can visit her at aliedwards.com) and I’ve been doing it along with her for the past 4 years. Its about capturing the big and little moments, stories, and memories from the holiday season. One story, every day. Since I LOVE Christmas, I knew this project would make me happy. So I started it, and it does Technically, the idea is to prep foundation pages before December starts, and then complete a page every day. That way, by the end of December the book is finished. Well, here we are almost a year later and I am finally there. Better late than never, right? Hopefully this inspires you to capture your big and little holiday memories. […]
Sign in or sign up to comment.
[…] i go to the place that lends the most amazing tutorials and inspiration…ali’s blog. and she has a video posted about how she’s prepped her album and all the studio calico kit goodies are drool worthy. but […]
Sign in or sign up to comment.
Can you talk about the Silhouette settings/blade color you used on the glitter paper cutouts? Not much luck even making a dent in my paper and love that element. Thanks!
Sign in or sign up to comment.
[…] Inside Pages […]
Sign in or sign up to comment.
[…] And here is part two of my December Daily 2012. You can catch my part one here, and learn more about December Daily here. Enjoy! […]
Sign in or sign up to comment.