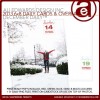
December Daily™ 2013 | Day Ten
Welcome to December Daily™ 2013 | Day Ten.
How's it going?
I looked at the calendar today and can't believe how fast the month is flying. Trying to slow myself down and savor it all a little more.
The cold streak continues here, the snow hasn't melted and the kids are still home from school. They've been pretty good finding things to do during the day while I work. There's been lots of lego and playing in their own rooms and arguments and books and friendly banter mixed-in (I even saw some leapfrog in the upstairs hall yesterday). I actually like that they are getting time to just "be" in their rooms and play. They played out in the snow for a bit on the first day (last Friday) and a little bit yesterday but overall it's just really, really cold and they'd rather play inside. In the evenings we've been having a fire in the fireplace and watching holiday movies. On Monday night they saw It's A Wonderful Life for the first time.
I'm trying not to wish this time away.
Here's a look at Day Ten:
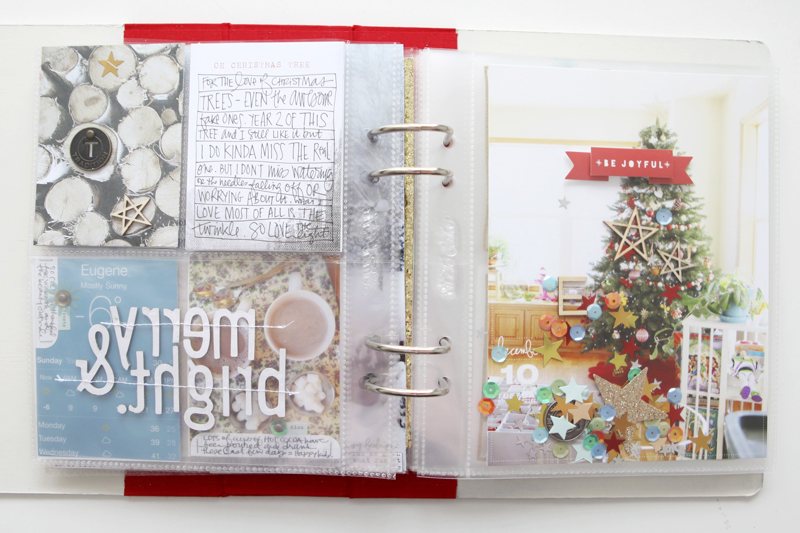
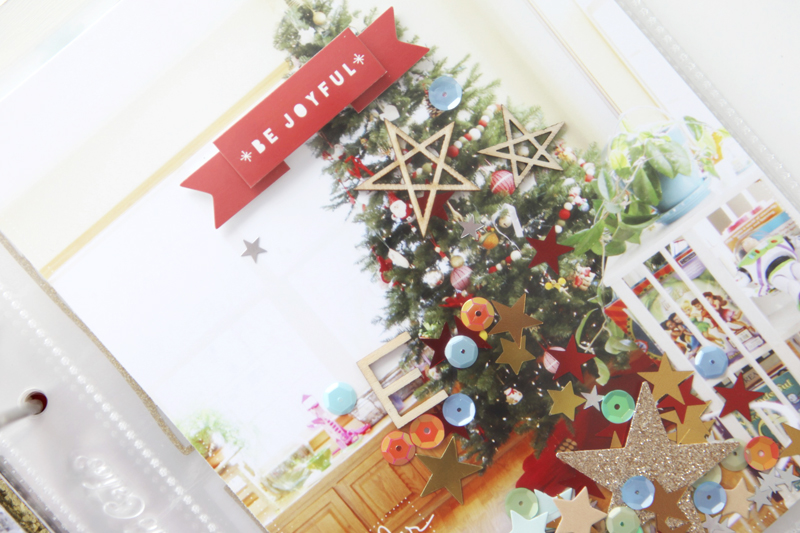
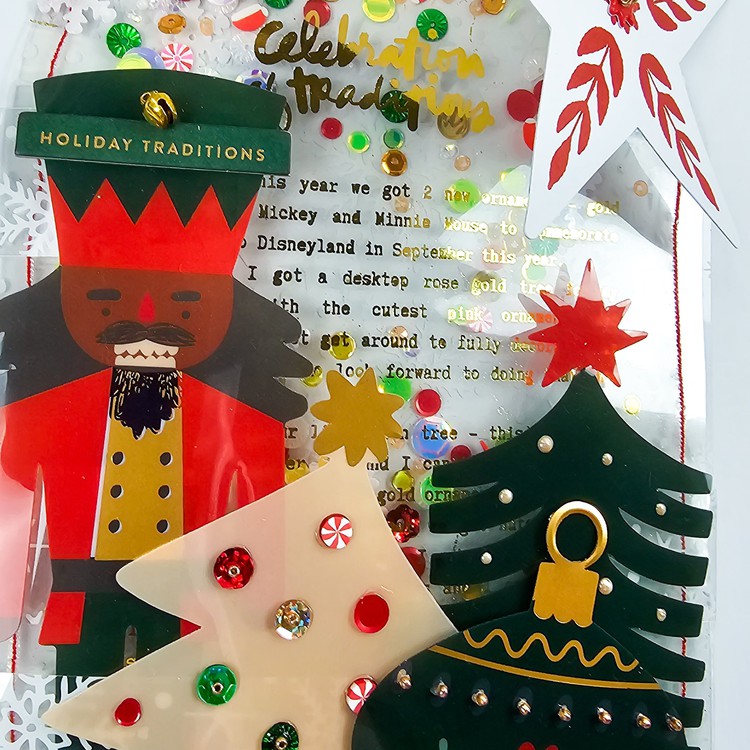
Today I put together a spread featuring an enlarged photo of our Christmas Tree during the day. I've been wanting to play around with confetti inside a pocket so I went ahead and added that into the main photo pocket (more details below).
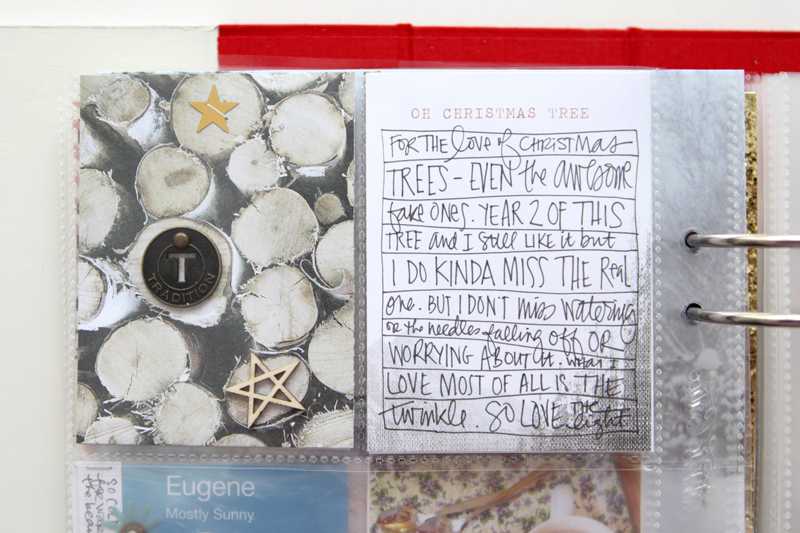
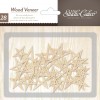
On the left-side of the spread I paired the wood pattern paper with a metal circle embellishment from Tim Holtz, a wood veneer star and a small metallic gold star stapled in place. The journaling card talks about our fake tree and how I feel about it this year.
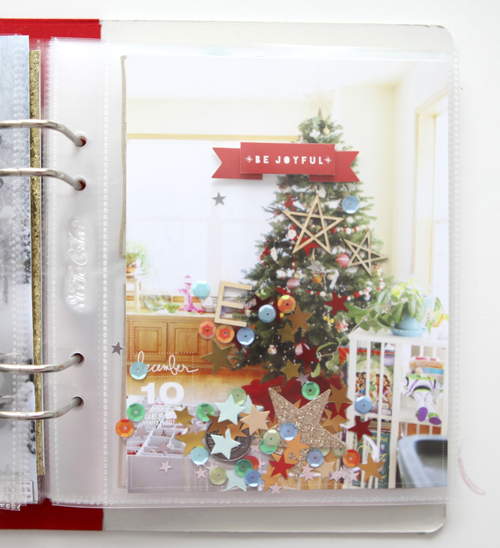
On top of the photo I added a 6x8 2013 date overlay before printing the photo. "Joyful" is from the Magical Adhesive Banner set. Inside the page protector and on top of the photo I added Magical Sequin Stars, sequins & a wood veneer E & paper stars from the December Daily™ kit, and wood veneer stars.
These are all loose inside the pocket. After I add my content for tomorrow (the other side of the page protector) I'll stitch across the top to close off the pocket.
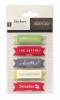
SUPPLIES
Click on the images to link to the products.
     |

TODAY'S POST SPONSORED BY | MY DIGITAL SCRAPROOM
ScrapRoom - A scrapbooker’s dream come true. And for a limited time, only $99. Your photos, stories, elements, and digital designs - all in one easy to use software, available for Mac and PC. Dual libraries for photos and digital elements; robust search and hierarchical tagging features; quickly create collages, journaling cards, and scrapbook pages, share or export to your home or online printer, and so much more. For traditional, as well as digital scrappers. Get organized, then get creative! Learn more. See our video here.
SPECIAL OFFER | Ali’s readers can save $30 and get ScrapRoom for only $99 by using code: "scraproom99". You will also receive free upgrades for all Version 1 updates. Offer expires December 31, 2013. Get ScrapRoom today!
SHARE A LINK TO YOUR DAY TEN
You’re invited to include a link to your DAY TEN page here. Please link directly to your post vs. your general blog link.


So cool. As I'm reading it I was wondering whether the elements were lose inside and by the end of reading yep! Lovely Ali. I can't believe how fast it's going. This is my first year of DD and am finding it's getting easier each day to put the layout together. Loving the process and only doing it once kids are in bed so living the Christmas season too. Yay. Thanks for so much lovely inspiration.
Sign in or sign up to comment.
I love the loose sequin idea, also the initial in wood veneer, I have never felt ok about doing that as we all have different surname initials, same reason I wont put on an album cover. Being self employed and working from home is awesome this time of year especially, surprising what you can get done throughout the day.
Sign in or sign up to comment.
I tried to put sequins in a page protector and they just clumped together in 1 big blob. Love how your page turned out!
Sign in or sign up to comment.
Gorgeous! Don't wish away the time ... mine are 23 and 16, and honestly there are always new things to treasure, but there are lots of everyday things that just can't be recaptured ... savor away!
Sign in or sign up to comment.
ONE WORD! LOVE!
Sign in or sign up to comment.
Both pages look great! Love the wood pile picture - I want to do that! And the tree with sequins - love.
Sign in or sign up to comment.
Oooo, LOVE!!! Ali or anyone reading, I'm in need of some help with embossing. I have a Martha Stewart heat tool for embossing, Recollections embossing powders, a VersaMark and a Martha Stewart embossing ink pad. Using these with stamps for my December Daily, but the embossing powders just come off- even after overnight. I just cant figure out what I'm doing wrong. Any advice would be appreciated!
This may be an elementary question, but are you heating the powder until it changes how it looks? It melts together and gets "plastic-y" when it's done. If so, it should stay on. (unless it's on flexible plastic maybe)
Hi! I'm using a glitter powder and a opaque one. It doesn't get shiny when I heat it, but it did crack the photo(lifted the print from the paper). I'll give it another try. Thanks so much!
:)
sounds frustrating, hope it works out! I have never tried to emboss on a photo before, that would be really cool.
Sign in or sign up to comment.
we have a real tree this year and I am loving/hating it...I love the smell of it and am reminded of my childhood Christmases when I go near it...but watering it is a pain and soon the needles will be dropping off...this is probably our last Christmas for a real tree, so I had better document that! Love the sequins you added to your PL!
Sign in or sign up to comment.
Love your reflection. I am liking sequins too. I have yet to work on any scrap related projects. My time for that tends to be from January thru March, then I'm all caught up. We'll see. Just trying to Just Be as well.
Sign in or sign up to comment.
I love seeing your finished pages, Ali! They keep me going, knowing it will come together and look good. I have to wait to order a bunch of prints all at once after Christmas. I am doing DD at the end of a similar book (a SNAP! book with 6x8 pocket protectors) that documents our first year in AZ. I am writing the journal cards as I go, though, adding some embellished cards, and slipping in a note for each day about what photos I took that I want to include while it is fresh in my mind.
I too am having to wait to batch print photos. I was hoping to do two prints; one about half-way through (probably this weekend) and the other after Christmas. I really wish I had photo printing capabilities at home. I once had an Epson Picture Mate Deluxe and LOVED it but when I got a new camera, the memory card is not compatible with the printer! Go figure:)
I am working through some hurdles with the content I want to include but it is coming together. As always, I enjoy the inspiration from Ali and all those whose link up their DD.
Sign in or sign up to comment.
..thank you for the inspiration! I too used the wood pile paper for day one to talk about our new fake tree that I absolutely love...and like you I embellished the paper. your creativity has really helped me bring mine to life.
quick question...or two...how can I close up the pocket if I don't have a sewing machine (...yet)? is there a secret to making the sequins lay flat in the pocket without falling to the bottom in a heap?
You might try washi tape folded over along the top?
And I anticipate that the sequins will fall to the bottom - I'm okay with that as the idea is that they will move around.
Sign in or sign up to comment.
Love it love it love it !!!
Sign in or sign up to comment.
Love how you draw a box (and lines) around your journaling. Lovely pages!
Sign in or sign up to comment.
Love, love, love that tradition metal tag from Tim Holz! Does anyone have any idea where I could get one?
Sign in or sign up to comment.
[…] protector and then stitched along the top of the page protector to keep all the loose embellishments from yesterday inside the […]
Sign in or sign up to comment.
Love love your pages!! Thanks so much for sharing. I was wondering when you do the journaling in the box with the lines and varying sized spaces, do you draw the box and lines first or do the writing first? It seems like you'd do the lines first and if that's the case do you write out what you want to say first so you know how much space to leave or which words will be BIG and therefore emphasized? I know that sounds like a lot of planning. :/ I should probably just play with it...
Yes, play :). I draw the lines first and then just start writing - I tend to have a general idea but it would be rare for me to write it out first to make sure it would fit.
Sign in or sign up to comment.
Hi Ali, just lovin' this project, thanks. Just wondering if you have a video tutorial for the 6x8 2013 date overlay? Lois
Sign in or sign up to comment.
Love this layout Ali. I am behind in finishing up my DD for 2013. I was wondering where the T Tradition Button came from and if they are still available? Thank you.
Sign in or sign up to comment.