Weekend Creative : May CK Love Board Book
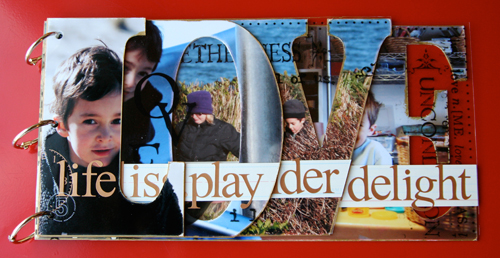
I received some requests over the last month for more in-depth instructions on how to put together the Love minibook featured in my column in the May issue of Creating Keepsakes magazine.
Here's the basics:
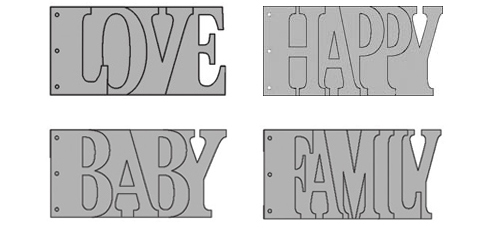
The Love album is made by BoBunny Press. There are lots of different words available - here are a few of my favorites:
[ links to individual books here: Happy + Baby + Family ]
The main thing to keep in mind as you begin this project is how your
photos will fit on the letters. I chose my photos based on the size and
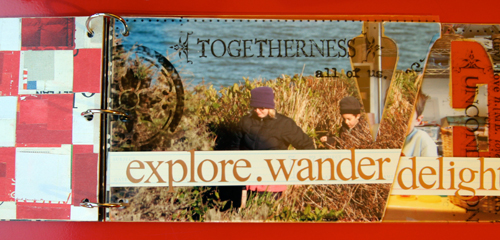
shape of the letters. For the "O" I chose a photo where Simon was
oriented to the left and there was some space that could be cut out for
the middle of the "O." I measured the longest part of each letter (will be different for each of the words) and made my photo just a bit larger so I would have some room to cut all the way around (and inside in some cases like the "O"). These books are 6 inches tall.
I used a craft knife for cutting the excess from the photos. For
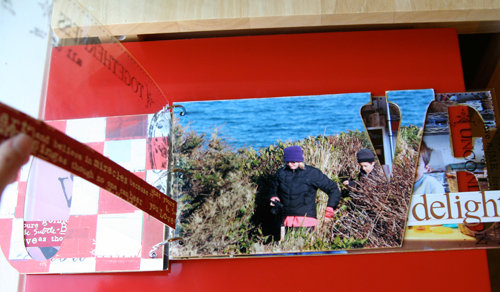
this process I actually adhere the photo onto the chipboard letter with
a glue stick, turn it over, and cut from the back side with my knife.
The formula I followed for this minibook is this: photo + patterned
paper + transparency.
The front side of each piece of chipboard is a
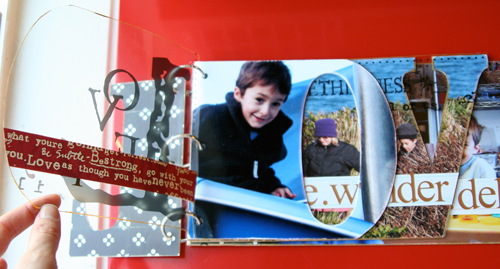
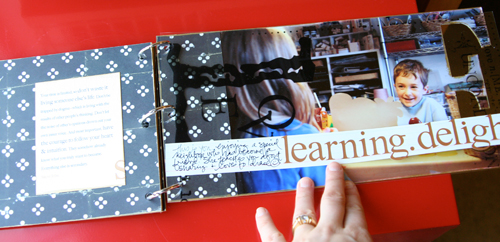
photo. The back side is patterned paper (or could easily be another photo if you wanted to include more photos). In between each page is a transparency that is cut to match following the outside shape of each letter (I did not cut out the inside of any of the transparent pages).
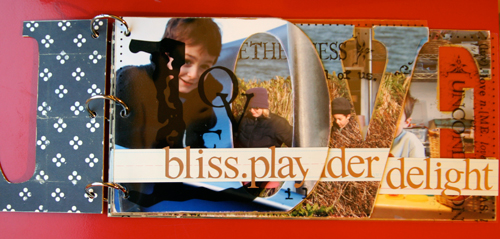
On top of each transparent page I placed a piece of journaling tape from Collage Press and backed it with 7gypsies gaffer tape (literally on the other side of the transparency).
The next step was adding the Scenic Route letter stickers on top of the journaling tape. I used single words that related to what was happening in the photos.
As you may notice on the image above my photo was not big enough to cover the entire letter "E." I can't remember whether I made a mistake when I was printing or if I meant to do it that way...either way I ended up continuing the patterned paper from the backside of the "V."
Just a bit of journaling on this one (see the small card above + the journaling tape). If this was a project where you had a lot to say you could use some lined patterned paper for the backs of each of the letters. There are so many different options to add more words or more photos.
My finishing touch was going around the outside of each letter/photo/paper combo with a gold metallic Ranger Acrylic Paint Dabber. You could also use a gold leaf pen to achieve the same look.
It's pretty much just a bunch of words + photos.
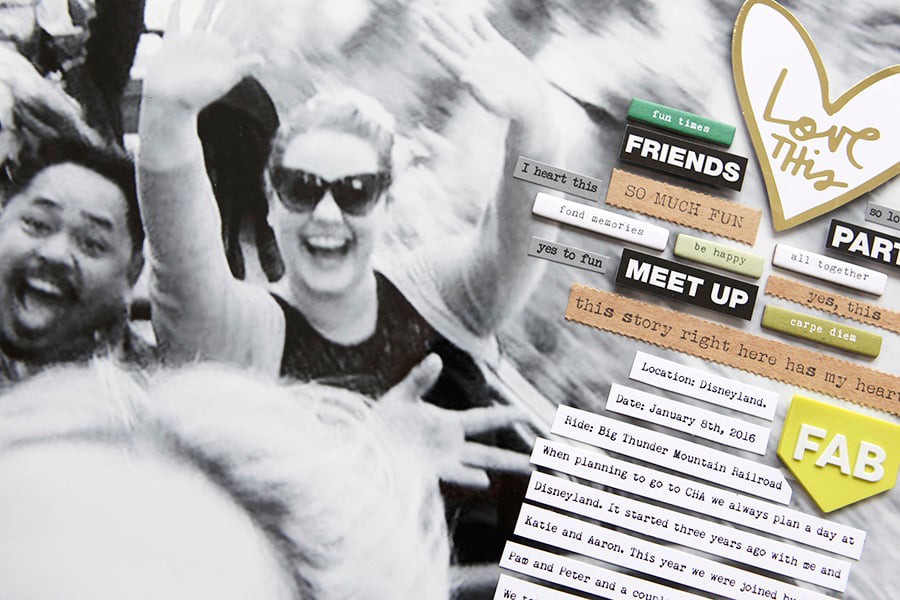
Your prompt this weekend is to create something using a photo or photos where you might have originally used patterned paper. Maybe you want to make a layout like this one I shared on Wednesday that pretty much takes over the entire page. This weekend, let your photos do most of the talking.
[ Project Supplies: Scenic Route Letter Stickers; Narratives Transparencies (I
looked for ones with words on them that would not completely cover the
photos - the ones I used are an older product + I am checking with
Karen to see where people can get them online. Check your stash at home
or your local store.); Collage Press Ledger Journaling Tape; 7gypsies Red Life Gaffer Tape; Patterned Paper: K&Company; Gold Acrylic Paint Dabber from Ranger (used this around the edges of each page in the album) ]




Thank you for the great inspiration! I had some cute pictures from our snow/ice storm last week that I wanted to do something with, so I ran out and made a little snow art to act as filler, took pictures, and put together the LOVE book for my husband (with a trip to Michael's, of course). He loved it, and I do, too. Pics on our blog, if you'd like to look.
Sign in or sign up to comment.