Tuesday Tutorials : Wilna Furstenberg : Coffee Cup Minibook

This week Tuesday Tutorials welcomes Wilna Furstenberg with a very, very cute coffee-cup inspired minibook. Wilna has put together a fantastic pacakage including three tutorial downloads for completing the project (available at the bottom of this post), a video on binding, and a Flickr gallery featuring other artist's versions of this project.
Here's Wilna:
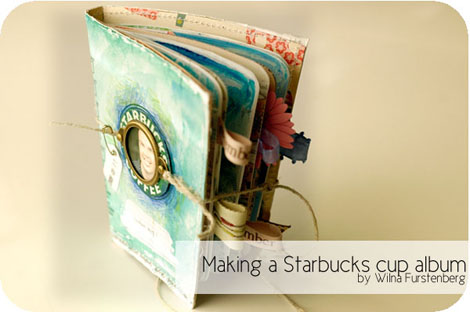
Three things that are my favorites: My Husband Jaco, coffee and drinking coffee with Jaco. So, one day I thought about making an album of these 3 things. Recycling has never been this much fun. I am just excited to be able to share this with you!
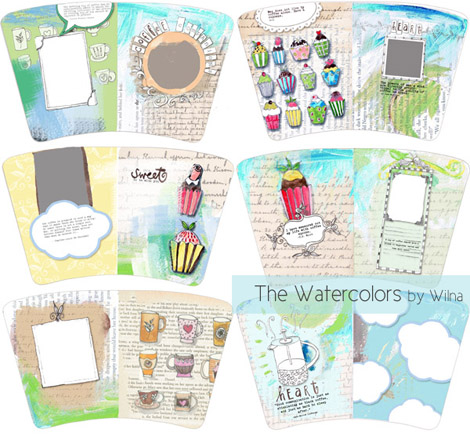
We will be making a little album from a tall size Starbucks cup. I designed 6 pages for you that you can download and print (see bottom of this post). Of course, you can use your own creativity too! This is so much fun to make. And if you are not a coffee drinker, customize it to your favorite drink!
We will be adhering these pages back to back to make 3 double sided pages. To bind them is a bit tricky so I made a video to show you how. As English is my second language, and I can’t always explain myself so well, i thought to rather show you. Don’t make fun of my accent behind my back :).
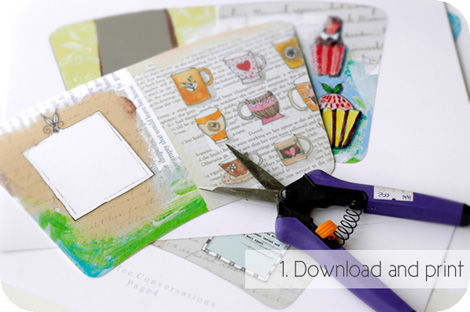
1. Download the PDF file called Watercolor. Print out the 6 pages. I printed mine on Kodak Matte photo paper. Make sure the settings of your printer is on Matte paper. Choose the highest quality your printer can print. You can also burn the PDF file on a CD and have it printed at your favorite print store. Each page is 11x8.5.
Cut out the 6 pages and now we are ready to begin!
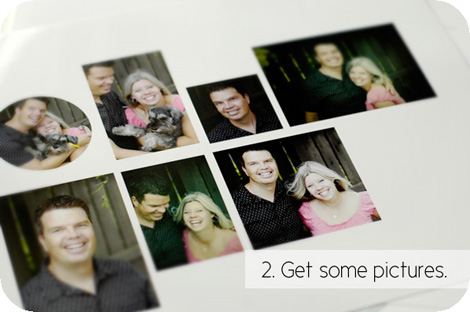
2. I used Photoshop Elements and cropped a few pictures and printed them out on one page. You need 8 pictures (this is flexible of course). An easier method is to use 6x4 pictures and just cut them smaller! I have included some specific measurements for the pictures - it’s in the class notes (one of the last pages): Download Class Notes.
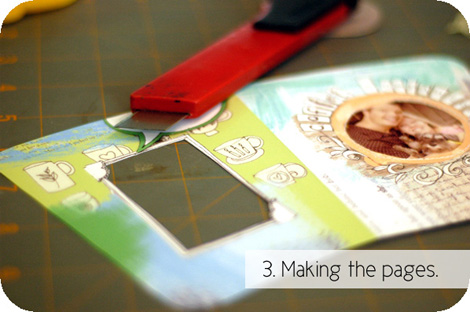
3. I added my pictures to the pages by cutting into the Watercolor pages with a craft knife and adhering the pictures from the back. If you look at the picture here, you will see I even stitched with my sewing machine on the picture. If you don’t have a sewing machine, you can add the stitches with your hand...or not!
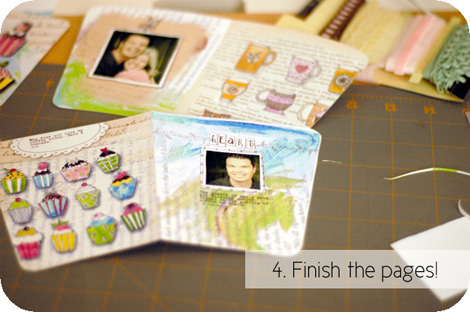
4. Important to note:
Finish each page completely with pictures and embellishments and journaling before we adhere and bind them. This will make it much easier in the end...(ask me how i know). Once you have added pictures and your choice of embellishments to every page, it’s time to adhere them together. This can be a little tricky, so make sure you read the instructions carefully!
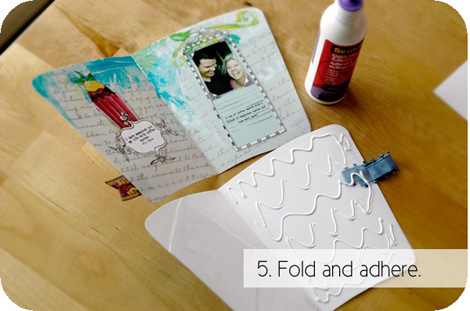
5. Important to note: Now you will choose a “friend” for each page and we will adhere them back to back. First, fold each page in half. One page will fold with the blank part inside and one will fold with the blank part to the outside. Now, glue (or double sided tape) the one half of the page (like in the picture) then adhere the other page to the one with the glue. I used Scotch quick dry adhesive. However, I think double sided tape will work better.

6. Now add glue to the other half and adhere the second half. By using this technique to adhere the 2 pages, you will find that they fold better. You might have to trim some bits of white paper on the edges.
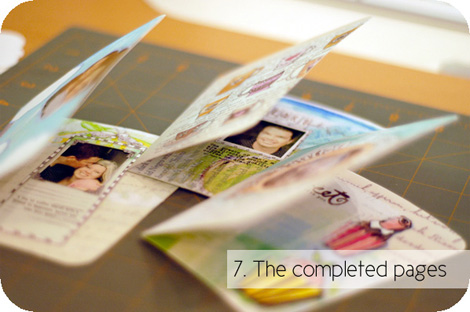
7. After you have adhered the 6 pages back to back, you now have 3 double sided pages. You will have to trim a little border here and there...(i did too). You can add some pages by just tracing one of these pages on some double sided patterned paper and embellishing it!
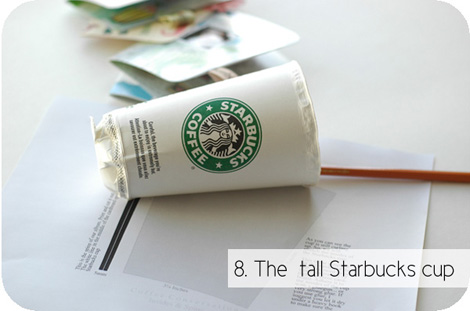
8. Find a tall Starbucks cup. Roll up the rim and punch out the bottom till your cup looks like this (I used the blunt side of a pencil to punch it out). If you can’t find a Starbucks cup, I have one that I scanned for you. You can download & print the PDF and cut it out (Download Templates)! Print the inside template (also shown in the picture).
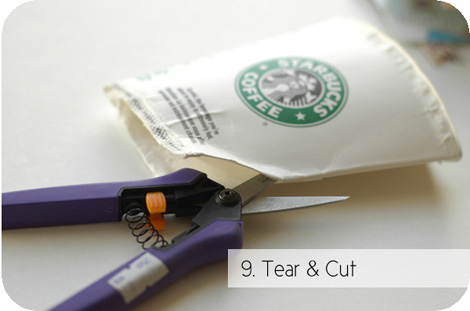
9. Tear out the bottom with your hands. Start by making a small hole with your scissors to give you a head start. If you want it neater, you can cut it out. Next you want to fold it flat and cut open the right side.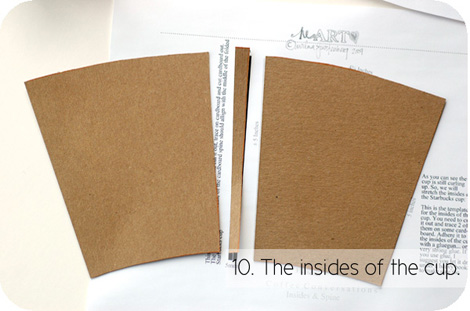
10. As you can see, the cup is still curling up. That’s why we are making insides for it out of cardboard to stretch it out and make it flat. You will find a PDF with a template for the insides of the cup. Print and cut it out and use it as a template to trace on a piece of cardboard (not too thick). You need 2 for each side and one little piece for the spine.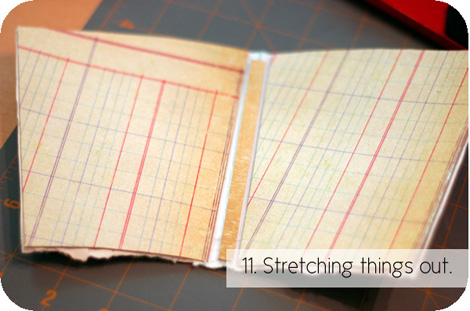
11. As you can see here, I covered the cardboard with some Making Memories Patterned paper. You can use any paper you want. Then the next thing to note is that I used a glue gun to adhere the cardboard to the cup. This worked really well as the cup’s insides are glossy and not any adhesive will stick to it. If you are using glue, make sure you press it under a heavy book for an hour or two. ALSO note: The middle of our cardboard spine should align with the middle of the cup’s fold.
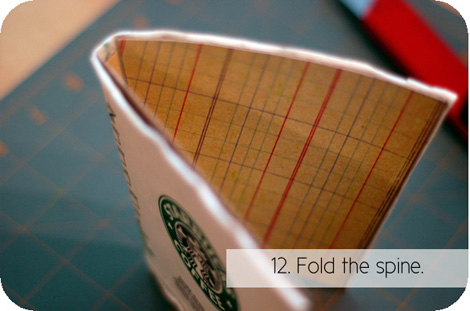
12. In this picture you can see how I folded the front and back cover around the spine. I folded each side and used a bone-folder to flatten the fold.
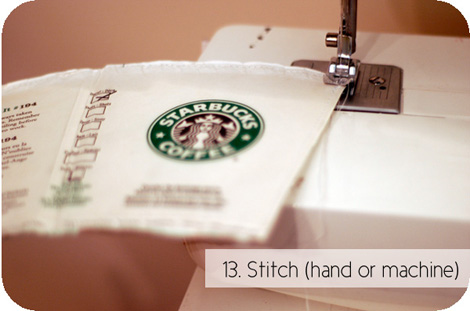
13. I used my machine and stitched around the edges of the cover. You can do this by hand too. I suggest you make little holes first with a paper piercer to have a little mercy on your hands. : ) The stitches will prevent the insides of the cover curling over.

14. To finish the cover, I used some watercolors and painted the outside. There is really no right or wrong here. Just keep a kleenex ready to dab away what you don’t like. I first painted with blue and then added some green while the blue was still wet to get that blended look.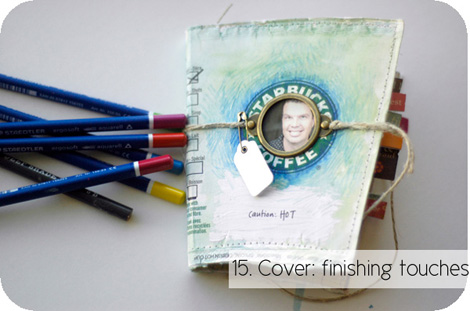
15. Here is what I did to add the finishing touches to the cover: I used Staedtler watercolor pencils (blue and green) and colored around the Starbucks Logo. The I adhered a Making Memories Vintage findings label holder and some string + the little lag. I used a hot glue gun to adhere the string to the front of the cover just so it will stay put. I also covered the text on the cup with paint.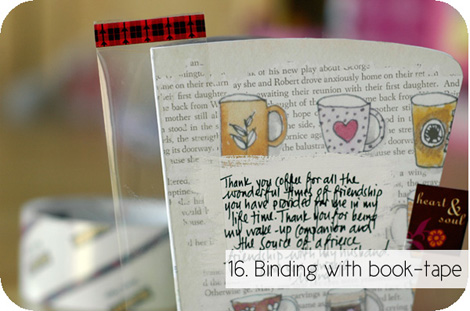
16. I made a little video explaining how to bind the album:
Binding the little Album. from Wilna Furstenberg on Vimeo.
Now we will bind the 3 double sided pages together. Take one of the pages and adhere a strip of book tape (I used Scotch Book Tape) on the fold, like you can see in the picture.
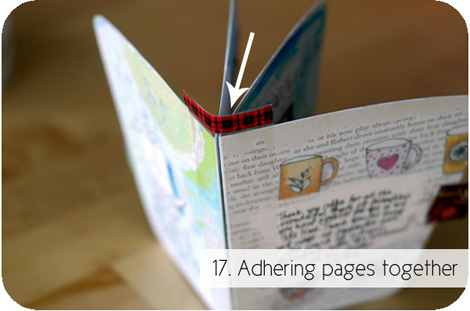
17. As you can see in this picture, the next step is to line up the second page so that they align perfectly. Now, simply fold the tape over and trim the edges. NOTE: you will find that in the middle of your new booklet, there will be a sticky bit (see the arrow) where the tape used at the back will show. Simply cut another strip of tape the length of the pages and adhere it on the inside to cover the sticky bit and to make the binding a bit stronger.
18. Open the inside pages where you can see through the Book Tape. Now position the insides on the spine of the cover. I used my Machine to stitch though the tape to adhere the insides to the cover. I have done it many times using needle and thread too... you don’t have to stitch through the whole length, a couple of inches in the middle will be sufficient.
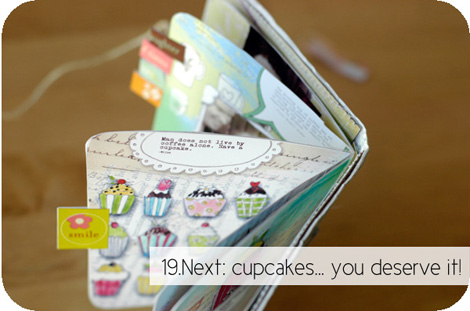
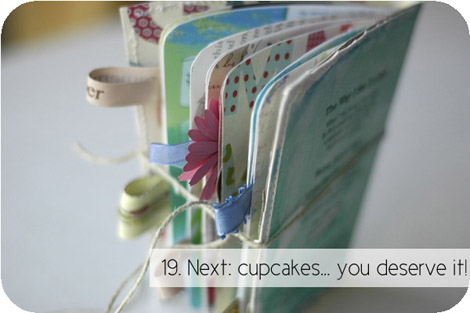
And Viola! Your album is all done. Now you have permission to eat a cupcake.
To see some more examples of this album, I asked some awesome designers to make one too and this is what they came up with: FLICKR gallery. I was so inspired and I am sure you will be too.
Downloads:
Download Class Notes
Download Templates
Download Watercolor


This is so fun. I LOVE all the bright colors used. This is totally my type of project.
Sign in or sign up to comment.
WOW! This tutorial is going to be part of my things to do during my girls scrap weekend in 3 weeks! I drink Caribou coffee all the time and save the hand protectors with a vision of creating "for the love of coffee". Thanks Wilna and also Ali for sharing!!!
Sign in or sign up to comment.
I love Starbucks! This is a brilliant tutorial, thank you! :o) I've used the Starbucks cupholders before for an album, which turned out really nice. But this is much cuter!
Sign in or sign up to comment.
a beautifully coloured tribute. and those hand-drawn frames are too cute! Go Wilna & Ali!!!
Sign in or sign up to comment.
seriously SO CUTE!
and clever!!! LOVE IT!
tara
Sign in or sign up to comment.
oh this is great! my husband & i go to starbucks for a cup of coffee and enjoy the moment without our daughter. it's going to be cool to make this mini album. many thanks to wilna & ali!
Sign in or sign up to comment.
Gosh that's cute! Very clever!!!
Sign in or sign up to comment.
WOW! blown away by this! All the more reason to get some STARBUCKS!!!
Sign in or sign up to comment.
This album is so wonderfull, you've made recycling FUN!! Thanks for the inspiration Wilna and Ali.
Sign in or sign up to comment.
I am blown away at the creativeness, but also the generosity in sharing these templates and class notes with us! I would have happily paid for these but wow!! Thank you so so much, I can already think of three or four people these would be perfect little gifts for.
Sign in or sign up to comment.
Oh my gosh, this is just SO adorable. I have wanted to do an album featuring Starbucks, but never had any inspiration, until now! Thank you so much for the wonderful idea and templates and everything!
Sign in or sign up to comment.
so clever and so inspiring. thanks for creating all the templates, video and instructions to help us follow along, wilna! i can't access the flickr gallery-- anyone else able to view it? i'm thinking of making this and using the hand protector as a book band to close the album.
Sign in or sign up to comment.
what an interesting and creative tutorial - thank you! i've been toying with upcycling and must try this.
Sign in or sign up to comment.
very cute and creative!
Sign in or sign up to comment.
She has some great style! Thanks for sharing her with us!
We were decorating this weekend and I can't wait to see your pumpkin pitcures this year! Hope you're all well!
Sign in or sign up to comment.
I love this project,I did used before a Starbucks cup holder for a mini albums,but this is so cute.Thanks for shearing Ali.
Sign in or sign up to comment.
This is absolutely adorable - and thanks SO much for the detailed instructions and downloads. Makes it so easy to reference. Thanks for sharing your talents!
~Monda
Sign in or sign up to comment.
OH! MY! GOODNESS! This is fantastic! I love it! The cleverness factor is HUGE! Wonderful!!
Sign in or sign up to comment.
WOW!!! that is so neato!!! i simpley MUST make 1!!! i love it!!! thanks so so much for sharing!!! ♥
Sign in or sign up to comment.
What a clever project! Thanks for the pdf downloads & instructions too. Wilna you are a star!! ( & I love your accent---be proud!! I so wish I knew a 2nd language... *sigh ) Thanks Ali for these fun Tuesdays!
Sign in or sign up to comment.
Absolutely charming!
Sign in or sign up to comment.
Oh wow, awesome idea! I'm a crapbooking fanatic so I really love cute, creative stuff like this! Thanks for the idea!
Sign in or sign up to comment.
extremely cute!
Sign in or sign up to comment.
Fabulous book! And your video on binding was very clear. I can not wait until I go to Starbucks next (probably will not be til Friday though!) and buy a cup of coffee! Thank you for this wonderful project.
Sign in or sign up to comment.
I love this idea! There's so many Starbucks cups being thrown out, it's great to see a fun and creative way to re-use them (:
I'm going to have to tell my sister about this, she's a Starbucks addict!
Sign in or sign up to comment.