Scrapbooking With Your Computer : Downloading, Unzipping & Organizing Digital Elements
Welcome to Day Two of a one-week series on the basics of scrapbooking with your computer. If you are just joining in today you can check out the previous posts here.
Below you will find a link for a small free element for you to download, unzip, and use. I will be incorporating it into the topics that will be addressed later this week - it's meant to give you a chance to actually practice going through the steps. If this is your first time downloading an element you may want to read the information below before clicking on the link.
Today we are diving in and addressing the topics of downloading, unzipping, and organizing digital elements. As with many things in life, there are a variety of different ways all of these things can be done - many different approaches that end up at the same final destination.
Let's take a look at my process for getting these digital elements into my computer.
DOWNLOADING
After you have made a purchase from an online scrapbook site, or located a free element, the next step in the process is downloading the package to your computer. Most sites give you immediate access to your files. Check with the store you are purchasing from for specific details on how you retrieve your purchased files.
Depending on what browser you are using (such as Firefox, Internet Explorer, Safari, etc.) when you click the link to download you will be asked what you want your computer to do with the file. Initially I save all my downloaded files to my desktop - I like seeing them there before I move them to their permanent home.
You can designate where your downloaded files are saved to in the Preferences window of your web browser. See the window for Firefox below:

Here's a look at the message I receive when I click on the download link above:

By selecting this option at download, when I double click the zipped file on my desktop it automatically unzips the folder using Stuffit Expander.
UNZIPPING
To unzip or "expand" downloaded files you need an unzip program. If you try to open the zipped file in Photoshop or Elements it will not work. It is likely that you may already have a program to unzip files on your computer. The program I use is called Stuffit Deluxe which allows me to both "zip" and "unzip" files. Unless you need the ability to zip files I suggest their free program: Stuffit Expander. Here's a list of more free unzip programs.
When you unzip the file (to do this I double click on that file) you should see a folder appear in the same location with the same name minus the .zip extension.
Inside that folder you will find something like this (click the image to view it larger):

NOTE : If by chance you end up with any files beginning with an underscore (looks like this "_") you can delete those files. For some reason when I zip files here on my Mac and they are opened on a PC they end up with these extra random files. If you purchase any of my products from Designer Digitals this will not be an issue as they are re-zipped before being added to the store.
The folder you are downloading today includes:
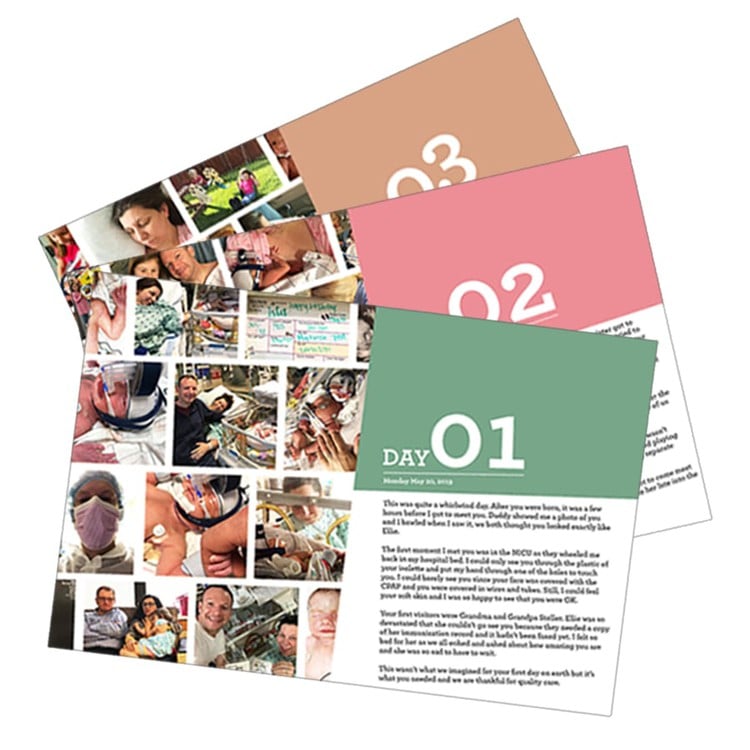
1. A preview file that let's you know what's inside the package you have downloaded. Sometimes this preview includes all the elements and sometimes it only shows some of the elements (meaning you will need to look inside the folder to see all the elements that are included). These previews are generally the same previews you see in the shopping section at online stores.
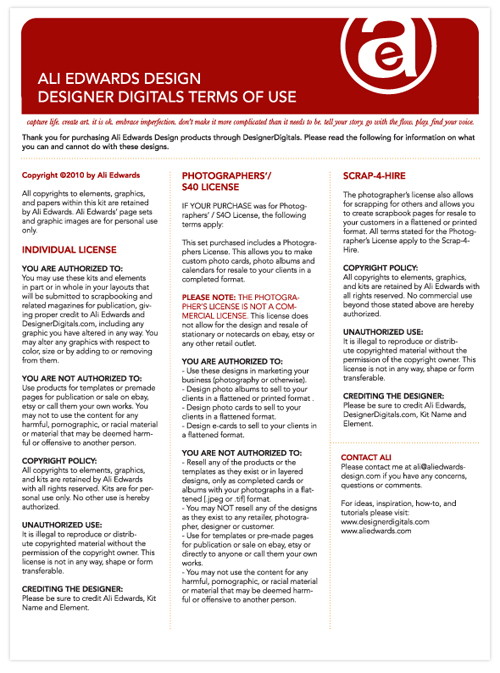
2. A "Terms Of Use" or "TOU" file that lists what you can and can not do with the elements depending on the license you selected at the time of purchase. This is often a PDF or a text file. At Designer Digitals you can select the Photographer's License which allows you to create custom photo cards, photo albums, and calendars for resale to your clients in a flattened/completed format.

3. The element(s). In the case of this download there is just one .png element. This is what you will open in Photoshop or Word.

4. Some products include an .abr file which is to be loaded into your brush palette in Photoshop or Elements (more about importing that tomorrow).
After I have unzipped the file and see the folder on my desktop I put the .zip file in the trash. Many people save all their zipped files or burn them to a DVD or store them on an external hard drive (which is smart if something happens to your main hard drive or the drive in which you are storing all your elements). I regularly back up my collection of elements to a second drive.
That's the basics of downloading and unzipping. Depending on what programs and operating systems you have on your computer things will likely look a little different.
ORGANIZING & STORAGE
There are lots of different ways you can go about organizing and storing your digital elements. What you choose will likely depend on a number of factors including hard drive space, time, interest, level of organization, number of products, amount of digital scrapbooking you plan to do, etc.
From reading a bit about this online I have found that people use a variety of different programs to organize their digital elements including ACDSee, iPhoto, Adobe Bridge, Picasa, and Shoebox. I believe the key in all those systems is tagging the products to make searching easier. This is a very informative thread on organizing your elements at Designer Digitals (it is a bit advanced if you don't have any experience...but reading is how we learn). JessicaSprague.com offers downloadable, self-paced organizing classes for ACDsee and Picasa.
To be honest, I have not tried any of those programs for organizing my digital scrapbooking supplies.
Rather than use a specific program, after I download and unzip I choose to store my digital elements (both the ones I create and the ones I download) in category folders on an external hard drive: LaCie d2 Quadra Hard Disk 1 TB. This drive is backed up to a second drive just in case.
This simple organization has been a really good system for me. I think part of the reason for this is that I don't have an overwhelming amount of supplies and I tend to know what I like and am fairly particular about what I download. Just as with my paper supplies, I have found that less is more in terms of getting the story told.
Here's a look at how I organize my category folders (click the image to view it larger):

My current categories include:
Actions
Albums
Alphabets
Brads, Etc
Christmas
Embellishments (includes subfolders: Butterflies, Circles, Clocks/Time, Dates, Element Combination Packs, Hearts, Metals (no words), Ribbons/Strips, Stars, Tags, Words)
Journal Templates
Layered Templates
Masks
Negative Sleeves
Overlays
Paper_Patterns
Paper_Solids
Photo or Frame Clusters
Stitched
These categories were created after I had started collecting supplies. From what I was using most I began making the folders and organizing products within each one. I have made adjustments here and there and combined or expanded folders based on my work flow.
As I was working on this post yesterday I made a few changes to my structure. One of the big changes was eliminating the Full Kit category. Instead of storing Full Kits (packages with a bunch of coordinating elements) together I went ahead and separated the contents out into other folders: mainly Papers_Patterns and Element Combination Packs (within the Embellishments folder). The reason I did this is that I have found that I rarely use a bunch of elements from one kit on the same layout. I am more of a mix-it-up embellishment user. I find that I like to take one thing from this package and one thing from another package and add them together.
The important point here is that your organization should match the way in which you work with the products. The other important point is to be flexible and ok to change things up when you find that they aren't working as well for you as you had hoped.
Here's a look at the sub-categories inside my Embellishments folder (click the image to view it larger):

Later this week I will address the way in which I go about selecting which supplies to use. I usually have a general idea of what I am looking for - such as a heart shape - and am able to go right into the Hearts sub-folder and select one.
As someone who does traditional, hybrid, and digital I find this method of organization to work really well.
I'd love to hear about how you organize your digital supplies. What works best for you? What have you tried that didn't work so great and what changes did you make?
WEDNESDAY : Working With Hybrid Elements (what I use the most and why)
Tomorrow we will take a look at using digital elements on traditional layouts. I will walk you through my process and talk more about the different products that tend to work best for hybrid scrapbooking.


Hi Judith - I organize my photos by year and month. It has been the simplest method for me so far.
Sign in or sign up to comment.
I am loving your tutorial. A very large part of my scrapbooking (paper and digital) is learning. Learning anything that I do not know, alcohol inks, stamping and now digital. At 70 yrs, I am trying to keep my brain functioning. Thanks for the thereapy.
Sign in or sign up to comment.
I think that is awesome Judy!
Sign in or sign up to comment.
Ali - just thinking about diving digi (more than the little bit I do which is VERY basic) this year, and the external hard drive info was key for me, so thank you! I was wondering how the heck everyone's systems even ran given the size of all the freebie files I ever downloaded. It had frightened me into "deer in the headlights" at the time, and I never really dove into digi because of that. I love that when I get past the ignorance of something, it totally blows the door open wide :) :) THANKS! Heidi
Sign in or sign up to comment.
thanks so much! I really didn't know how to start this, now it shouldn't be as intimidating!
Sign in or sign up to comment.
I organize my downloads the same way as you...the only thing I don't like about it is that sometimes the designer doesn't label their individual items with their name & since I tend to unzip a bunch of files at once, it's a pain to change all the names & sometimes I forget who made it. I guess I should unzip as soon as I download so I'm not overwhelmed.
Sign in or sign up to comment.
This series is so great. Thank you! I've wanted to try digi for a long time but I just get so frustrated with Adobe. I've had luck with Storybook Creator but I want to be able to have a little more flexibility. I see the great downloads available all over but I'm overwhelmed on where to start and even if they'll work. Your free download and instructions made it a win-win situation for me. I created an Adobe 12x12 I am pleased with and will definitely be doing more...and popping over to Designer Digitals of course to buy some of your beautiful "supplies" :)
Sign in or sign up to comment.
Very helpful tutorial, Ali. Your instructions are always very clear and concise. And your kids are cute, too!
Sign in or sign up to comment.
Hi Ali,
one other quick question, when you file your digital files do you keep them in their folder with the permissions and preview jpg? Or would you just have all you paper in a paper folder by color?
Thanks for covering this topic this week. I am in the process of doing the Design Your Life course completely digital so I have been thinking a lot about the digital process.
Candice
Sign in or sign up to comment.
Sarah...
Thanks for the iPhoto tutorial and link. I'm headed there next! I don't think I use iPhoto as much as I could.
Sign in or sign up to comment.
Ali...
I'm super new to the digital world. Will you throw out just a sentence of what all the labels are? I'm not familiar with some (i.e. actions, masks, etc.). Thanks so much for this week's focus! Love it.
Sign in or sign up to comment.
Ali~
Thanks for posting the tips! I currently use iPhoto, I love being able ot tag things....for me the most frustrating thing with iPhoto is ihave my digi stash in 1 library, and my photos in another library, so I just end up needing to "relaunch" the iPhoto library...I use iPhoto Library manager to help with this....I also like using Aperture for organizing my pics.......I am on an older mac~powerbook~ no intel:-( Hoping to get a new Mac by the end of the year.......
Sign in or sign up to comment.
HI Ali! This is amazingly helpful. I thank you so much. I just started down the digital path and have downloaded from Designer Digitals. My storage area is getting "junked up" with what I now understand may be the zipped files that I no longer need. I am going to go ahead and delete these.
Is there a way to tell, looking at a zip file, if it has already been unzipped? I really do seem to have multiple copies of things.
Thanks so much,
Leora
Sign in or sign up to comment.
I just wanted to take a moment to thank you for doing this. I am a traditional scrapbooker who is extremely intimidated to dabble in digital scrapbooking. It has always felt like I didn't know where to begin. But once you break it down into pieces, it doesn't seem so overwhelming after all! Thanks again, I know all the detail you're putting into your blog must be time consuming!
Sign in or sign up to comment.
I just wanted to add that, for those who have a Mac with OSX or above, I found that the preview files for kits did not automatically show up on the outside of the kit folder. I just had lots and lots of plain blue folders. This made finding things super difficult when I wanted to make a layout, because I had to open up each kit to see if it was the in the right color palette, etc. It took me forever to find someone who could tell me how to copy and paste the preview jpgs onto the outside of the folders. If anyone has this issue and would like to know how to do it, I'd be happy to share the process.
Sign in or sign up to comment.
This is a GREAT comment Jan - you know, I actually never thought to do that. Fantastic idea. Thank you.
Sign in or sign up to comment.
I don't think there is a way to know, just by looking at the zip file, if it has already been opened (I could be wrong).
Sign in or sign up to comment.
hey holly, you prolly need to retag everything and make sure that acdsee is set to the default viewer for pmgs, jpegs and psd files...
Sign in or sign up to comment.
can you explain drop shadows? do you use them?
Sign in or sign up to comment.
I think that I ight be able to answer the question HOlly S has concerning ACDSee. My external hard drive crashed last summer and I couldn't get anything in ACDSee to open. Here is the thing, the files are not really stored in ACDSee. They are on your hard drive and whenyou tag thingss in ACDSee yu are tell the program that is where they are stored. If you move them or the HD crashes it doesn't know where they are. There are ways to move them from one HD to another and redirect ACDSee to the location. In my case I had everything backed up tp another EHD but SCDSee was still looking for the first one. I finally figured out that if I opened ACDSee > directed it to the back-up files on the other EHD and tagged items again it would then recognize the new location.
I hope that this helps. There is a great site that answers a lot of questions about ACDSee. She teaches the class at Jessica Spragues site. digiscrapinfo.com
Sign in or sign up to comment.
I organize in two main folders on my EHD: Digital Supplies and Digital Designers. The Supplies folder is subdivided much like Ali's. The Designer folder is subdivided by designers. When I download and unzip a new collection, I first put the whole thing into the appropriate designer's folder. Then I place each individual item in its appropriate supply folder, much like you would unpack and sort traditional supplies after a shopping trip. I view my supplies in Bridge, i.e. all my blue paper, brads, stitching, etc. If I want to look at the whole collection, or want to be sure I know who created it, I use the designer folder. Every so often I back this up to a second EHD as well. I don't rename or tag anything.
Sign in or sign up to comment.
Hi Amy - I actually don't use drop shadows (unless they are already on a product). I am ok with the mostly "flat" look. I think it's also because I am trying to keep things as simple as possible - aiming for the least amount of steps to tell my stories :). There's a great tutorial at Designer Digitals on working with drop shadows available here: http://www.designerdigitals.com/digital-scrapbooking/supplies/product_info.php/products_id/4937
And here's a link to a search at Designer Digitals with a bunch of different threads talking about drop shadows: http://www.designerdigitals.com/digital-scrapbooking/community/search.php?searchid=735506
Sign in or sign up to comment.
Hey again Holly - I also noticed that a couple other people responded to your issues in the later comments on this post :).
Sign in or sign up to comment.
Amy does that mean that you have two of every file?
Sign in or sign up to comment.
I do, Ali. It really doesn't take long to do this nor does it take much space.
Sign in or sign up to comment.