Yes, Anna | Traditional Scrapbook Layout
As I mentioned in my Project Life post this past Tuesday, getting back into the practice of creating layouts has been on my mind.
So I'm making it happen.
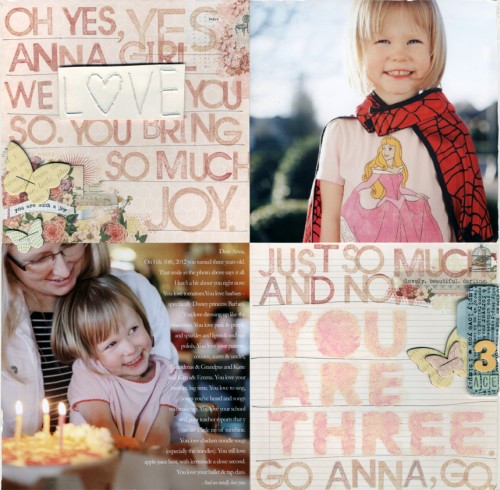
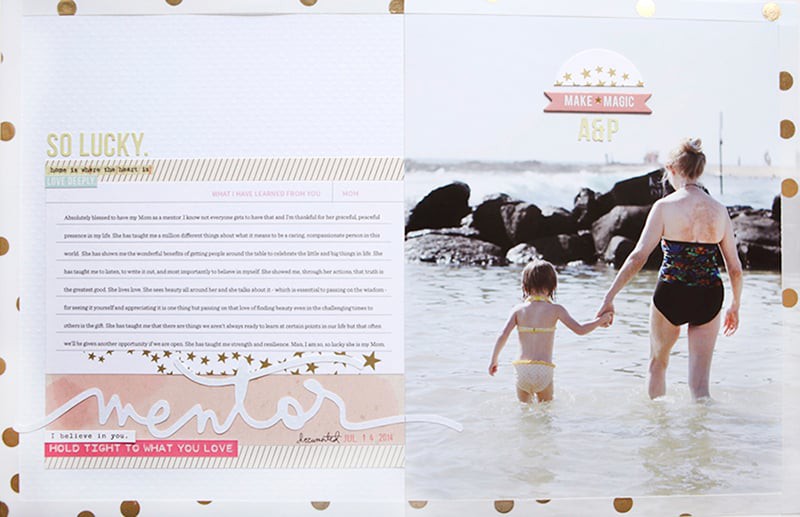
Here's the result of my play from yesterday:
A birthday page that doesn't really scream, "Hey! I'm a birthday layout."
And here's a run down of how this one unfolded:
I knew I wanted to use some of Rhonna's new 6x6 papers for My Mind's Eye.
The simplest arrangement was to have 2, 6x6 papers + 2, 6x6 photos in opposite corners.
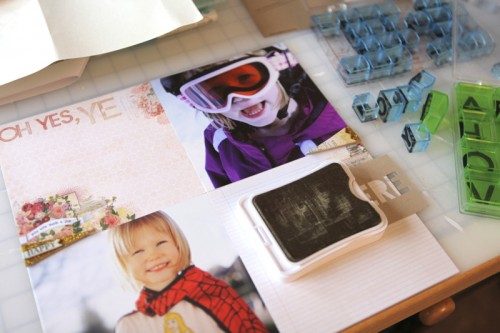
First up was stamping out a sentiment in the top left quadrant. I used two different Educational Insights stamp sets - the blue one and the green one (jumbo). The blue ones had some red ink left over on them so when I stamped them into the Close To My Heart ink (Bamboo) it came out a mixture of colors (totally fine with that).
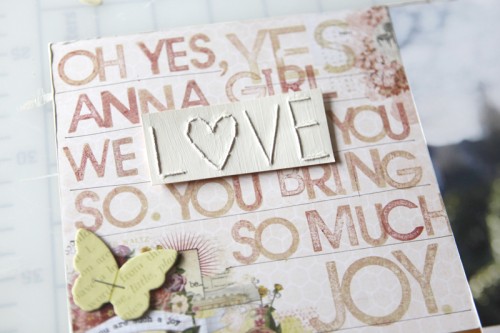
Here's what that area ended up looking like:
Under the stamped words I drew lines with a .01 black pen.
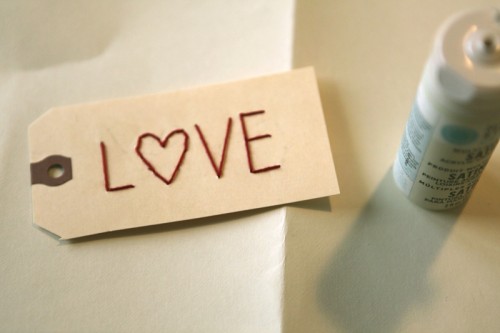
The "love" piece is from one of those custom tags from Amy Tangerine & Two Peas.
Here's what it looked like before:
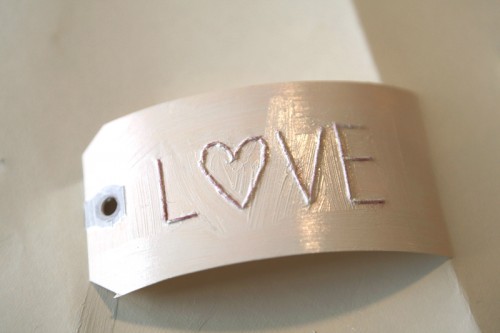
For a little something different I decided to paint it white.
Here's what it looked like with one coat of antique white paint:
I did a second coat before cutting the stitched portion from the tag and adding it to my stamped journaling.
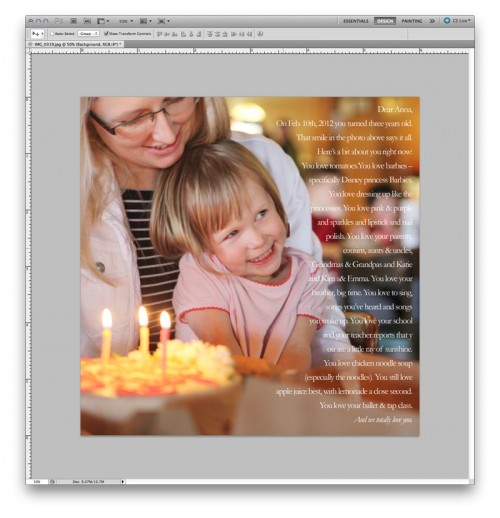
As I was working on that I decided that I wanted to use journaling from this post. The easiest way to add that to my page seemed to be to print out a new photo and add the journaling right onto the photo in Photoshop:
Journaling font is Garamond.
Because of the visual "weight" of this photo (heavier on the left) I decided to move the other photo of Anna up to the top and put this one in the bottom left corner.
My next thing to tackle was the bottom right corner. I started with another sheet from Rhonna's new 6x6 papers for My Mind's Eye.
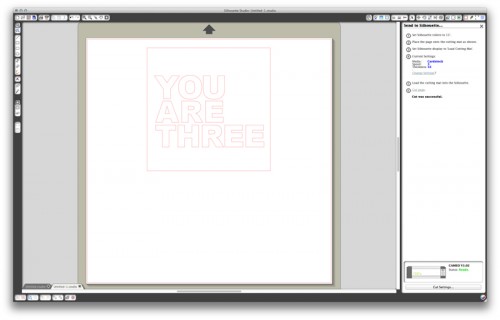
I decided to play around with using my Silhouette to create a stencil. In the Studio software I created a 6x6 square and added text that said "you are three" using Arial Bold.
Remember the other day when I said that something's up with my machine not making "clean cuts"? It's still not cutting right (even with selecting heavy cardstock, double cut, cleaning out the blade with a pin, and using a new cutting mat).
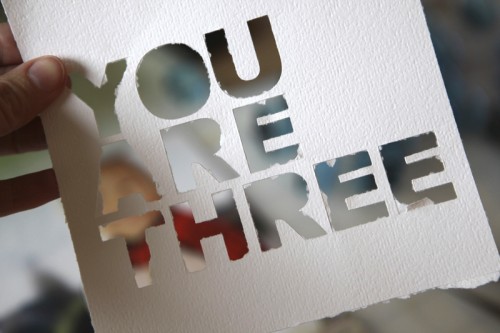
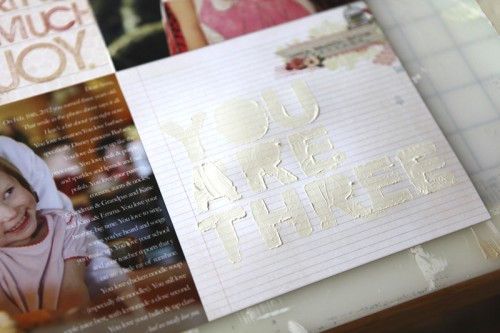
But because I experimental play-mode anyway I was willing to see what this would look like as a stencil. Here you can see how messy the cut was (which is actually a "look" you could go for):
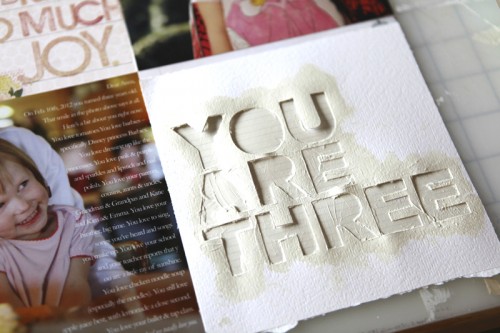
Here's where I laid it right down on my page and painted on top:
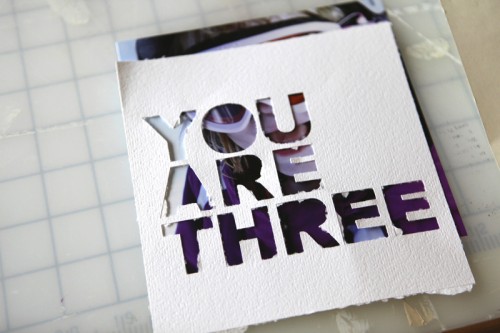
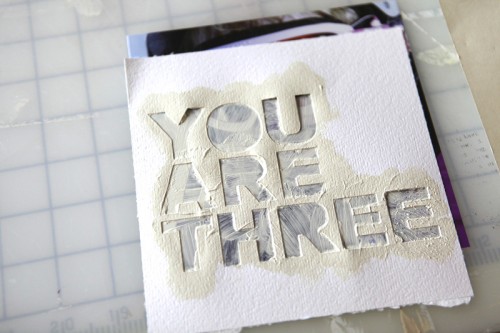
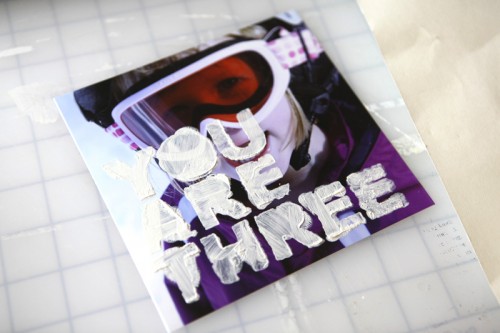
For the sake of experimentation I also wanted to see what it would look like if I used this same idea right on top of a photo. I just grabbed the one I ended up not using on this layout:
Okay, that's kinda cool. Needs a bit of work but with the right photo, hmmmm, I think I'll be playing with that idea a bit more.
Back to the layout.
Here's what it looked like after I removed the stencil:
From there I drew some more lines with a .01 black pen and added more stamped words.
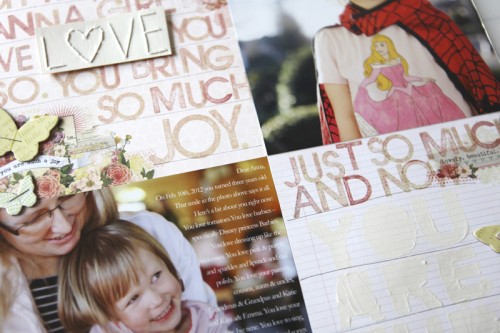
As you can see more clearly here, the cream paint ended up being too light.
When I came back into my office tonight I ended up adding a new of layer of cream paint and then a layer of pink paint using the stencil again to make the words stand out a bit more.
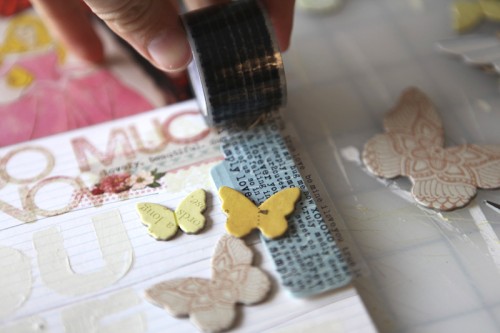
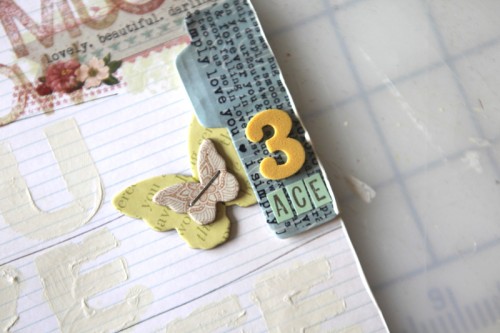
Here's a close up look at the details along the bottom right edge:
On top of a label from Studio Calico I added some of that great love tape from KI Memories.
On top of that I added Anna's initials with little letter stickers from Dear Lizzy and an American Crafts foam 3. The chipboard butterflies are from Sassafras and are available here through Studio Calico.
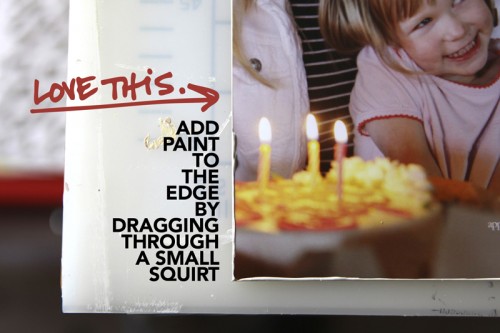
The final thing I did was add a painted border all the way around the layout. A simple way to do this is to put a little dollop of paint on your work surface and drag each edge of the page through the paint in one motion. Love that.
You can find that "love this" word art as part of a digital set here.
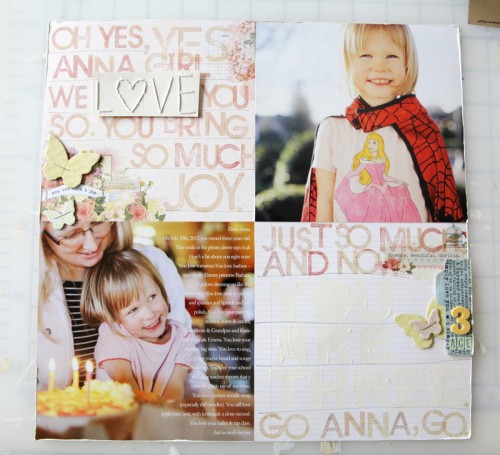
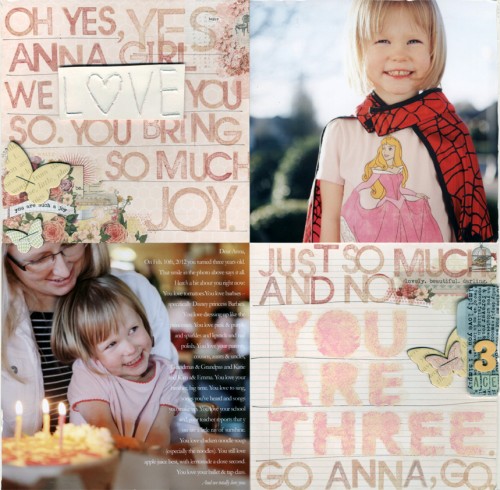
Here's a look at the completed page again:
SUPPLIES
Click on the images to link to the products.



PLEASE do post if you get any good info on getting better cuts with your Silhouette and blades--I am also having issues!
Love the layout and your creative ways!
Sign in or sign up to comment.
Very cool layout. Thanks for putting in your steps and thought process, esp the things that did not work or maybe you didn't like as much. Its good to see how fellow scrappers edit and how projects evolve.
Sign in or sign up to comment.
ali, you re so great at traditional layouts. I was bummed when you started talking about Project Life, b/c i am not a fan of PL and love traditinal scrapbooking. You re so talented, and i love your artistry. I hope that you never stop creating traditional layouts. c.
Sign in or sign up to comment.
Dear Ali, I like seeing that you haven't left traditional scrapbooking behind. I'm personally not a Project Life fan and am more in favor of traditional scrapbooking. You are so talented.
Sign in or sign up to comment.
My Silhouette has a love-hate relationship with different card stock brands. My dear, beloved bazzill, it hates. Bazzill c/s frays and never cuts cleanly (regardless of how new the blade or mat is). But American Crafts card stock...that is my Silhouette's friend. Ever since I started using AC c/s exclusively for my die-cutting, I have been much less frustrated. I actually overheard a rep @CHA say that the AC c/s's fibers were formulated for die cutting, and that just reaffirmed what I had learned on my own. Hope this helps.
Sign in or sign up to comment.
LOVE, LOVE, LOVE this! Thanks for sharing the process. Gives everyone really cool ideas. So much to look at here, yet it's not so, so busy that it's distracting. This is so motivating to pull me back into traditional from digital and play a little too.
Sign in or sign up to comment.
Beautiful!
Sign in or sign up to comment.
Ali I just love your work!! This page is just adorable!
You are seriously so inspirational. Your pages are always so clean and simple. Thanks for sharing your passion and love for scrapbooking. You are amazing!
Sign in or sign up to comment.
OMG, I didn't realize she was 3 already!
Simon and Anna are growing so fast!
Sign in or sign up to comment.
[...] Yes, Oh Yes Layered Template. This one is based on this paper layout: [...]
Sign in or sign up to comment.