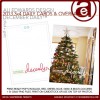
December Daily® 2013 | Interior Pages & Video Overview

On Monday I shared how I put together my cover and title page for my 2013 December Daily™ album.
Today I'm sharing my preparations for the interior pages, including a video overview you will find below. These pages will become the home for my daily stories of December.
For December Daily™ my "pattern" each year is choosing one single story (or one moment) to document/highlight each day. Sometimes it's Christmas related and other times it's just an everyday thing like going to the dentist. In the past I have set up the pages in advance and fit the story to each day. This year I'm wanting more freedom to not be stuck with a 6x8 page protector if what I really want are 2, 3x4's and a 4x6. It's worked just fine for me in the past but this year I'm ready for a little more creative freedom.
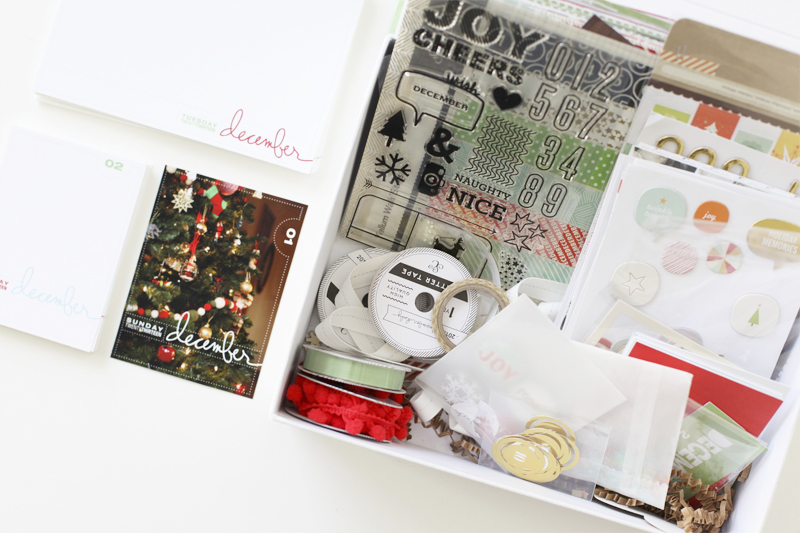
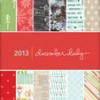
This year I'm primarily using items from the Studio Calico December Daily™ 2013 kit. There are a limited number still available if you would like to purchase this kit for your holiday documentation.
DO SOMETHING NOW.
Even if you don't plan to pre-make all your pages it's a pretty good idea to set aside some time to think ahead about your album.
Think about what works best for you - you - not your best friend or your neighbor or your internet buddy. It might be planning out some pages, it might be printing journal cards, it might be creating a bunch of see-through elements like I did, it might be pre-making all your pages or simply gathering up all your supplies into one box or onto a tray.
I think the key is to do something now so you aren't completely overwhelmed when December hits.
THE TASKS I'M DOING BEFORE DECEMBER
- Complete my cover and title page.
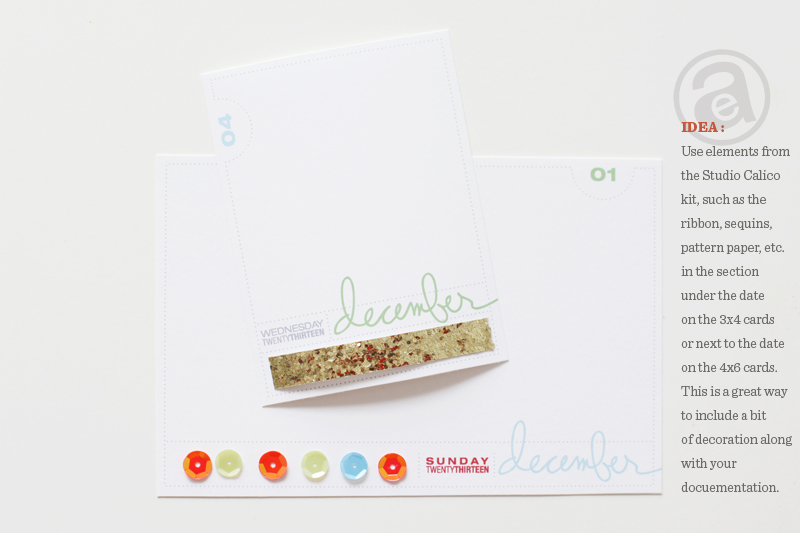
- Print out the 3x4 and 4x6 printable daily cards. I'm waiting to embellish them on the actual days so I'll know which one I'm using. I love that the kit includes sequins, ribbon, glitter tape, pattern paper and other embellishments that fit just right on the journal cards.
- Create a see-through element/card for most of the 25 days. See examples below.
- Start thinking about the ways I'd like to celebrate the holiday season. Each year for me this is a bit different. Last year I was away from home for a portion of the month so I planned accordingly (smaller album, printed all my same size journal cards in advance, etc). What plans can you make now (or what can you plan to do less of) that will help you truly embrace the spirit of the season?
THE PRINTABLES
The next step for me after my cover and title page was to print out the 3x4 daily journal cards and the 4x6 daily journal cards which are available at Designer Digitals. Even though I don't know which ones I'm going to use in which pockets just yet (besides a few I've placed in my album already), I printed them out so I have easy access to them in December. These mulit-color printables were printed on Epson Matte Presentation Paper.
These digital packages include PNG files that can be used as overlays on top of your photos during the month (see examples below) + a multi-colored PNG file + 6 PDF files in five different solid colors and the multi-colored version I'm using in my album.
These would also work great if you don't plan on doing a specific December Daily album but would like to add 4x6 or 3x4 cards to Project Life.


There will be more layered templates and holiday products coming soon, including 6x8 and 12x12 overlays and templates.
These are the multi-colored 4x6 printable:
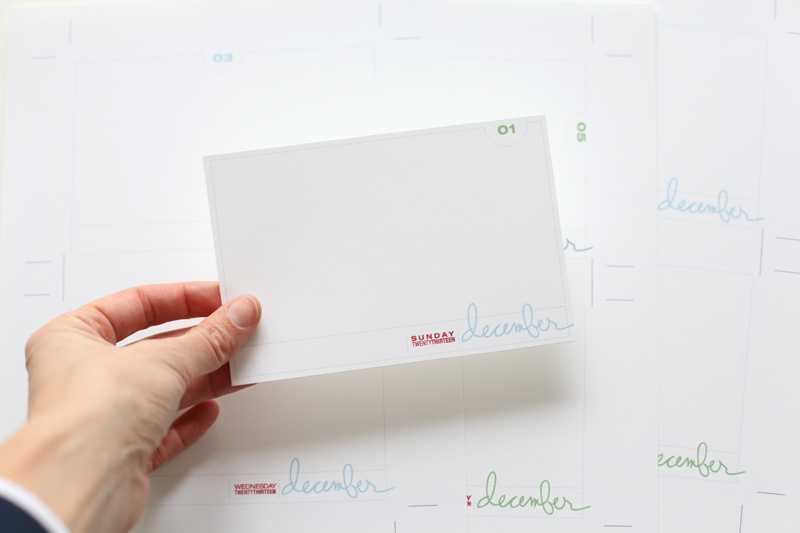
NOTE | Make sure when printing the PDF file of these that you select "actual size" or "don't shrink page to fit" otherwise your journal cards will come out too small. I always recommend a test print (even though I messed up this time again so if you do know you are in good company).
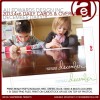
THE VIDEO OVERVIEW
To get an idea of what my album looks like right now I shot some video yesterday to walk you through the things I've already inserted into the pockets.
THE INSIDE PAGES
As I mentioned above, one of the things I really want to include/create in my album this year are see-through elements. To achieve this I sacrificed (meaning I cut up) a couple page protectors to use as the base layer for embellishment cards.
HOW I STRUCTURED THE PAGE PROTECTORS | The album in this kit includes four different page protector configurations. When placing them in my album I decided to just alternate them for now and then I can move them around as I see fit while I'm documenting December. This gives me a basic structure I can follow OR I can break free from that and move things around.
Here's a look at what I've included so far:
Details on my title page can be found here.
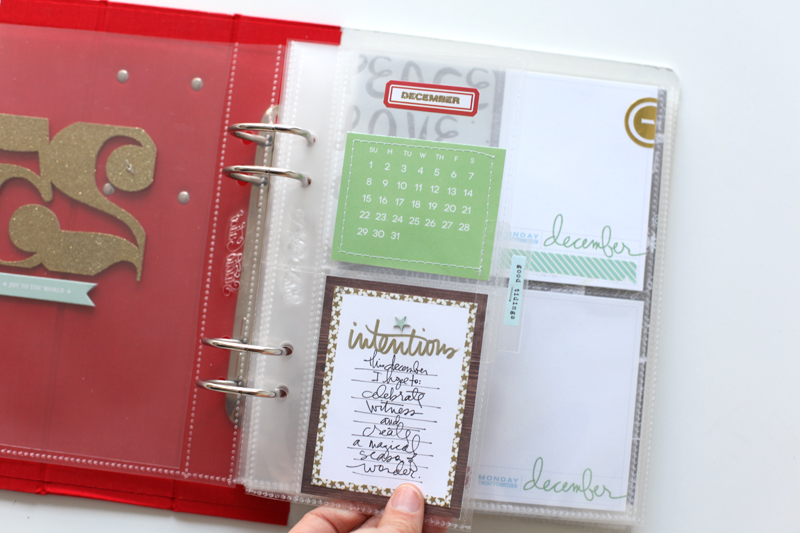
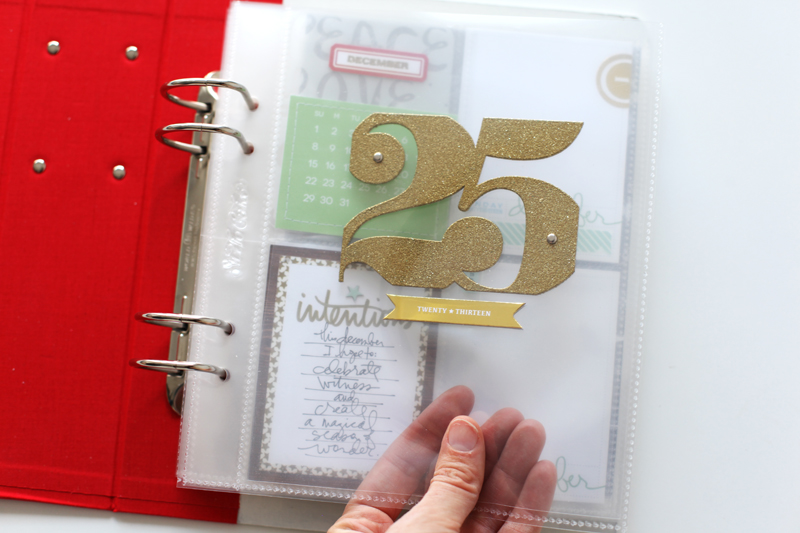
For the first page in my album I cut one of the 4, 3x4 pocket pages in half.
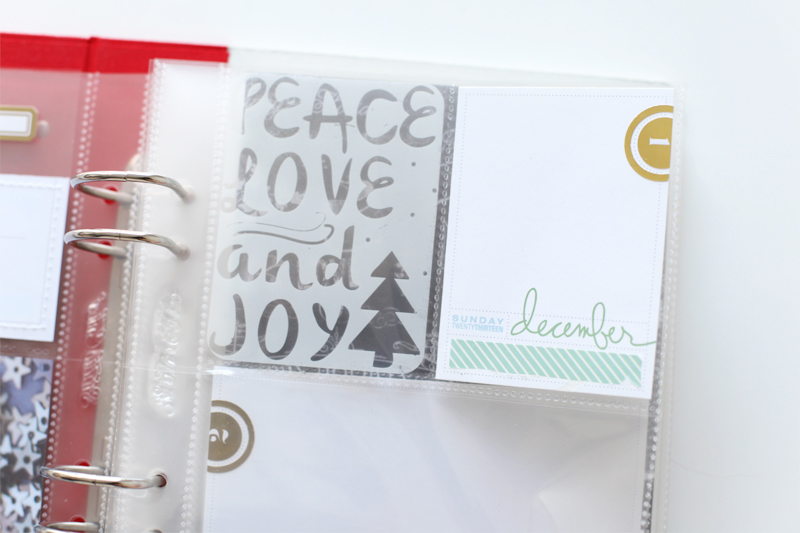
In the top pocket I added a card that includes a portion of the December calendar card + some left over page protector transparency + a label sticker + stamped and embossed in gold "December."
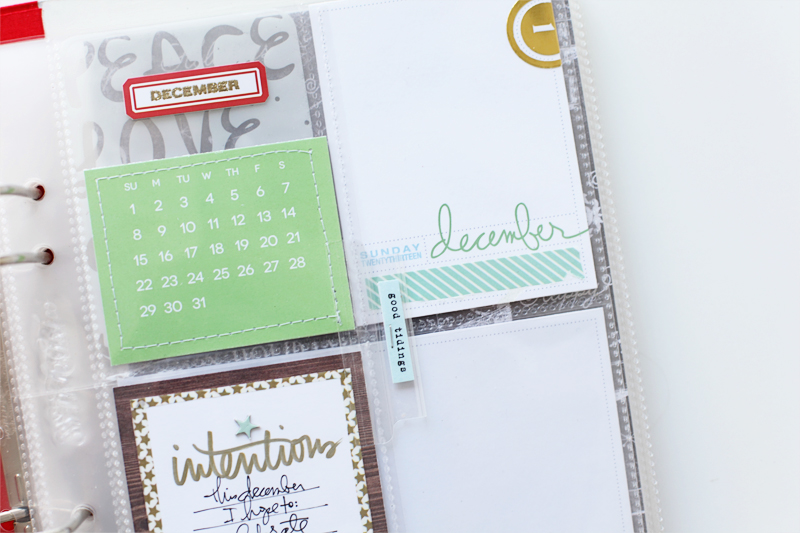
Along the edge I added an Avery 2-inch index tab down the side and cut up some of the word pattern paper that reads "good tidings" to slip inside.
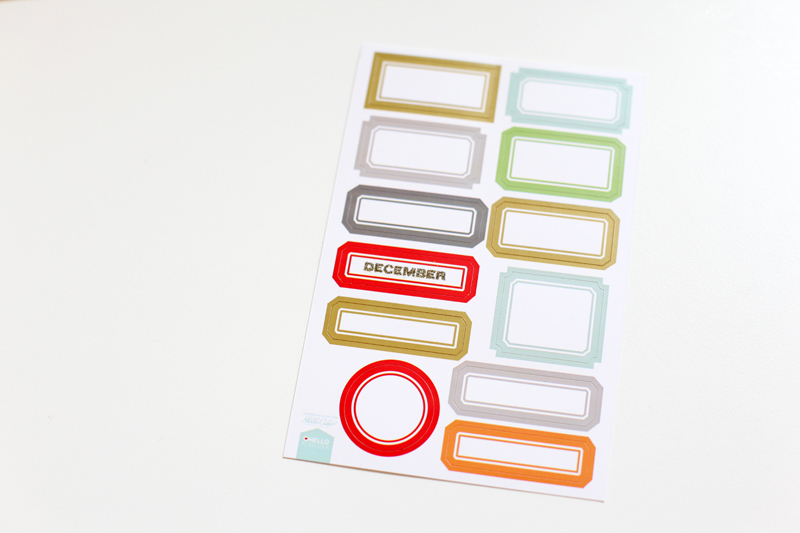
I stamped and embossed "December" directly onto the sticker sheet.
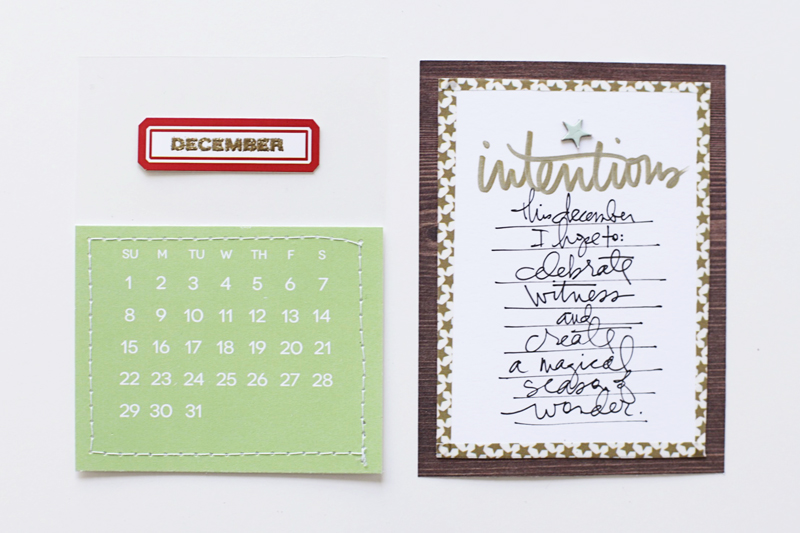
The "intentions" card includes a 3x4 woodgrain pattern paper background + a piece of white cardstock + a star washi tape border. I hand-wrote the word "intentions" with a gold metallic marker. The small star is from the chipboard set in the kit.
I left the back side of the calendar and the intentions card blank and will fill them in on December 1st.
To show you how I intend to use the journal cards I've added a few here in the beginning. You can see Day One above. The gold circle number clips fit perfectly over the number circle on the journal cards (both sizes). I adhered them with a glue pen and trimmed off the excess along the edge. I also added a strip of light blue washi tape along the bottom.
The journal card was paired with the transparent "peace, love and joy" card.
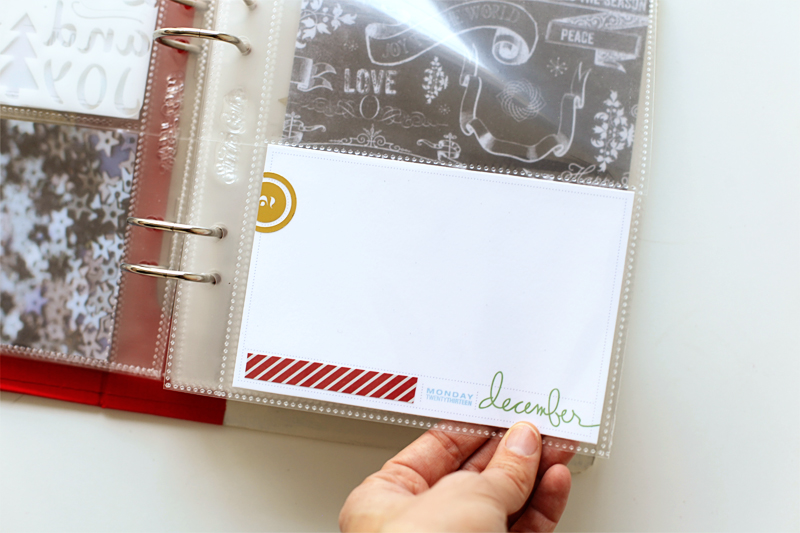
For Day Two I added a 4x6 daily journal card + a gold #2 circle clip + a piece of pattern paper.
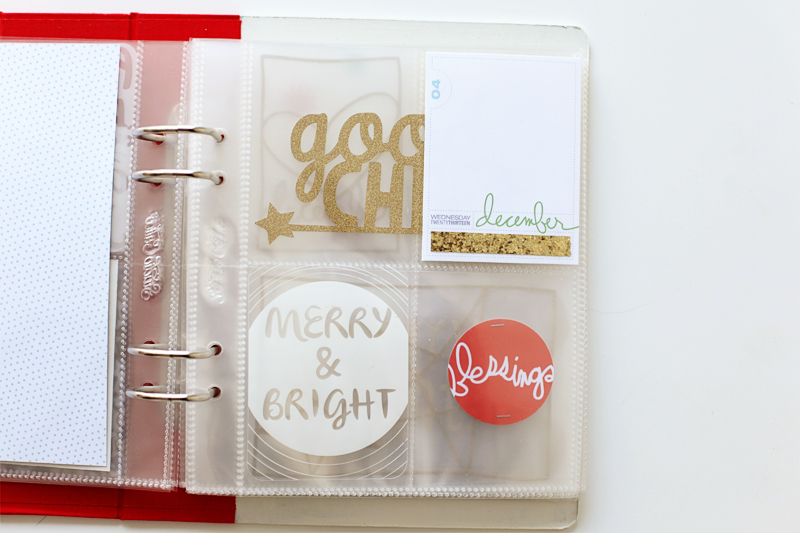
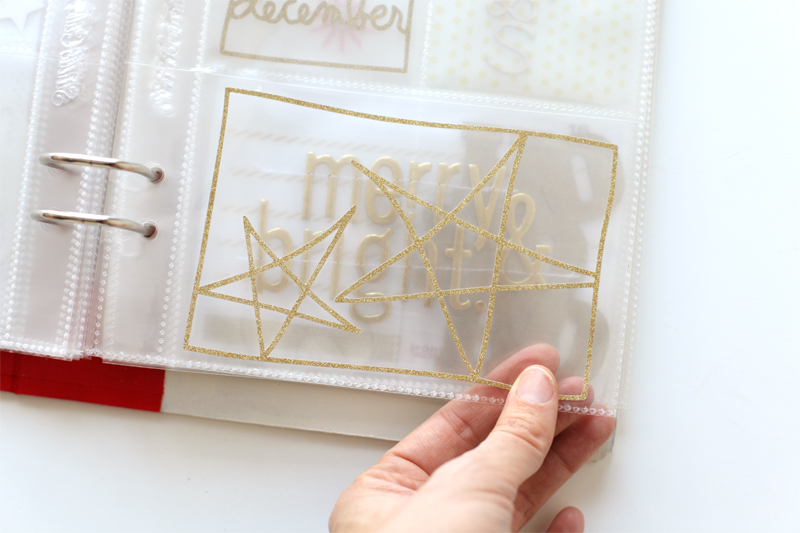
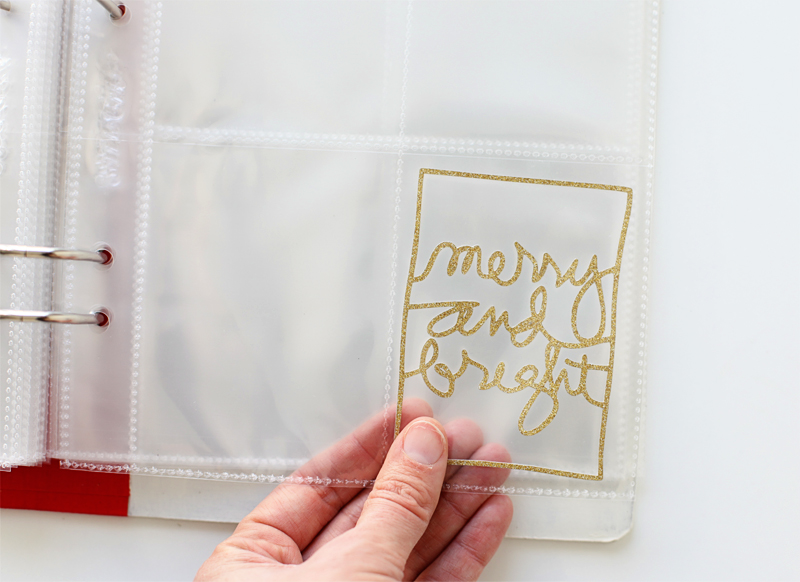
For Day Four I included another journal card in the top right pocket with the awesome gold glitter washi adhered in the space designated for embellishments. The "merry and bright" transparent card was inserted in the bottom left pocket.
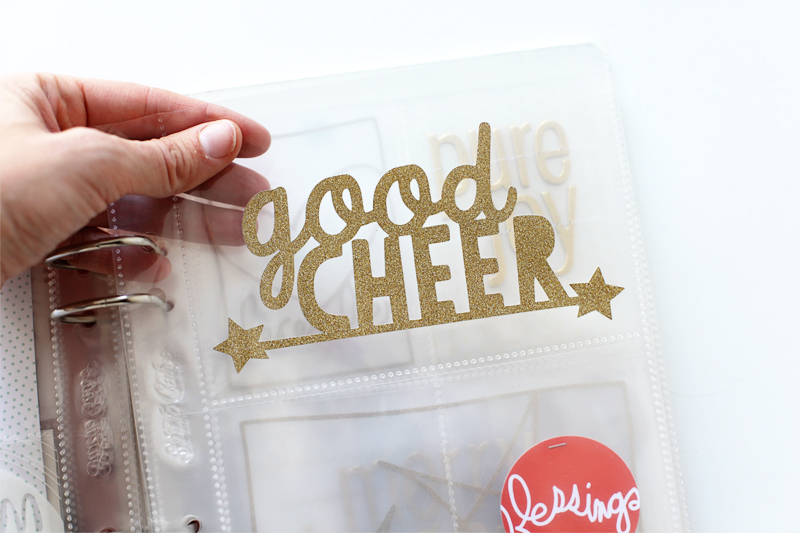
"Good cheer" is one of the cut files that's included in digital package when you purchase the December Daily™ kit from Studio Calico (you can find these printables and cut files on your dashboard over at Studio Calico if you've already purchased the kit).
This die-cut was simply slipped into the pocket (vs. attaching it to a transparent background).
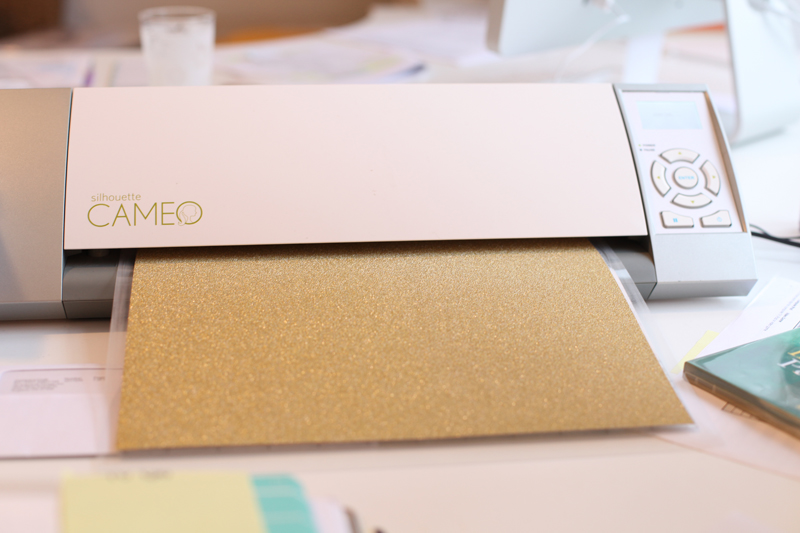
I cut out "good cheer" using the Silhouette and some of the gold POW glitter paper from American Crafts. I was able to find this paper locally at Micheal's.

I punched this "blessings" circle from a 3x4 journal card using a 2-inch circle punch and stapled it to a 3x4 piece of page protector and slipped it into the pocket. On the back I adhered a circle punched from one of the pattern papers.
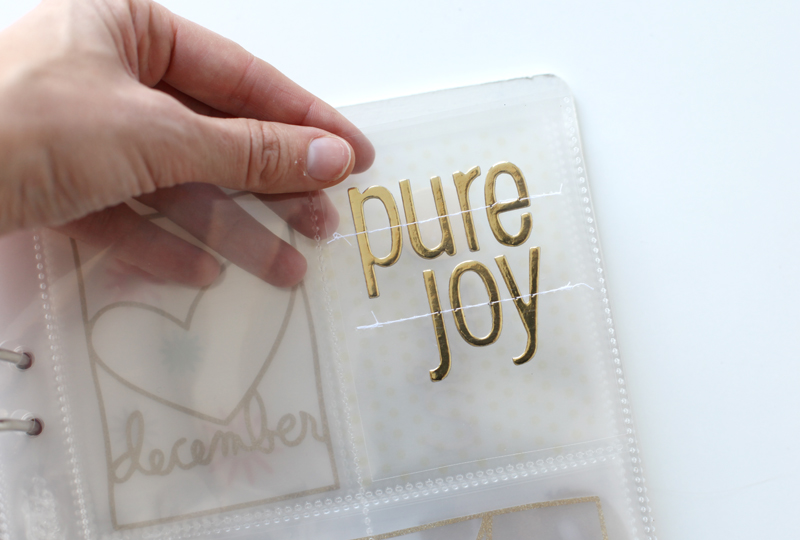
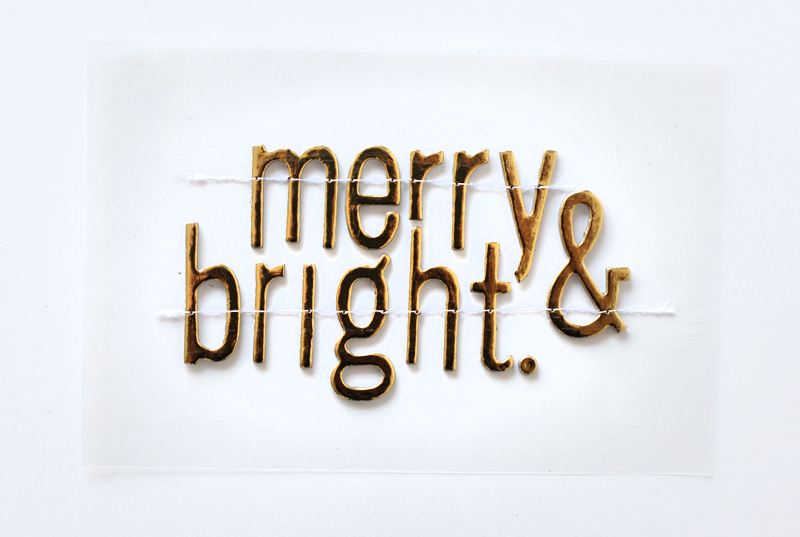
"Pure joy" was created by cutting a 3x4 piece of page protector (remember I talked about sacrificing a few page protectors to create backgrounds for my see-through elements) and then adhering the chipboard letters and running the whole piece through my sewing machine.

After stitching it I slipped it into the pocket.
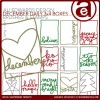
I included a couple of my own designs such as the December Daily™ 4x6 Sentiment Boxes that I cut with the Silhouette and that same POW glitter paper. Check out this tutorial on how to trace and cut my digital PNG files using the Silhouette Software.
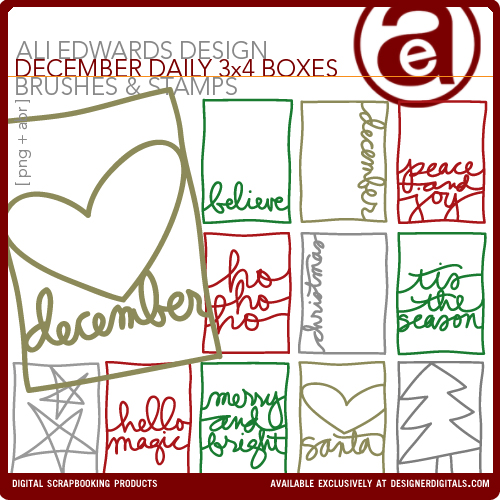
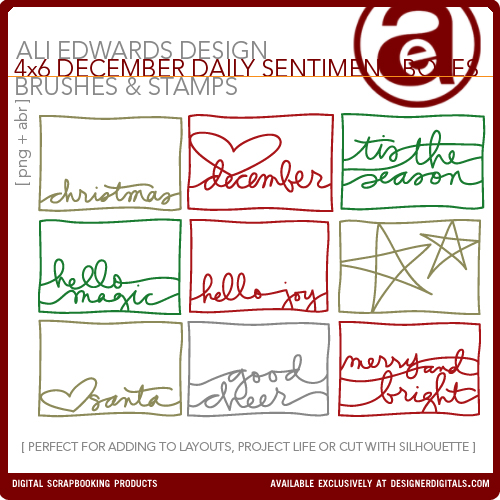
December Daily™ 3x4 Sentiment Boxes and December Daily™ 4x6 Sentiment Boxes.

On the next page I included another Silhouette cut in the 3x4 size from my December Daily™ 3x4 Sentiment Boxes package.
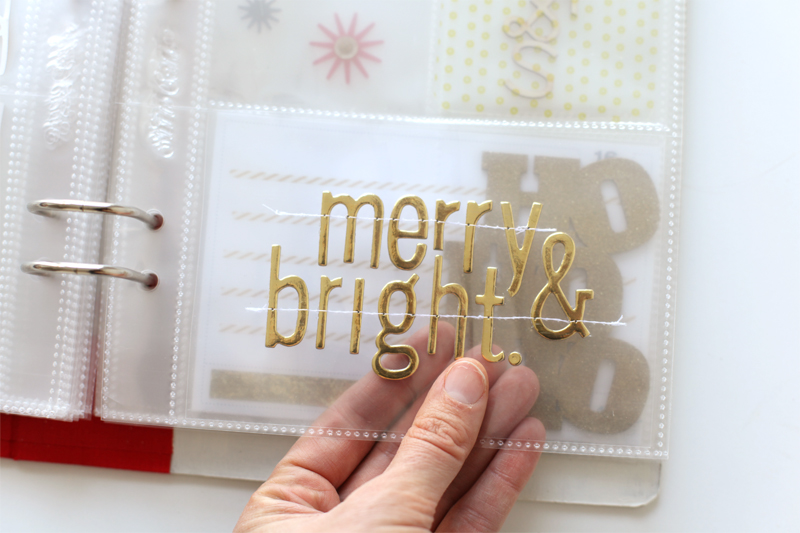
I liked that first "pure joy" insert so much that I created another one this time in a 4x6 size. To have enough letters I cut a "u" to make another "r" from the gold chipboard alphabet set. I also cut a portion of the "r" off on the bottom and also trimmed the "y" to accommodate the "t." I will likely make at least one more of these with the remaining letters (or use some of the wood veneer letters).
Yes.
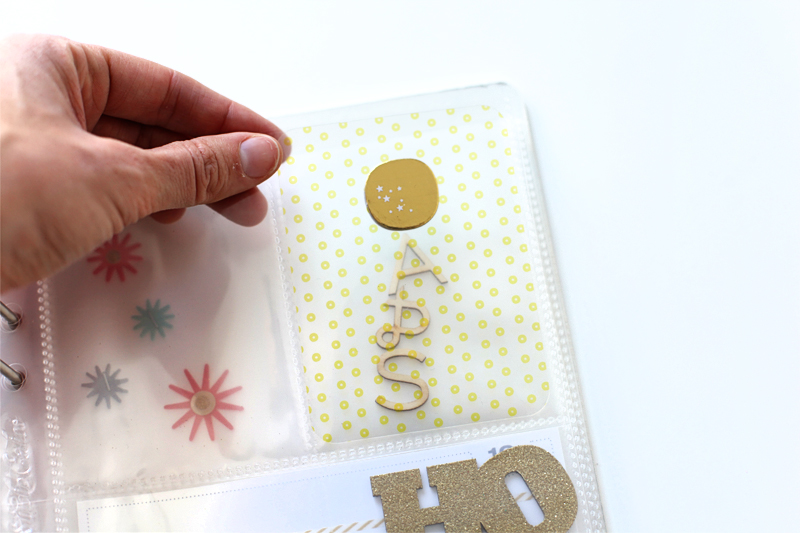
The kit includes a fun 3x4 transparent pattern circle card. I added a chipboard circle to each side. I'll likely add something else to this card once I know what my story for that day will be during the month.
The "A & S" wood veneer letters were slipped into a pocket behind this card as a reminder to use them together to tell a story about Anna and Simon together.

The gold glitter Zing made another appearance on top of the Ho Ho Ho wood veneer.
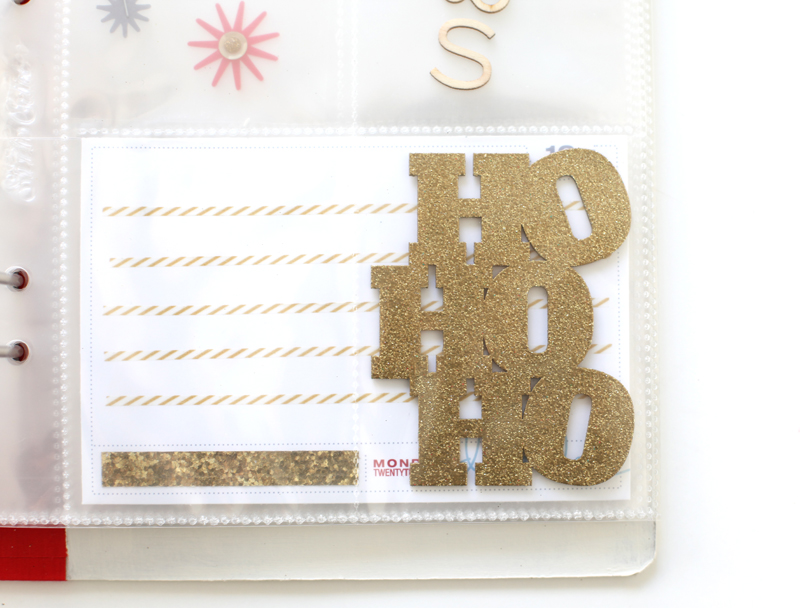
It fits right in a 3x4 pocket.

I used the awesome thin gold washi to create lines for this journal card. It will either be Day 16 or I can cover the 16 with one of the gold circle clips. Text will be added during the month.

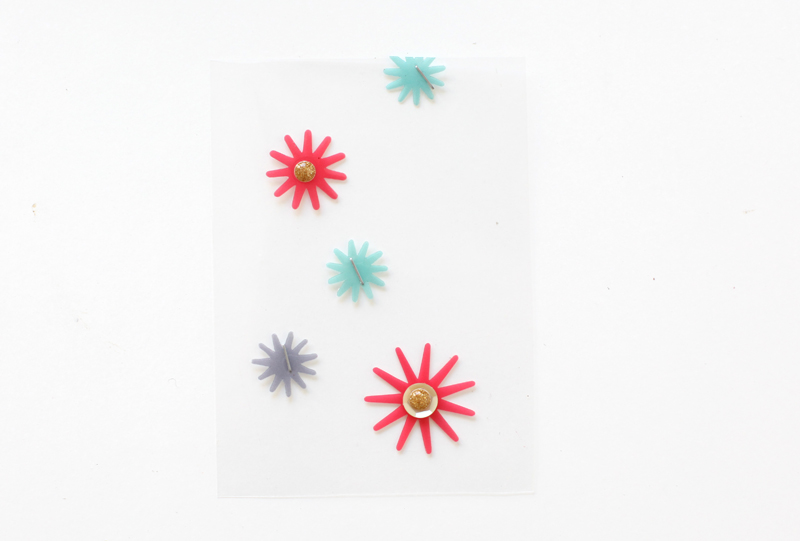
Cute little transparent starbursts were stapled (the small ones) and adhered using glue dots (the larger ones).
And one more of the December Daily™ 3x4 Sentiment Boxes cut with the Silhouette.
That's a look at where I'm at right now. I might do a few more transparent pages before December hits or I might just wait to be inspired by our daily life during the month.
I'm excited to see what you guys come up with this year whether you are using the kit or a fun combination of other supplies!
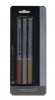
SUPPLIES | DECEMBER DAILY™ 2013 FOUNDATION PAGES
      |


What album are you using? Also what brand of sheet protectors?
It's off to an amazing start- as ALWAYS!
This is all from the Studio Calico kit (includes the album and page protectors): http://www.studiocalico.com/shop/class-kits/december-daily-2013-with-ali-edwards
Sign in or sign up to comment.
From what collection is the "twenty thirteen" gold label you used on your opening page? Thanks so much!!! Love your start to this album!!
Teresa
Sign in or sign up to comment.
Hi Ali
I found the cut files on my dashboard at Studio Calico, but when I click on them nothing happens. Is there another step I need to take to get access to them?
Sign in or sign up to comment.
I just the love the use of transparent and clear items. Also, thank you for sharing your technique..I have often wondered how you get your transparent embellishments to blend in so well and look so neat and clean! Love it! Also, thank you for December Daily and for sharing your idea with the world!
Sign in or sign up to comment.
This is my first time so I feel overwhelmed and quite behind seeing all your loveliness. I"d love to get a kit but I've accumulated quite a lot of Crafty Christmas goodness over the years so I am excited to use it all. (ANd look forward to your kit next year!) I am confused about the journal cards...do you make them or do they come pre-cut from the office supply store? I think I missed something. It's a genius concept with a start and stop date, just what I need!!
Sign in or sign up to comment.
[…] Check out my foundation pages for 2013 here. […]
Sign in or sign up to comment.
I just downloaded the 4 x 6 and 3 x 4 journal cards from Designer Digitals, and when I open them they are one card per page. I thought in your tutorial I saw that there were multiple cards per page? It's quite wasteful of card stock to print only one 2 x 3 journal card per page, but perhaps this is as designed. Can you please clarify?
Sign in or sign up to comment.
This is my first year doing December Daily and my brain hurts from all the spinning. It took me 4 days to make a title page and then I started over again, lol. I love how you cut your page protector in half - so I did the same thing, I might have cryed a little bit inside when I did. I printed out all the journal cards, 3 x 4, 4 x 6 and 6 x 8. I am thinking if I don't use it in my December Daily, then I can use them for my December Project Life.
I am having a real hard time figuring out the planning part, one page or two. Any suggestions to get past this hump?
Sign in or sign up to comment.
Thank you for sharing your december daily. I love this yearly journey of yours. So inspirational.
Sign in or sign up to comment.
Has a similar look that project life for what I can see , no?
Sign in or sign up to comment.
[…] following pictures are the cutest and clever embellishment that Ali Edwards is putting into her December Daily this year. I liked the idea I ran with it to put into my book […]
Sign in or sign up to comment.
[…] In case you missed it here’s a look at the preparations I did before December started: 2013 Foundation Pages […]
Sign in or sign up to comment.
[…] love that Ali had goals/intentions for her album and put them right at the beginning, so I did the same with my […]
Sign in or sign up to comment.
[…] If you’d like to learn more about Ali Edwards and the December Daily project click here. […]
Sign in or sign up to comment.
[…] at write.click.scrapbook). This year I am determined to finish it again. After being inspired by Ali Edwards’ approach, I purchased a chipboard Handbook by Studio Calico. It came with 12 pocket pages, and I purchased […]
Sign in or sign up to comment.
Hi Ali! I have a question. You may have answered it already but I can't find it. I purchased the designer digital daily cards and want to print them. I have PS 11 but have forgotten everything I ever learned!!! Can you please tell me how to place the cards on a blank "sheet" so that I can print as many as possible on one page? Is there a tutorial somewhere I can see??? Thanks!
Sign in or sign up to comment.
[…] year was the first time i participated in december daily. i had seen some of my favorite bloggers create some amazing albums capturing the holiday season […]
Sign in or sign up to comment.
[…] bright” stitched straight across. You can read more about how I set up my foundation pages here (this one was created in advance when I made a bunch of transparent pages all at […]
Sign in or sign up to comment.