March Studio AE Blog Hop from Technique Tuesday
Welcome to the February Studio AE Blog Hop From Technique Tuesday.
Technique Tuesday offers a monthly stamp club that features a limited edition stamp set designed by me each month. You can check out past stamp sets (some are still available) here.
Say hello to the stamp set I designed for this month: Wow

DIGITAL MEMORY KEEPERS | A similar set of digital word art is available here: Oh Yes Sentiment Boxes
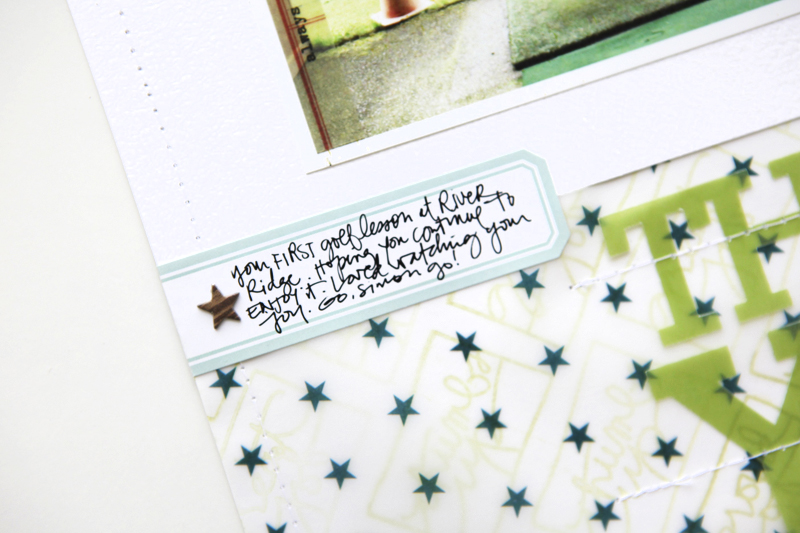
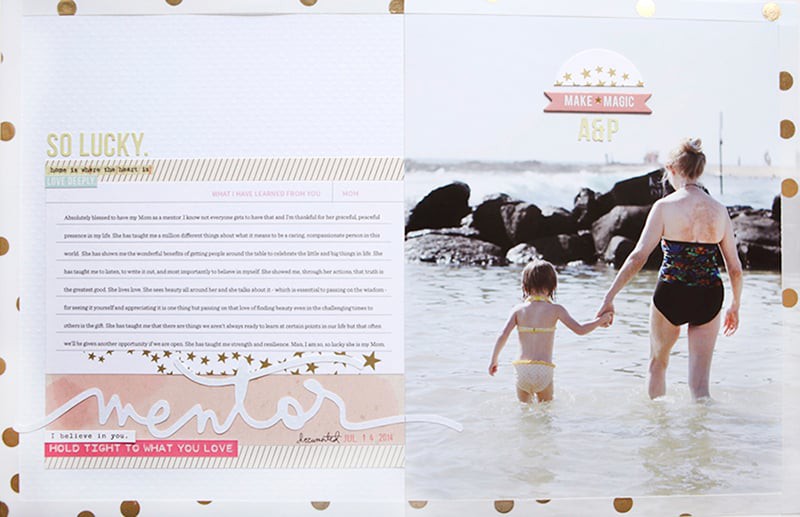
Here's a look at the layout I created this month:

I like to use stamps to create background patterns. Sometimes, as was the case here, they become a very subtle texture under the star vellum.
Here's a step by step:

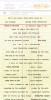
1. I used Momento Luxe ink in Pear Tart and the Wow stamp set to create a background. I added three of the stamps that come with this set to a block and then stamped them over and over again to create a background pattern. I wanted it to not be too dark so I stamped onto another piece of paper first and then stamped onto this backgound cardstock about three times in a row before adding more ink.

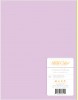
2. Cut star vellum to 5.5 inches x 8.5 inches and adhere with just a bit of rolling adhesive to keep it in place.
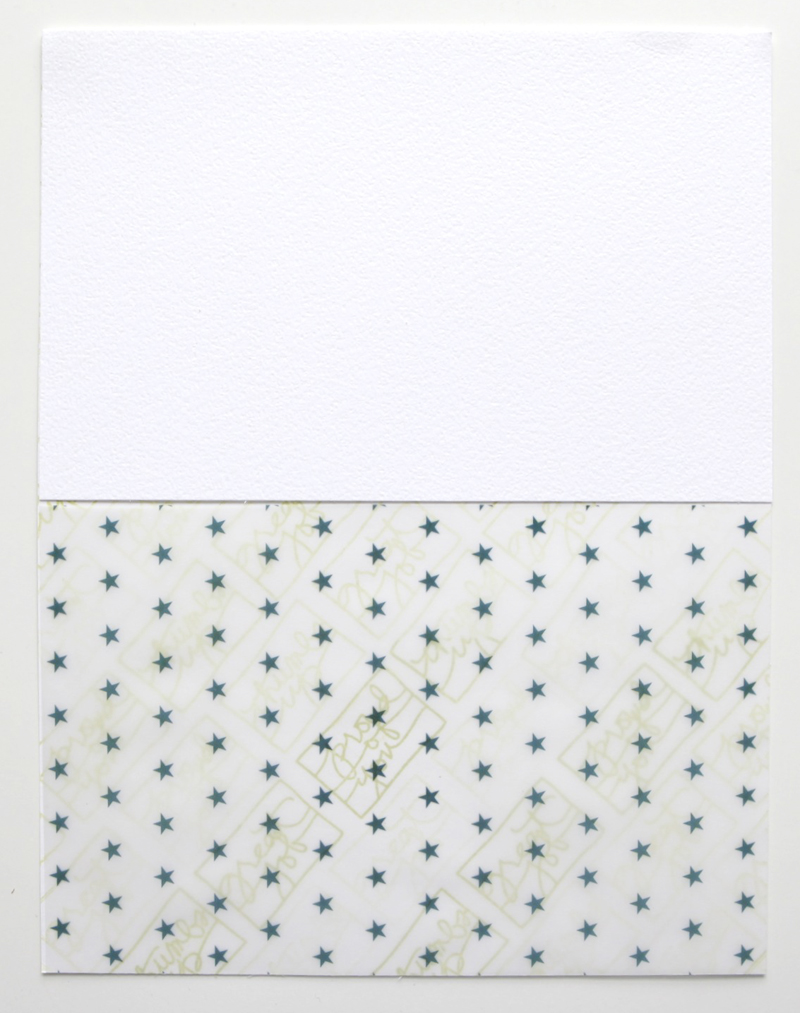
3. Add a 5.5 inch x 8.5 inch piece of white cardstock to the top.
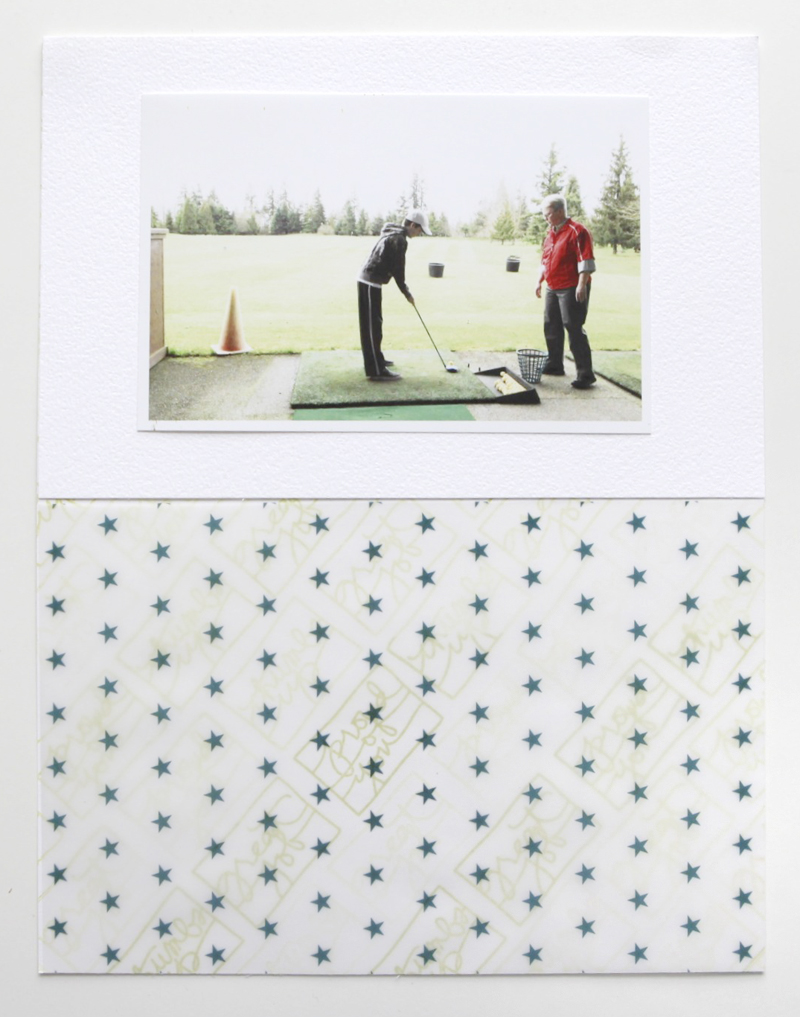
4. Add a 4x6 photo. I printed mine here at home using an Epson PictureMate printer. I used RadLab to create the color effect.
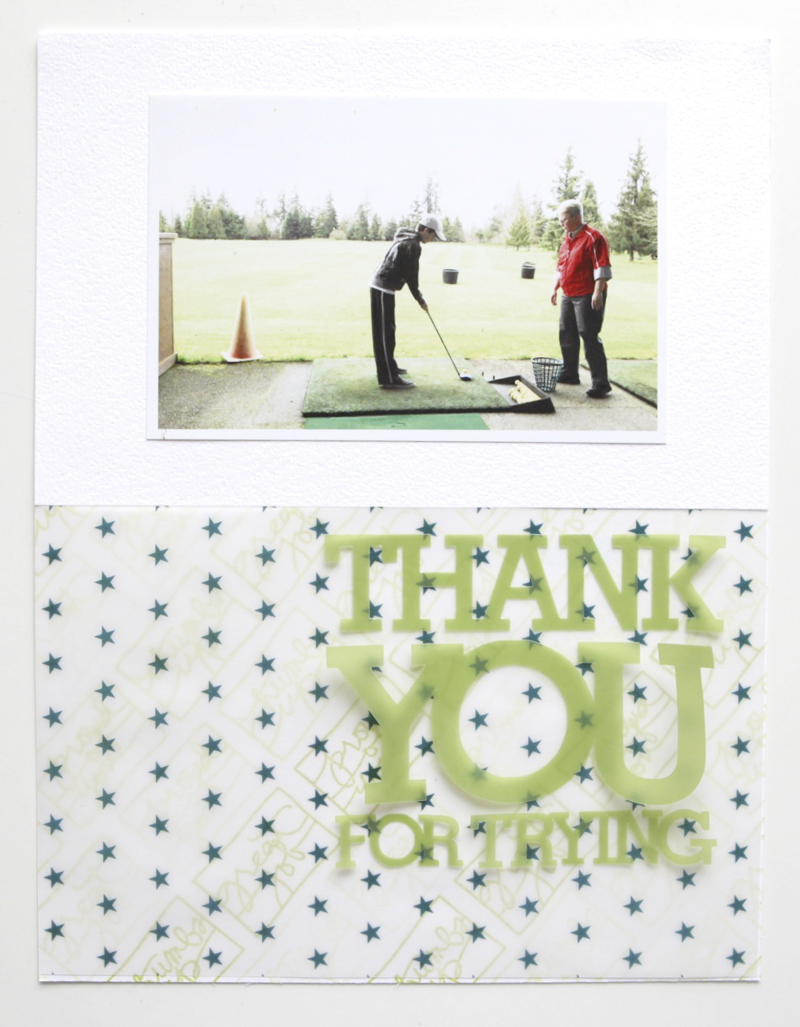
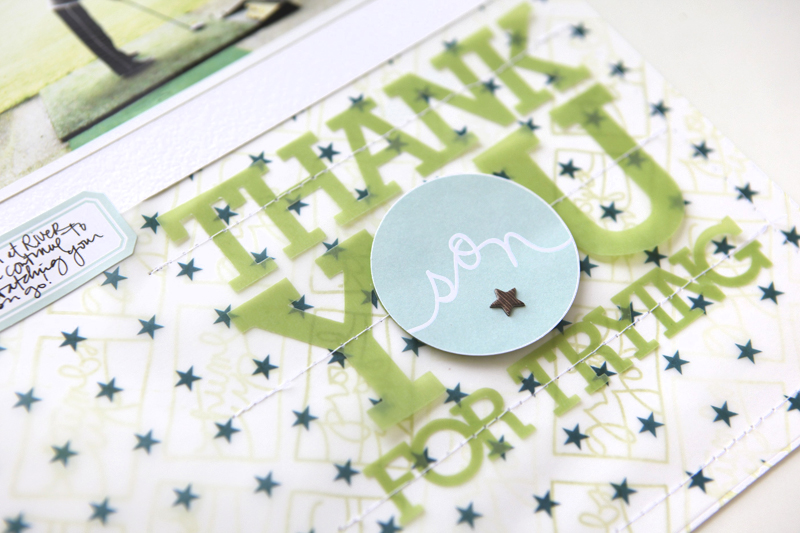
5. Cut "thank you for trying" using green vellum (included in this Lemon Lush vellum pack from Studio Calico) and the Silhouette.
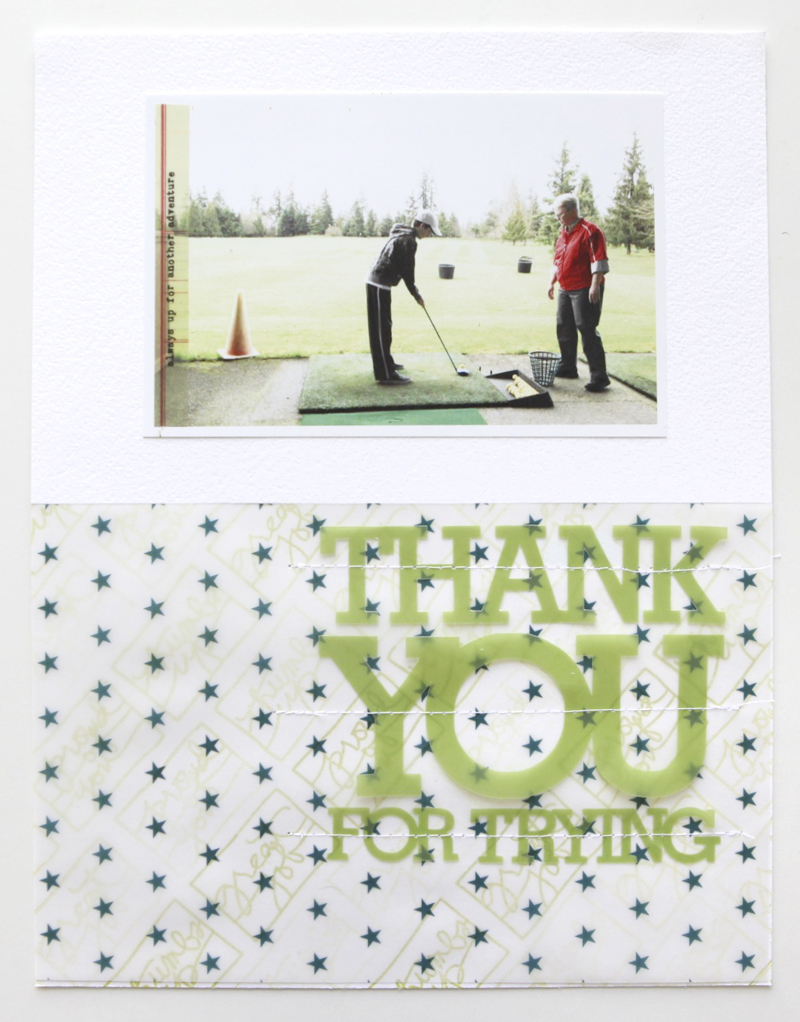
6. Run the title through a sewing machine.
7. Add a vellum phrase sticker to the left edge of the photo.
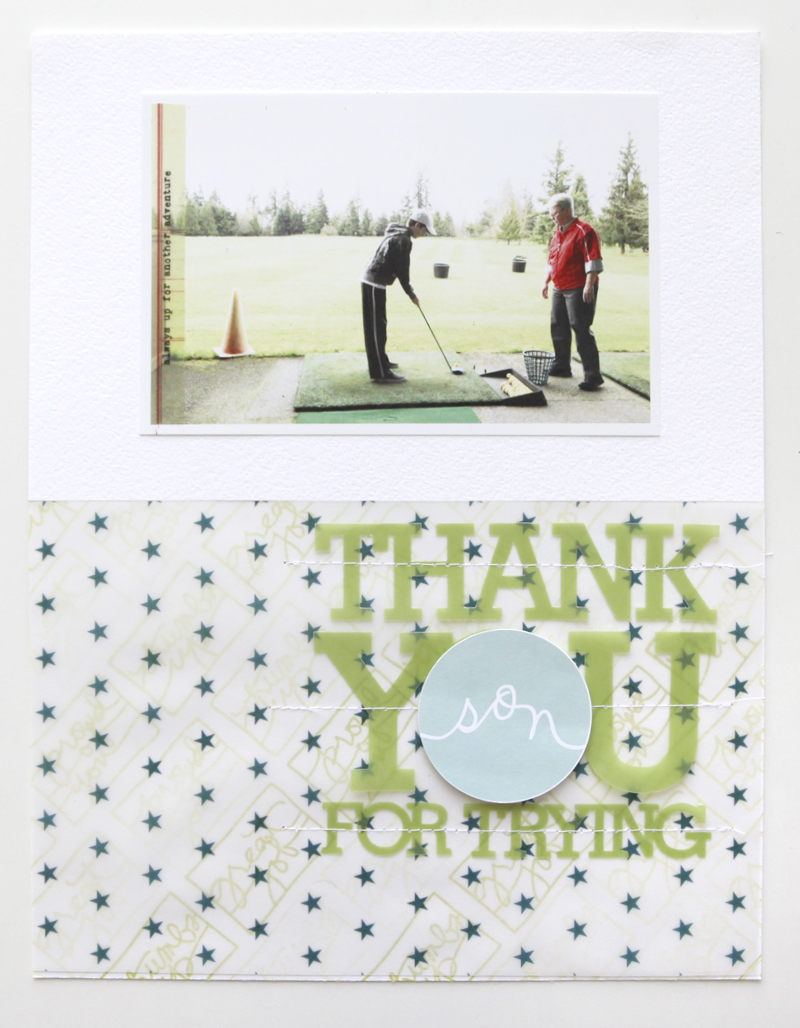
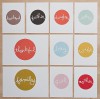
8. Use a 1.5 inch circle punch to cut out the "son" circle from this set of journal cards: Family Cards By Paislee Press.
9. Stitch around the outer edge with a sewing machine.
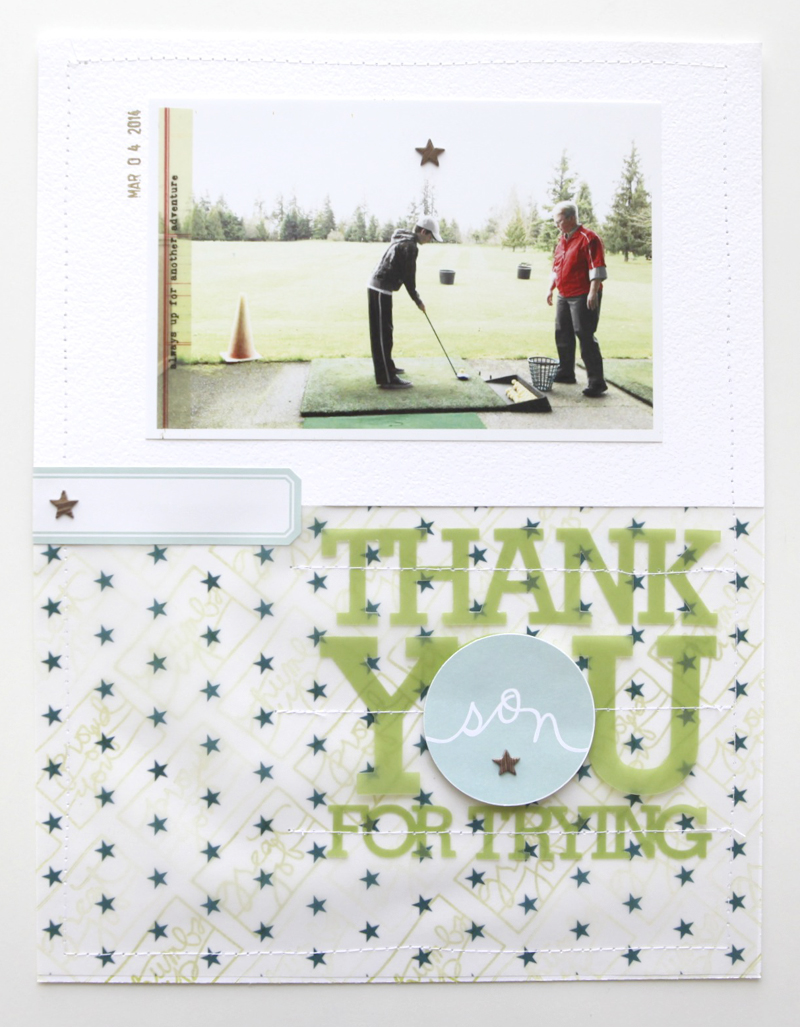
10. Add a label sticker.
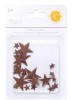
11. Add three wood grain stars.
11. Use a rolling date stamp to add the date.
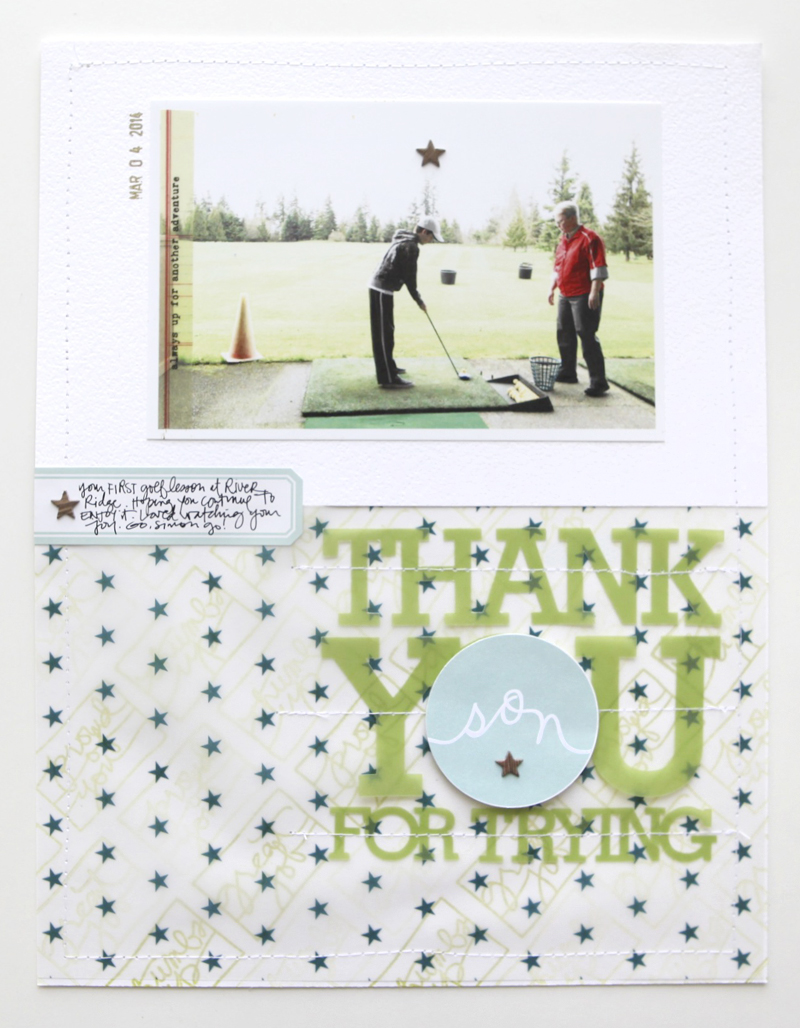
12. Add journaling to the label sticker.
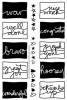
One of the things I played around with on this layout was creating an animated gif to show the steps of building this page. It's not exactly one step at a time but I thought it might be fun for you to get a peek at the order in which I tend to add things to my layouts.
Click on the image below to go to a new window and watch the gif:
SUPPLIES
Click on the images to jump to the products.
         |
Check out what our Creative Team is doing with the stamps this month:
GIVEAWAY | We are going to give away one $25 e-Gift Card to TechniqueTuesday.com to someone who comments during the hop. To be eligible to win, all you need to do is comment on any of our blog posts! The lucky winner will be announced on the 21st on the Technique Tuesday blog.


*Wow YOU do great work...sorry typo!
Sign in or sign up to comment.
Wonderful layout! I love how you created the stamped texture under the stars. :) Great layout! Thanks for sharing.
Katie B.
Sign in or sign up to comment.
Enjoyed the step by step view of your process, it's very helpful. I think the layout is just wonderful. Thanks!
Sign in or sign up to comment.
Very cool layout. I especially like the diagonal stamping you did and how you used the stamp on the O of the you.
Sign in or sign up to comment.
Super fab background stamping Ali :-)
Sign in or sign up to comment.
Lovely layout! Great background.
Sign in or sign up to comment.
Your pages all look so perfect!!
Sign in or sign up to comment.
Love the GIF! Fun!
Sign in or sign up to comment.