Week In The Life™ 2018 | Completed Album
Tags: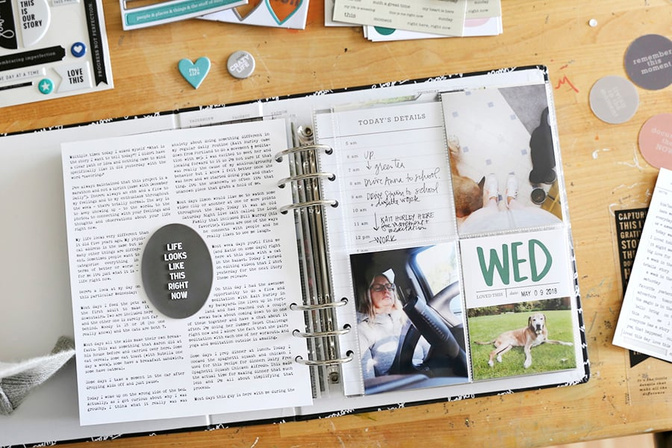
Man, I love photos. That's basically what I was thinking to myself the entire time I was printing out the rest of my photos for this project.
I'm super excited to wrap up this project for another year and today I'll share my end result with you along with a process video about how I brought the rest of my content together into my album.
First, a very warm and wholehearted thank you to all of you who participated in Week In The Life™ this year whether this was your first adventure or your 10th.
A few things to note before you take a closer look at my completed album for 2018:
This year I decided to print photos specifically for the pockets I had available. I started with the enlargements followed by the 4x6 images and then moved to the 3x4 photos. I did this using here at home and you can read more about what printers I use here: My Current Printers.
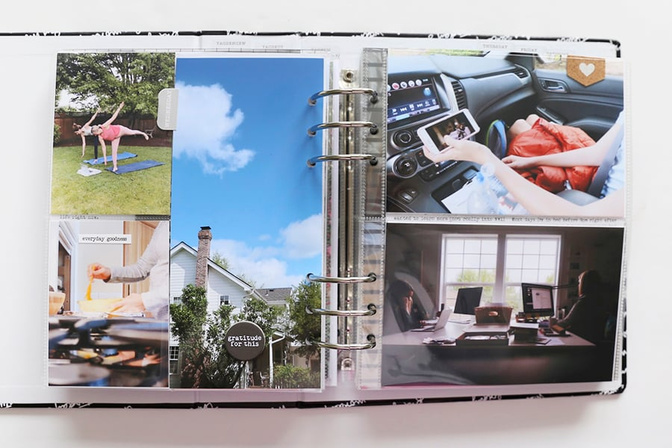
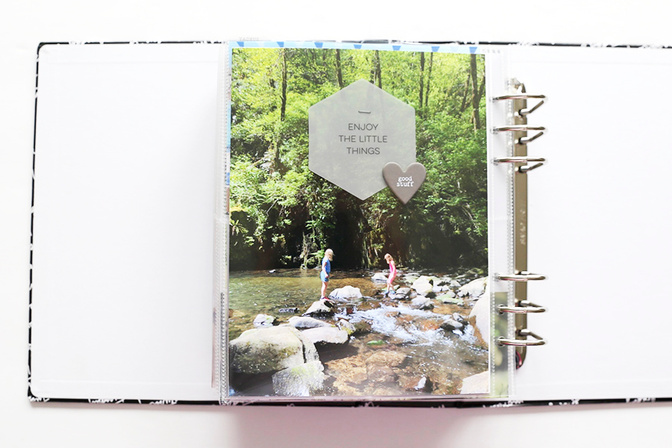
Printing to the pockets meant that I didn't use every single photo I took over the course of the week. I took less photos overall knowing that I didn't need to capture every single detail to tell a story about the week and that I didn't want to end up with tons of excess (or not enough). When selecting photos for the page protector pockets I made choices to fit the overall story I wanted to tell - ones that I felt worked together to tell the story of our week. I think it's important to remember and to learn that you don't have to use every single photo you took to tell the story of your week.
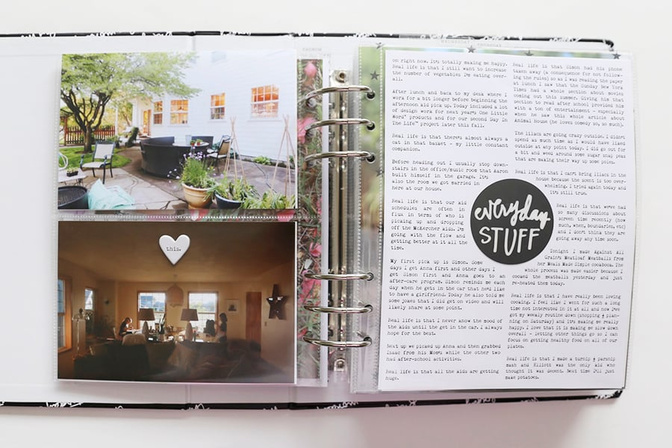
I love that the words tell a story and the photos tell a story. Separating them enables them to each tell their own individual stories but also allows them to come together to tell a bigger story when taken in the context of the album as a whole. I don't approach every project this way (and I don't always use this approach in this project) but this time it felt right. Please remember that what feels right to you might be totally different and that is awesome - you tell your own story.
As you will see in the video and photos below I used a "light touch" in terms of adding embellishments to my photos. In the video you'll hear me talk more about that and you can see my process as I work through adding a few things here and there as the last step in my process of finishing the album.
I still love this project. After all these years, this in-depth look at life for seven days once a year continues to be one of my favorite projects.
Questions? Please let me know in the comments below.
Here are a look at all the spreads in my album with a few notes sprinkled in along with the images:
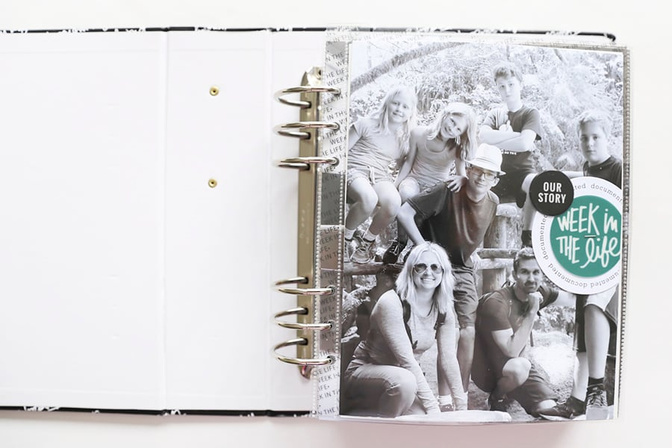
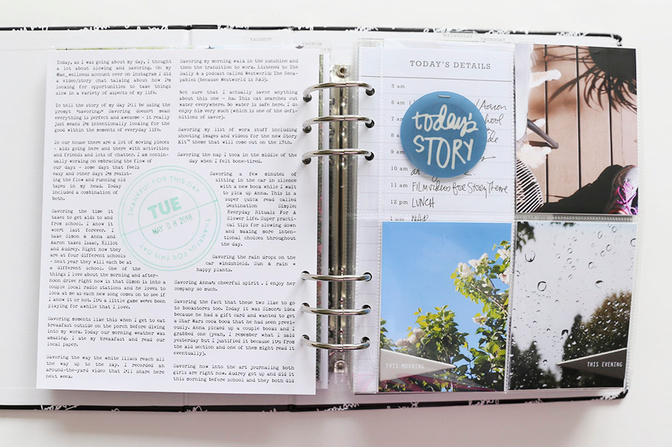
I added the "our story" puffy sticker (from the Main Kit) to the circle embellishments on my intro page.

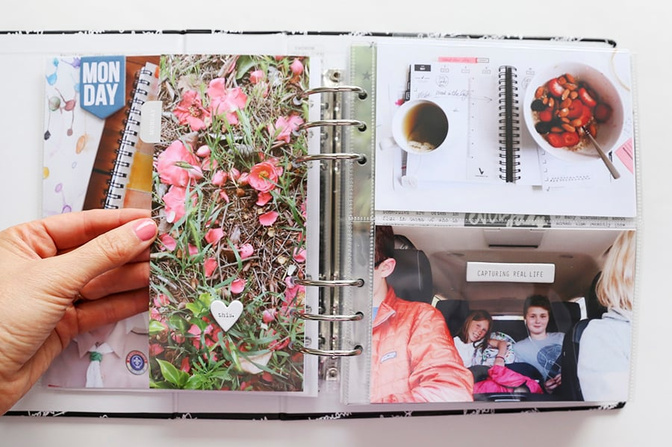
MONDAY
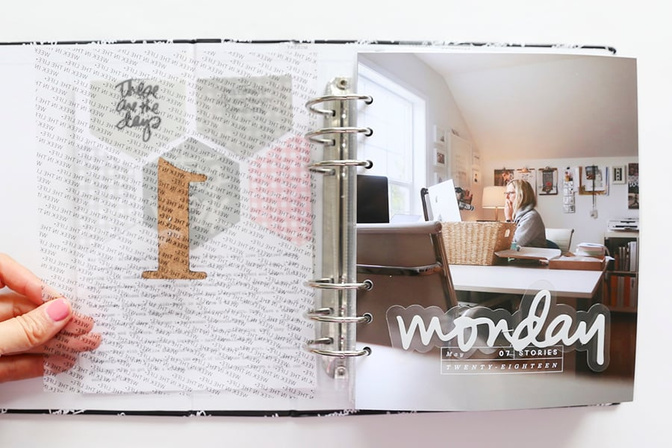
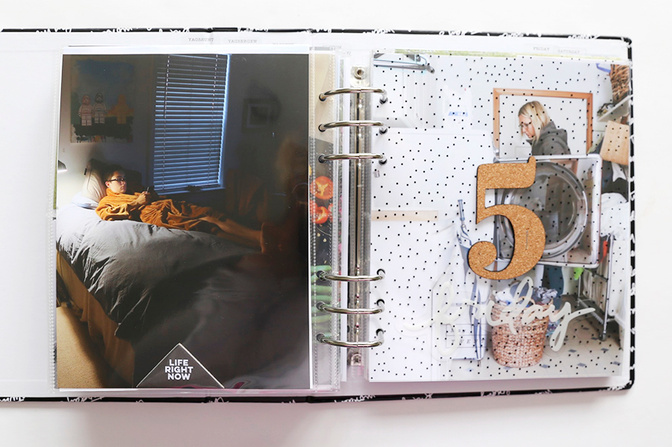
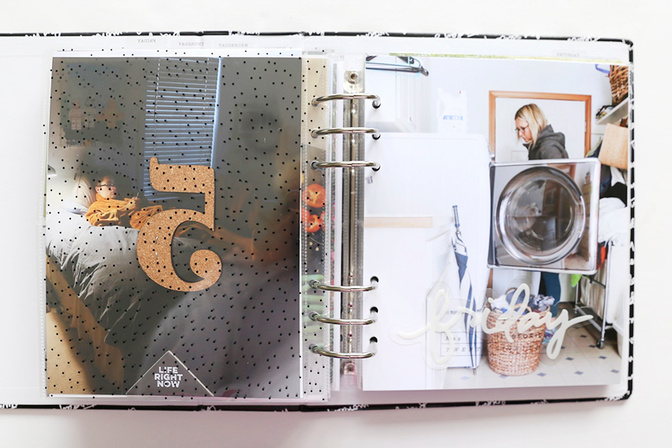
I decided to just print photos for the number of pockets I had available to me in this album (following my own advice that I don't have to use every single photo to tell the story of our week). I left one of the 3x4 pockets empty each day and then added a plastic circle or a wood veneer piece to those pockets when I added embellishments.
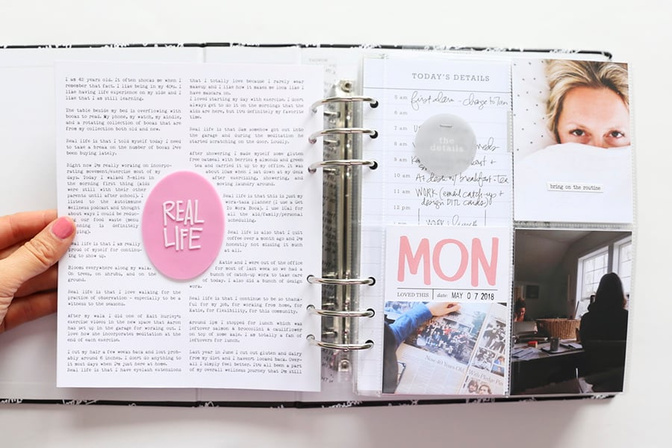
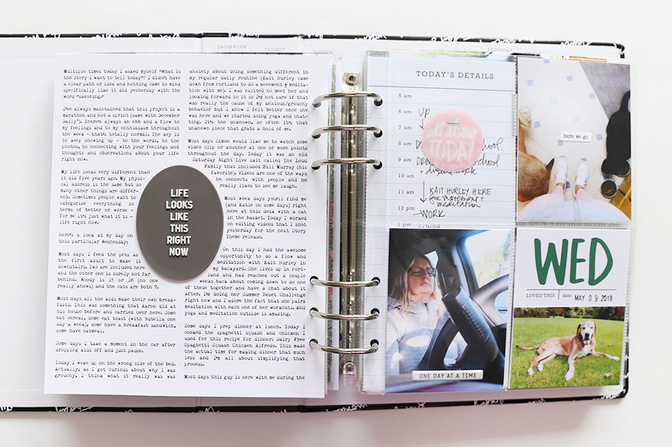
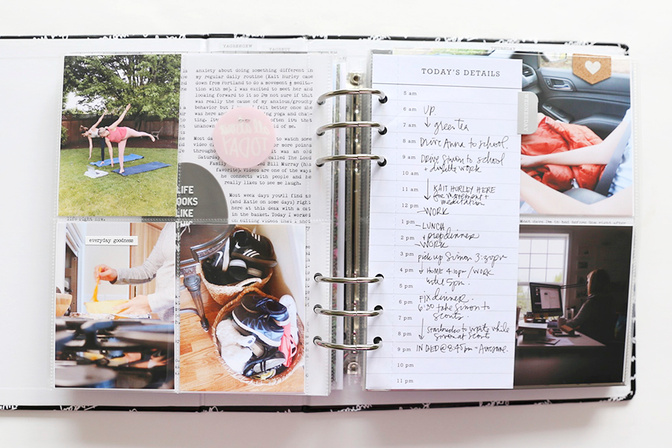
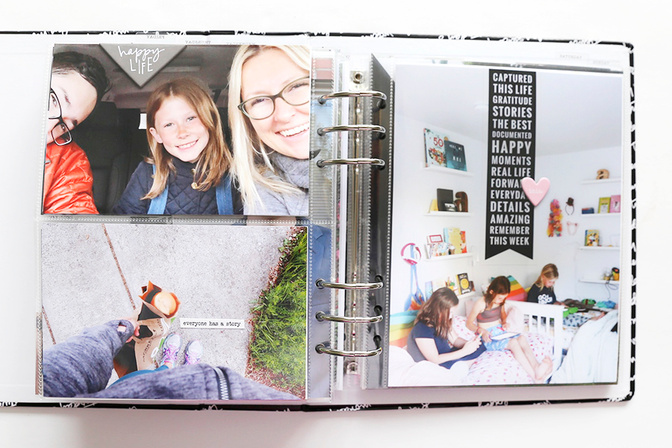
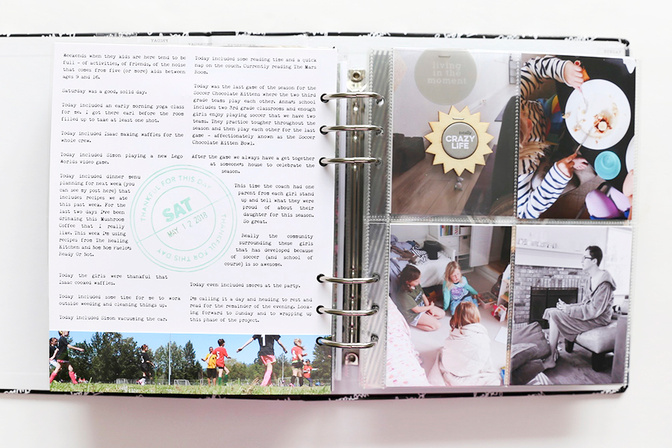
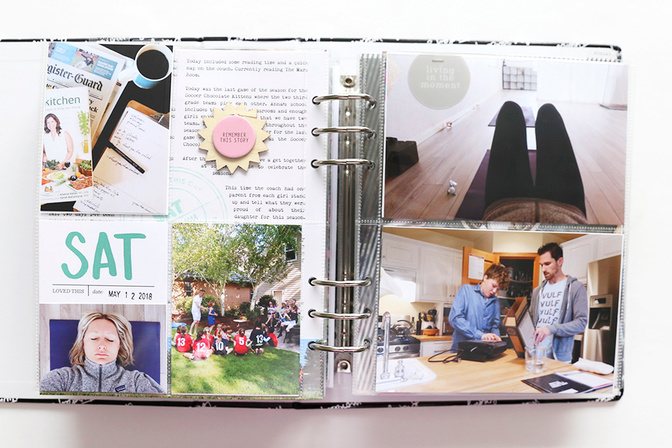
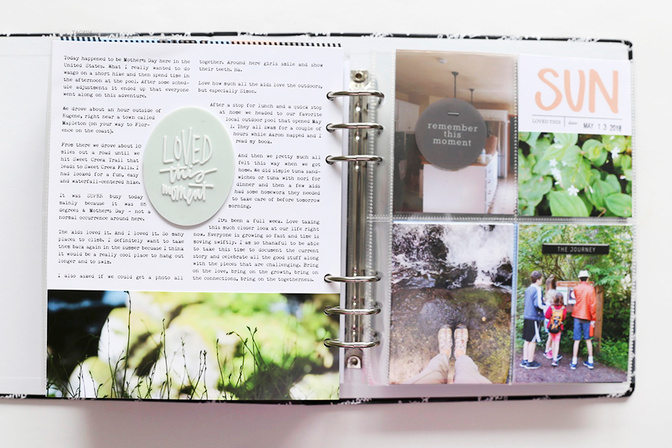
I used the 3x4 day of the week cards from the Main Kit to hold additional photos from the day vs. more journaling (I repeated this idea for each day of the week). I added the date with a rolling date stamp.
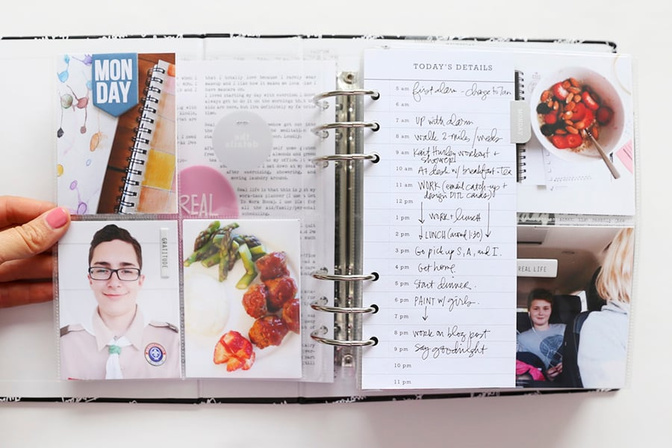
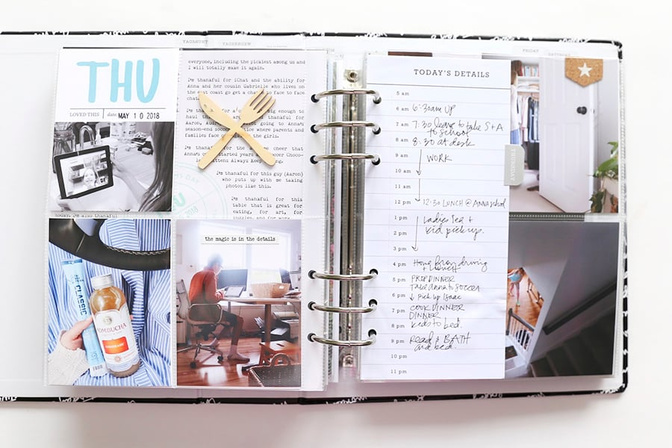
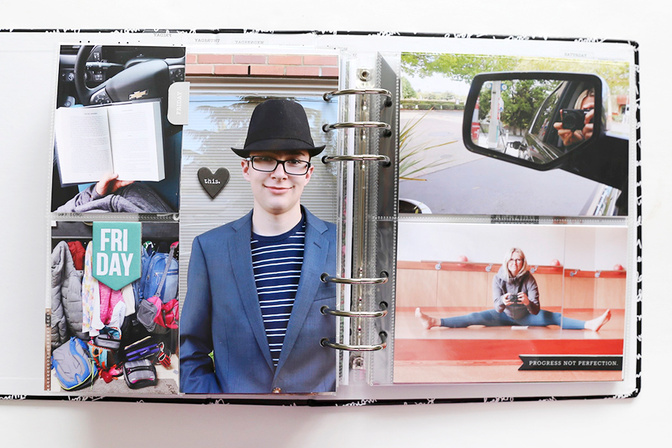
For Monday through Friday I included a sheet from the Today's Details notepad. You'll also see that I added embellishments (chipboard, stickers, etc) to many of the photos as the last piece in my process of putting this album together.
On the back of the 3x8 Today's Details pages (included with the Main Kit) I adhered a photo. Along the outside edge I added a day of the week tab sticker.

The cork banner stickers are from the Dimensional Adhesive Bundle.
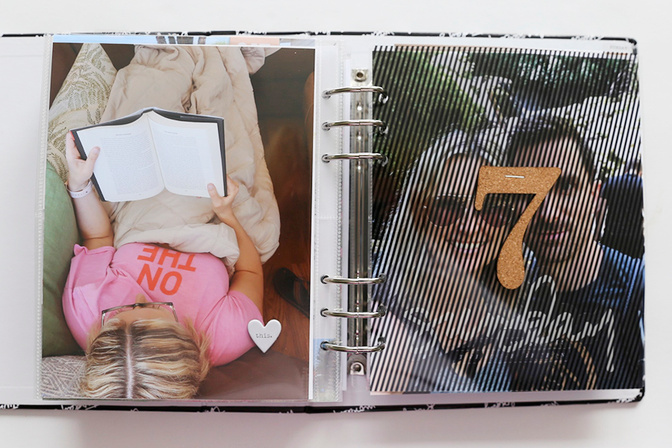
TUESDAY
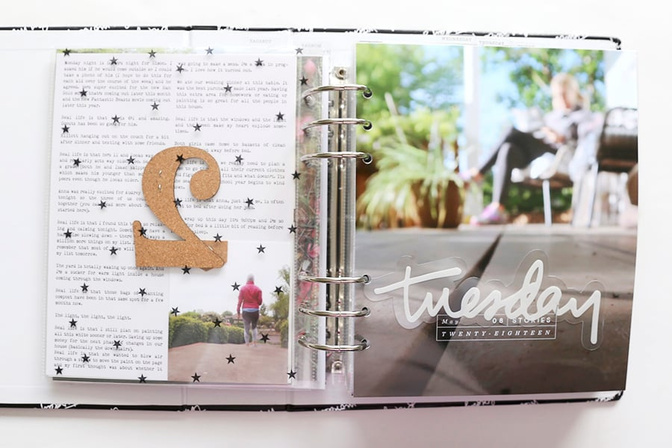
You can read more about my process of getting the words into this album here.
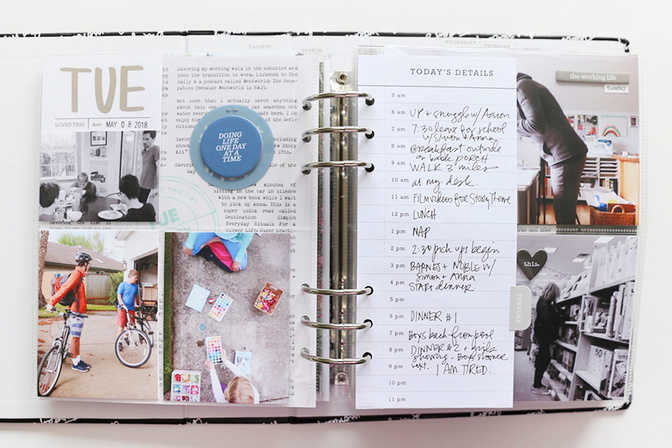

Totally love letting the photos tell their own stories.
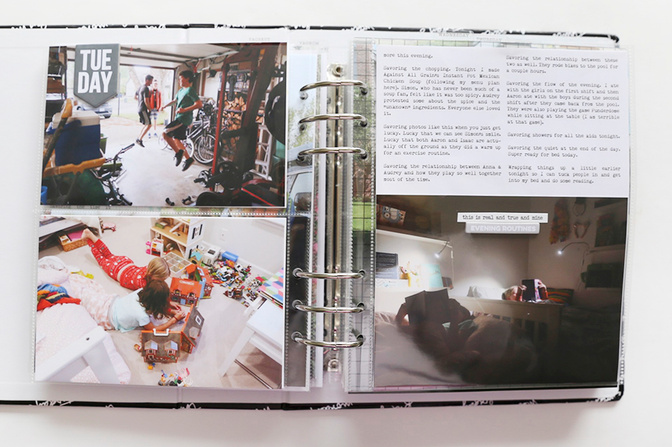
All the cork numbers were stapled in place on the transparencies using this long reach stapler.
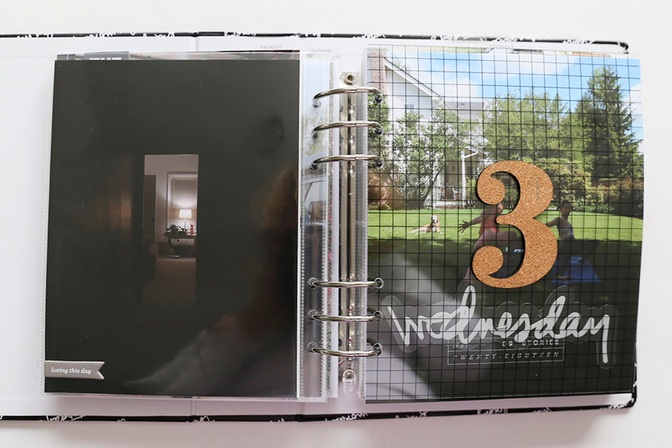
WEDNESDAY
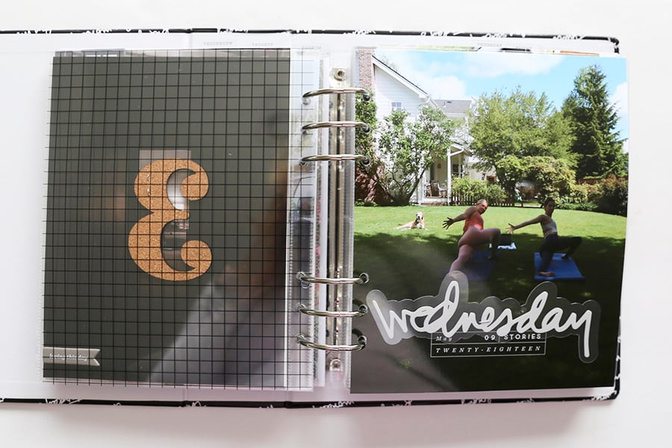
I loved having these long narrow photos mixed in with the others.
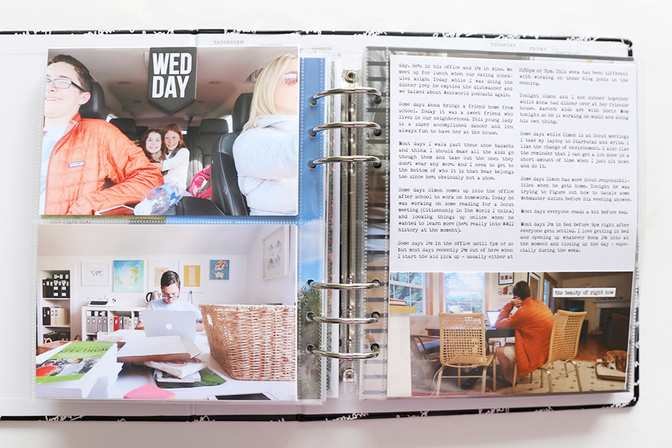
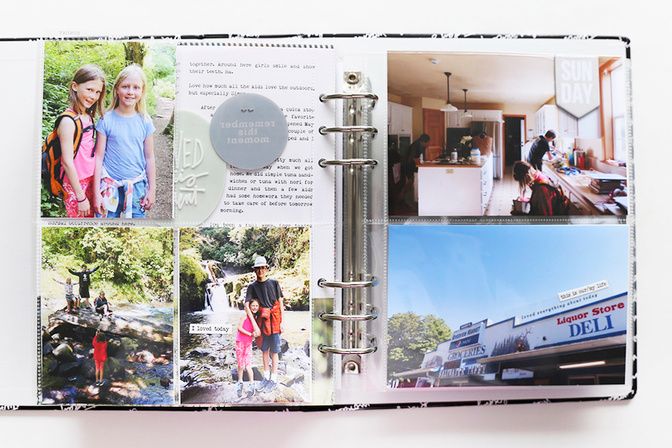
I added the chipboard days of the week to each day - either on a 3x4 or 4x6 photo.
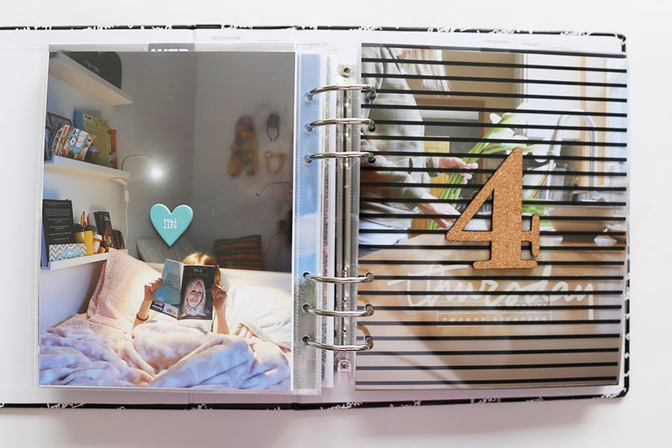
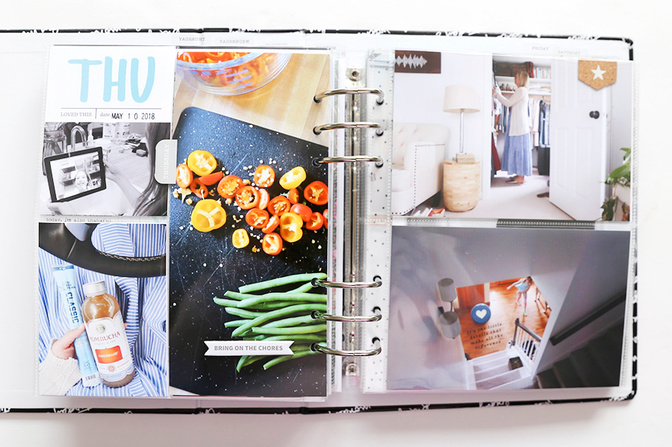
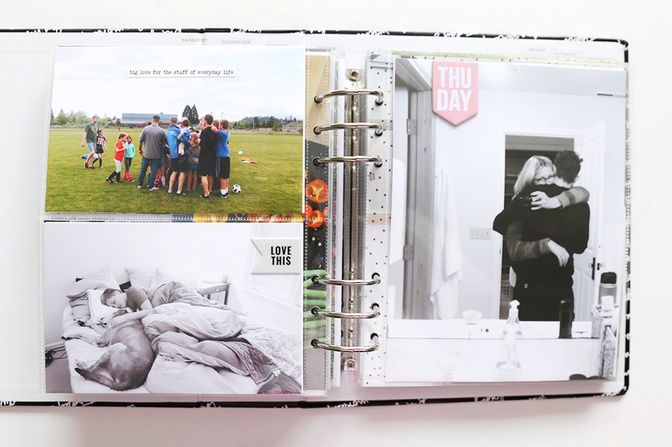
THURSDAY

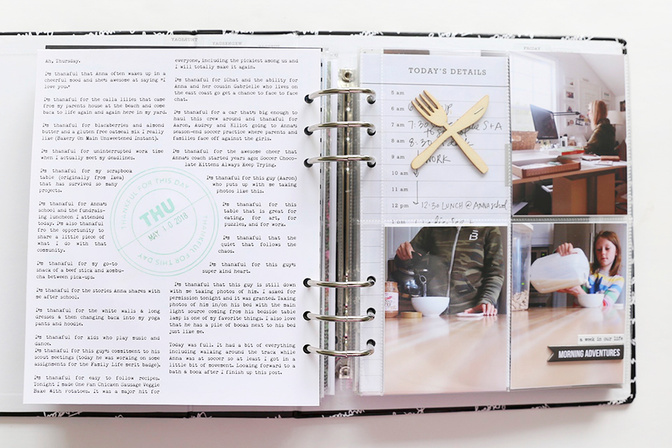
On Thursday I added in the wood veneer fork + knife and stapled it in place inside the pocket.
FRIDAY
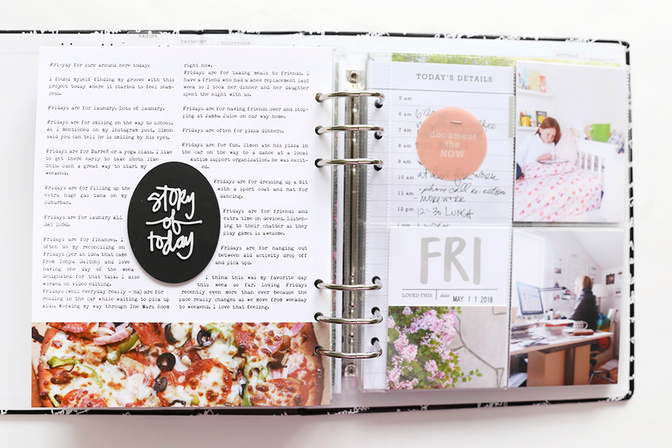
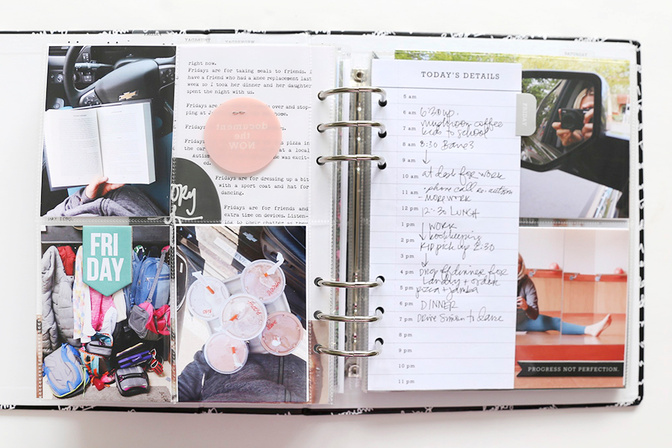
Love that long sticker from the clear sticker sheet in the Sticker Bundle.
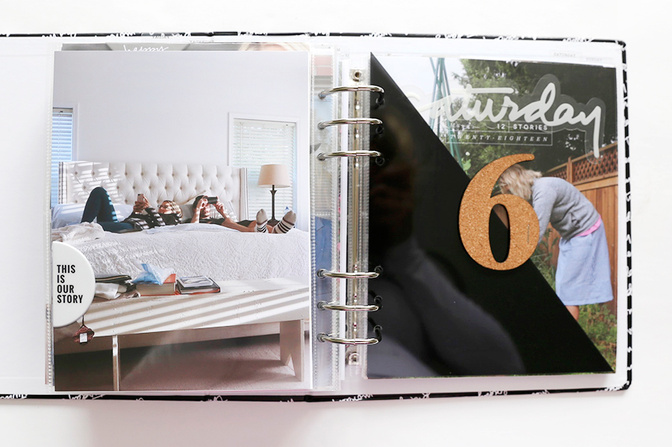
SATURDAY

Love how that chipboard circle piece fit right inside the sunshine wood veneer.
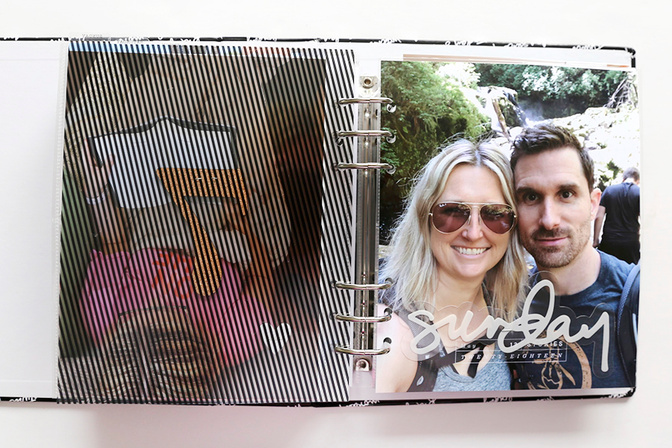
SUNDAY

I am so happy with how this album turned out. I love the focus on the words and photos. I love bringing it all together. I love having another Week In The Life™ documented.
I'm working on another post to share how I'm documenting this week in my Project Life® album and will share that here soon.
As always, thank you for being a part of this community and I hope you'll participate in this project along with me again next year.
PS // Just a heads up that I will be doing a Facebook Live over on my business page tomorrow to do a preview of the new travel collection that will be available on Wednesday, May 23rd at 9am PST.
You are invited to share a link to your completed album in the comments below.


Comments
Sign in or sign up to comment.
15 comments
Thank you, Ali, for taking the time to make such a detailed, helpful video along with all of the awesome pictures! You are so generous with content. You rock!❤️
Replies to Momany
Sign in or sign up to reply.
Love seeing your album & your process!! Beautiful!! Sooooooo excited for tomorrow!!!❤️❤️
Replies to Inkfanatic
Sign in or sign up to reply.
So, so good! Thank you, as always! ❤️
Replies to Jeannew
Sign in or sign up to reply.
Can you show us a side view of the album?
Replies to chemgirl
Are you looking for how thick it is or ?
Yep! Just curious. I love seeing a completed album from the view of the pages, and I'm especially wondering because you made a comment that the numbers made for a bulkier album. No big deal if it isn't convenient! ;)
Sign in or sign up to reply.
Love!
Replies to hgauvin
Sign in or sign up to reply.
Wow! Thank you for sharing your process and album with us! Your album is beautiful and your words so encouraging as I continue to plod along on mine. I am definitely inspired to do just that -- continue to plod along bit by bit to bring it all together. I absolutely love this project and can't wait to get my album all together! After many years of participating, I have continued to largely bring it together the same way each year. Thank you for some fun ideas to change it up just a bit while continuing to focus on the words + photos.
Replies to Kristin409
Sign in or sign up to reply.
Love your album Ali. So good to see you “batching” the different processes, instead of agonizing over each decision page by page (my problem). I’m finishing up my DD album, and will definitely be doing this!! Wondering if there is a WITL hashtag or other way to view pages posted by the community? Thanks!
Replies to Dneilg
Sign in or sign up to reply.
Are the circle stamps you used in the middle of your journaling pages available digitally?
Replies to deigalynn
Sign in or sign up to reply.
Truly stunning work! I am always so inspired by your work. Again, the large numbers, the shaped text, the beautiful rhythm of life.
I have only finished my album up to Friday so far, but here it is.
http://avinashhecker.blogspot.com/2018/05/week-in-life-thursday-friday-pages.html
Replies to nirupama01
Sign in or sign up to reply.
Love this project, every year is different and shows how our daily life is... Going digital is my time-saver: https://instagram.com/p/Biq3rf3ng7b/ 😉
Thanks Ali for another storytelling chance!
Replies to Nita27
Sign in or sign up to reply.
Thank you Ali for taking time to walk us through your process. I like the idea of putting the album together in "phases". It has really made things go much smother. I am new to your site and along with ;this project, I am also participating in OLW. I've learned so much and have gained new memory keeping skills. Thanks for introducing me to PSE, it took a while to get the basics down, but I'm having a blast! I have so enjoyed this process and plan to do this project again every few months.
Replies to Beth_Gomez1294
Awesome! And thank you.
Sign in or sign up to reply.
Hi Ali, I would love to have a small WITL digital to use in the spine of my album. I have the circle but have you ever considered a small written version that would fit well here or is there one out there already. Thanks for all you and your team do! You are the best!
Replies to chayes
Sign in or sign up to reply.