Video Tutorial | Printing Two 3x4 Images On A 4x6
Tags: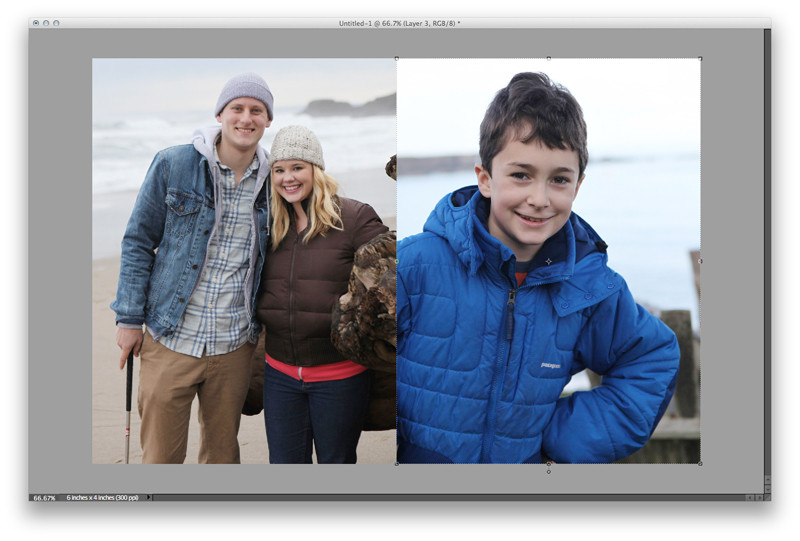
I've had some requests over the last couple of weeks for help with how to print 3x4 photos (specially for use in the smaller Project Life page protector pockets). I put together a quick video tutorial that walks you through the steps to put 2, 3x4 images on a 4x6 canvas in Photoshop Elements.
You could definitely adapt these steps to put more 3x4 photos onto a larger background canvas (such as an 8x10).
Ali Edwards | Printing Small Photos for Project Life from Ali Edwards on Vimeo.


Comments
Sign in or sign up to comment.
126 comments
Awesome. Thank you!
Replies
Sign in or sign up to reply.
Very nice. I may have to watch this several times to totally get it, but I have my new photoshop 10 ready to put onto my computer. Just have to figure out how to use it.
Replies
Sign in or sign up to reply.
Ali thank you so much for this. I know it is such an easy thing to resize photos, but sometimes these basic techniques are the most frustrating for me to figure out. Your tutorial is perfect and wonderful!! Thanks again for all you do!
Replies
Sign in or sign up to reply.
Many many thanks. I feel like I have to relearn PSE every time I open the program.
Replies
I am exactly the same!
Sign in or sign up to reply.
Like Melissa said - I have also used PhotoSheet by Photility and even better Zoner Photo Studio which allows you to create and save your own templates and then print any combination of sizes one any size paper. It allows you to upload an entire folder into the template and creates separate .jpgs for each finished collage sheet. It has changed the way I use Shutterfly and print my photos. Love it...
Replies
Sign in or sign up to reply.
Thank you for taking the time to explain this process to us.
Replies
Sign in or sign up to reply.
Thanks SOOOO much Ali! I have an 8.5x11 template with 6 3x4 on it that I've been using but it wastes a lot of paper and takes a little bit of cutting!! Don't know why I didn't think of just printing two on a 4x6!! No wasted paper and only one cut!! Yeah time saver! Thanks so much! The only thing different I do is make a clipping mask on the 4x6 canvas for each photo. I never alter my original photo file. I always use a clipping mask! Thanks again!
Replies
Sign in or sign up to reply.
Thanks Ali, another great video. Also, loved reading your email today.
Replies
Sign in or sign up to reply.
Thanks! I've been doing that a slightly different way, but all of sudden the photos end up blurry. I'll have to try it your way and see if that makes a difference.
Replies
Sign in or sign up to reply.
Thanks for this video. I knew you could do this but never made it work.
Replies
Sign in or sign up to reply.
I've been needing something like this. Thanks for this timely posting!
Replies
Sign in or sign up to reply.
I buy tis magazine in the UK, it's a very crafty mag! Looking forward to printing my photos for PL, I am just starting!
Replies
Sign in or sign up to reply.
Ali,
As others mentioned, your email this morning was a nice treat!
I am excited for this tutorial. I just got PSE this summer and most of what I know how to do with it has been via your tutorials, so I really appreciate the periodic videos that you post. They are always so helpful!
Replies
Sign in or sign up to reply.
Ali,
I was wondering what it is you used to put the dates of the week on? is that a standard type label or did you make those?
thanks!!
Replies
Hi Mary - I'm not sure which labels you're referring to?
I'm wondering if Mary is referring to the cards from the Project Life kit that have a space for the dates of each specific week?
Sign in or sign up to reply.
Hi Ali, I don't see an option for floating windows in PSE 7, is a newer version required? Thanks
Replies
Maria, I had the same problem. Doing the following fixed the problem for me. In PSE, go to Edit then pull down to Preferences and choose General. In the Options box make sure that "Allow Floating Documents..." is checked. Hope this helps!
Me, too Maria. Thanks for the answer Anita! Worked great - love this community!
Hi Maria - I'm not sure, if you don't see it it's possible it's only a newer version feature. I'd do a search in the help menu or a google search.
Thank you so much for this info. I have PSE 9 and couldn't get it to work either, but with your tip, it's working fine! Bless you!
Aww shucks, I'm just glad I could help!
Sign in or sign up to reply.
Many thanks Ali, I learned a few new things.
I have PSE 6 so I don't have the floating windows but the rest of what you showed works fabulous.
Replies
Sign in or sign up to reply.
[...] Printing two, 3×4 photos on a 4×6 canvas (especially helpful for Project Life) [...]
Replies
Sign in or sign up to reply.
Thanks for that I was just searching on how to do that. Are you able to let me know how to put a white line/border thru the middle of them so that i can use two photos for my POTD. TIA
Replies
also, i cant seem to get the 'float all images' to work. Have you any ideas for me to trouble shoot this... thanks in advance - again :)
Sign in or sign up to reply.
hi Ali,really easy to understand tutorial.When I crop my photos they end up really small.I am not sure if they are starting the right size.When I bring in a photo it is 13x18.I then crop it to 3x4 but when I drag it across it becomes 1x2 inch.This sounds confusing sorry.Hope someone can understand and help.Thanks Carolyn
Replies
hi Ali have done all that.checked sizes dpi 300 etc.maybe something to do with original print.Will keep trying.thanks
Great tutorial Ali and lovely to hear your voice!
I have the same issue as Carolyn (I think). When I move my 3x4 to my new canvas, the image does not fill the canvas, like yours did. Instead, I have to then use the move tool to zoom the image to fit the canvas. Not that hard but it would be great if the new image would drop straight in. I'm using PSE7.
Hi Carolyn - make sure that you are using 300 dpi for the resolution for both the photos you are cropping and the new canvas. Make sure you are entering 300dpi at the same time you set the crop to 3x4. And makes sure the new 4x6 you create is 300dpi (you can double check by going to Image/Resize).
the same thing is happening to me. When i drop my cropped photo onto the page it is tiny...ANyway to fix this?
Sign in or sign up to reply.
Thanks for the video! It really helped me quite a bit :)
Replies
Sign in or sign up to reply.