December Daily® 2015 | Day Five
Tags: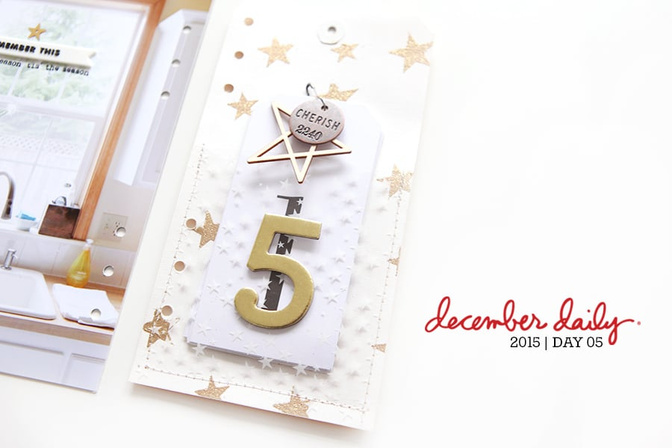
Welcome to December Daily® 2015 | Day Five.
Today I'm sharing what I ended up doing with those 5 number tags I had included in my foundation pages. Step-by-step video is included below (also feel free to follow me on my YouTube channel as well).
Today involves a bit of painting and embossing with a star stencil and writing out five things I'm thankful for right now.
Remember, my days will probably get simpler here when the kids are back this week. Making it work for you is about telling longer stories/more involved pages when/if you can and then doing shorter stories/quicker pages when time is tight.
Hope you guys are having an awesome weekend! Thanks for being part of this storytelling adventure.
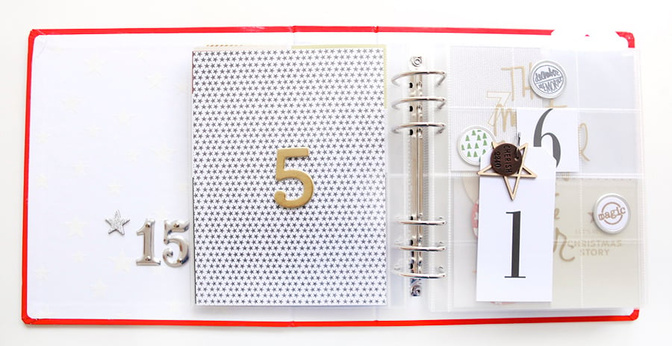
Here's a look at Day 05 from my foundation pages:
And here's a look at how it looks with words and photos and other adjustments:
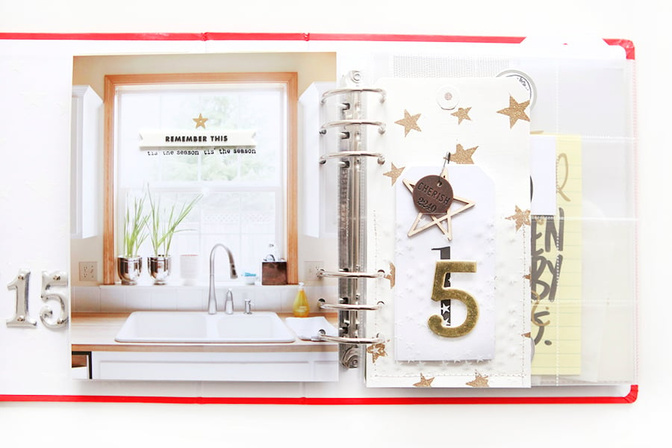
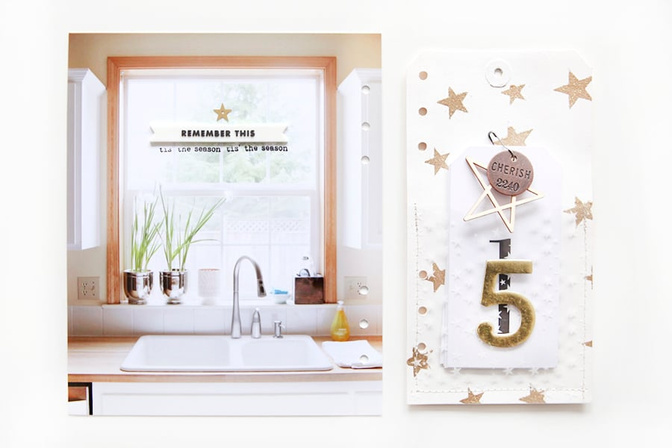
For the back of my Day 04 photo I ended up adding another enlarged photo (sized to the size of my page protectors). I went with a photo I took last week of the paperwhites in my kitchen window. Alongside the enlarged photo I created a pocket tag to hold my number tags. More details below.
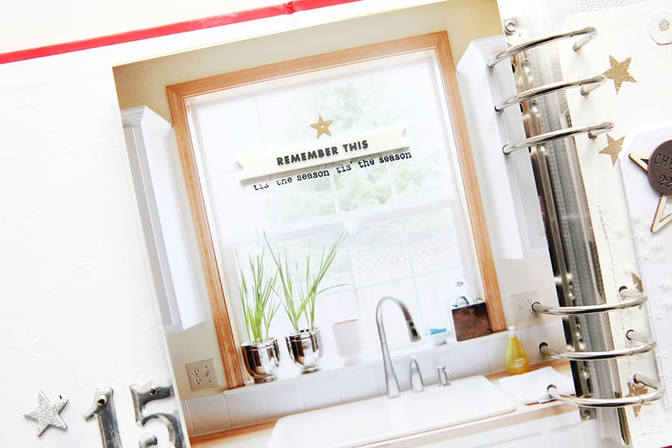
On top of the enlarged photo I added a rubber banner from the Main Kit + "tis the season" stamp from the Holiday Circles stamp set + a small gold star from my stash.
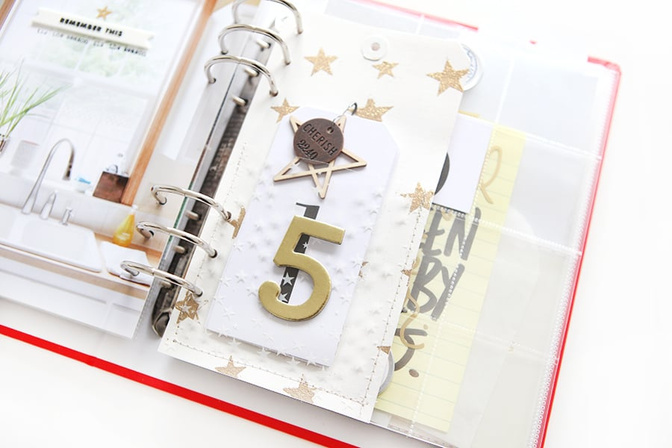
To create the pocket tag I started with a 4 inch x 8 inch manila tag (you can see this process live in the video below). On top of the tag I painted three coats (or so) of white gesso as my base layer. On top of that I used this star stencil (same one I used for the interior of my album cover) and more of the Gold Tinsel embossing powder from Tim Holtz to create the star pattern.
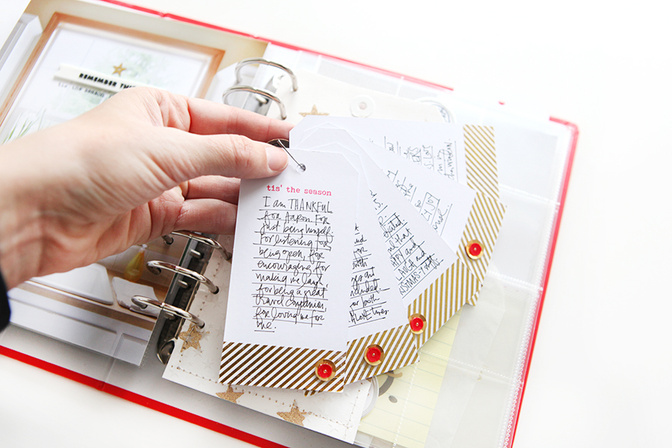
To create the actual pocket I cut a piece of star transparency and used my Brother sewing machine to stitch around three sides. The collection of tags then slip right into the pocket.
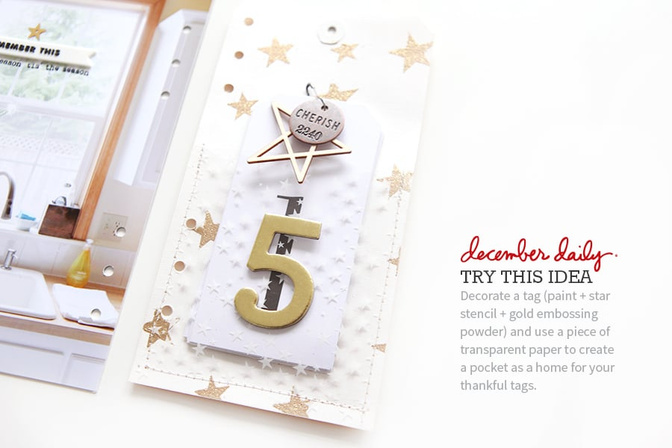
I totally love how that turned out - better than I imagined actually.
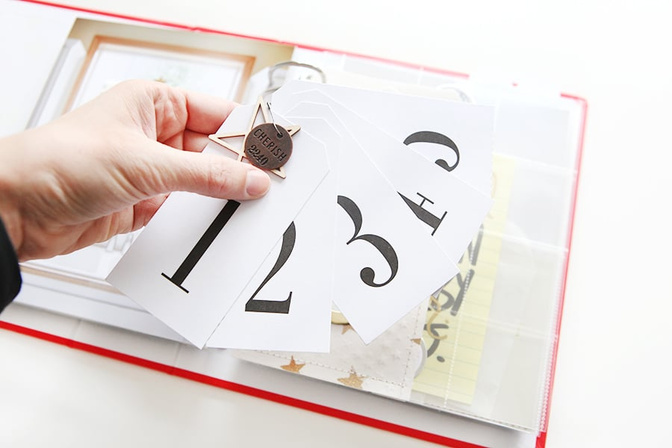
The front side of the tags outside of the pocket. I decided to just keep them plain.
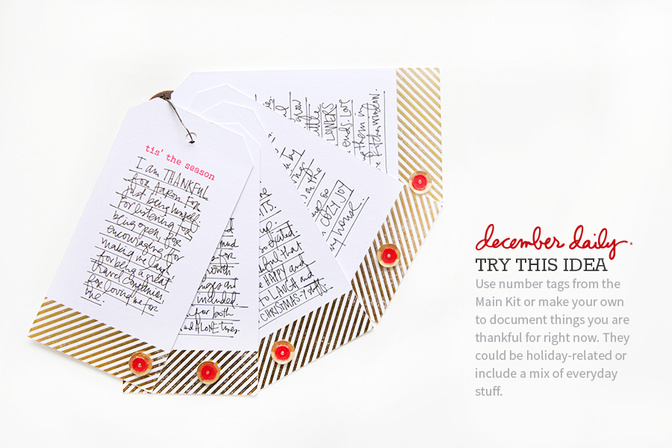
On the backside of the tags I used the gold stripe washi from the Main Kit along the bottom of each tag + a red star sequin adhered to the gold star sequin.
I stamped "tis the season" using Color Theory Well Red ink and then wrote out each of the five things I am thankful for right now.
Here's a look at the pieces outside my album:
DAY 05 | STEP BY STEP
SUPPLIES
December Daily® 2015 Main Kit (number tags)
December Daily® Emily Ley Mini Kit (gold #5)
Gesso (or other white paint)
4 inch x 8 inch Manila Tag
December Daily® Holiday Circles (tis the season stamp)
SHARE YOUR DAY 05
I'd love to have you share a link to your Day 05 album pages below. Please link directly to your post vs. a general blog link.


Comments
Sign in or sign up to comment.
20 comments
This is beautiful Ali.
Replies to sharylgolson
Sign in or sign up to reply.
Gorgeous!!! Love this.
Replies to virginiegoujon
Sign in or sign up to reply.
Very creative and clever. I really love this idea of expressing gratitude in a December project album. That's an idea I'm going to hold on to. I'm enjoying your stories and layouts, thanks for sharing them. Michelle t
Replies to mtercha
Sign in or sign up to reply.
Love! I am really enjoying the process videos-I think you should do them every day with every project! (I know that's not possible-you are busy) I was just saying! But really I am loving the process-it's giving me tons of ideas and keeping me inspired to stay on top of my DD which I haven't completed an album in a few years, so my goal is to complete it this year.
Replies to argirl
Sign in or sign up to reply.
Love this!!! I am definitely going to try to do this with my kids wish list. I have adult children & all they do now is send me links to wish list they've created on their favorite stores websites. I usually print them all and stick them in a decorative pocket but I'm loving this tag idea to mix it up this year. Thank you for the idea. I am so loving your process videos, you make everything look so easy and doable. As always, thank you for sharing your stories & your process.
Replies to amorton63
Sign in or sign up to reply.
Love the idea how to use the tags! I'd been wondering how to use those in my project.
Replies to wandergirl
Sign in or sign up to reply.
Ali, I really appreciate that you share your pages on your blog and not in a class. It's lovely to have the daily inspiration available to all.
Replies to Northrigg
You are welcome - it's how I've always done it.
Yep. I'm looking to spend 2016 on more positive reinforcement..on a different note. My son loves legos. He's 7 and is pretty comfortable building the 8-14 kits. Hes engineering/building minded. If Simon had a choice on a star wars kit in that age range what would he choose? Thanks!
Sign in or sign up to reply.
I love how your pages are coming together. Can I ask why you choose Gesso? Was it just what you had on hand? I'm wondering what the difference would be between painting it and the gesso. I'm trying to decide if I want to go buy some, or just use paint I have on hand. Thank you for always being so inspiring!
Replies to sarahsworld2000
It's just the whitest thing I had on hand :).
Sign in or sign up to reply.
Love this. I know you mentioned on the video that you don't know what needle you use for the Brother sewing machine, but do you know the tension? I bought one just for scrapbooking, like you. Unfortunately the thread always gets in a knot. I probably need to have it serviced. Perhaps it's the tension? Any suggestions are appreciated.
Replies to marieterec
Sign in or sign up to reply.
I love this album so far! I love the variety of page types within the pocket page system. Love love love.
Replies to beriuqam
Sign in or sign up to reply.
I love how you used the tags and created the little pocket for them. What a wonderful idea and I am going to see what tags I have left from my kit that are consecutive so that I can try this out.
Replies to bethie1118
Sign in or sign up to reply.
Your pages are so great..! Can I ask a question about the large left-hand photo? I think the size that it would need to print at is about 7.5" wide x 8" tall so that it matches the size of the page protectors. Do you set that as your print size or do you print larger (say 8" x 10") and then trim? I am having a hard time figuring this out in photoshop elements (to print to exactly 7.5" x 8"). If you could direct me to a tutorial, I would be so appreciative! Thanks for all you do!
Replies to rhondapogo
You can use the crop tool and add the dimensions in the boxes on the toolbar (as well as the resolution...300dpi is standard). Then crop to your desired size.
I crop the photo to the exact size and then I set the print size to 8.5x11 (since that is the size of the paper I print on).
Sign in or sign up to reply.
Please stop using those Emily Ley numbers, it's making me want to order them!
Replies to Bellaa75
Sign in or sign up to reply.
Thanks so much for sharing these process videos Ali! I'm not even doing this project but I look forward to the blog posts and videos every day. I love seeing your process and hearing what you are thinking as you work on each day. One question - I've noticed a few times that you have your coat on while you're working. Is your office cold? These are the kinds of questions a person comes up with when they aren't actually doing the project :)
Replies to goshery
Ha - sometimes it's cold and I forget to just turn up the heat. Sometimes I'm literally in-between things (come in and do something quick and then off again). I also think I'm generally cold so I layer up - I like being cozy.
Sign in or sign up to reply.