Remember This | Scrapbook Layout
Tags:
Yesterday I felt like making a layout.
An 8.5 inch x 11 inch layout that included a bit of digital, an enlarged photo, pattern paper, ink + stamp, handwriting, emboidery floss, and machine stitching.
And guess what? No white cardstock - actually no cardstock on this one.
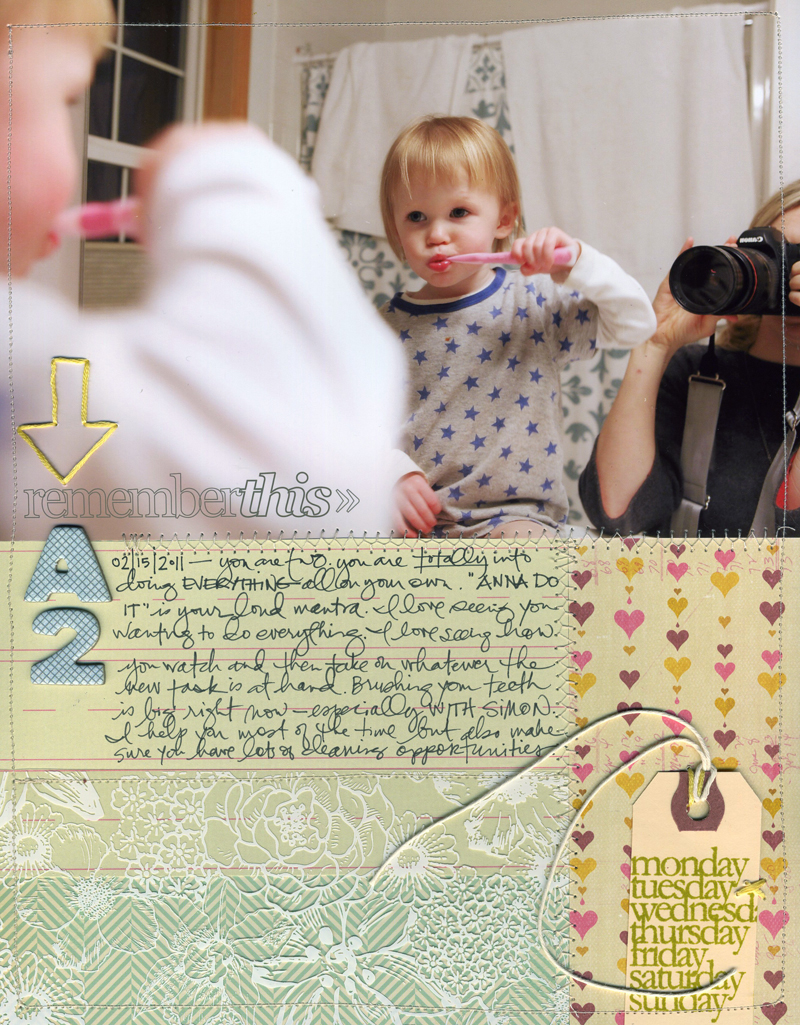
Here's where I ended up:

I started with the photo in Photoshop and added "remember this" from my Outline Moments Brushes & Stamps.
One of my favorite ways to recolor word art is by selecting a color from a photo. Here's a short video tutorial that walks you through those simple steps:
Ali Edwards | Grab A Color From Clothing For Recoloring Word Art from Ali Edwards on Vimeo.
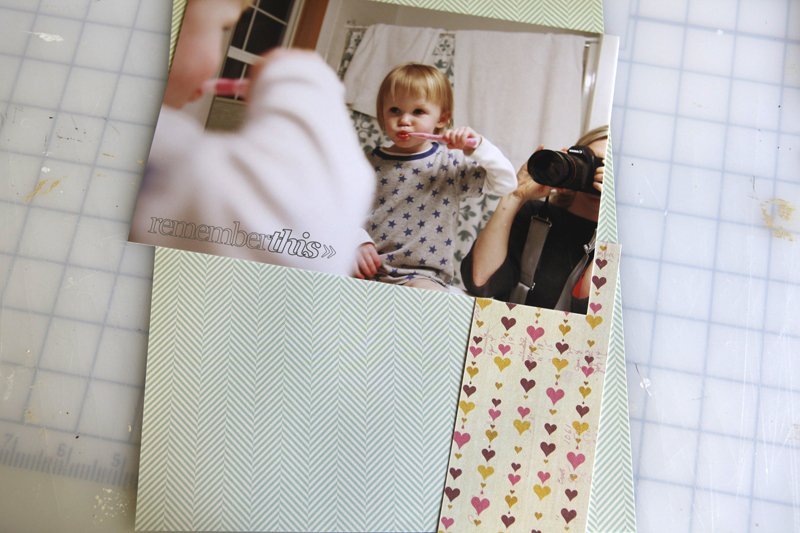
After printing the photo here at home, I grabbed some pattern papers (October Afternoon's Sleeping Bag and Sassafras Lass' Polka Dot).
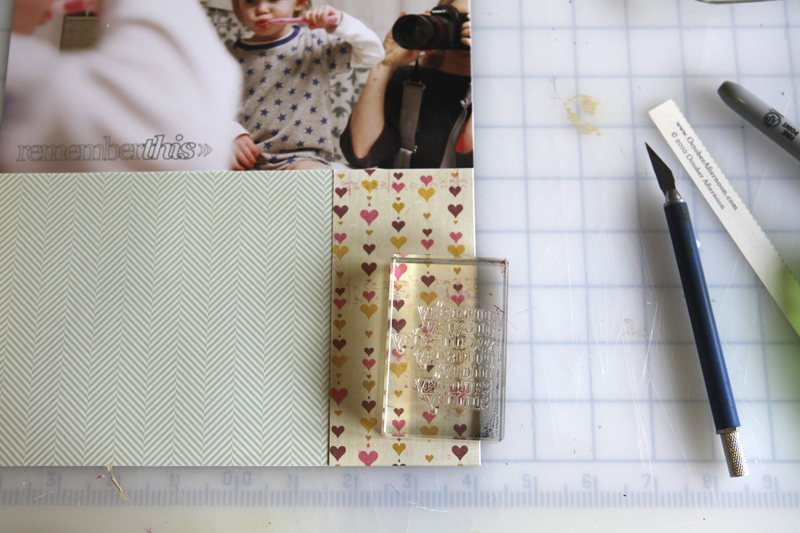
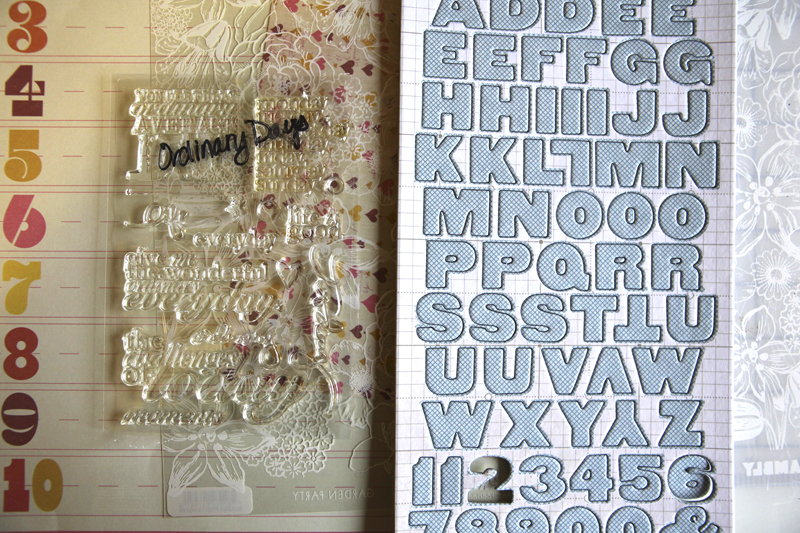
I also grabbed one of my new Technique Tuesday stamps from a set called Ordinary Days.
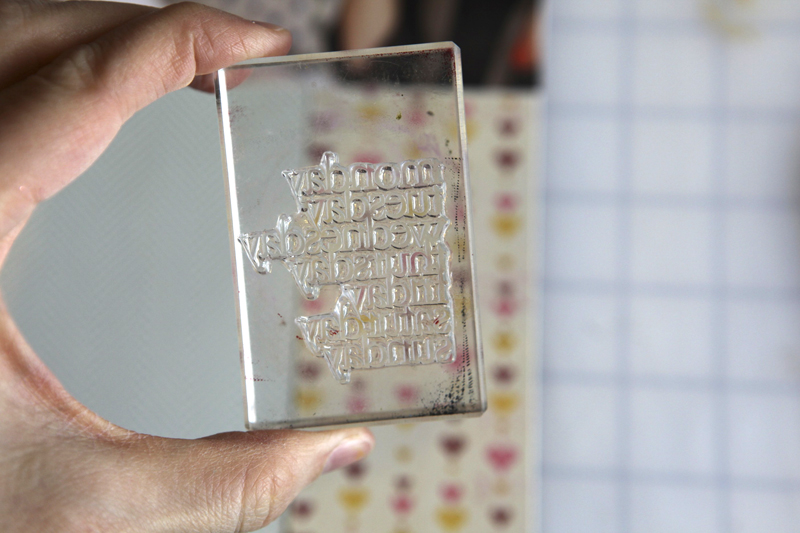
Here's a look at the full set:
![]()
If you're digital you can download a similar set from Designer Digitals: This Is The Day Word Art Vol.2
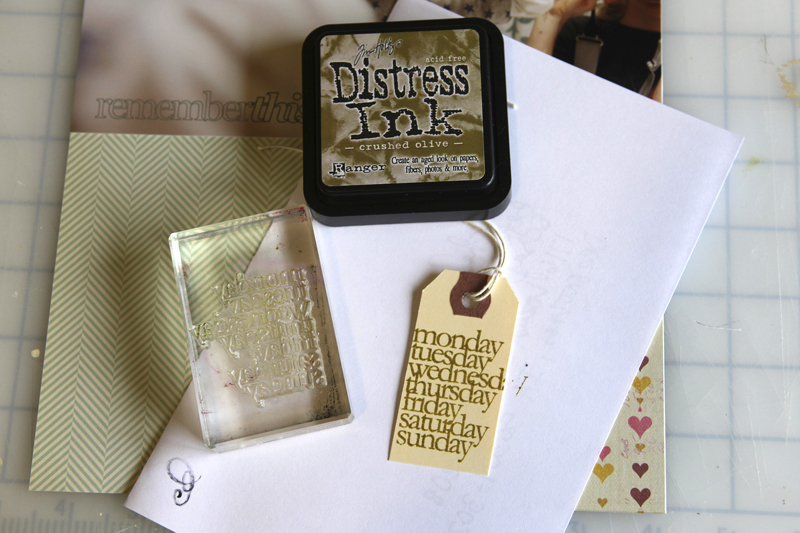
That days of the week stamp went onto a small shipping tag using Tim Holtz Crushed Olive Distress Ink.
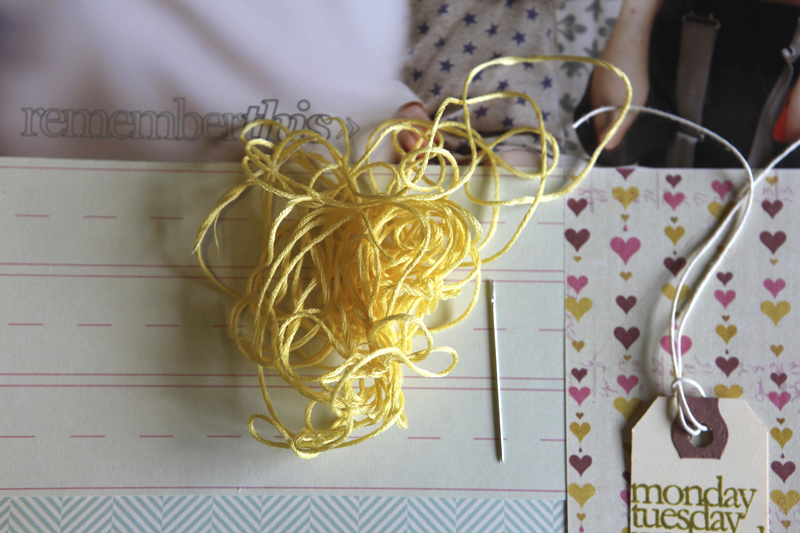
Next I started playing with some yellow floss and a needle.
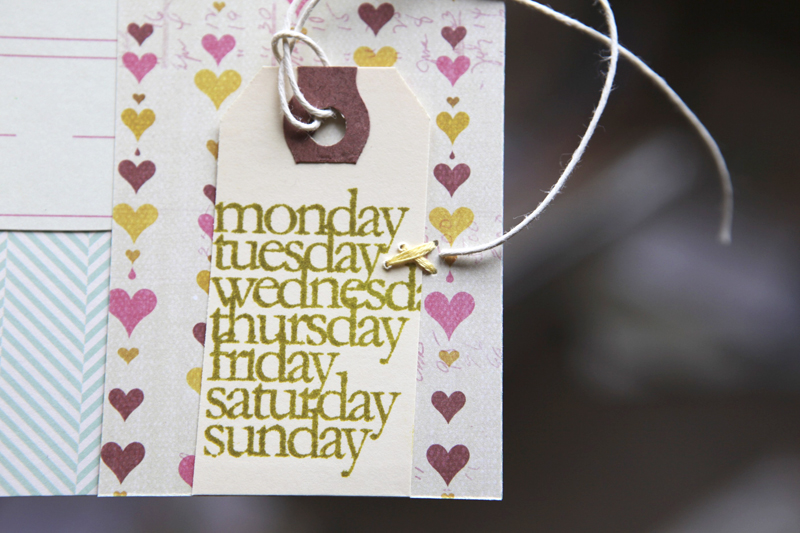
I stitched the stamped tag onto the bottom right corner.
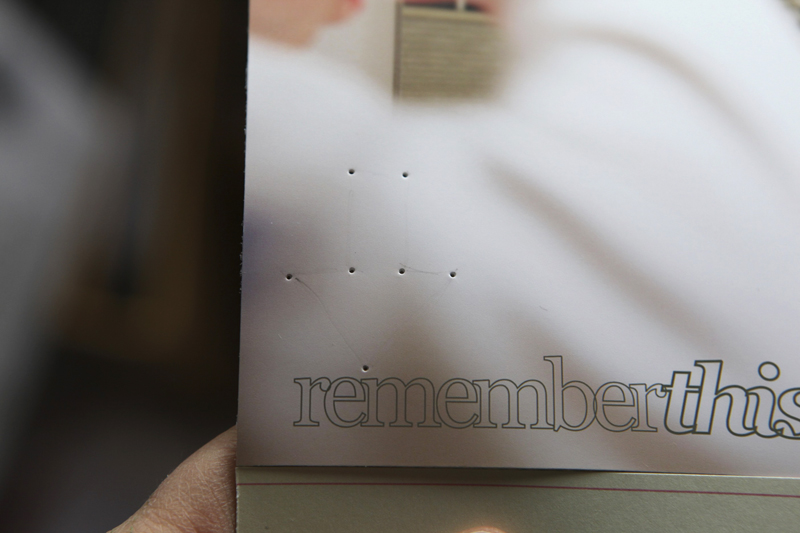
I decided to hand-stitch an arrow right above the title of the photo. To make this process simple I drew an arrow very lightly with a pencil and then pre-poked the holes with the needle before using the floss.
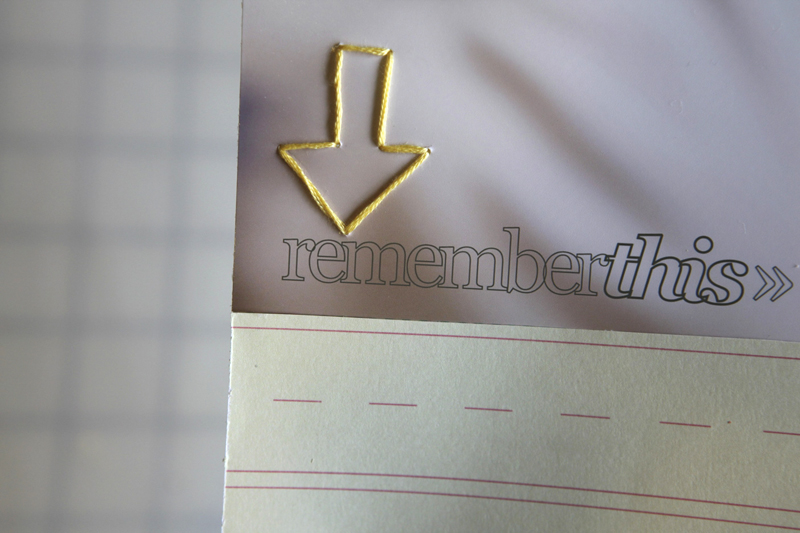
Fun. Love that yellow floss.

Under the arrow and the title I added some new printed chipboard letters/numbers from Studio Calico and wrote my journaling onto Sassafras Lass' Count Me In Collection Elementary pattern paper.

Along the bottom I layered Hambly's Garden Party white overlay.
Here's a look at the whole page:
I used my sewing machine to stitch around the entire page and along the seams where the pattern papers meet.
JOURNALING |You are two. You are totally into doing everything all on your own. "Anna do it!" is your loud mantra. I love seeing you wanting to do everything. I love seeing how you watch and then take on whatever the new task is at hand. Brushing your teeth is big right now - especially with Simon. I help you most of the time but also make sure you have lots of cleaning opportunities.
SUPPLIES:
Ink | Tim Holtz Crushed Olive Distress Ink
Papers | Sassafras Lass Count Me In Collection Elementary and Polka Dot; October Afternoon's Sleeping Bag; Hambly's Garden Party white overlay
Stamp | Technique Tuesday Ordinary Days
Digital Word Art | AE Outline Moments Brushes & Stamps
Chipboard Alphabet | Studio Calico
Other | Yellow Embroidery Floss, Needle, Machine Stitching, Scotch Rolling Adhesive, Black Pen, Shipping Tag


Comments
Sign in or sign up to comment.
53 comments
Love the different colors and textures on that layout. thanks for sharing your process of recoloring, sounds like fun, will try this later! Greetings
Marit
Replies
Sign in or sign up to reply.
What a sweet photo and layout! I love all the textures. And as a relative PSE newbie, I also love your video tutorials. :) Thank you, Ali!
Replies
Sign in or sign up to reply.
Love this -- I agree with you on recoloring using a color from the photo -- I do this too -- a very pleaseing effect --- got me in the mood to make a page! Oh -- also like the way you use your initials in your layouts --- A2 --- like that!
Replies
Sign in or sign up to reply.
love this
Replies
Sign in or sign up to reply.
Very inspiring! Thank you!
Replies
Sign in or sign up to reply.
Made my day to see a simple, great, traditional layout on your blog this morning. I'm definately taking time to make a layout today, too.
Replies
Sign in or sign up to reply.
I'm impressed that there's no white cardstock! : )
Replies
Sign in or sign up to reply.
Hi Ali, I've been reading your blog for years, though I don't always comment.Today I've finally, for the first time, been able to listen to you on vimeo. Great to now know what you actually sound like (you sound different to what I imagined- have to make that adjustment! :) Love the project as always.
Replies
Sign in or sign up to reply.
My favorite thing about this layout is that you didn't crop yourself out! I always feel like it won't look right if the reflection of me with my camera is in the photo, but now I see that it's just a part of the story! Thanks for the inspiration!
Replies
Sign in or sign up to reply.
I love your pages Ali - would love to see some videos/how-to posts on stitching onto your page. I just got a sewing machine and am really unsure of where to start.
Also, my 2 year old's saying "I do it myself" all the time, super cute!! Thanks!
Replies
Sign in or sign up to reply.
Love it Ali, especially the hand stitched arrow and A2. Thanks for sharing.
Replies
Sign in or sign up to reply.
[...] This post was mentioned on Twitter by Ali Edwards and may f, Josephina Mydreama. Josephina Mydreama said: Remember This | Scrapbook Layout: Yesterday I felt like making a layout. An 8.5 inch x 11… http://goo.gl/fb/getDB [...]
Replies
Sign in or sign up to reply.
You've inspired me to dig out my stamp + ink collection. . . I neglect it far too much. Looking forward to some PLAYtime :) Love the floss, too ;)
Replies
Sign in or sign up to reply.
Love it all, but esp. the floss!
Replies
Sign in or sign up to reply.
Love it! Question: How would you print out onto a shipping label using a digital version of your stamp?
Question 2 (unrelated): How do you back up all of your photos and do you use outside storage of photos (ie cds, online, etc).
Replies
which external hard drive do you use?
Hi Rosa - when I print onto a tag I set up my file to be the correct size (say 2x3) and then print onto a sheet of printer paper. I then attach the tag to the sheet of paper with removable adhesive and re-run it through the printer (tag attached to the paper). It takes a bit of trial and error and measuring but works just fine.
I use Aperture for my photo organization and the photos are backed up to an external hard-drive (through Time Machine on my Mac) and backed up to Mozy (an online site). I will be switching away from Mozy when my contract with them ends as they are raising their prices and I have over 500GB of data to back up.
Sign in or sign up to reply.
Well shoot. I'm just learning how to use PSE6 and tried to follow along, but it just turns the whole layer that color...
Replies
Hi Melissa - make sure you have "preserve transparency" selected (it's in the box that comes up when you "fill").
That did it! Thanks!
Sign in or sign up to reply.
Beautiful page, Ali! I have tried sewing on layouts before and have not had good luck with it. It always seems to tear the paper. I also have the same Brother sewing machine that you have mentioned in earlier posts that you have. Just wondering what your tension, etc. is set to? Would love to be able to have better results with sewing onto paper. Thanks!
Replies
Hi Danielle - right now the numbers on my machine are set to 9, 5, 2, 2 (moving from top left across and then down to the dials). I don't really know too many details about it...but those settings work for a straight stitch.
Sign in or sign up to reply.
Great layout! And I LOVE those stamps!!
Replies
Sign in or sign up to reply.
Such a cute and simple layout. the stamp set is great. Thanks for sharing it with us.
Replies
Sign in or sign up to reply.
Love, love, LOVE this layout! I've been wondering...what lens are you using on your Canon? And what settings? I remember you mentioning you used to use the "running man" setting, but your exposure is coming out so perfect in areas that are not well-it! Show a sista some camera-info love!
Replies
Ahhhhhhh, I THOUGHT something was different! I usually shoot on AV mode as well...planning to upgrade my camera -- the newer versions have so many more options, my favorite being higher ISO's. Thanks for sharing!
Hi Abby - I'm using a 24-70 and shooting on AV. I upgraded my camera to a Canon 5D.
Sign in or sign up to reply.