December Daily® 2023 | Paper Play with Pam 03
Hello friends, happy Friday! This week I’m sharing 5 projects that came together thanks to the inspiration in this year’s Paislee Press Mini Kit. Although this kit is currently sold out, all of my ideas can be easily translated to projects of your own using the digital kit, coming to the shop October 13th.
I’ve arrived at the point in this album where some of the 2010 stories are fuzzy and my brief notes are no longer providing much direction about what the story is. The good news is this kit is full of thoughtful and clever prompts to keep me going!
Here’s where I’m starting.
Project #1
The first project started out with just 2 photos. What brings this story to life is the “Let our hearts be light” sentiment and a little bit of investigative work to figure out the missing details.

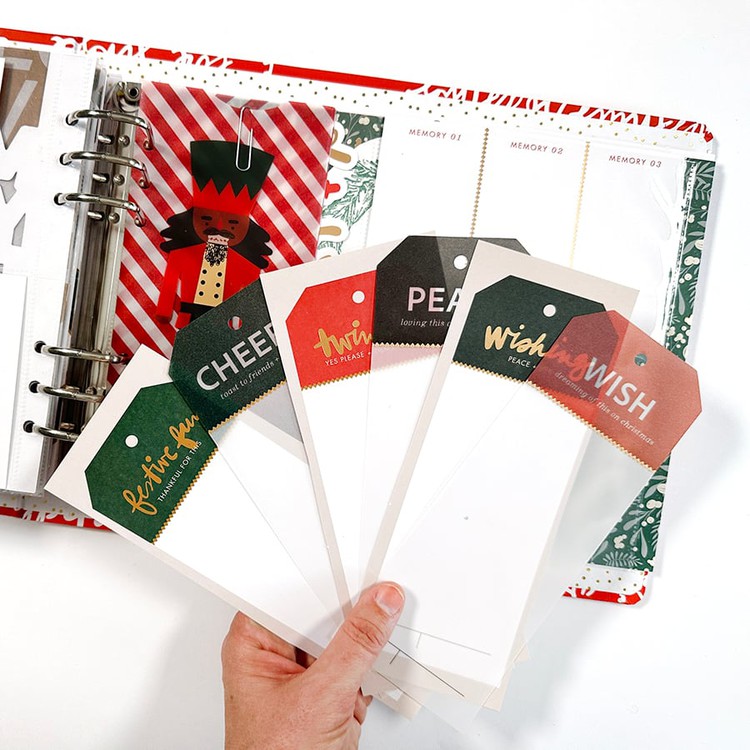
Supplies:
- Paislee Press Mini Kit (4x6 journaling card, patterned paper, vellum stars, chipboard tab)
- Main kit (gold puffy stickers)
- Other: ribbon.
Simplicity is such a lovely thing, but I was excited to try a new technique using the journaling card and patterned paper to make a slider that reveals hidden journaling and one additional photo.

This slider technique was very much inspired by Heidi Swapp’s brilliance. She creates all kinds of cool interactive techniques in her Memory Planners and I love figuring out how to translate them to other formats. Highly recommend checking her out!
Here’s the process video to make a slider of your own.
Project #2
My second project is a very simple 2 – 4x6 pocket page. The inspiration for this story came from the postcard in the Paislee Press Mini Kit. I adore this card! I thought it would be fun to include our furry family members by writing a letter to Santa from our cat Pumpkin’s perspective.

Supplies:
- Paislee Pres Mini Kit (4x6 journaling card, vellum circle)
- Paislee Press “A very Merry Christmas” 4x6 stamp
- 6x8 Number stamp
- Crafters Inks (Redwoods, Black Butte)
I added a fun little pom-pom trim to one of the vellum circles from this kit, adhering the altered embellishment to the outside of the page protector.

I opted to hand write the letter to Santa directly on the postcard/journaling card. I used the Numbers Stamp from this year’s collection along with the Paislee Press stamp set to add a few fun details.
Here’s the process video and thoughts on this project.
Project #3
This story of our Friends Christmas party gathering was one I knew needed to be in the album, and I was so happy to find some fun elements in the mini kit that supported it.

This layout features an enlarged photo base with a mini-book on top. Inside the mini book are additional photos from our event along with journaling to tell the story.

The colourful text on the 4x6 journaling card is super fun and I was inspired to play it up a little bit more, adding some tiny colourful beads to make a shaker pocket mini-book cover.

Supplies:
- Paislee Press Mini Kit (4x6 and 3x4 journaling cards, chipboard shapes)
- Main kit (gold puffy numbers)
- Other: rainbow mini beads, pom-pom trim

I looked up the dimensions of a mini instax photo and printed my own version of an instax for the mini photo insert. They “float” inside a page protector that’s been stitched to size, along with more of the rainbow beads (they’re just so fun!)

I had a moment of remorse as I applied adhesive to the back of the “spending time with my favourite people” 3x4 card. On the reverse of this design is the same sentiment but sized slightly smaller with a vertical line that suggests adding details or a photo below. In retrospect, I wish I had used the back of this card instead and added the names of the people who were at our party.

I would note that this is one of the bulkier pages in my album. The beads make a fun little wooshing sound when the pages move!
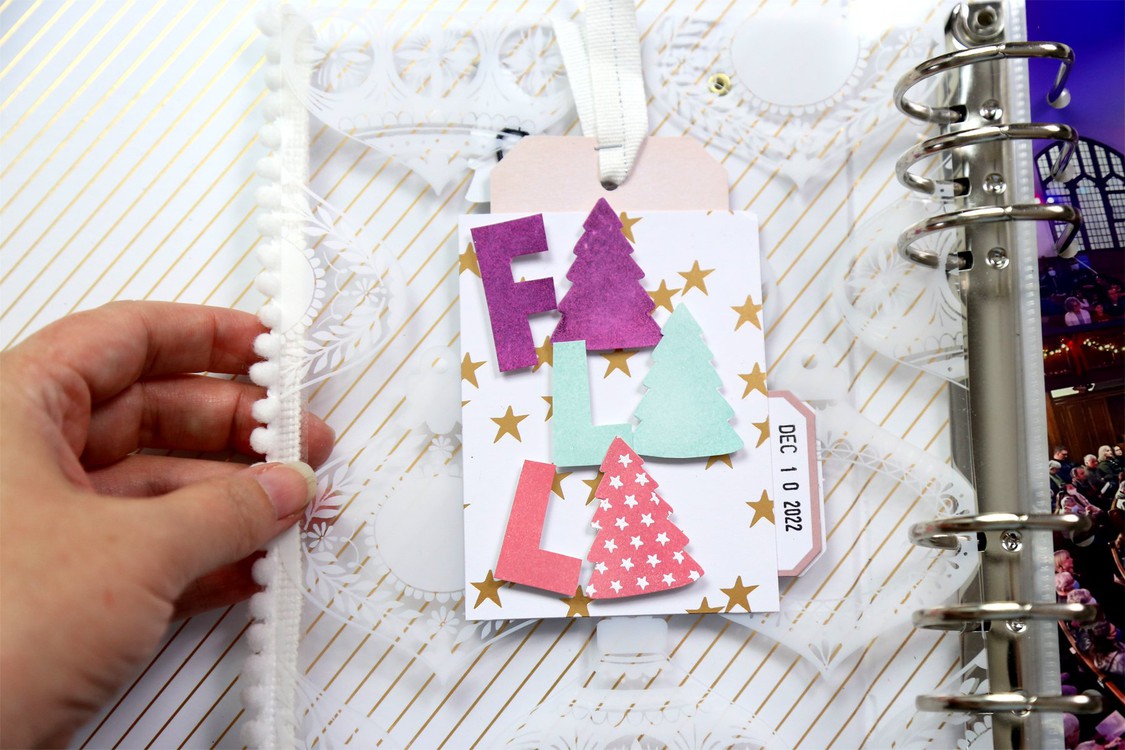
Project #4
As I mentioned earlier, there are a few consecutive days at this point in my album that do not have a clearly defined story. This was certainly one of those days. The Paislee Press mini kit was the perfect tool to support some of the everyday stories and point me in the right direction to keep moving forward.

I paired a much loved photo with the 3x4 journaling card sentiment “Love this so much”, and the “all is calm” velum circle for this short and sweet memory.

Supplies:
- Paislee Press Mini Kit (3x4 journaling cards, vellum die cut)
- Main kit (gold puffy number stickers)
- Other: ribbon, tiny attacher, circle punch
Project #5
Two of my favourite pieces in the Paislee Press mini kit are that beautifully hand scripted 6x8 paper and the chipboard frames. I couldn’t possibly end this post without incorporating them into a project. I decided to use them for the cover page of my album.

Supplies:
- Paislee Press Mini Kit (patterned paper, 3x4 journaling cards, chipboard frame)
- Other: Specialty paper gold polka dot transparency

You’ll see in the process video below that I originally intended to create another shaker pocket as the overlay for that beautiful patterned paper, but in the end I opted to use a transparency instead.

I plan to fill in a few details on the calendar when my album is complete. I’ve got 7 more stories to add yet for my 2010 album to be “complete”, and I’m determined to make it happen! Looking forward to sharing a full walk through when it’s all done.
Well friends, that brings this week’s Paper Play post to an end. I truly adore the Paislee Press Mini Kit! It will definitely be making an appearance in more of my projects. Next week I’ll be playing with a few of the shop items! Thanks so much for being here!


Hi Pam, loving your pages!
Could you share the name brand of the beads you used in your shaker pages and where you purchased them?
Thanks!
Oh my gosh, they’re super cute! I bought them at Michael’s, they’re from their Recollections line. 🤗
Sign in or sign up to comment.
Beautiful pages as always.
Thank you Marjorie 🤗
Sign in or sign up to comment.
That slider card looks like such a fun element and a great way to incorporate the 4x6 cards that I don’t typically use with out of the pocket pages. I can’t wait to try.
I also noticed you use your paper cutter (what I would call) upside down, using your left hand to run the blade and your right hand to manage the papers. I sometimes feel like I don’t have enough control of the paper and I’m wondering if your cutting technique might help 😊. Going to give that a try also.
Yes, I hope that works well for you too!
Sign in or sign up to comment.
I'm so loving your segments! Dang it if you haven't made me purchase things that I had crossed off my list. If this mini kit wasn't sold out, I'd most likely be adding that to my box, too! Thank you for everything you've shared with us!
That’s awesome 🤗 Thank you so much!!
Sign in or sign up to comment.
Pam, I love your style! You have such clever ideas and you do beautiful work! Thanks for all the ideas and inspiration. I love your calm voice and ways too! Looking forward to next week.
Thank you so much! 🤗
Sign in or sign up to comment.
I love this! Thank you for showing us how to construct the slider and the shaker booklet! I also love your dear Santa cat story- too cute!
Thanks Julie! 🤗
Sign in or sign up to comment.
I love your ideas! Definitely want to give some of them a try, especially the slider page. Very clever! Thank you for sharing.
Thank you!! 🤗
Sign in or sign up to comment.
Love all these examples - thank you for sharing your creativity! Can I ask what type of sewing machine you have? It seems small and easily portable and not very heavy? Thx :)
It’s quite an old one actually, and hand me down from my mother-in-law. It’s a Janome, I’d have to guess at least 30 years old.
Sign in or sign up to comment.
I love the slider in Project #1! I don't use the 4x6 journal cards very often, so I'm eager to try this!
Awesome!! I hope you have fun with it 🤗
Sign in or sign up to comment.
Loved all your ideas! Thanks to you & Ali for this month of inspiration.
Thanks Rhonda!! 🤗
Sign in or sign up to comment.