December Daily® 2023 | Paper Play with Pam 04
Hello friends!! Welcome to our last Paper Play Friday December Daily 2023 post 😊 This week, I’m working with many of the shop items that can be added to your box. Quick reminder that the boxing period ends at 11:59 pm September 30th (just one more day!). I’m so excited to share that I FINISHED MY ALBUM!! Lots to share with you in this post, so we’ll jump right in.
Project #1
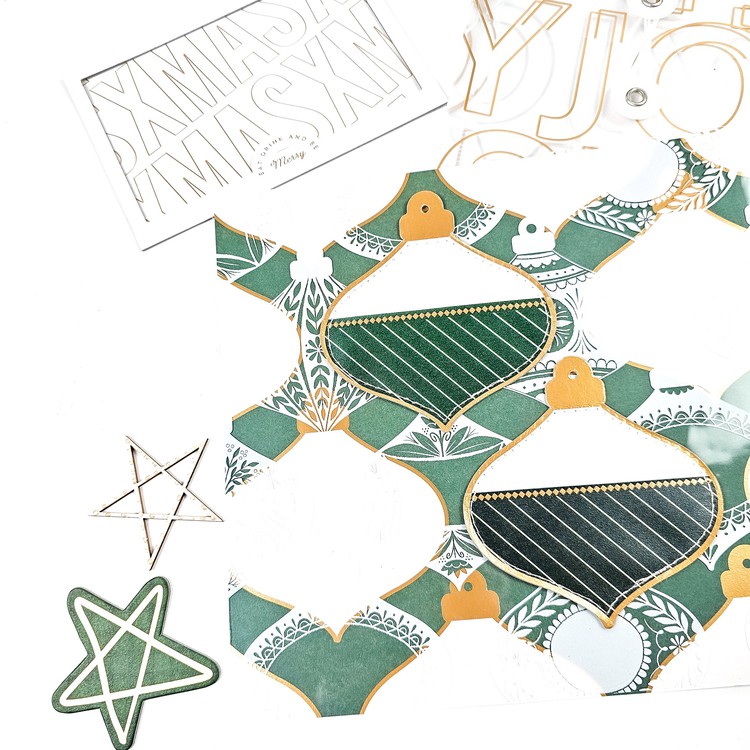
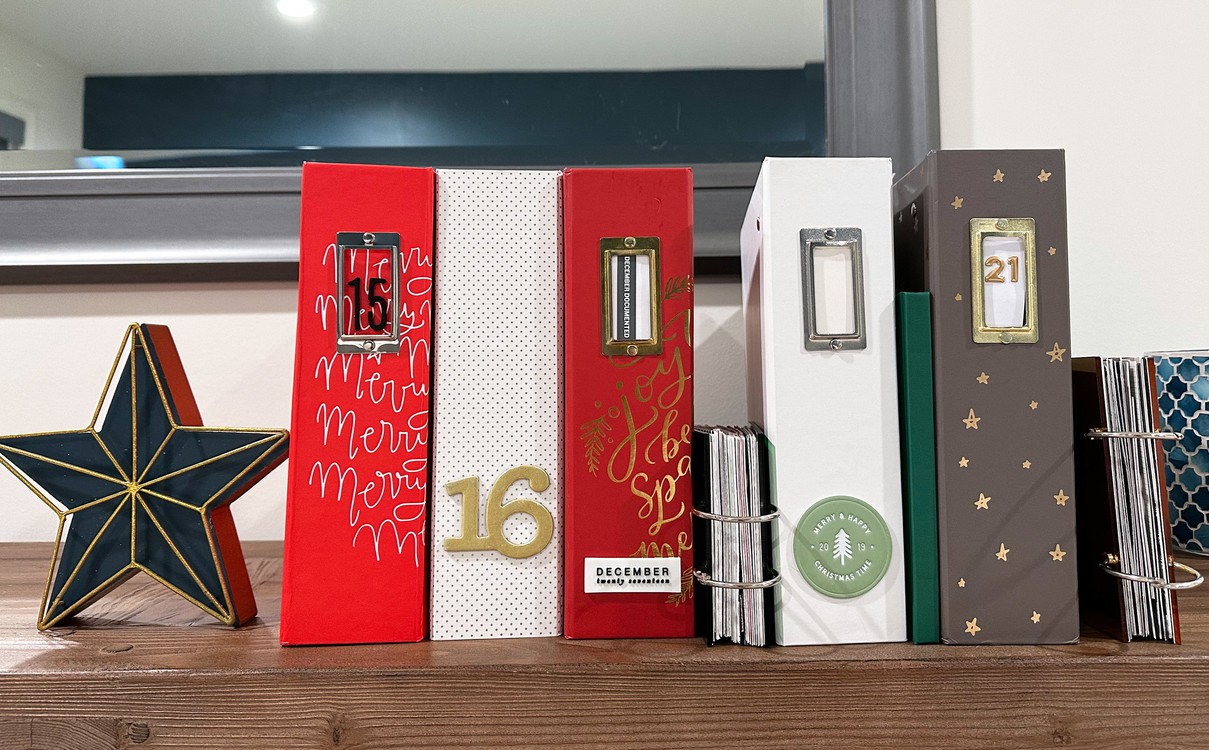
I believe I shared with you last week that I hit the maximum capacity of my first 2010 album and started moving things into a second volume. I settled on a title page for volume 2 using the 6x8 wreath transparency and gold puffy stickers from the main kit.

Supplies:
My story for day 15 was about grocery shopping for my baking ingredients. Baking is a big deal for me around the holidays. My baked goods list is long and my shopping list is MUCH longer! I happened to have the original list saved in my ephemera pile and I thought it would be fun to include in my album. Ephemera + pockets makes for an easy page design.

One of my favourite shop items every year is the 3x8 journaling card and transparency pack. I had a few ideas to get a bit more playful with those transparencies. For this layout, I printed an enlarged photo of my ingredients all layed out on the counter as a background. I then stitched one of the transparencies to the bottom of the photo to create a pocket that holds my shopping list.

Supplies:
- 3x8 transparency and journaling card pack
- wood veneer stars
- ribbon
- December Daily Main Kit (dimensional star stickers, gold puffy number stickers)
- tiny attacher
The second thing I wanted to try with the transparencies was to make a matchbook mini-book. This idea originates from one of the products Heidi Swapp offered in the past, and man is it fun!! I attached it to the outside of the pocket with adhesive Velcro circles so it stays in place but can easily be removed for anyone who wants to take a closer look.

I cut down one of the transparencies to create a cover for my mini book, stacked together my journaling and a few photos of my baked goods, then stapled them inside the cover. The bottom flap keeps the cover closed.


Happy to share the process video for how this came together.
Project #1 (Part 2)
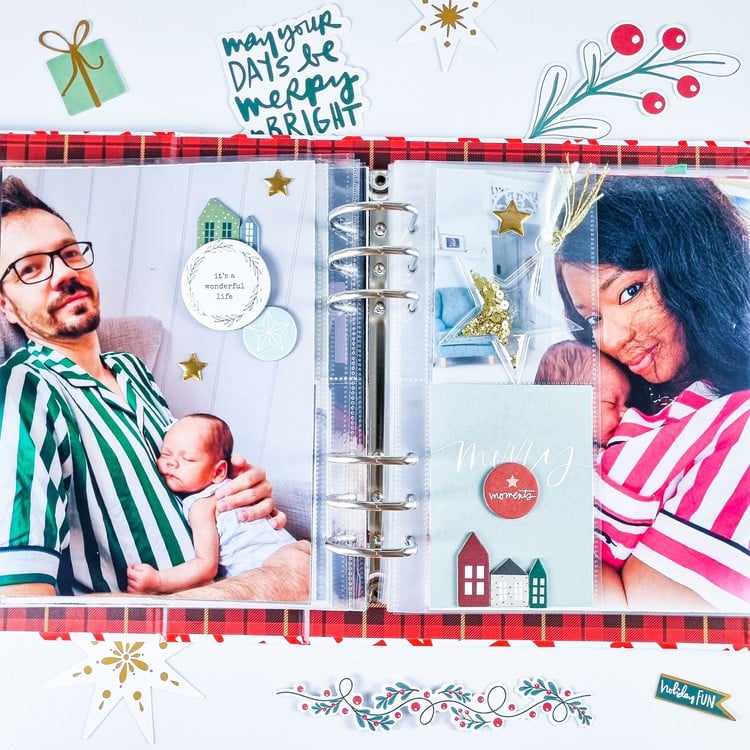
There is a little bit more to this story that I wanted to include in my album. Liam “helped” with the shopping, and I had a few cute photos to work with.

Supplies:
- Large Plastic hearts
- Plastic tag set
- Merry and Bright 4x6 Stamp Set
- Redwoods Crafters Ink
- December Daily Main Kit (chipboard stars, chipboard phrases)
- ribbon
- cardstock tag
I may be a little pocket obsessed right now, but I knew right away that I wanted to turn one of those big plastic hearts into a pocket. I stitched around the left and right edges with my sewing machine and it worked really well!

I stashed a tag inside the pocket with some stamping on the front and a short note on the back. I was really hoping to get a layered look of embellishments to hang off the top of the tag, but I think I could use some more practice with this part.

Process video below!
Project #2
Wrapping presents! It’s a story I include pretty much every year! I always love it when the design of a layout actively contributes to the story I’m trying to tell. I wanted to play with the idea of peeling back “wrapping paper” for this one, so I used one of my favourite 3x8 journaling cards from the 3x8 transparency and journaling card set, printed my journaling on the back of the card and positioned it to be able to peel down one corner.

Supplies:
- 3x8 transparency and journaling card set
- die cut labels
- Ali’s Christmas phrases 4x6 stamp set
- Red and white trim pack
- December Daily Main Kit (patterned vellum, chipboard stars)
Project #3
I love December AND it’s a lot of work! Every year, I end up with at least one project that keeps me up into the early hours of the next morning. In 2010, it was these cupcakes I made for my Dad’s work party. (worth it! They turned out so good!). This was the story for day 17.

I wanted a way to include the journaling without covering up the photo I loved so much, so I used one of the chipboard polaroid frames to create a journaling insert along with one of the 3x4 journaling cards from the Paislee Press Mini Kit. This is held in the album with some of the 4x6 attacher stickers.

I decided to keep the back of the journaling spot fun and simple, using a 3x4 vellum card from the Holiday 3x4 and 4x6 specialty journal card set, and a plastic ornament from the December Daily Main Kit.

I added a transparent overlay from the Holiday 3x4 and 4x6 specialty journal card set on top of my photo and included a very fitting 4x6 kraft card from the same set in the bottom pocket. Also kind of obsessed with the chipboard stars in the December Daily Main Kit. I used every. Single. One in this album.

Supplies:
- Polaroid chipboard frames
- Red plastic numbers
- 4x6 attacher stickers
- Holiday 3x4 and 4x6 specialty journal card set
- Paislee Press Mini Kit (journaling card)
- December Daily Main Kit (plastic ornament, chipboard stars)
Project #4
Not many photos in my library from December 21st, but I did have this one of my favourite candies! I also pieced together that with this being just 4 days before Christmas, there were lots of preparations happening around here. With that in mind, and the very cute “days until Christmas” stamp, I decided to craft a countdown pocket.

Supplies:
- Die cut labels,
- Red plastic numbers
- Ali’s Christmas phrases 4x6 stamp set
- 4x6 attacher stickers
- December Daily Main Kit (patterned paper, gold puffy number stickers, chipboard stars, gold rimmed quote labels, felt trees)
- Paislee Press Mini Kit (jouranling card)

The slider pocket is constructed from patterned paper, sized 4” x 6.25”. I made a cardstock template first so I could play with the dimensions and figure out how much room I had to work with. Each numbered note is approximately 2 cm tall, so I was able to fit 4 of them on the 3x4 card that sits inside the pocket.

I added an attacher sticker to the top of the 3x4 card to make it easier to pull from the pocket. It is a little bit snug when it’s inside the page protector, but definitely still functional.


Process video!
Project #5
Playing with transparencies as pockets again! (I really got a LOT of use out of the 3x8 journaling card and transparency pack, but don’t forget that you could repeat these strategies with ANY transparencies you happen to have.)

I also cut out the J-O-Y letters from the main kit vellum, definitely inspired by Linda! I wanted to preserve a bit section of the vellum to be able to use on a future project, so I intentionally cut out the letters at the edges of the page and arranged them on top of the pocket to continue running off the edges. But I think the real fun was discovering that the clear stickers are a perfect fit with these letters!

I ran the 4x6 journaling card through my printer to add the text, and all that was left to do was tuck it inside the pocket for safe keeping. The functionality of the see through elements in this layout make me so happy! I love the look of the stars layered on top of the Christmas lights in the background!

Supplies:
- 3x8 transparency and journaling card set
- Holiday phrases 6x8 large clear sticker sheet
- December Daily Main Kit (4x6 journaling card, chipboard stars)
Process video below!
Project #6
Christmas Eve! It’s usually a toss up which day will have more photos, Christmas Eve or Christmas Day. Either way, I’m usually looking for a solution or strategy to include lots of photos into my album on these days. For Christmas Eve, I decided to use a 2x2 pocket page protector and the Holiday plastic tag set.

I also had a full 7x8.25 blank spot on the left that I needed to figure out. I decided to play a bit with this space. I cut the punched edge off one of the die cut insert pages for a giant title. I added my journaling inside one of the polaroid chipboard frames, and used the lovely star patterned paper from the Paislee Press mini kit for a background.

Those tags look so great all together in the 2x2 pockets! I used some clear/invisible tape to attach them to a series of photos that were cut in the same shape as the tags.

Each tag lifts to reveal a photo underneath. They are just a little bit loose inside the pockets. Still thinking if there’s another way to secure them inside the pockets to prevent them from sliding around. But they really do look great!

Supplies:
- Holiday plastic tag set
- Red Plastic numbers
- Large die cut paper inserts
- Chipboard polaroid frames
- Paislee Press Mini Kit (patterned paper, chipboard, vellum stars)
Process video below!
Project #7
Christmas Day! I don’t know if I’ve seen this somewhere before, but I honestly don’t remember ever realizing that the 12 pockets of the 2x2 page protector have the exact right number of squares to spell out “Christmas Eve” OR “Christmas Day”. Sometimes figuring out what will go on the back of all those pockets feels a bit tricky. There are so many tags in the holiday plastic tag set that I had more than enough to fill the front and back of the page protector and still had leftovers!

I continued my Christmas Day story with an enlarged photo, die cut wreath and big felt numbers + a chipboard phrase from the main kit.

This was another photo heavy day, and I think what I really wanted out of this design was to let the photos do the heavy lifting on their own. I printed 6 – 4x6 photos and simply added them to the page protectors. They really bring me joy just as they are.


Supplies:
- Holiday plastic tag set
- Gold puffy alpha stickers
- Large felt numbers
- 3x8 journaling card and transparency set
- wood veneer stars
- Holiday 3x4 and 4x6 specialty journaling card set
- December Daily Main Kit (chipboard phrases, wreath vellum, die cut wreath)
- Paislee Press mini kit (4x6 chipboard frame, 4x6 journaling card)
- pom pom trim


Normally I’d finish my album on December 25th, but on this year we had a bit of an extended Christmas running into the 26th. I kept things super simple with just one photo and a bit of journaling. And that brings us to the end of my album!
Here’s a quick walk through video of my completed 2010 December Daily album(s). **Note: Days 1-4 were not included as part of this series, but you’ll definitely see them in the video below! These pages were made with supplies from past December Daily releases, you just might have some of them in your stash too!
Just want to say a sincere, whole hearted thank you for being here and cheering me on! I so appreciate your comments and kind words. Please feel free to leave your questions below, and Happy December Daily Season!


Pam, I have really enjoyed this series and the ideas presented here. Really looking forward to using all of your projects in my memory keeping albums not just December Daily. Thank you for sharing your talent with us. So awesome!!!
Thank you so very much!! 😊
Sign in or sign up to comment.
Your albums are beautiful! And inspiring.
Thank you!!
Sign in or sign up to comment.
Pam, I love all your pages. You are so talented. I loved the variety of products used and the unique ways you used them. I will need to translate some of your layouts for a 10x8 album. Thanks for sharing. Though now I need to purchase a couple of more DD items. :)
Thank you!! I’m excited to see your 10x8 pages!! 🤗
Sign in or sign up to comment.
Thank you so much!! You have given me so many new ideas. I just love your videos!!
Thank you!! 🤗
Sign in or sign up to comment.
Such a beautiful album! Loved seeing all your creative ideas and pages!
Thank you so much Jeanne!! ❤️
Sign in or sign up to comment.
Wow! Your albums are beautiful, Pam!
Thank you!! 🤗
Sign in or sign up to comment.
Fantastic series! Thank you!
Thanks so much Joni! 🤗
Sign in or sign up to comment.
Pam your work is so inspiring. Thank you for sharing your ideas and work with us.♥️♥️
Thanks so much for being here! I’m so glad you enjoyed it 🤗
Sign in or sign up to comment.
Fabulous series! Thank you 😊
….and those ornament cupcakes 🤩🤩🤩!
Thank you!! Those cupcakes really were awesome 😊 I just picked up some Christmas cookie magazines today. Excited to try some new things this year!
Sign in or sign up to comment.
I think the 3x8 paper pack is an overlooked value. Loved your ideas!!
The 3x8 pack is hands down one of my favourite pieces to purchase each year. It’s the transparencies that do it for me!!
Sign in or sign up to comment.
What a beautiful album Pam! Love it so very much
Thank you so much Gladdie 🤗
Sign in or sign up to comment.
Simply incredible! Thank you for all your hard work and inspiration! Curious, what supplies do you plan to use for your 2023 album?
Thanks so much Lyndsay! I fall into the category of “don’t usually work on my album in December” 😂. There’s a really good chance I’ll use the 2024 collection for 2023 stories BUT, I still have quite a lot leftover from this year’s collection, a LOT in my stash from previous years, and I really love using the digitals too. So I’ve got lots to work with 🤗
Sign in or sign up to comment.
Love your album. I love the look of pocket pages mixed with out of the pocket pages. So happy to get a jump start on ideas for working with the new DD products.
Thank you!!
Sign in or sign up to comment.
Pam, you are so very creative! Thank you for sharing all your ideas and pages over the past few weeks! I'm sure it's fun to look back at a time when your son was so little! Very sweet photos and great to have that completed album I'm sure! Thank you again!!
Yes!! I LOVED working on this album and remembering that sweet little dude (who is now 13 years old!!) Thank you 🤗
Sign in or sign up to comment.
Soo beautiful!!!
Thank you!! 🤗
Sign in or sign up to comment.
Pam I love everything you have make the last 4 weeks. And all the ideas are possible to use for other storytelling projects! Thank you so much!
Thank you for being here!! I’m so glad you enjoyed it 🤗
Sign in or sign up to comment.
Thanks for the inspiration! Can't wait to start DD using your ideas!
That’s awesome! Thank you 🤗
Sign in or sign up to comment.
Such a great class, I am inspired by so many of your layouts. Thank You
Thanks so much Maria 😊
Sign in or sign up to comment.
Wow! Pam these ideas are fantastic… from the sweet & simple to all the complex & creative pages your ideas are truly an inspiration. Will definitely come back and give some of these a try. Thank you for all these wonderful lessons.
Sign in or sign up to comment.
Pam, loved, loved, loved this series!!! So many great ideas! Love all the different pockets and pull outs. You are so talented. Can’t wait for my December Daily box of scrapping goodness to arrive! Thank you so much for sharing this with us.
Sign in or sign up to comment.
loved your series!!!!
Sign in or sign up to comment.
Thank you for sharing your creativity. I love the simplistic look of your pages.
Sign in or sign up to comment.
What a an amazing series, thanks for putting in so much effort to share your beautiful pages with us!
Sign in or sign up to comment.
Pam - your album and ideas are just wonderful - so creative and beautiful and inspiring! You are not only a hugely accomplished scrapbooker but a baker too. Thank you not only for sharing your expertise but also for all your hard work with putting these lessons together. I've learned so much!
Sign in or sign up to comment.
So Inspiring! I have only just started thinking about my album and having done it since 2008 I was looking for some new ideas and you gave us tons of choices! I love your interactive elements. Thankyou for all this free inspiration, much appreciated.
Sign in or sign up to comment.