Scrapbook Basics: Printing On Vellum + Transparency
Tags: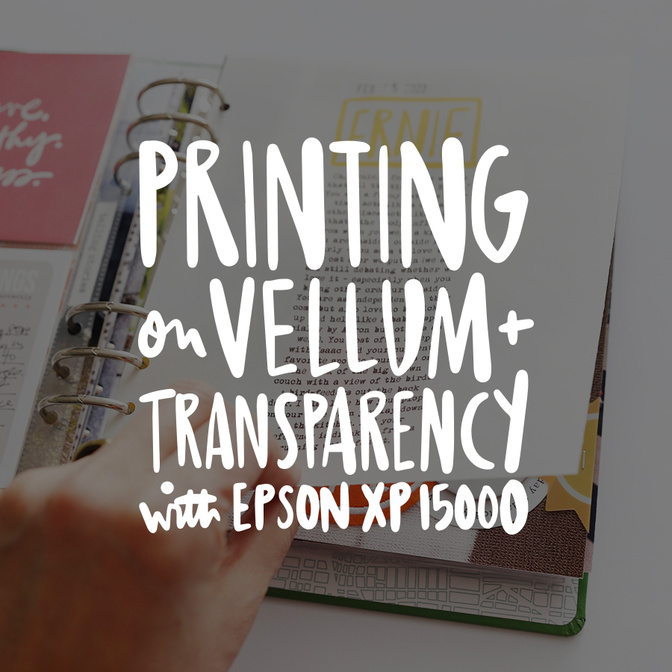
This week's Friday video is a follow-up to last week's video about printing at home.
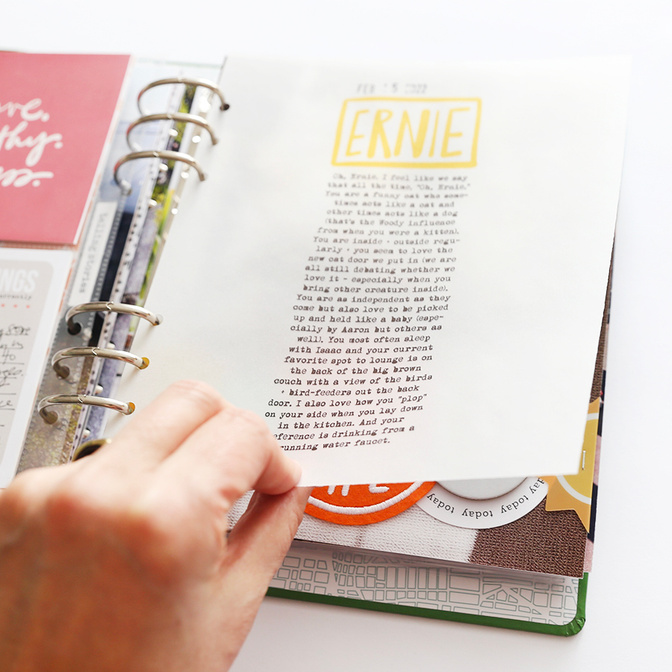
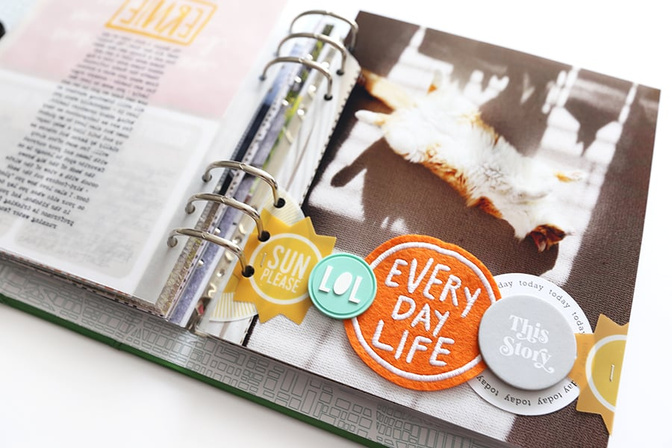
One of the questions in the comments last week was about what I use to print on ink jet vellum using the Epson XP15000 Printer. To show you how I print on both vellum and transparency I created a page with journaling and a title in Illustrator and am pairing that with a photo enlargement of one of my cats. In the video you'll hear me talk about printing along with finishing up this particular layout.
Here at home I use the following:
After testing out both papers with a few different settings using my XP15000 this is what worked best for both the ink jet vellum + ink jet transparency:
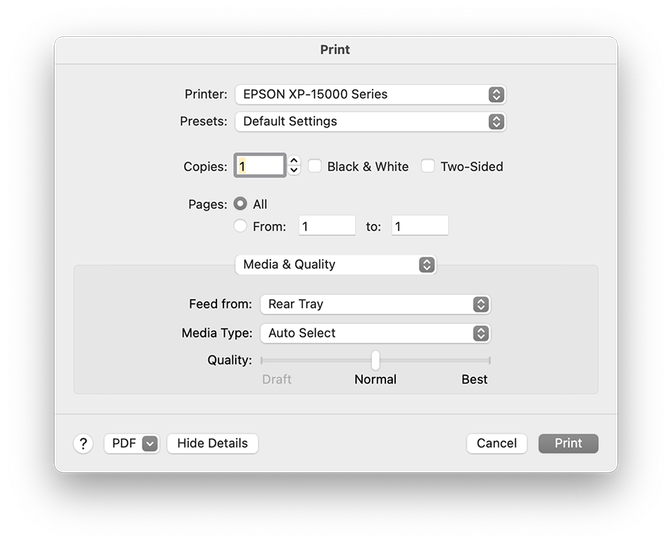
I found that the "Rear Tray" seemed to work the best (I had more instances of the printer not reading that there was paper in the tray in the "Main Tray"). If the printer didn't read that there was paper in the "Rear Tray" I added a couple more sheets of paper and that seemed to help it along.
I also found that selecting "Auto Select" for the "Media Type" worked best for both papers along with choosing "Normal." I think when you choose "Best" it adds too much ink for either of these kinds of papers to handle.
Here's today's video:
Here's a look at how it all looks in my album:
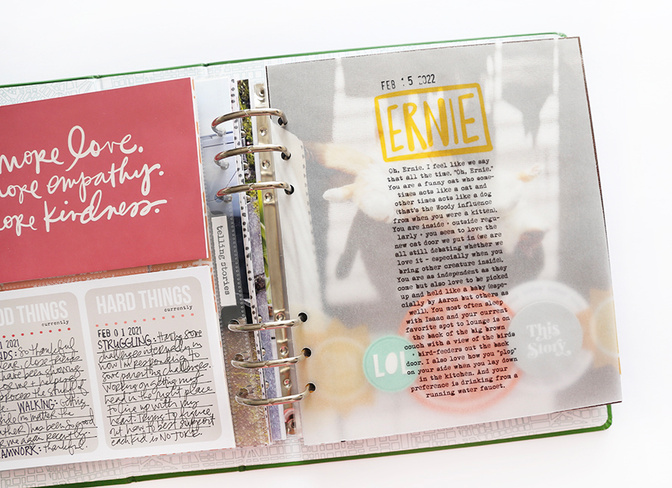
I added a rolling date stamp to the top of the printed vellum page.

Along the bottom of the photo of Ernie I added a bunch of circles from my embellishment stash. Super fun to dive in and see what I had that could be added to this photo.
SUPPLIES
Circle embellishments from my stash


Comments
Sign in or sign up to comment.
5 comments
Thank you ! I will try to print at a lower quality on the transparency, maybe the ink will dry this time :)
Replies to AnnieCarignan
Sign in or sign up to reply.
I have this printer but I do not have the same Print "box" that you do. I normally print through elements so maybe that is why? I will continue trying with the tips about less ink options, etc.
Love these Friday videos!
Replies to carri
Sign in or sign up to reply.
I recently bought some transparency to print my own at home for December Daily. All the paper curled and is unusable now. It’s not the same brand as the one you use and thinner than the ones used in the products you sell in the shop. Do you think it’s the quality of the paper that caused this or something else? Any idea if it’s fixable? Thanks for all the great video tips!
Replies to clrecker
Sign in or sign up to reply.
I appreciate you providing this insightful information; I believe it will be very beneficial to everyone, including myself. Play https://5nightsatfreddys.io free
Replies to terrill07
Sign in or sign up to reply.
This is was so helpful. I have been trying to find transparencies/acetate for the longest time. Thanks for linking everything https://freakcircus.io
Replies to User57075
Sign in or sign up to reply.