Make A Page With Ali : Tag Scrapbook Kit Number 02
Tags: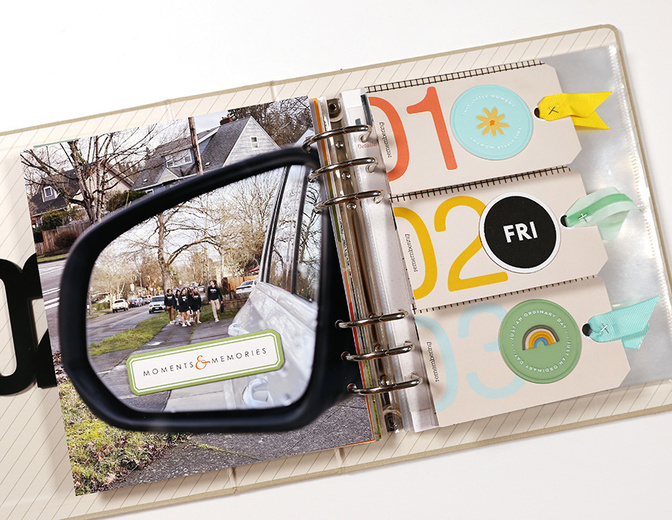
My new Make A Page With Ali series continues today + I'm actually sharing two pages in this post/video.
This one starts off using another pattern paper from the Tag Scrapbook Kit to create a fun, interactive tag page telling a little story about Anna right now. After I finished that one up I decided I wanted to add a story to the back of the tags right away vs. leaving it for another time (so fun to be in a groove).
Let's dive in to the video:
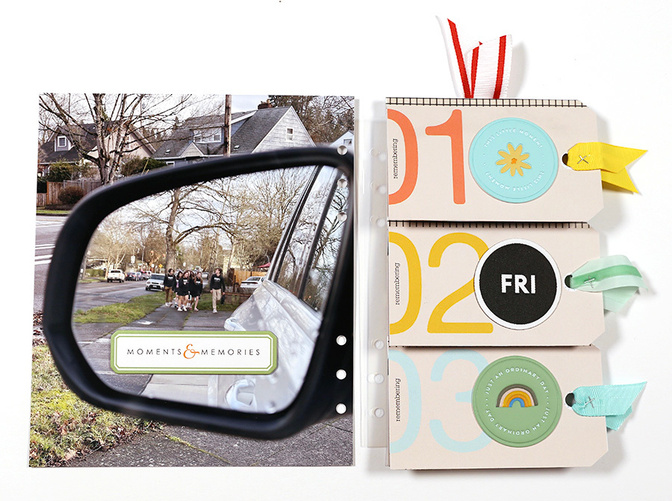
Here's a closer look at the pages:
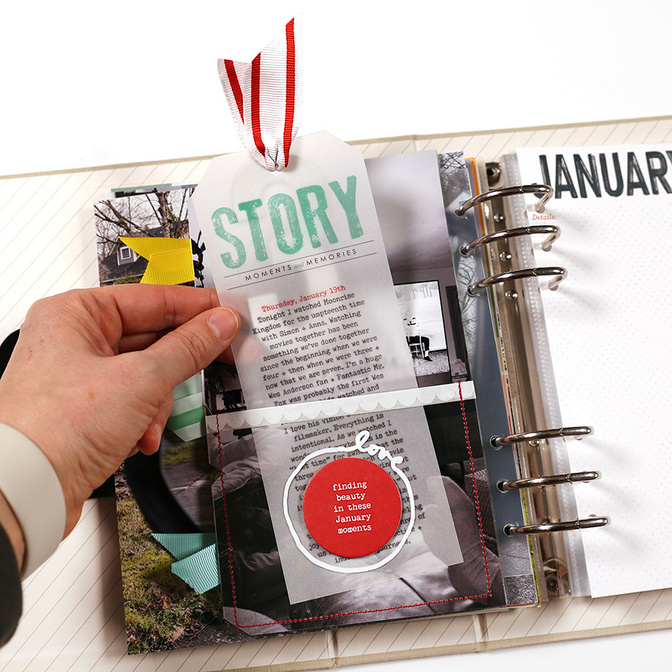
STORY NUMBER 01
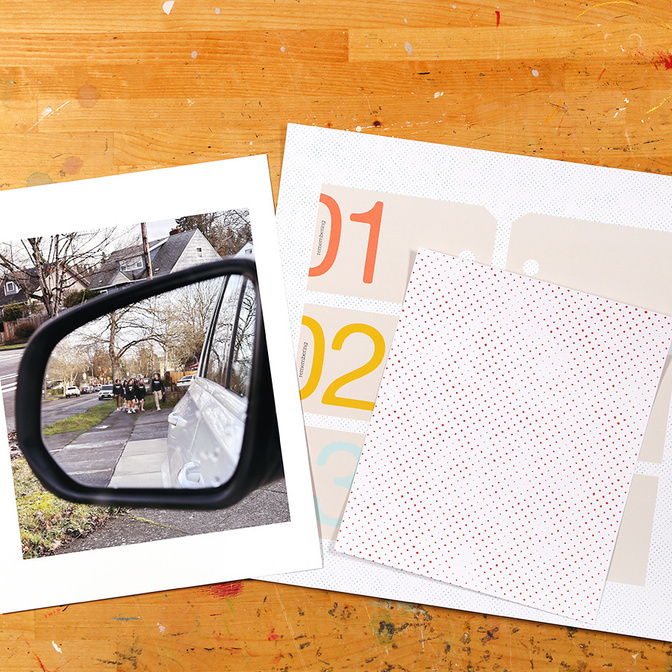
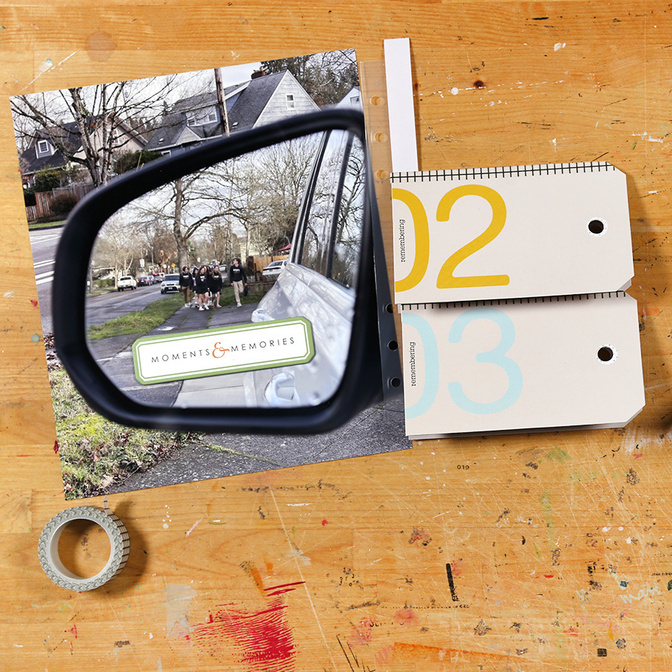
This page started off with a full page photo and two of the pattern papers from the Tag Scrapbook Kit. The photo of Anna + her friends walking towards my car after school was the jumping off point for this story and I knew I could use the tags to tell more of the story whether I used the full size pattern paper or cut out the tags.
I decided to cut out the tags and use a 6x8 page attacher as the base for the story.
After cutting out the tags from the pattern paper I started the process of figuring out how this was going to come together. I decided to use a stamp with large scripted words (I think this one was offered with Week In The Life™ last year) as a title on the top of each tag.
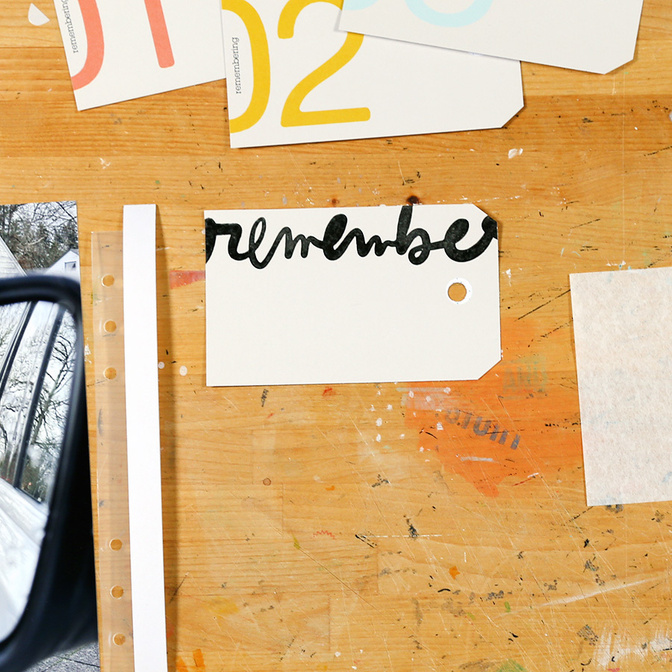
To create the tag flip ups I used the blank tags (the ones I stamped "remember" on to) as the base and then used a strip of cardstock to create the flip up. The strip of cardstock is folded in half and adhered to both the top tags (the one with the numbers + then the tag photos) and the bottom tag to create the flip.
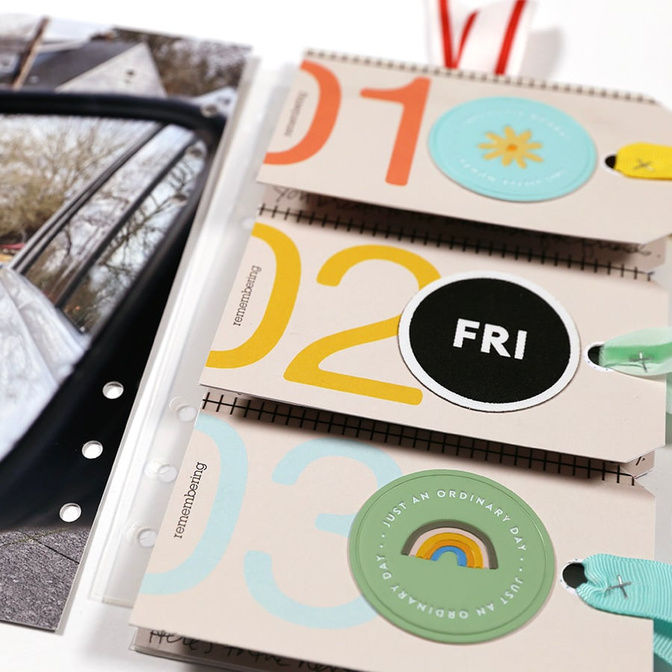
I dove into my stash of circles to add embellishments to the front of the tags. I grabbed two puffy circles and one fabric circle.
Along the outside edge of the tags I added ribbon.
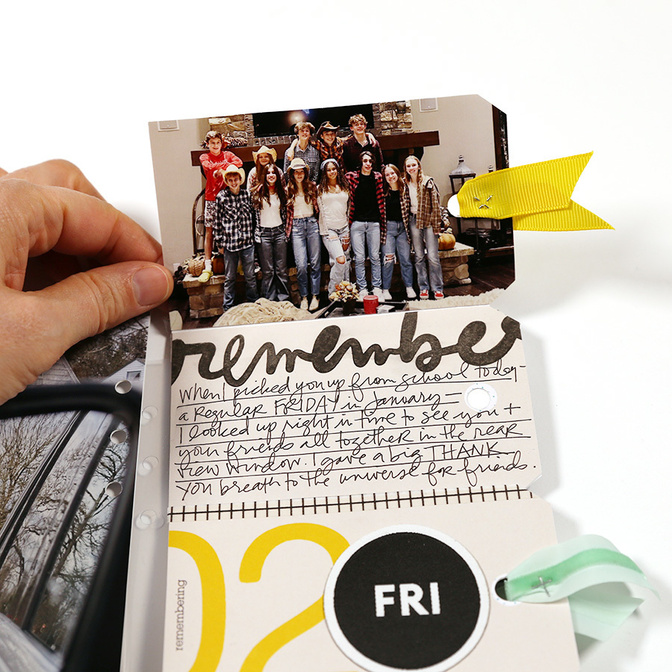
You can see here how I printed and cropped photos that go on the underside of the number tags.

This is such a fun way to create an interactive story-focused page!
Make sure to check out the video to see the full step by step on how I set up this tag page.
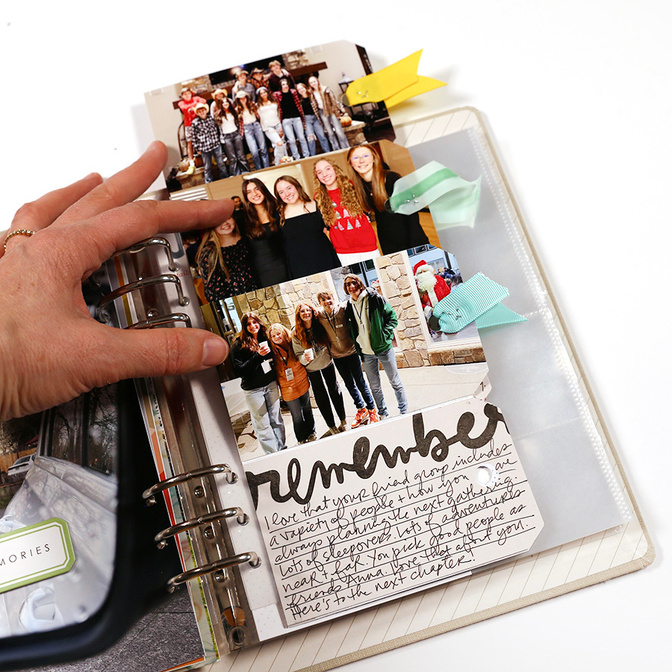
STORY NUMBER 02
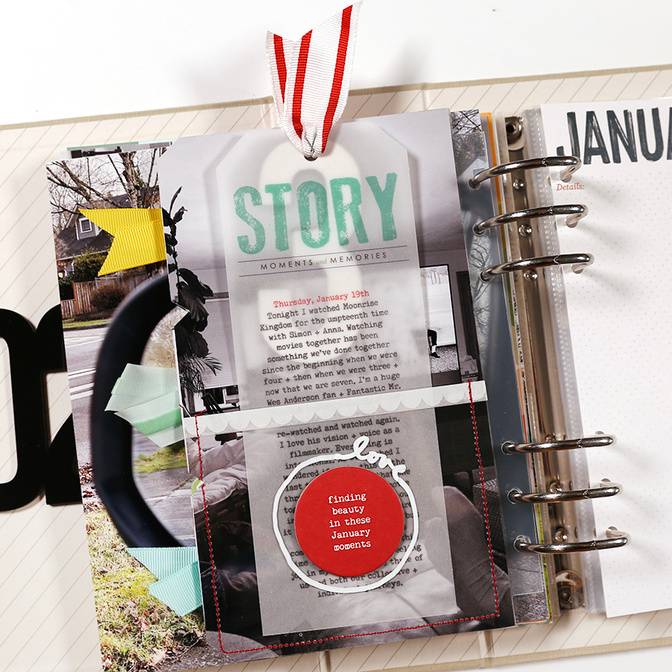
Story number 02 is built on the back side of the tags (I did use a little scotch tape to secure them together before I started this process).
For this page I decided to go with another full photo foundation + sized my image to be 5 inches wide x 8.25 inches tall and then I cut it with my craft knife to fit around the background tag shape.
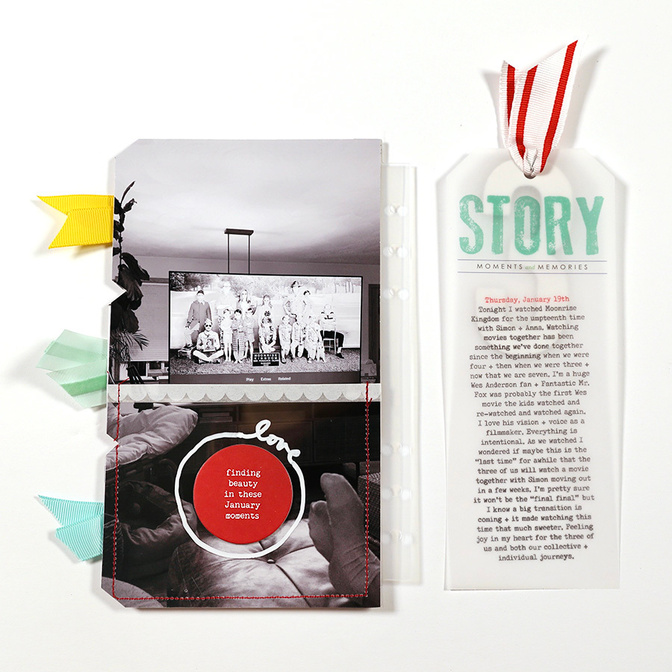
I cut a small piece of Grafix Transparency and stitched it to the background photo and also added some more of that scalloped washi tape I can't seem to stop adding to my projects.
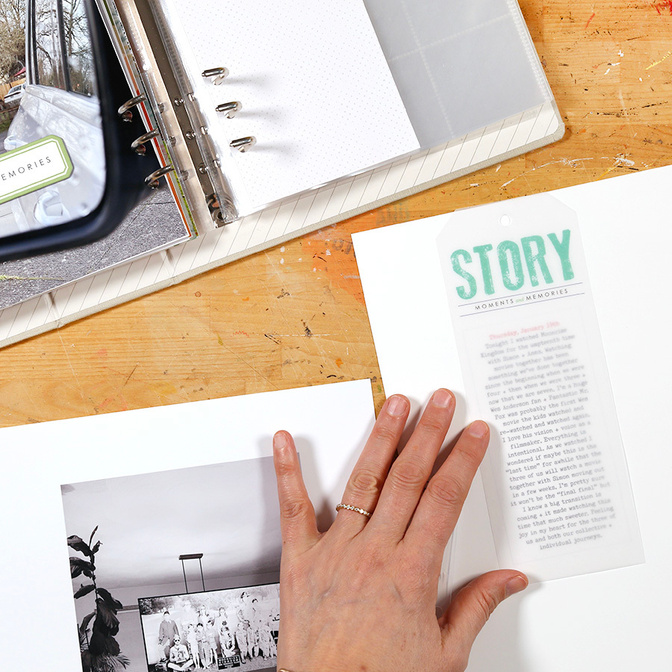
For this page I used one of the vellum tags from the subscriber Add On options this month as the base for my journaling. I measured a text box, did a test print on white paper, and then used washi tape to adhere the vellum tag to the same location on that white paper. It did up coming out a little crooked (I should have used more washi tape to hold it in place) but I'm using it because I really like these vellum tags + it's good enough!
The tag then slips into the pocket that's built on the photo foundation. On top of the pocket I added a chipboard circle from the January 2023 Stories By The Month kit and then used a POSCA Paint Pen to draw the circle on top.
The other thing I added when adding the ribbon on the top was a chipboard 3 from my stash (you can see it through the vellum). The three goes along with the story I'm telling about me + Anna + Simon watching a movie together.
SUPPLIES
Puffy Circles + Fabric Circles from past offerings


Comments
Sign in or sign up to comment.
14 comments
Oh my gosh! Such a fun page! I cant wait to lift it.
Loving all the inspiration from the Make A Page With Ali posts.
Thank you for sharing❤️
Replies to kathleen
Sign in or sign up to reply.
Thank you for this great new series!
Wanted to grab the stamps of the story play collection to play alongside you and make something in community this year - but unfortunatelly I was too slow.
Will think about joining in "making a page" each week instead.
Replies to daslebenistbunt
Stamp restock is happening - more information coming!
Sign in or sign up to reply.
Loving this!! I need more inspiration for the quarterly kits. Keep it coming!
Replies to tb8282
Sign in or sign up to reply.
Love that script stamp set. Please bring it back!
Replies to Holly
Sign in or sign up to reply.
How fun Ali! It felt like a December Daily video that I got to enjoy with my morning coffee! ….will you keep us updated on how the page attacher does? I used one in WITL and the plastic pieces kept wanting to separate and not stick to each other. I’m trying to think of what I could use to hold the 2 sides together. I may try super glue. 😂 I’m hoping yours doesn’t end up doing that - so keep us updated as you’re flipping through your album this year. Thanks so much!
Replies to mymalloryboys
…or maybe you cut your page attacher in half? I folded mine over to sandwich the photo. I need to play around and see if I can find a solution so I can flip my pages easily.
I cut them in half - less bulk that way!
Sign in or sign up to reply.
Love these pages! The tag flip is great!
Replies to Jeannew
Sign in or sign up to reply.
Love the tag page so much!! Both layouts are awesome! Thank you!
Replies to justlisa
Sign in or sign up to reply.
I like watching how you decide to add “one more thing.” Like the #3 and then the Posca paint pen detail. Inspiring. Teaches me about design. Love these pages! Going to use the 1-2-3 tags to tell another story about my 3 year old son a la Laura Wonsik.
Replies to starrsstripes
Sign in or sign up to reply.
I really love this series. Thank you for sharing your ideas with us. These pages are amazing. Hopefully I can scraplift them.
Replies to PrinzessinN
Sign in or sign up to reply.
I have an input regarding the page attacher. To be honest, I was a bit disappointed after receiving them. For now I cut it also in half. I thought they are ready to use and have glue on both sides. Also the wholes are too small in order to turn the page without hassle.
Replies to PrinzessinN
Sign in or sign up to reply.
I made this page too. Today I created the back of it. To be honest. It turned out not so perfect. I really thought about it to make both pages again because of that. But your sentence "it's good enough!" encourages me to accept imperfection. Thank you.
Replies to PrinzessinN
Sign in or sign up to reply.