Labels Scrapbook Kit | Special Guest Shu-Wen Tham

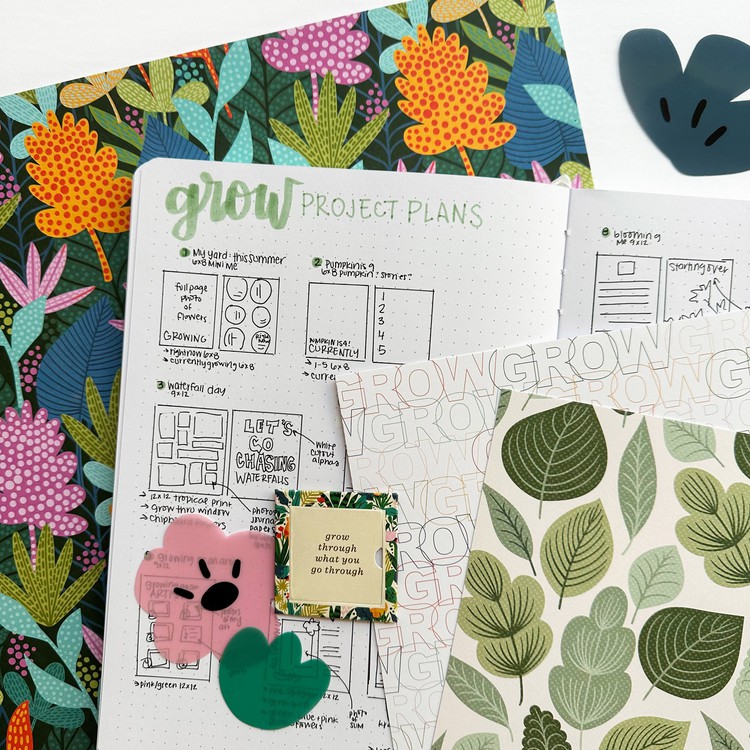
It’s Shu-Wen here (aka @ChouxPuffCreations), and I am thrilled to be participating in this planning series featuring the new Labels Quarterly Scrapbook Kit! Every time I receive a new scrapbook kit, I love challenging myself to come up with different ways to use the kit contents to make interactive pages in my scrapbook albums. So I thought it would be fun to do a walkthrough of how I came up with ideas for interactive elements using the patterned papers (both digital and physical versions!) and embellishments that were included in the Labels Scrapbook Kit! The result: 4 “foundation”pages ready to be made into interactive pages!

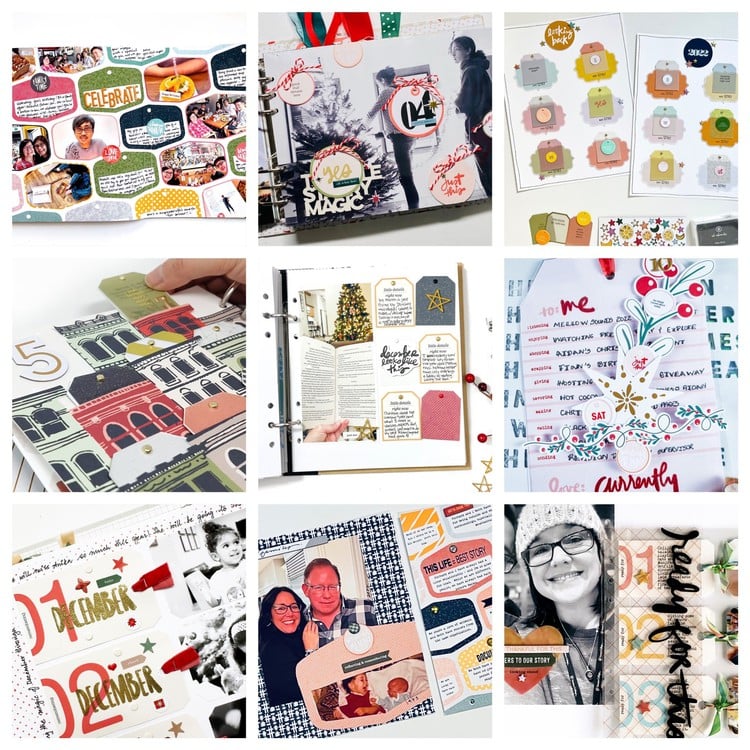
One of my favorite things to do with labels is to cut them in half and use them as tag toppers / index tabs for journaling cards and photos! I love staggering them on the tops or the sides of journaling cards with the tabs peeking out from behind a pocket: Not only do they provide a convenient place to stamp a sentiment or title, they also serve as great holding spots for your thumbs as you pull the inserts out of a pocket. The cardstock labels are perfect for this function because they don’t have adhesive on the backs. BUT if you wanted to use the gold-foiled label stickers as index tabs, I would either back them onto some white cardstock and fussy-cut them out, or remove the adhesive on the back with an anti-static powder tool. In this example, I played around with adding my label tabs onto the tops of some journaling cards I had cut out from the 6x8 mixed media patterned paper in this kit, and stamped some small sentiments on each of the tabs with some of the shorter phrases in the Pieces of Play stamp set.

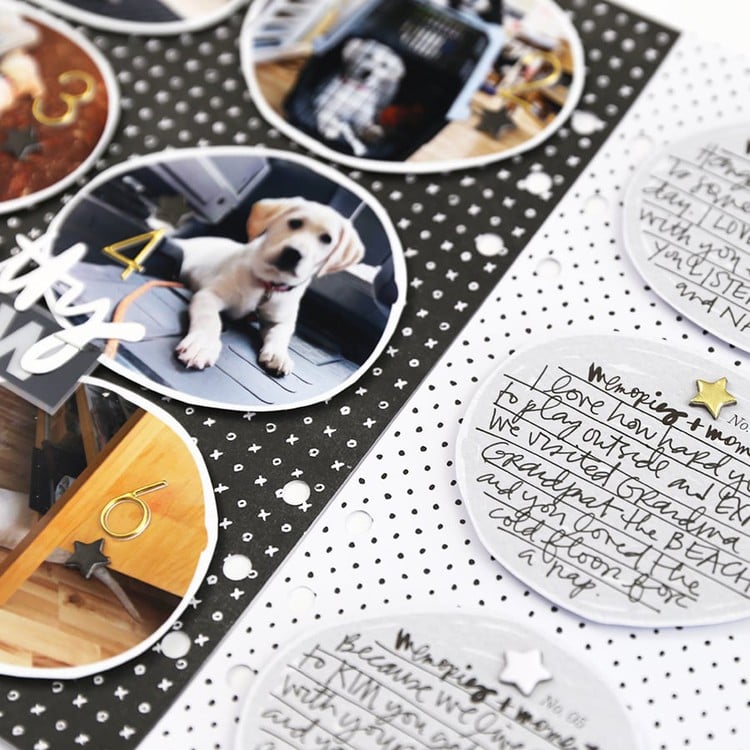
I love the flexibility of having digital patterned papers! Not only can you print out multiple copies if you happen to make mistakes in measuring and cutting (like I sometimes do when I’m making my interactive elements), you can also resize certain elements before printing them off! In this example, I enlarged a few of the circles from the 12x12 circle labels patterned paper in this kit so that they’re approximately 4 inches wide and cut along the center to turn these circles into pockets. The enlarged circle is big enough to hold lots of goodies, including some cardstock labels (you can add journaling onto these), some text labels from the cut-apart 6x8 patterned paper, and some ephemera (the business cards that I collected from a local hot chocolate fest fit perfectly in these pockets). Feel free to switch up the orientation of the circle to the original upright position to use the bottom white half of the circle as the pocket, or rotate it 90 degrees like I did to use the top colored half of the circle as the pocket (I prefer the latter so that the inserts in the pocket don’t obscure the text).

Another thing I love to do with patterned papers is to cut shapes out in order to make flips, flaps, and peekaboo windows. In this example, I cut along the left, bottom, and right edges of 3 of the labels in the 6x8 pastel labels patterned paper, then scored along the top edge, to make 3 label-shaped windows that can flip up! Feel free to change it up by alternating which edge you open the windows from by changing up the edge that you leave un-cut. My plan for this foundation page is to place some 3x2 photos behind the peekaboo windows, add some journaling onto the bottoms of the window flaps with some clear sticker paper, and add some embellishments onto the fronts of each of the window flaps. The plastic sentiment labels included in this kit would be a good start!

This last interactive page idea is probably one of my favorites because it’s a great way to add more words or photos to your page without making it look too cluttered! I started on with two copies of the “Love This Because” 6x8 patterned paper. To one of them, I cut horizontal slits just below the “Because” word to form three separate long pockets. And to the second copy, I cut out just the colored banner portions of each strip, then stapled the banners to the tops of three strips of white cardstock measuring approximately 1 ¾” wide by 7 inches tall (they don’t have to be exact, just skinny enough that they’ll slide easily in and out of the pockets). The bottom of the banner forms a flap that hooks onto the top edge of the pockets, preventing the journaling slip from sliding all the way down through the pocket. You can add some long photos or a strip of journaling to the front of the patterned paper and to the inserts, although I think I’ll end up stamping a large sentiment onto each of the strips on the intact patterned paper, then add some typed journaling relating to each sentiment onto the inserts.
I hope this blog post inspired you to try planning out some interactive pages with this kit! Stay tuned to see how these pages turn out, and make sure to tag me @ChouxPuffCreations if you decide to try any of these interactive page ideas! I look forward to seeing your creations over on Instagram or in the Ali Edwards Facebook Group!
Shu-Wen


This is fabulous, Shu-Wen! I’m so happy to see you using AE products and all your great ideas!!!
Sign in or sign up to comment.
You are endlessly creative Shu-Wen. Thanks for all of these brilliant ideas.
Sign in or sign up to comment.
Great ideas, thank you for sharing Shu-Wen!
Sign in or sign up to comment.
you are so fricken creative!! Love it
Sign in or sign up to comment.
Thank you for sharing. Your ideas are so inspiring.
Sign in or sign up to comment.