Quarterly Scrapbook Kit Show + Share | Special Guest Krystal Iduñate
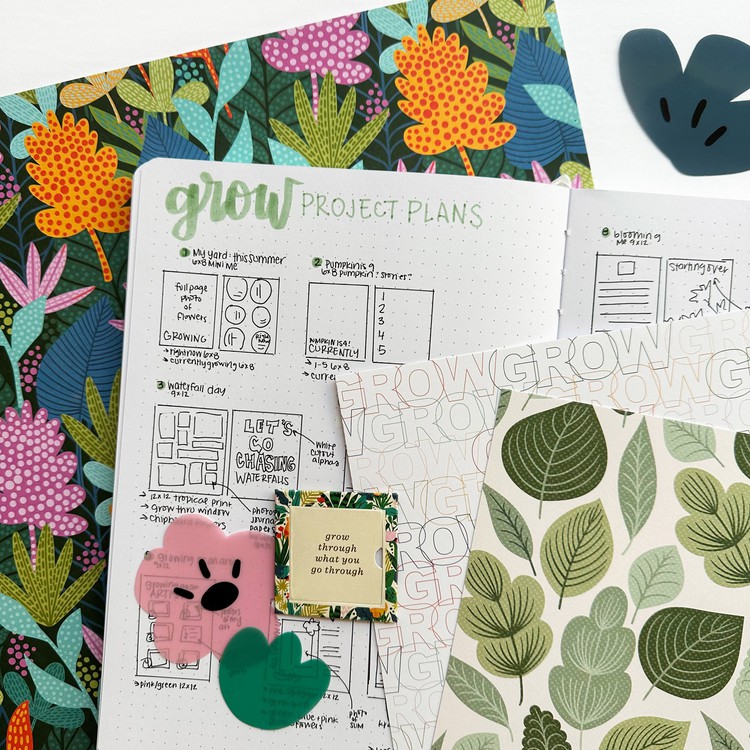
Hi Friends! Krystal here! I’m excited to share how my planned layouts using the Labels Quarterly Scrapbook Kit came together today! On Thursday, April 6th, I shared the process of putting these layouts together LIVE with the Craft the Story Facebook community. It was so fun to chat and bounce ideas with everyone while working through page designs live. If you are a Facebook user and are looking for an awesome craft community to join, I can’t recommend this space enough.
If you missed out on the live video (or are not a Facebook user), you can check out the replay below:.
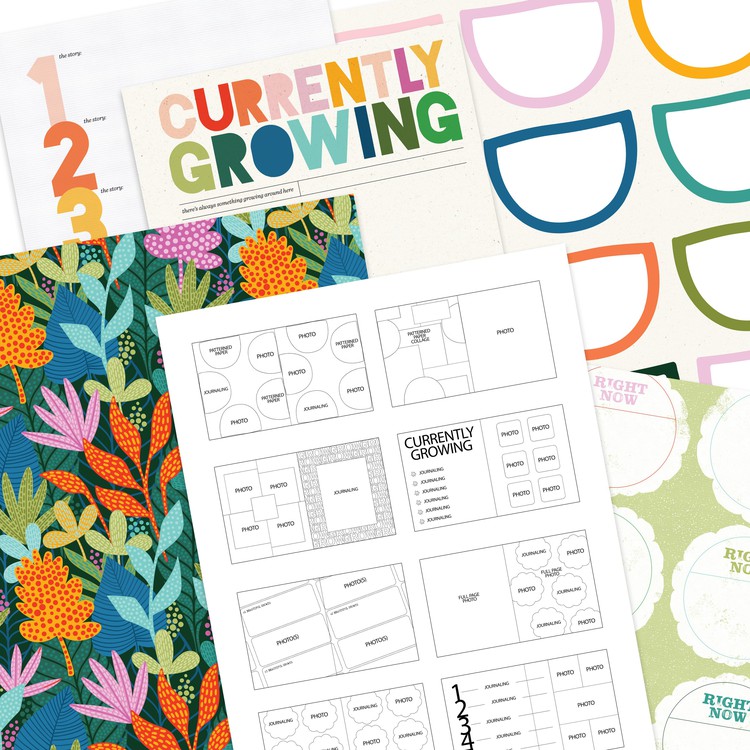
Let’s take a closer look at the layouts I created with the Labels Quarterly Scrapbook Kit:
1. Love This Memory

Here is the first sketch I worked with to create a layout. I had previously cut down the 12x12 label paper to use in the 7x8.25 format I’m creating this year.

For the story I chose, I decided to document a really ordinary (but also out of the ordinary) moment I had last month with my husband, Aaron. I normally go to the grocery store every week by myself to do the shopping, and this week he joined me! We had so much fun!

I carry a foldable tripod in my purse. While in the store, I quickly pulled it out, popped my phone in, and snapped a photo of us staring at the food shelves. I then printed this photo at the full size and added a large embellishment to the bottom.

For the right side, I used the digital version of the paper to type out my journaling - fitting it into the various label spaces. I wanted the whole page to read like a full story BUT you could also add little facts/feelings/details into each one instead too. Since some of the black plastic phrase strips fit perfectly over a few labels, I added those as well - for a pop of dimension and a different texture. Love how bold this page turned out!
2. So Darn Good

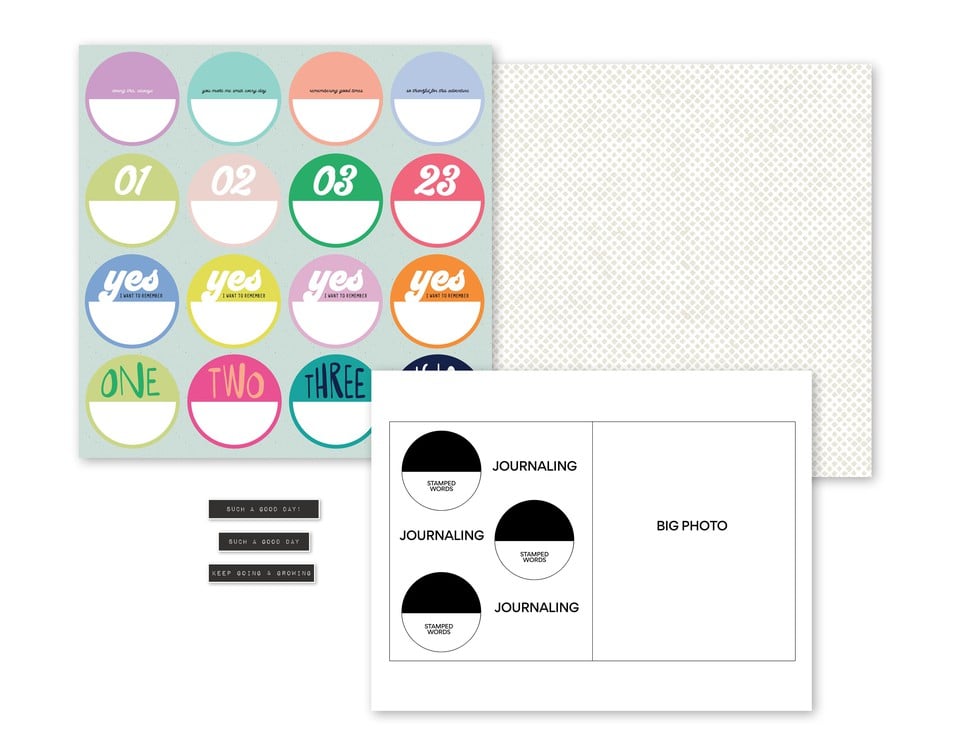
My next sketch features the die cut label 7x8.25 page. I knew as soon as I saw this page that I wanted to cut it up and reassemble a fun grid below a large photo.

My story took shape when I snapped this photo of my daughter painting a wooden birdhouse. I loved the angle of the photo and that I could get a really wide crop of the photo without loosing anything too important.

I printed the photo at 14”x5.25”, cut it in half, and added it to the separate 7x8.25 pages. This left me three inches at the bottom to add a bunch of the die cut labels.

To help me figure out exactly which ones I could use and where to place them, I played around with the digital version of the kit first. Once I found the perfect combination, I printed my journaling onto the labels I would use, fussy cut them out, and reassembled/adhered them to my page below the photo. Finishing touch on this page were the three silver asterisk stickers for a little hint of shine.
3. Everyday Life

My final layout design was based on the LOVE 12x12 pattern paper (which I cut down to a 7x8.25 piece) and the die cut labels. To me, the labels reminded me of frames and I knew I wanted to create a collage page using a whole bunch of them!

Each month, I like to add one story to each of my kids’ story albums - either a recap on the month or a story from a major event that happened in the month. Since there wasn’t anything major in March for my daughter, I decided to make a full monthly recap of all the small things. The small stories make up the big picture, after all!

On the left side, I typed up journaling that told the story of Isabella’s month (from my perspective) and added the text onto a hot pink background - using the color from the hot pink die cut label. Then, I clipped the corners to imitate the die cut labels, matted the journaling on white cardstock, and added this to the patterned paper (propped up on foam tape).

The right side is the home for my photo/die cut label collage. I used the digitals + photoshop to create a template for getting my photos to just the right size/shape. That made it easier for me to simply cut them out and add them to the appropriate label. I added each photo/label onto a 7x8.25 piece of textured white cardstock to complete the look. This is a new favorite layout - I just love all that color and all those memories!
Friends, thanks for stopping by and checking out how these pages came together. I hope seeing these layouts helps to inspire you to create with this kit as well. If you plan (or already have) to tell a story with the Labels Scrapbook Kit, tell me in the comments about the story/page you created! Until next time!


Krystal, Always so much inspiration, love it!
Thank you Carrie!
Sign in or sign up to comment.
Lovely layouts!
❤️ thank you!
Sign in or sign up to comment.