Part 03 | Ali's Completed "Halloween Through The Years" Scrapbook
Tags: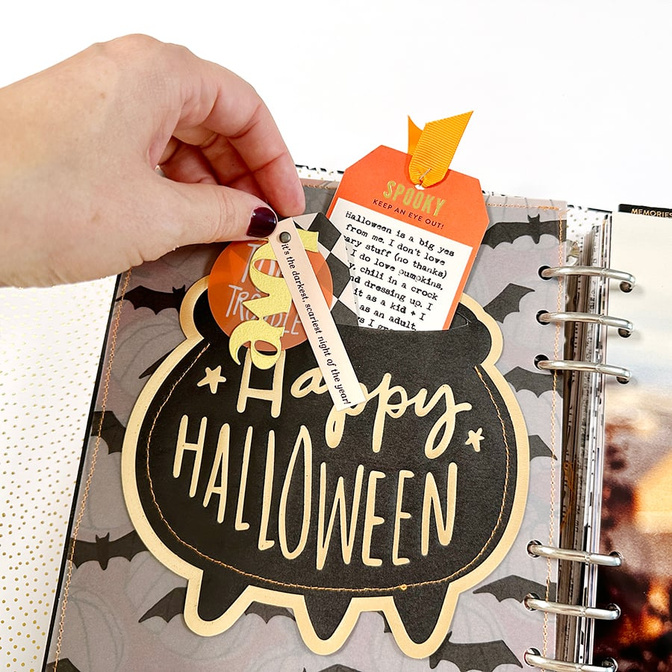
I wrapped up my Halloween Through The Years album this past weekend and am excited to share it with you today!
I broke my process video into two separate videos (each are about 30 minutes) and also filmed a walk-through without talking for those of you who just want to see the finished project.
I loved, loved, loved working on this project and am so excited to share it with you!
EMBELLISHING | PART ONE
EMBELLISHING | PART TWO
COMPLETED WALKTHROUGH (NO TALKING)
Here's a look at the spreads with additional details:
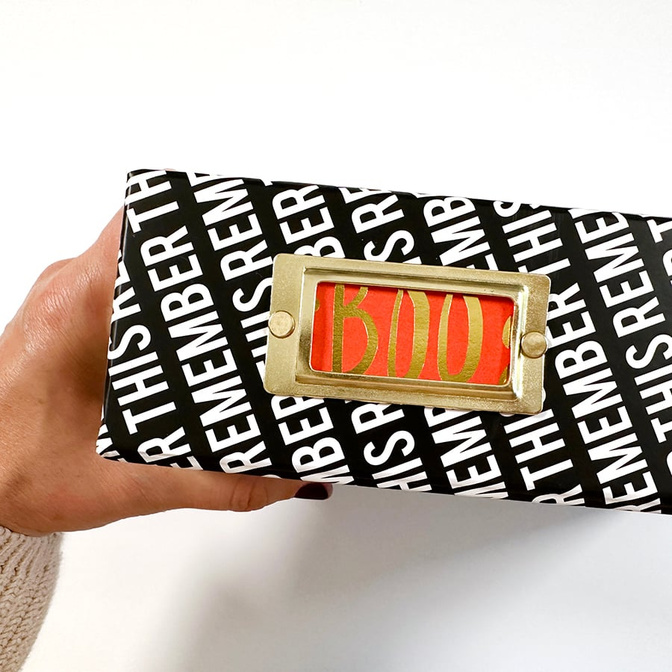
I'm using the Remember This 6x8 album as the home for my project. I cut up one of the tags from the 2023 Halloween Kit and added it inside the metal label on the spine.
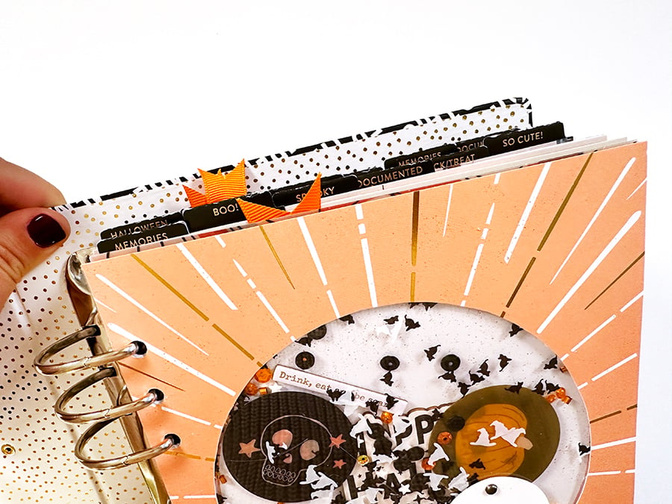
Along the top edges of all my journaling pages I added the black sticker tabs from the 2023 kit.
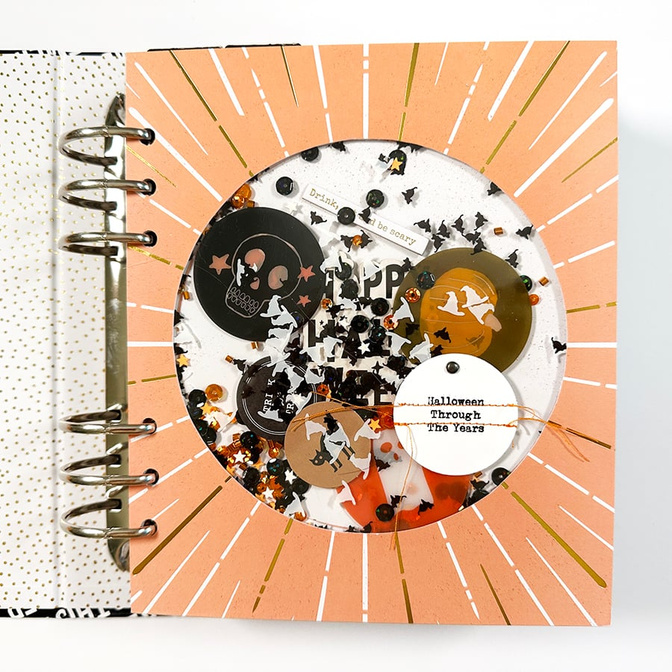
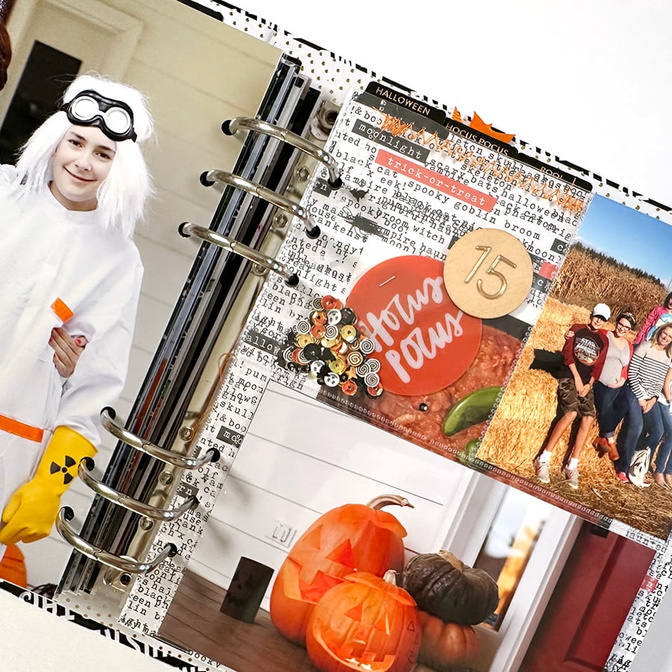
I started my album off with a fun shaker page using the circle pattern paper as my jumping off point. Inside the circle I added sequins from Picket Fence Studios and circles from both kits. On the outside I added a custom title circle that I ran through my sewing machine. You can see the full process for building this page in the first process video above.

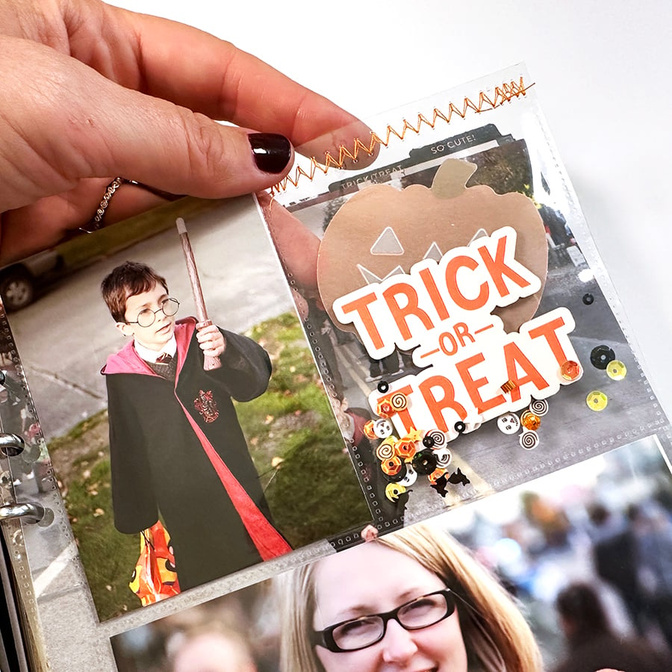
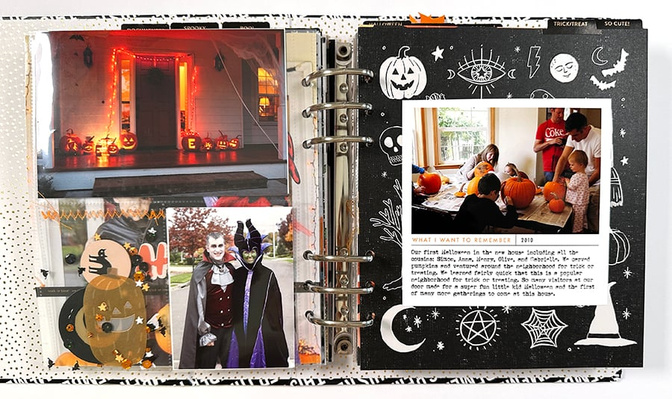
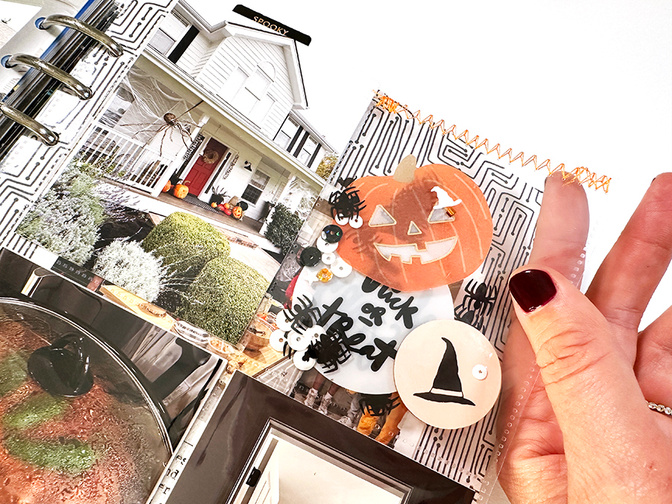
On the back of the shaker page I adhered the "this is halloween" pattern paper. I then created an intro page using the pumpkin vellum and one of the large die cuts from the 2023 kit. I used the digital version of this tag to set up my journaling and then temporarily adhered the actual tag to the printed paper in order to print directly onto the tag.
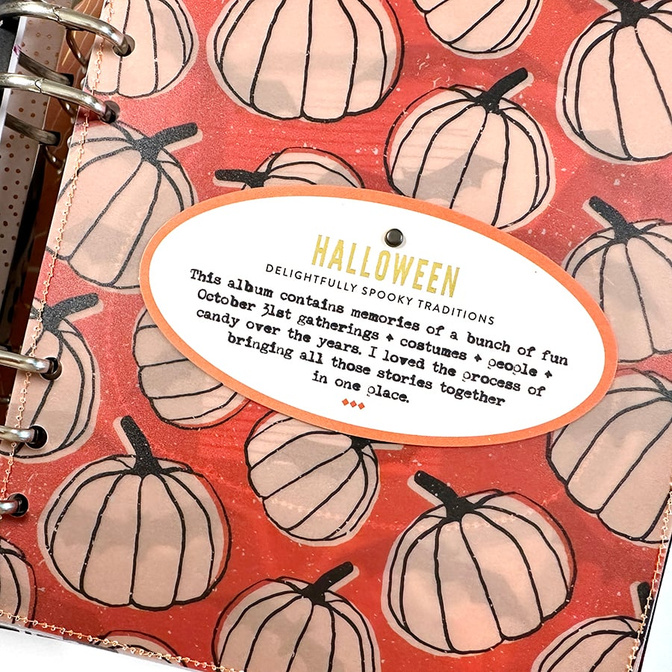
Love having a little written intro to this project. 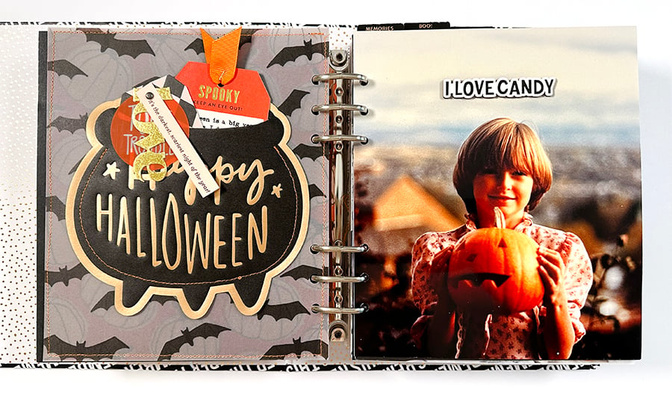
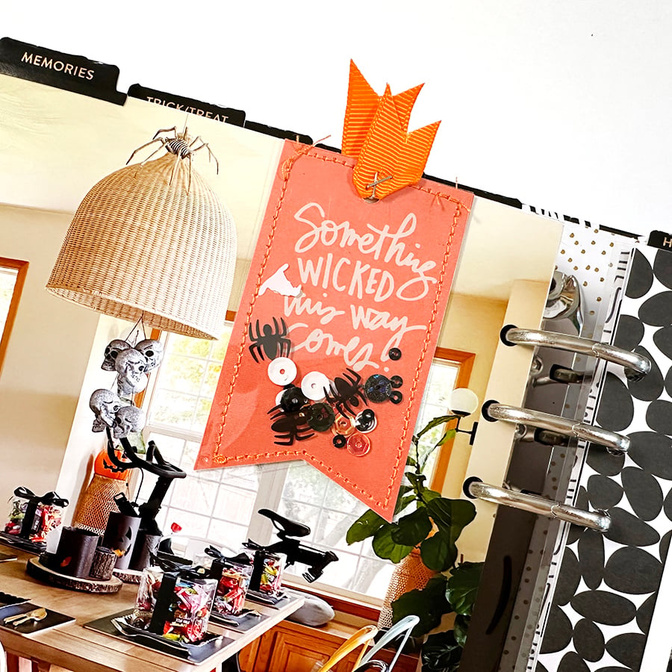
On the back of the pumpkin vellum I created a fun interactive page using the bat vellum and the large vellum cauldron. First I used a craft knife to cut out the top part of the cauldron and then I used my sewing machine to stitch around the outside edge - leaving the top open so I could slip in some tags.
On the full page photo of me on the opposite page I used red line tape to adhere the "I love candy" wood veneer.
I also ran both pieces of vellum through the sewing machine to hold the two pages together.

Inside the cauldron I added a tag cluster (includes pieces from both kits) and a journaling tag.
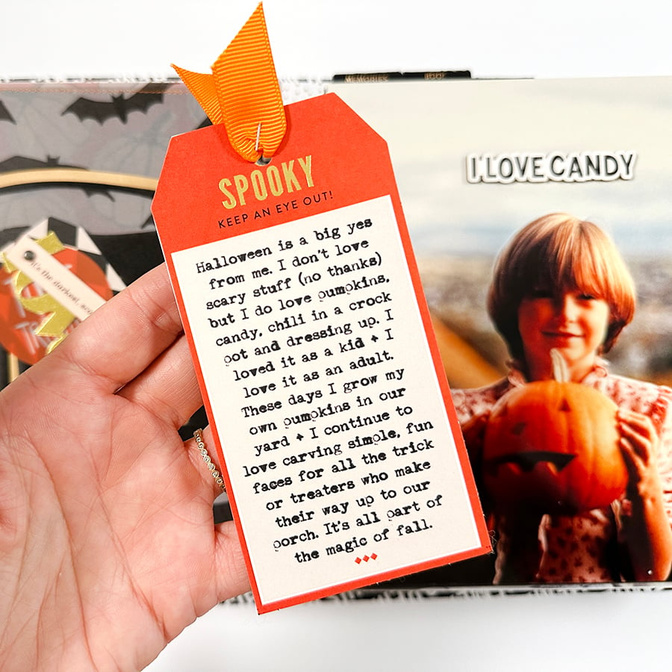
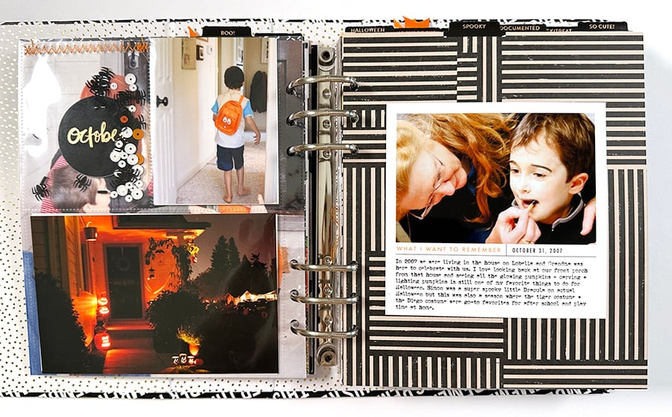
I was so happy to find a few photos of me as a kid either on Halloween or during that season.
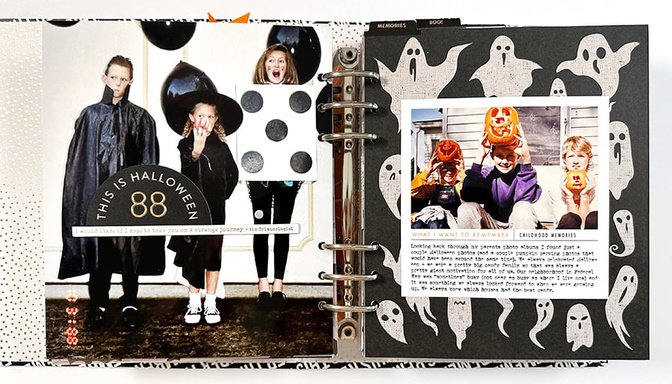
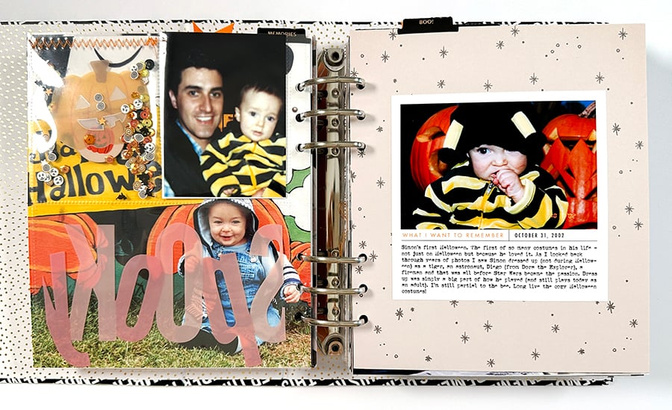
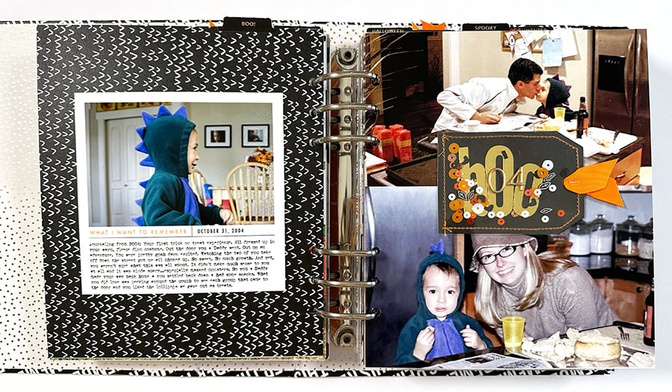
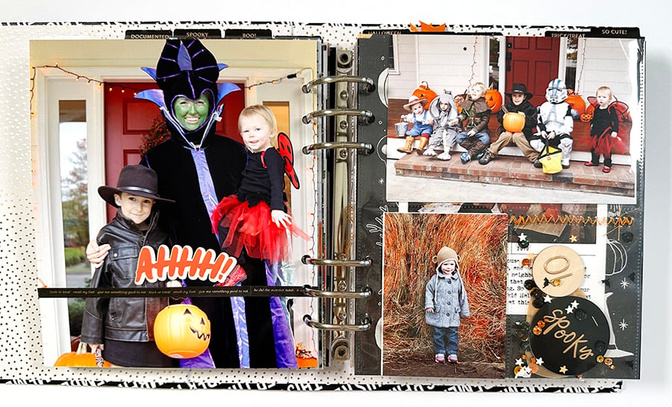
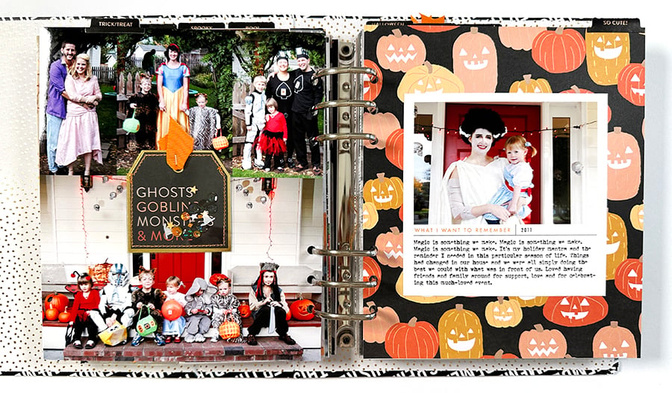
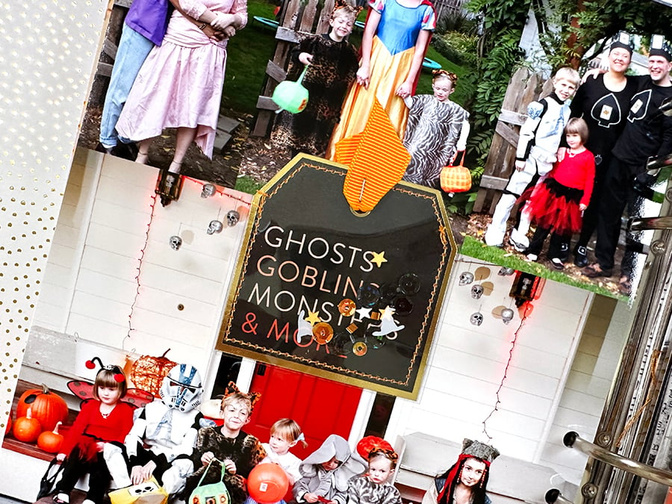
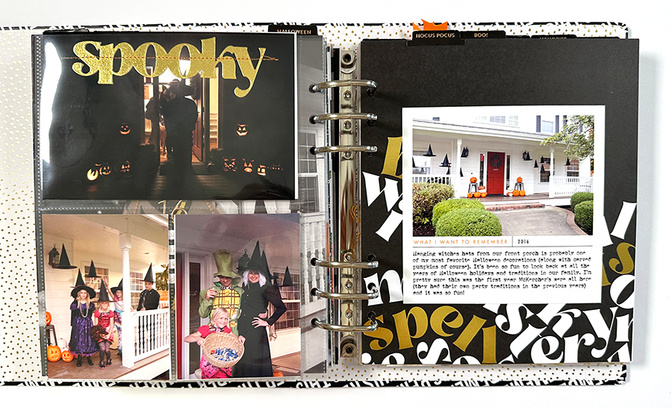
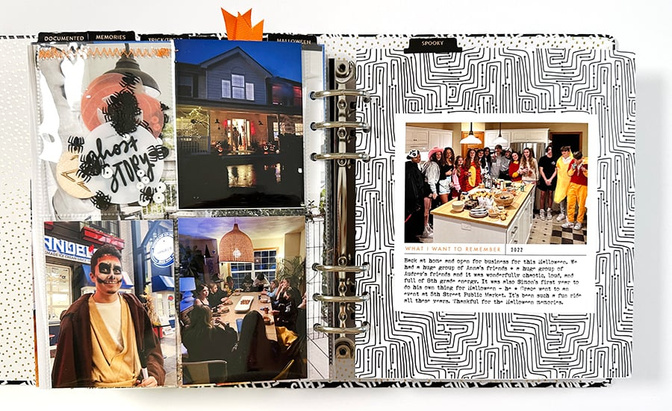
As seen in my previous post about this project my basic design formula for this project was a full page photo + a journaling/photo section adhered on top of pattern paper. Some years have a page protector in between and other years are just the two pages (depending on how many photos I had). I added a half circle with the year and one of the chipboard phrases on top of my full page photo.
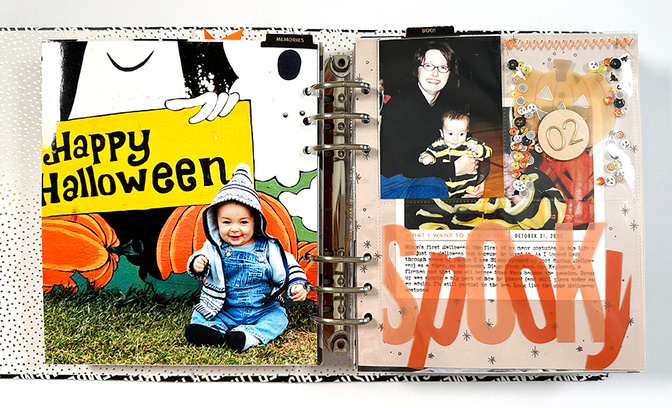
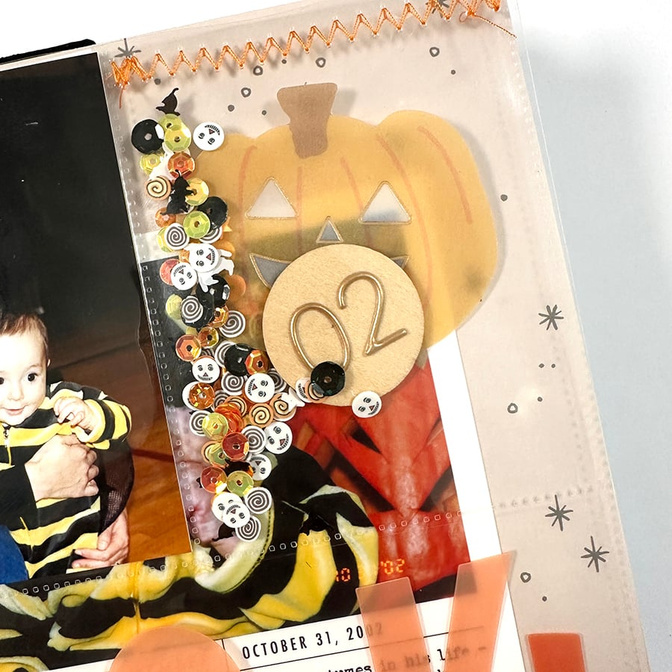
2002 was Simon's first Halloween. In addition to the photos in the spread I had 2, 3x4 photos and two empty pockets. To the 4x6 pocket I added the large plastic word "spooky" from the 2023 kit (I trimmed the edges to fit) and then I created a shaker pocket using elements from the kits and sequin mixes from Picket Fence Studio. The shaker pockets became a repeated element throughout the album and most include two embellishments - one with the year on it using the puffy number stickers - and the sequins. I ran the pocket through my sewing machine to close it off. You could also use washi tape, hand stitch, or use a fuse tool to close off the pocket.
It's such a fun and easy way to bring some playfulness into the album.
The wood veneer circles from the 2022 kit were great for adding the numbers on the back.
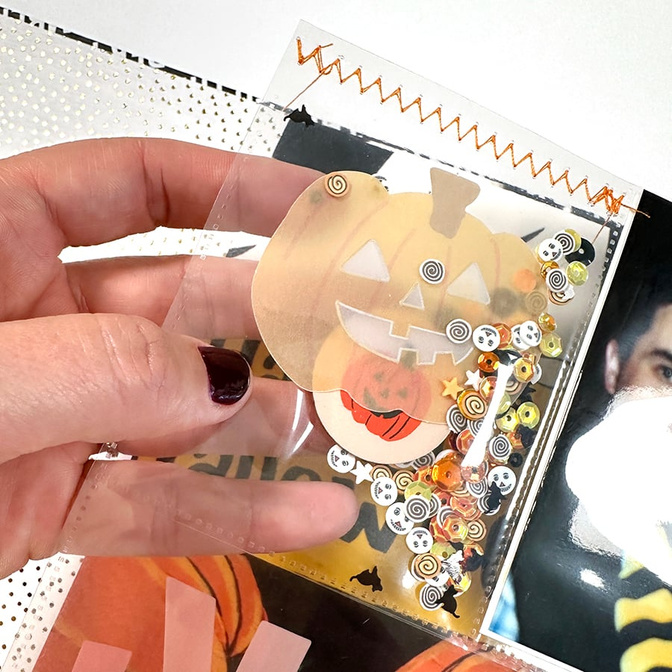
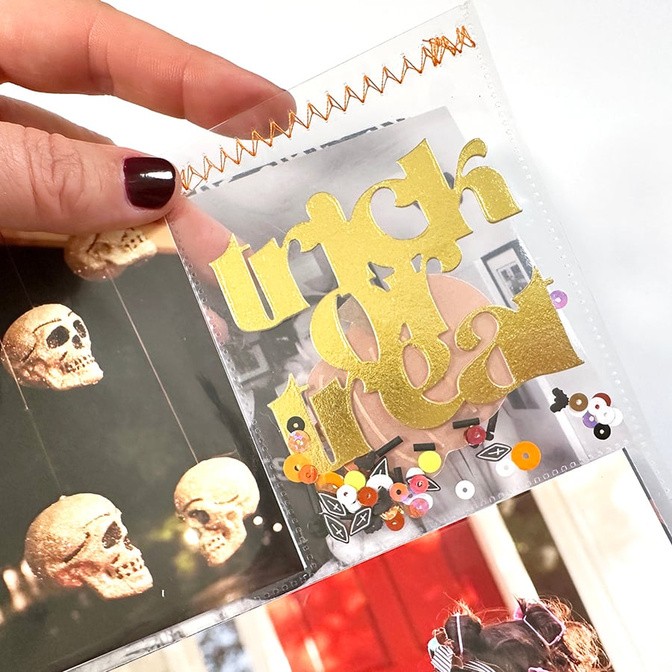
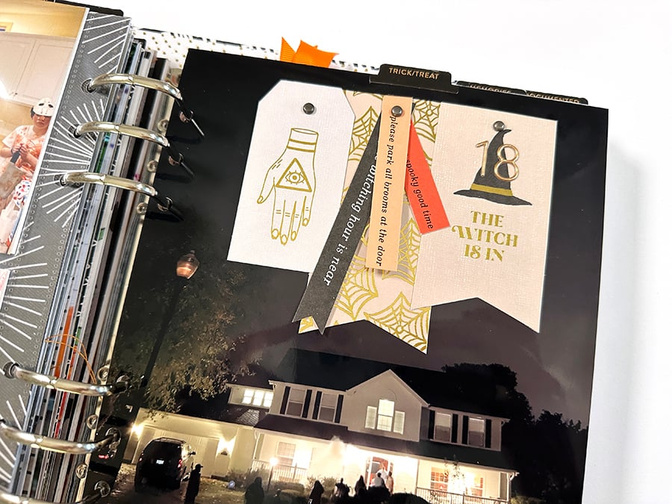
For the spreads that didn't have a page protector I had fun creating shaker tags using tags from both kits. I cut a piece of Grafix Plastic the same shape as the tag and then ran it through the sewing machine on three sides. I slipped in some sequins and then stitched it closed. I used fun orange ribbon to finish it off.
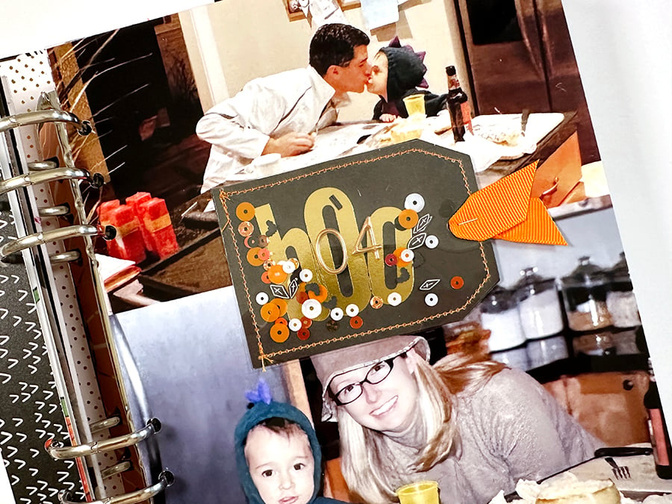
I love how this continues the sequin theme on the spreads that don't have a pocket page.
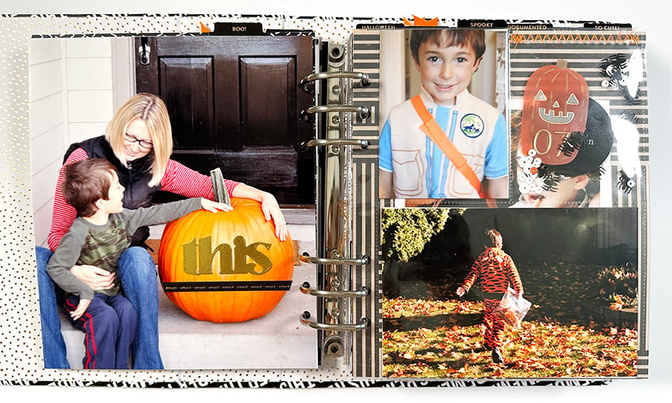
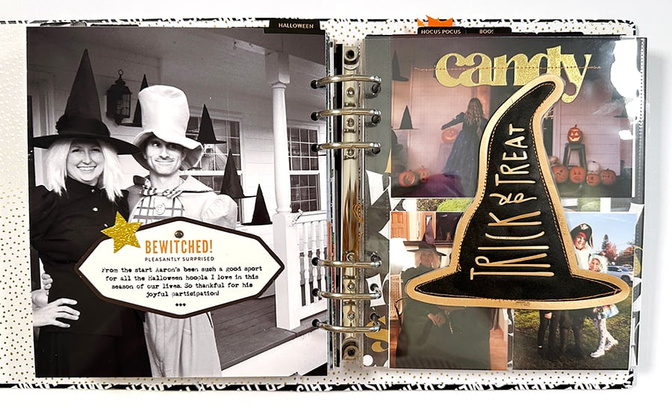
On this full page photo I added the gold word "this" from the 2022 kit along with one of the vellum phrases.
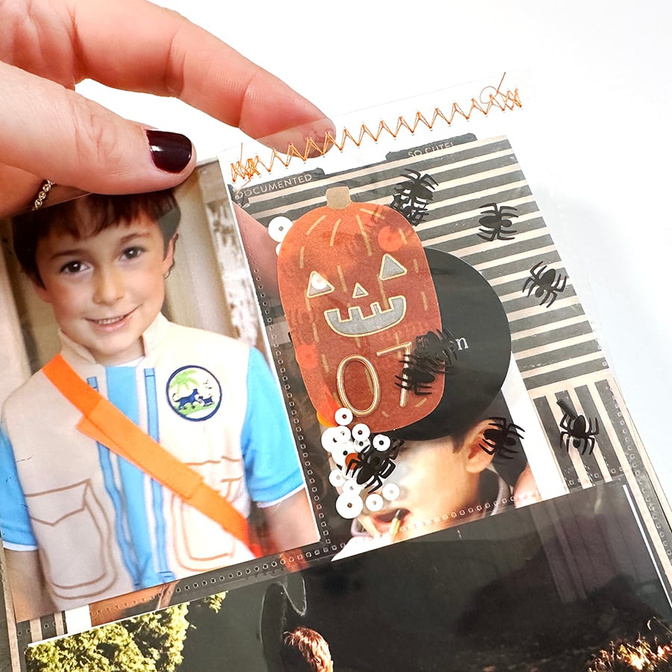
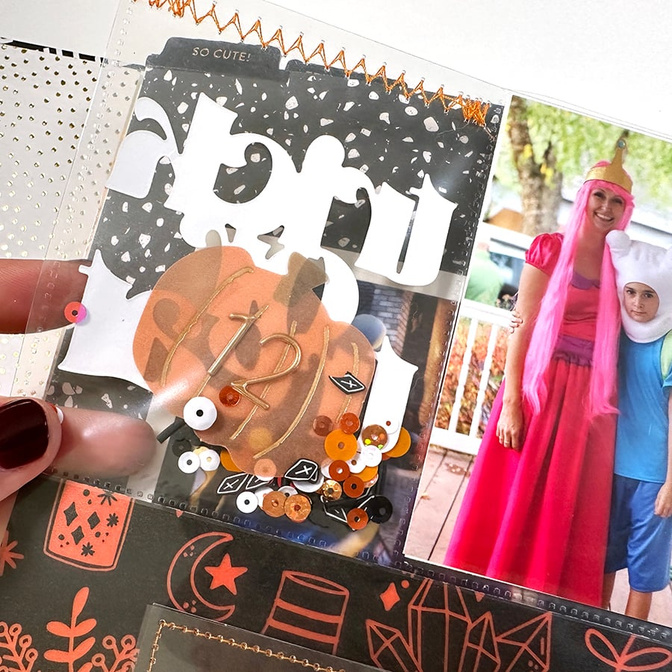
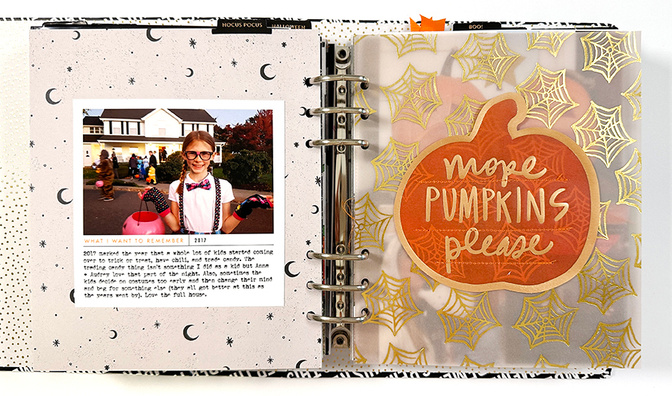
And followed the same steps as above for creating another shaker pocket. This one includes the numbers for the year on the vellum pumpkin and I added two plastic circles stapled back to back.
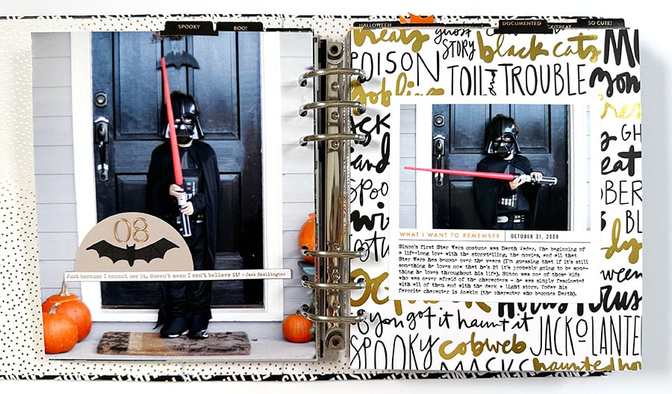
For this speed I repeated one of the design formulas that I used earlier in the album with the half-circle + numbers + chipboard. I love having a few formulas to choose from as I decide to add embellishments onto my photo enlargements.
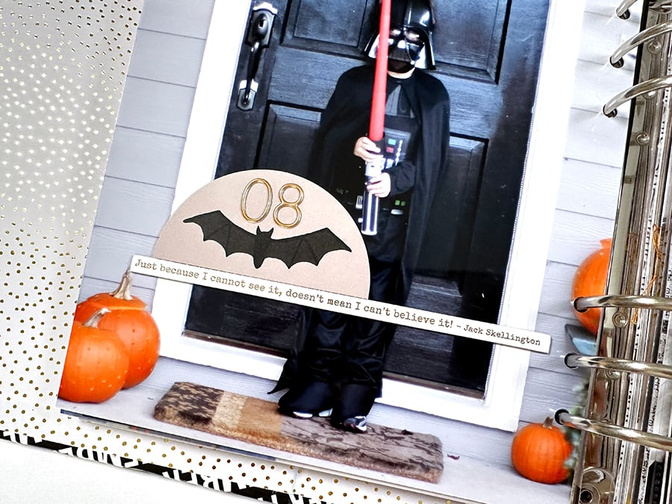
I used foam adhesive to adhere the 1/2 circle.
This time I added one of the wood veneer phrases along with the vellum pumpkin + sequins. 
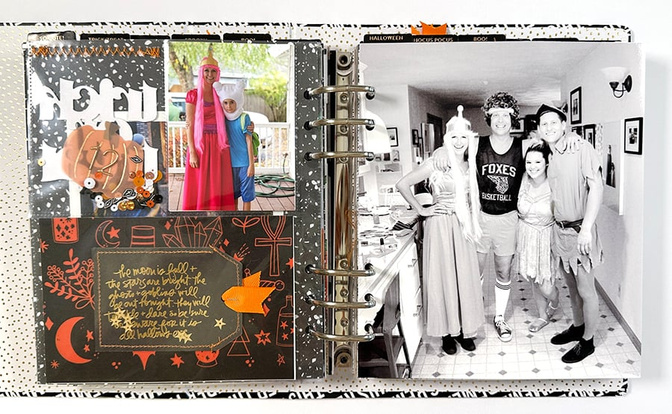
On top of my photo enlargement I decided to create a circle trail across the page. I temporarily adhered them and then ran it through my sewing machine. I also added three glitter paper stars.
So fun! This is something that would also be easily repeatable on multiple photos.
On this photo enlargement I added a strip of vellum phrases (two) and one of the wood veneer titles.
I seriously love coming up with a simple idea like this and repeating it!
Here's another shaker tag I created using a tag + a piece of Grafix plastic + sequins + a ribbon.
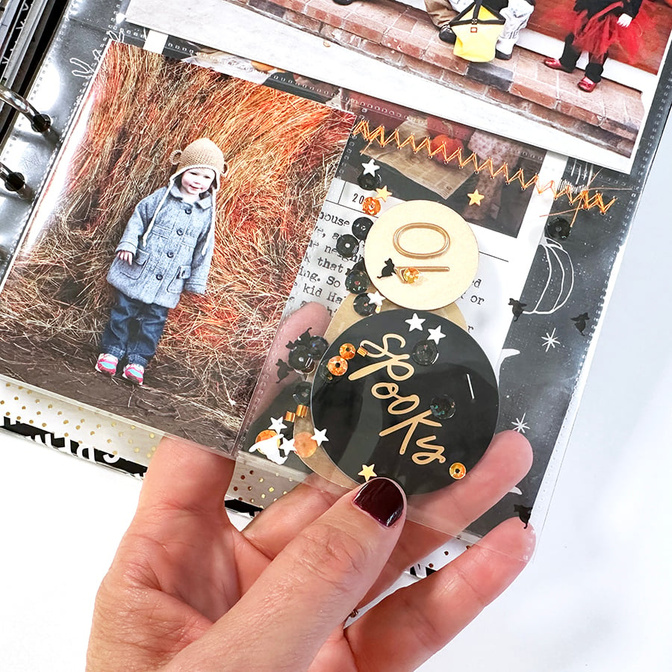
I had a 4x6 empty pocket here so I decided to cut up one of the vellum papers for the background and then created another shaker tag using some gold sequin stars from my stash.
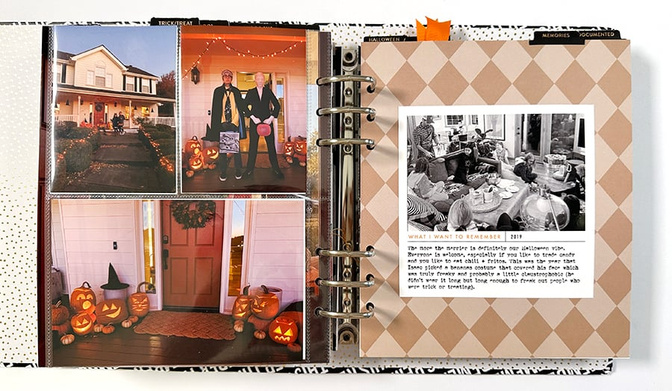
And sometimes it's so great to just leave our photos as they are without any embellishments on top.

I used the other half of the vellum pattern paper along with some of the phrase banners to fill up this pocket.
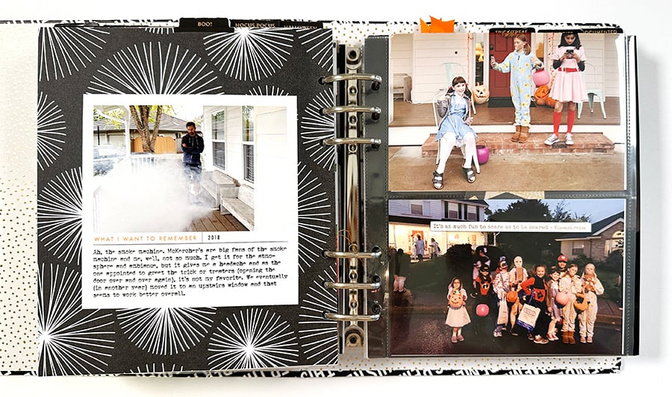
I used another one of the large die cuts with journaling on top and a glitter star.

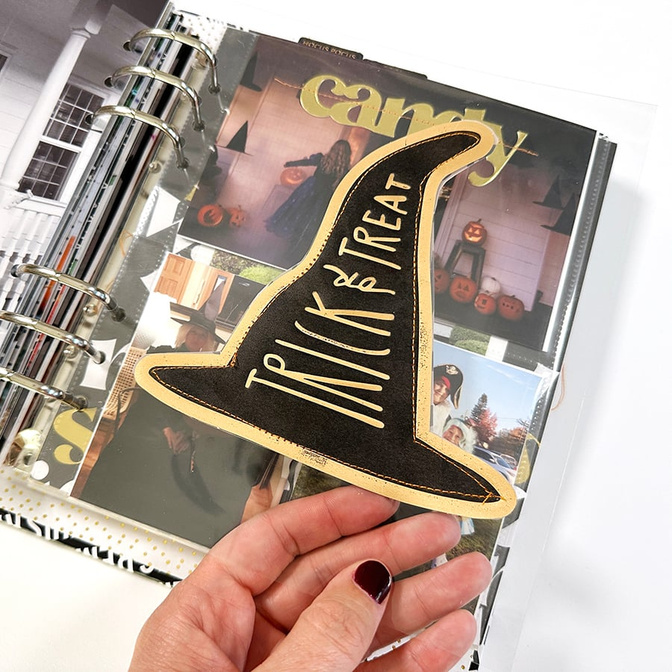
I used a piece of Grafix plastic as the base for my witches hat page. I placed the original vellum hat on the front and used that hat as a template to cut the same shape from the witches hat vellum - this one is on the other side of the plastic page. I ran it through the sewing machine and added in a few sequins before closing it off with stitching.

On the back I cut up one of the chipboard phrases and added the year.
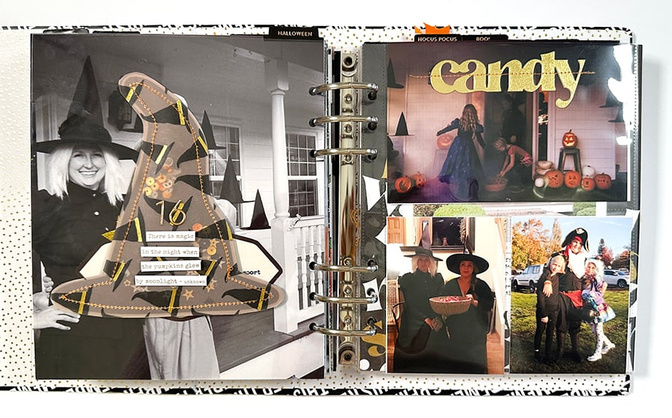
I added one of the gold die cut words to a 4x6 photo and ran that through the sewing machine.
And I did the same thing on the photo in the otter side of the pocket.
I stitched the vellum pumpkin onto the vellum web pattern. This time I just did lines but you could also turn this one into a pocket.
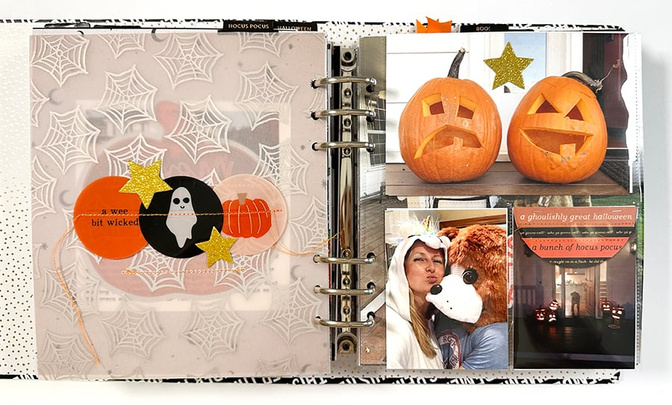
On the back I stitched three of the plastic circles together and and added a couple more of the glitter stars.
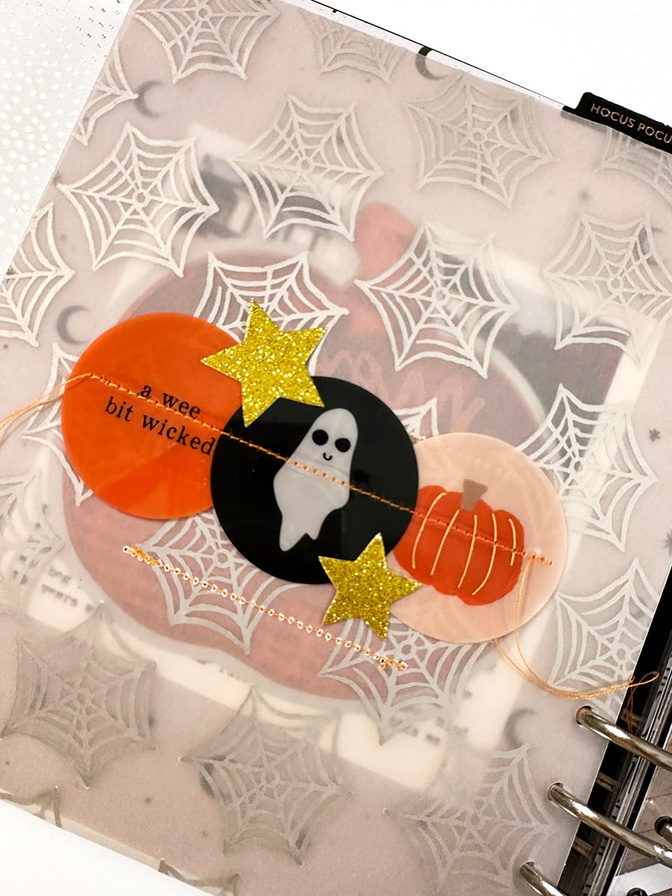
It's just so fun.
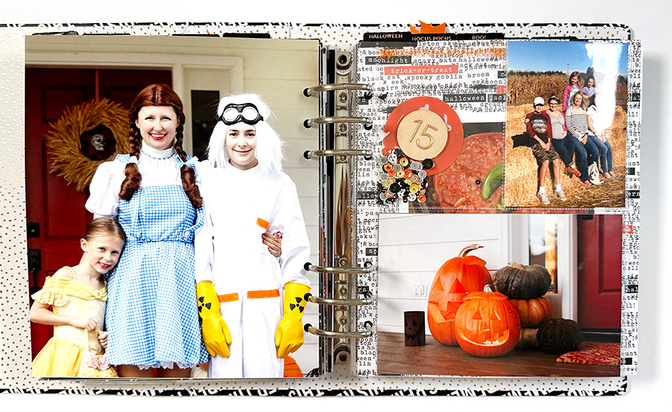
Here's another idea for an easy embellishment to add to your photos. I took one of the 1/2 circles from the die cuts and added phrases on top (mixing vellum and paper and running it through the sewing machine).
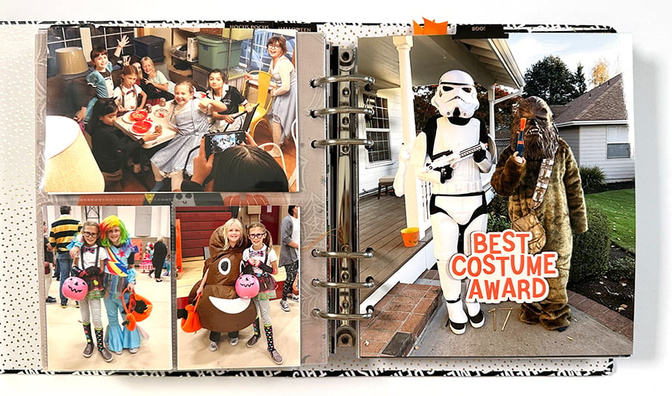
Added the "best costume award" wood veneer to one of the full page photos.
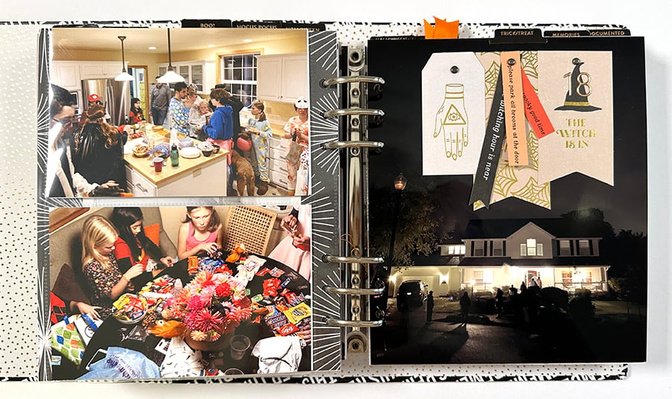
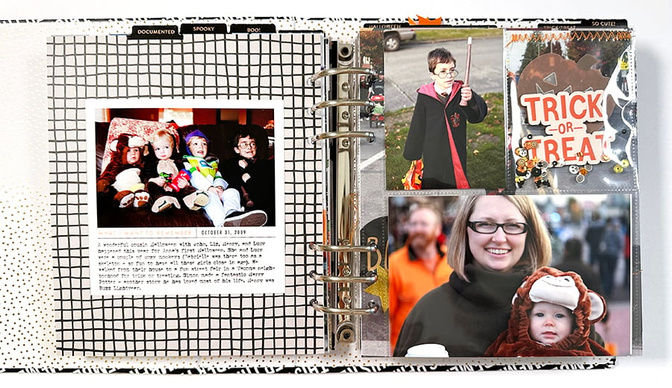
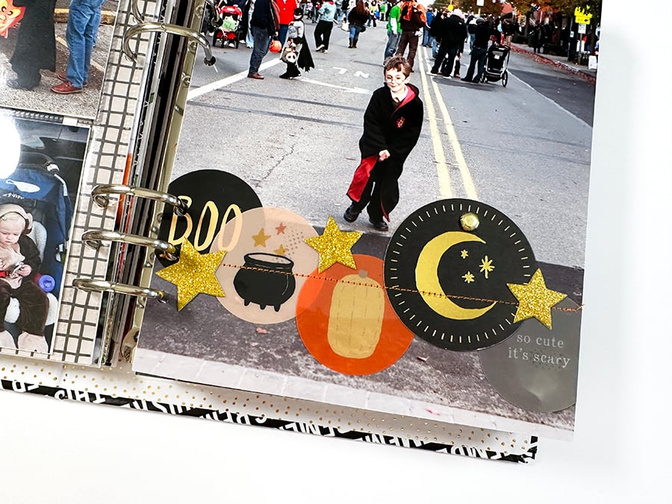
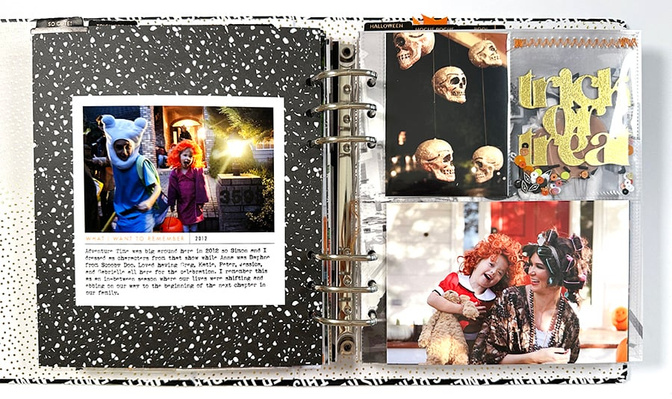
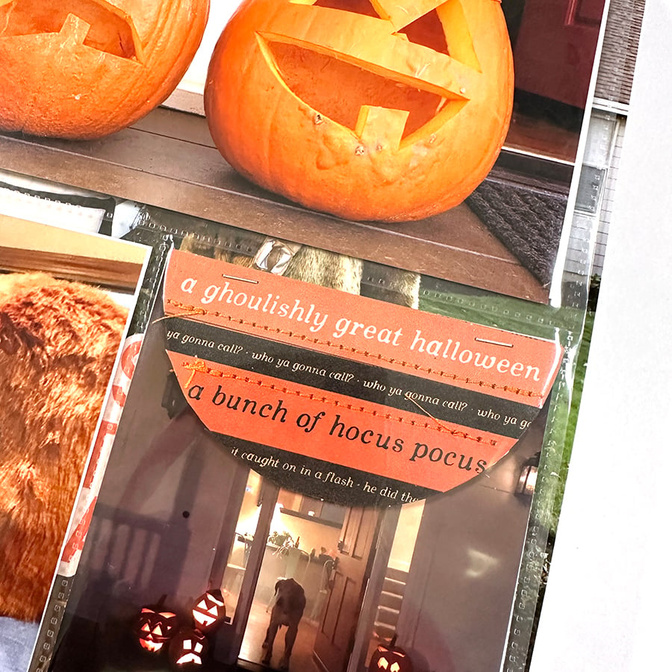
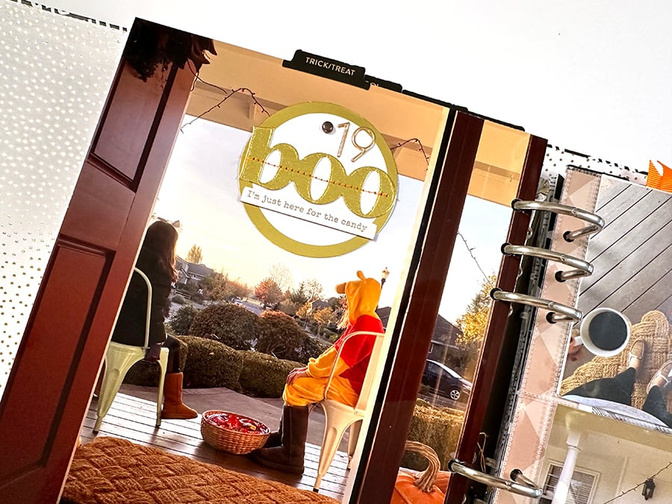
Another fun way to work with the tag embellishments is to create a gathering of them along the top of one of your photos.
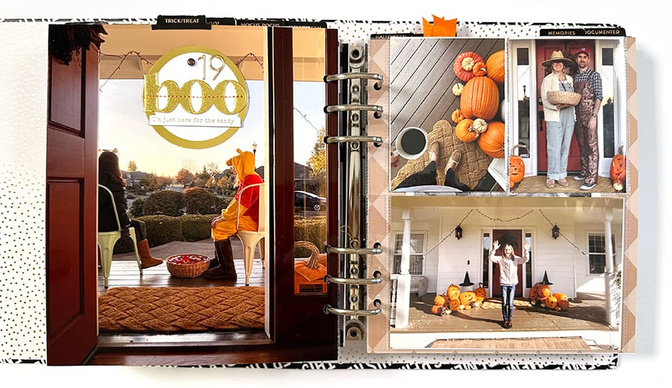
For this one I grabbed a paper circle + the die cut word "boo" and ran that through the sewing machine. I also added the numbers for the year and one of the chipboard phrases.

I trimmed this tag just a little bit off the top and turned it into a shaker tag. 2020 Halloween was definitely different.
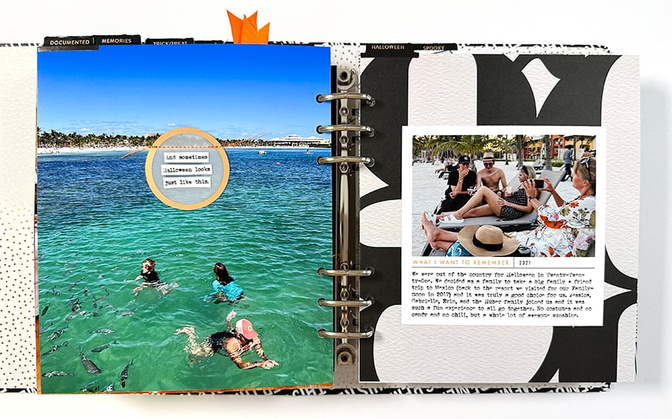
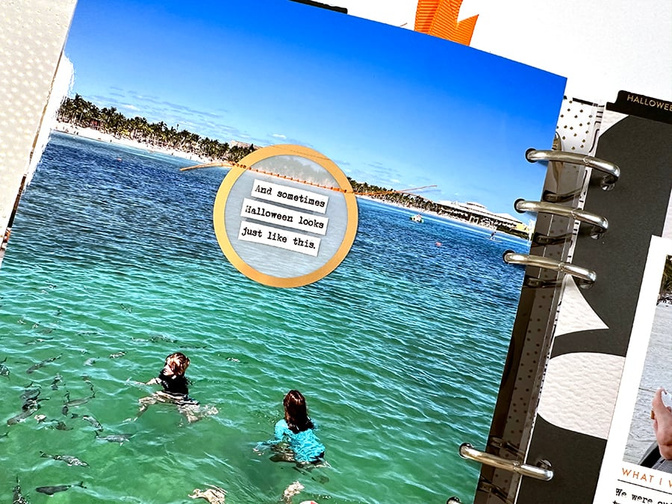
For Halloween 2021 we took a big family trip to Mexico. I decided to add it in because I like mixing in what was real in that season.
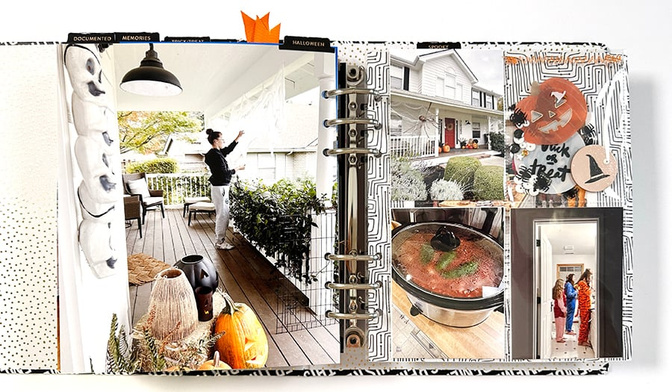
And for 2022 we were back and super into it all over again!
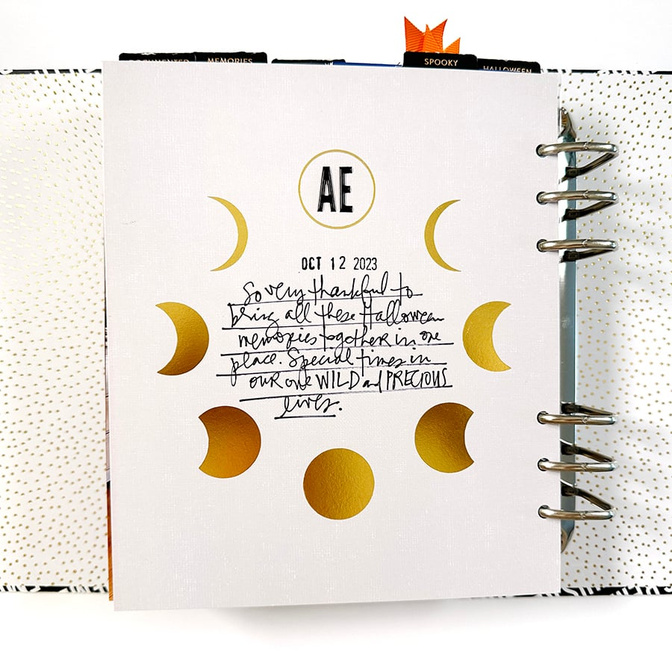
To finish off my album I used one of the pattern papers and added the date I completed the project and a couple puffy alpha stickers for my initials.
SUPPLIES
Brother Sewing Machine
Tiny Attacher
Black Puffy Alpha Stickers


Comments
Sign in or sign up to comment.
21 comments
Love this. I don't celebrate Halloween but do have a few photos over the years of houses in our neighbourhood that have gone out of the way to decorate in a Halloween-style. Your album has prompted me to prepare a separate album celebrating special traditions I celebrate throughout the year, including taking photos of Halloween houses.
Replies to minkaclark
Love that idea!
Sign in or sign up to reply.
Love your design formula - especially the little shaker pockets. I would love to do this next year and I bought both of your Halloween kits last year and this year. Thanks for the great inspiration! Looking forward to December Daily and using all the wonderful products you created!
Replies to Janet_Burnett
Wonderful! Have fun!
Sign in or sign up to reply.
Love everything about this! Brought me to tears at the end. We were huge Halloween people too and had a big party with our girls and their friends and the neighborhood for years! Love seeing all the years together. This is on my list to make. And it’s such fun with all the shakers and embellishing!
Replies to Jeannew
Awesome Jeanne! I loved working on it so much.
Sign in or sign up to reply.
SO well done! I just love it!
Replies to Donna_Clements
Thank you!
Sign in or sign up to reply.
I can't even, with this! This is really, really great!
Replies to stagnaromel
Thank you!
Sign in or sign up to reply.
All the spooky feels! Love everything about this. I’m so encouraged to create my own album without worrying about missing photos or years - I always struggle to start for fear of ‘doing it wrong’. Thanks for showing the joy in this project.
Replies to shainalain
YES! I hoped that would be someone's take away!
Sign in or sign up to reply.
Love it! Halloween isn't as big over here in the UK so we don't have many pics but putting these all in one place are a great idea.
Replies to cannycrafter
Sign in or sign up to reply.
This is an album to treasure for sure! So cool!
Replies to ScrappinMyHeartOut
Sign in or sign up to reply.
Incredible Ali! You knocked this out of the park!
Replies to mymalloryboys
Sign in or sign up to reply.
🤩🤩
Replies to carri
Sign in or sign up to reply.
Wow! This came together so well and I love how fun you made it. I'm currently working on my Christmas Past album and really felt it was missing something. I added shaker pockets and clusters of embellishments to each year! Thanks for the inspiration. - Chandra
Replies to cjdragonfly
Sign in or sign up to reply.
Love love love this! Question: How do you get all your childhood photos if they are plastered in your parent's albums?
Replies to AmberCA
I take photos of them inside the albums!
Sign in or sign up to reply.
Love this! If I ever get my photos organized, I am definitely going to work on some compilation albums like this one! Thanks for sharing your process!
Replies to rachaelgiallongo
Sign in or sign up to reply.
I just completed my Halloween through the Years album with 21 years of stories!! Thank you, thank you for the ideas, instruction, and putting this out there for me to watch over and over again! I used your formulas and shaker page ideas, and learned how to foil quill and sew on plastic. This was the best project I've ever done so thank you again!
Replies to dafolmar
Sign in or sign up to reply.