Tuesday Tutorials : Allison Kreft Abad : Label Re-Do

This week Tuesday Tutorials welcomes Allison Kreft Abad.
Here's Allison:
Recently I’ve been making over and rearranging everyday things in my house to have them look better and match the rest of my home decor. I figured if you have to stare at them everyday, why not have good design? That’s the graphic designer in me…
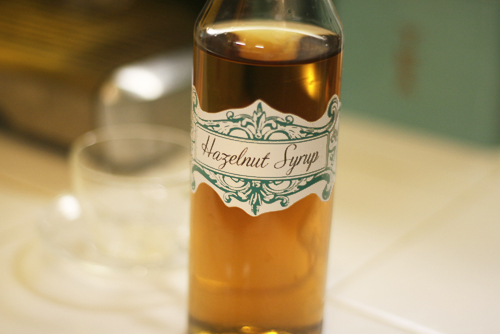
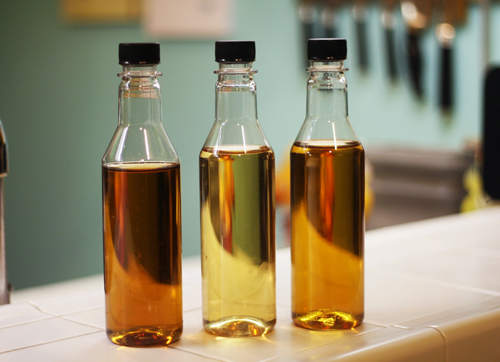
Every morning I make myself a latte to take to work, so on my counter next to the espresso machine sits 3 bottles of syrup. The labels were not the prettiest, so I came up with the quick way to replace the labels and make them look better.
Label Re-Do: Custom Label Tutorial
by Allison Kreft Abad
Materials:
Avery Consumer Products - Inkjet Labels, Full Sheet, 8-1/2
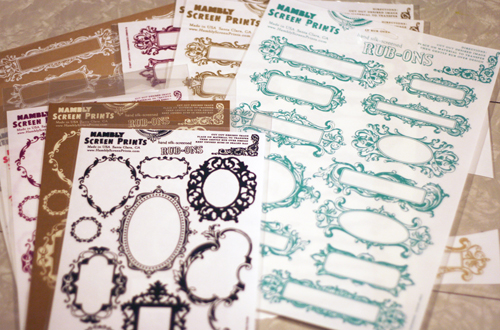
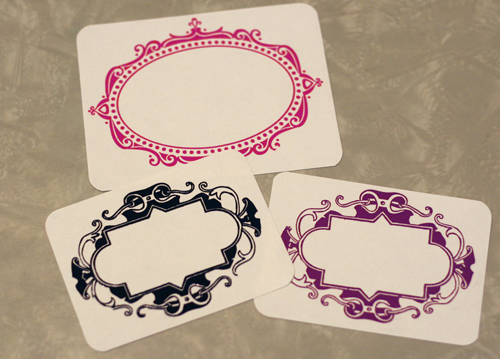
Elegant Label rub-ons by Hambly
Antique Frame rub-ons by Hambly

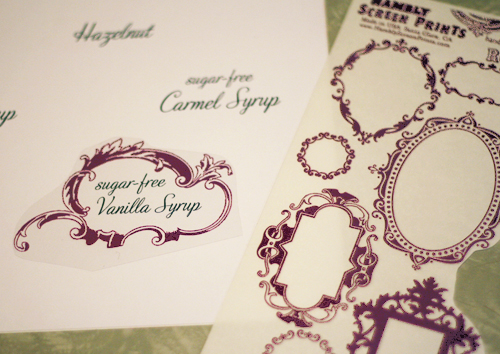
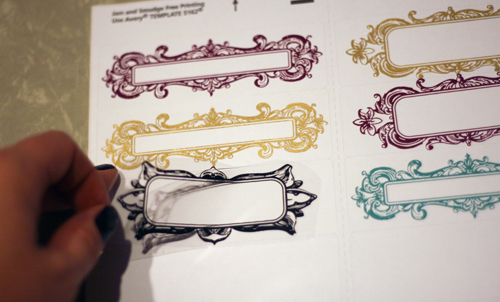
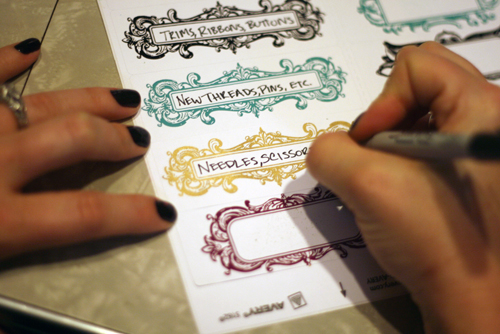
First you need to get your label paper - it’s basically one big 8 ½ x 11 label (sticky on the back). Next, type out some words on the computer in the program of your choice and print it on the 8 ½ x 11 label paper. Make sure you space out your words so there is enough room for the rub-ons and to cut around it (you can also just leave them blank and write you own words with a pen).
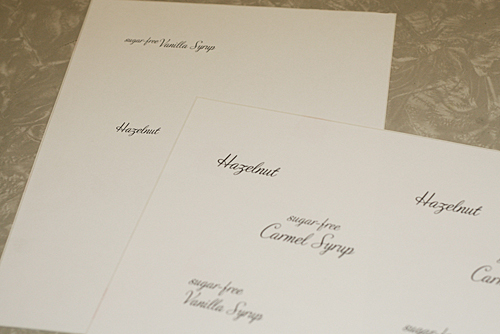
Since the label paper is all sticky on the back it’s easy to make customized shapes for the labels.
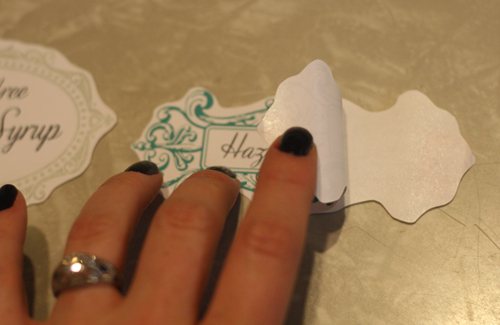
After printing the words, select the frame rub-ons from the sheet and cut them out by hand. Next transfer them to the sticky-backed paper by rubbing the labels directly over the words. Use the back of your fingernail or a popsicle stick or rub-on tool to transfer the label design. Lift off the clear liner slowly to make sure the whole design transfers.
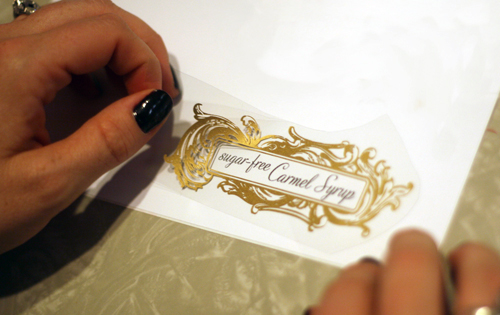
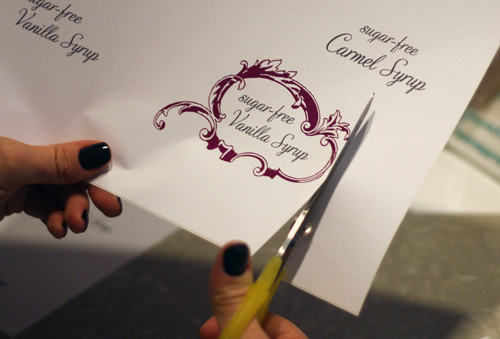
Cut loosely around the frames, following the design of the label. Repeat with the different colored frames to get a nice variety.
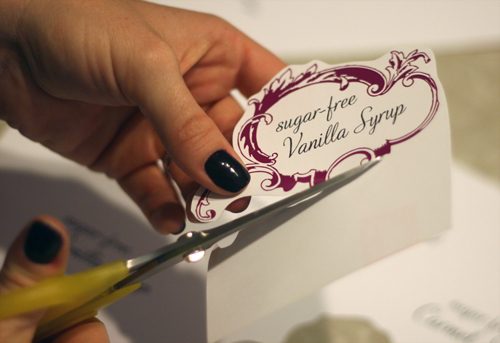
Peel the backing off the label and stick it to the bottle.
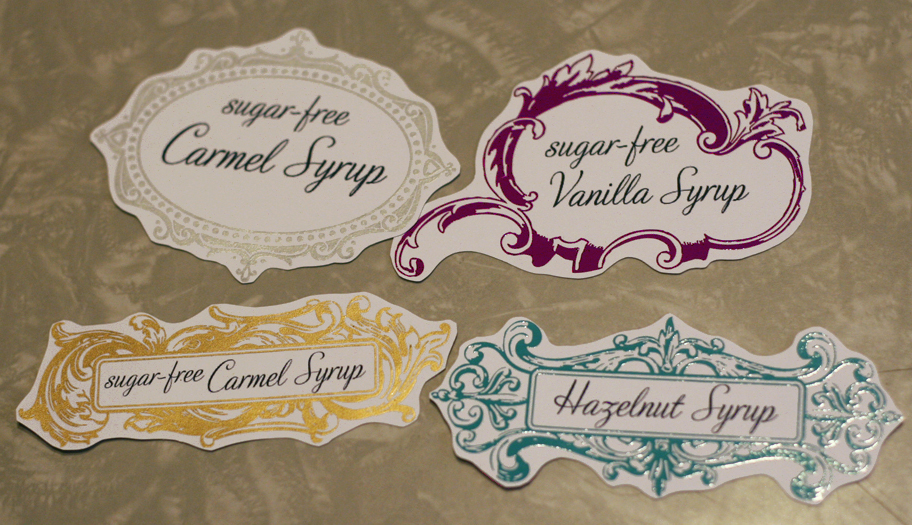
I love the way it turned out - especially since I use these every morning when I make my coffee!

MORE IDEAS
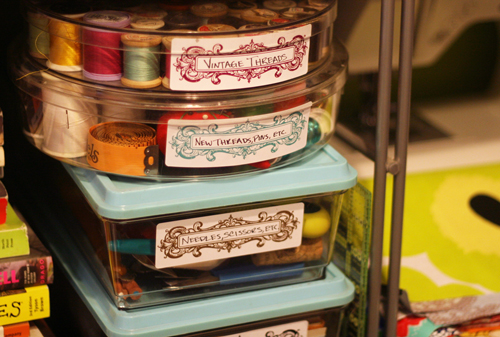
Create pre-scored labels using a sheet such as the Avery 8165 White ink jet mailing labels
It’s a quick and easy way to get organized with a lovely design.
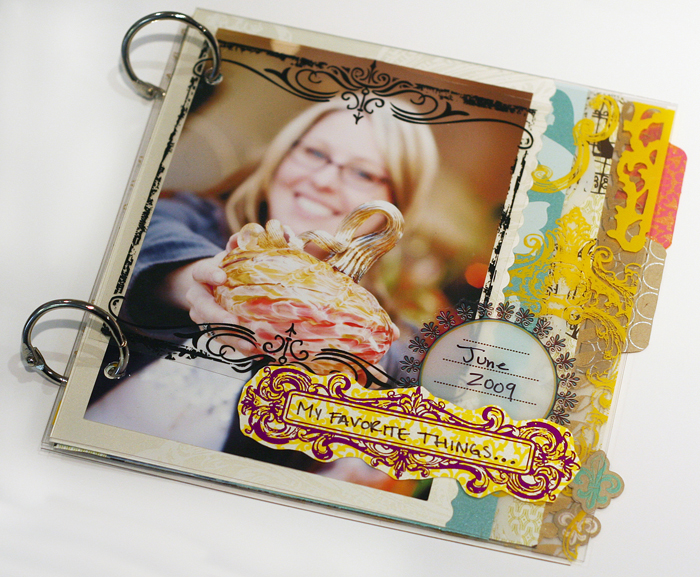
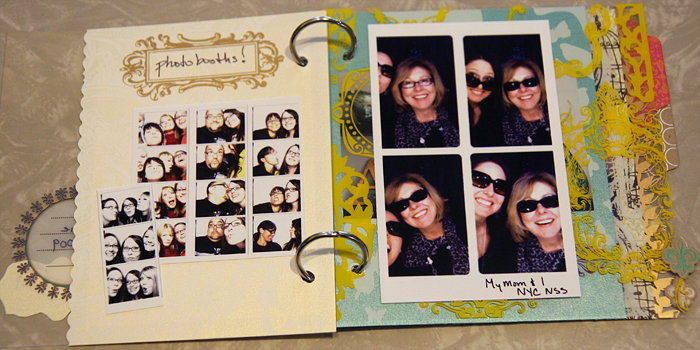
This is also a great technique to use for scrapbooking as well. Here’s a mini-book I made using the same technique just with our screen-printed papers instead of plain label paper. These would also make great titles for layouts.
My co-worker Kim also loved the idea, so she did the same thing for her canned pickles!


Allison Kreft Abad is the art director and designer for Hamby Studios. Allison, with the occasional help from her sister Amy, creates innovative designs for their popular silk-screened products. Allison’s unique design style is a mix of both modern and vintage. Hambly products are unlike any other since they are silk-screened with bright inks on an assortment of metallic and textured papers. All of the overlays, papers and rub-ons are each hand silk-screened in their studio located in Santa Clara, CA
While designing for Hambly, Allison’s work has appeared in many popular blogs and magazines including Creating Keepsakes, Paper Crafts, Country Living, Adorn, Craft:, Apartment Therapy, Craft Stylish, decor8 plus many publications overseas.
Allison’s other creative passion is glass blowing. In her free time she can be found at the local glass studio blowing glass or fusing glass.
To learn more about Allison and her designs for Hambly (plus more projects) visit www.HamblyScreenPrints.com or www.hamblyscreenprints.typepad.com
You can also find some of Allison's glass art at www.allisonglassart.etsy.com


Thanks for the great ideas. I see endless possibilities for these with the holidays coming. The best part is I already have some of the Hambly rub-ons :)
Sign in or sign up to comment.
Go Allison! Go Hambly!
Sign in or sign up to comment.
ooooh, I am drooling over that little album! Great ideas!!
Sign in or sign up to comment.
I love this!!! My most favorite Tuesday Tutorial yet...thanks Ali and thanks Allison!
Sign in or sign up to comment.
what a great idea! as we go through and re-do rooms in our house, we've adopted a "give each thing a place" mentality, and this will be a great way to make sure we know what's in which place!
i'd always seen such cute labels like this at the store and never quite knew what to do with them. now i know!
Sign in or sign up to comment.
Love that this is something to use throughout the house. I also need to open the drawer of rub-ons. Haven't used them in so long and forgot how much I love them.
Sign in or sign up to comment.
that is so awesome! i love that idea. :) thanks for the tutorial.
Sign in or sign up to comment.
I think after seeing this that Hambly might just run out of those products! LOL Fab tutorial! I LOVE IT!
Sign in or sign up to comment.
This is such an awesome idea!
Sign in or sign up to comment.
These are beautiful! I love that she used them to spruce up everyday things. :) Inspires me to get organized and label creatively!
Sign in or sign up to comment.
Nice touch...loving it!
Sign in or sign up to comment.
I thought the labels were pretty and it was a good craft. But honestly, I am kind of laughing at having the time to craft labels to cover unsightly bottles on my counter... I guess I'm jealous 'cause I would never have the time for that... Looked good though!
Sign in or sign up to comment.
Such great ideas; I love this! Can you tell us what font she used for the syrup bottle labels? It's beautiful!
Sign in or sign up to comment.
I love ideas like this to dress up the everyday. I have a few bottles I've been hiding in the cupboard, but I think I'll give this a try and display them instead.
Sign in or sign up to comment.
Very cool! An easy way to dress up everyday items!
Sign in or sign up to comment.
The thing about a post like this, is that you think you're the only one in the world who thinks of creating beautiful things out of everday objects and then you read this and you know you're not alone. Though these are GLORIOUS and I know I wouldn't have thought of these beautiful labels on my own!
Sign in or sign up to comment.
awesome labels. will have to try it out myself.
Sign in or sign up to comment.
I too would like to know what font Allison used. It looks lovely.
Sign in or sign up to comment.
Oh Ali, thanks so much for showing us that little goodie!!! Love them!!!
Sign in or sign up to comment.
Ali, I just ADORE this! I so love when we can take our crafty goodies, add a dash of creativity, and a sprinkle of inspiration and mix for a new fabulous use somewhere else in our lives outside of our little crafting corner of our worlds. Thank you for this fantastic Tuesday Tutorial! :>
Sign in or sign up to comment.
Great idea, thankyou.
Sign in or sign up to comment.
cute!
Sign in or sign up to comment.
So. Darn. Clever. Just love them!
Thanks!
Whitney
PS found this post via One Pretty Thing
Sign in or sign up to comment.
This is so fantastic!
Sign in or sign up to comment.
Oh now this just ROCKS!!!
Sign in or sign up to comment.