Day In The Life 2013 | January (+ Video Tutorial For Working With Layered Templates)
Tags: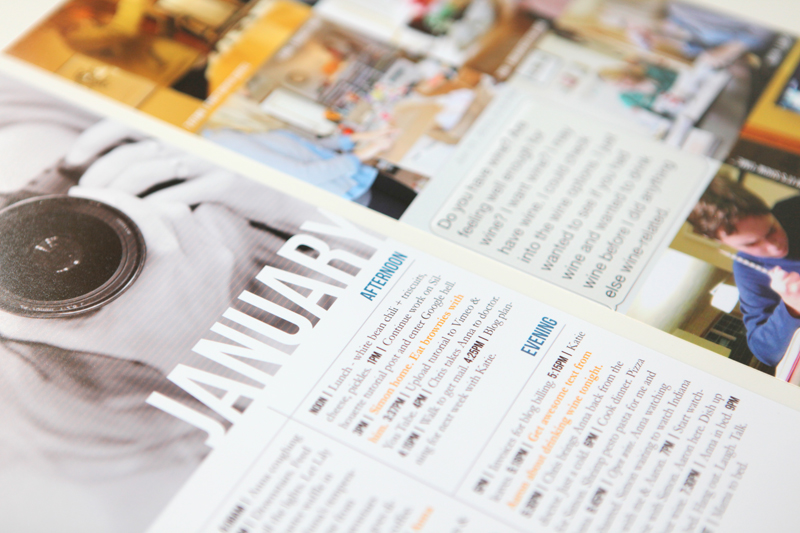
Last week I embarked on a new project for 2013. I'm planning to do a Day In The Life the last day (or so) of each month and add the content to Project Life. You can check out that original post here.
Documenting a single day is a pretty cool process. I've done Week In The Life for a number of years now where I do seven days of documentation just like I did last Thursday. It's a consuming but super rewarding project that I'll repeat again this year in the fall. I like seeing how I go about my day - it adds another level of awareness to how I'm living life right now.
A couple reflections from my experience this time:
I always, always, always have more documentation in the morning vs. the evening.
I didn't take enough photos. Well, I took enough to use for the template (and really, that's enough) - I guess what I had hoped for were a couple "money" shots that became automatic favorites. My goal for February Day In The Life is to take more photos. I took about 15 photos.
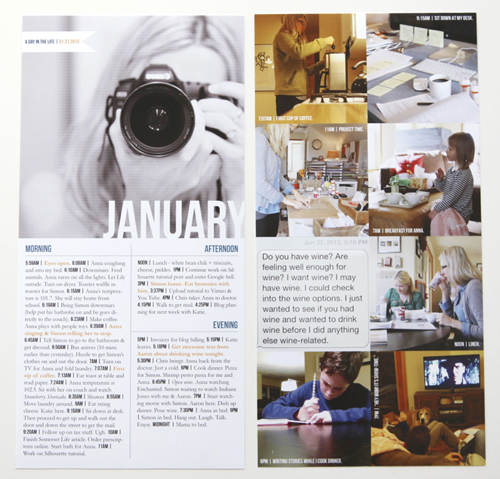
Here's a look at how I brought the photos and the words together using the Day In The Life 6x12 Layered Template Set and Day In The Life 6x12 Photo Collage Layered Templates:
Pardon the lines on the printed pages. It's time to refill an ink cartridge but I wanted to get this up today. I'll be re-printing it again.
Here's a video tutorial showing how I worked with these two layered template sets in Photoshop Elements.
AE | Day In The Life Layered Template Tutorial from Ali Edwards on Vimeo.

After setting these pages up in Photoshop I printed them here in my home office using an Epson R2000 printer on 13x19 photo paper.
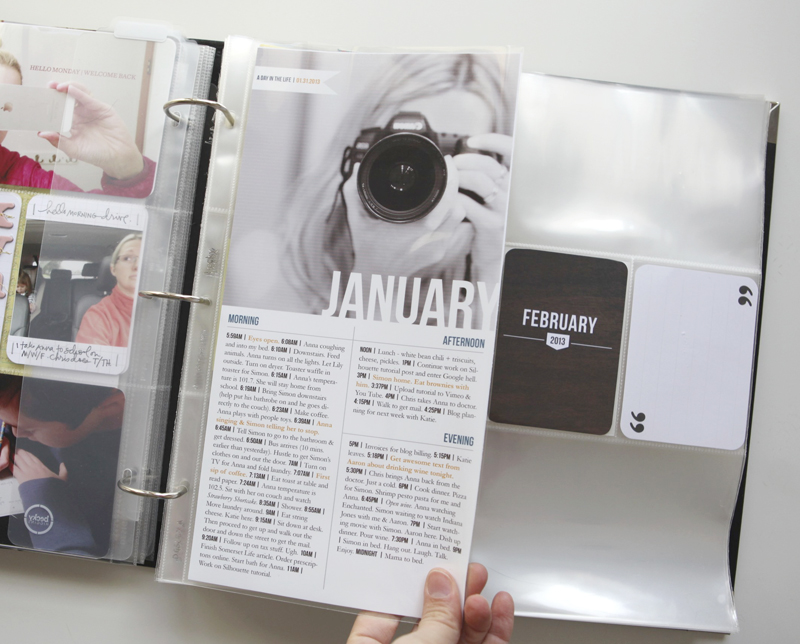
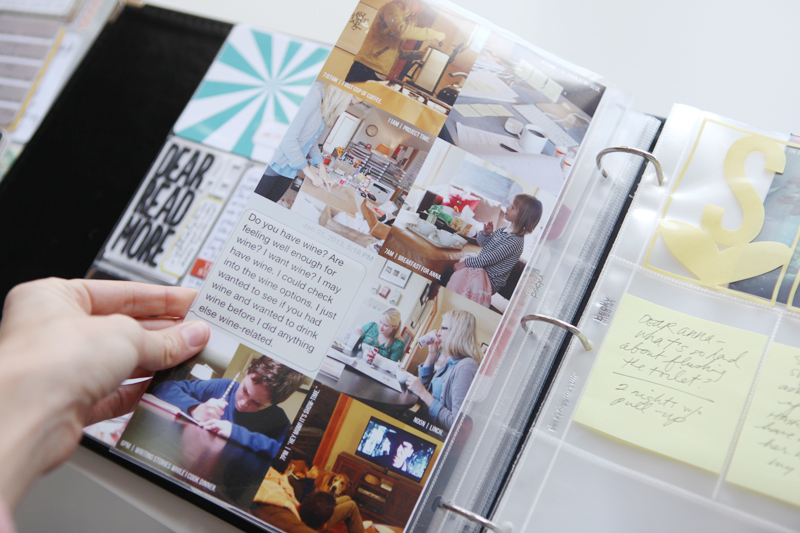
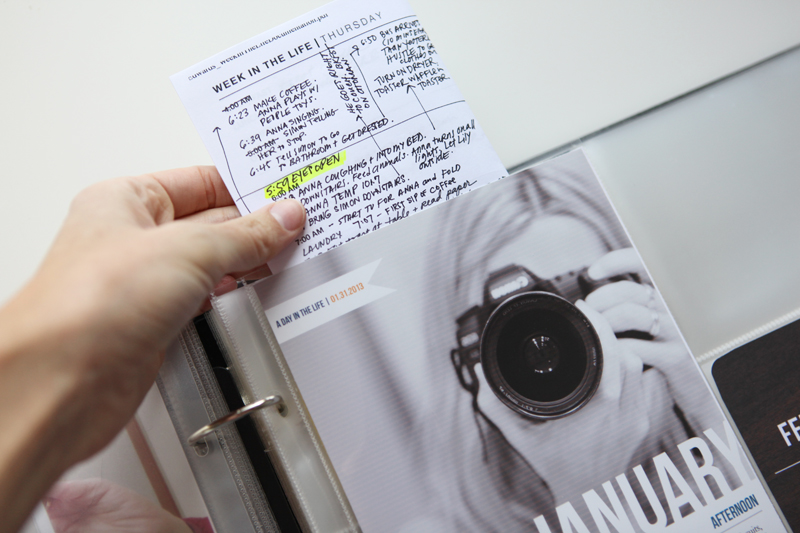
This insert is going into my Project Life album (Week Five - I'll be sharing that soon as it's not quite done yet) using a 6x12 page protector.
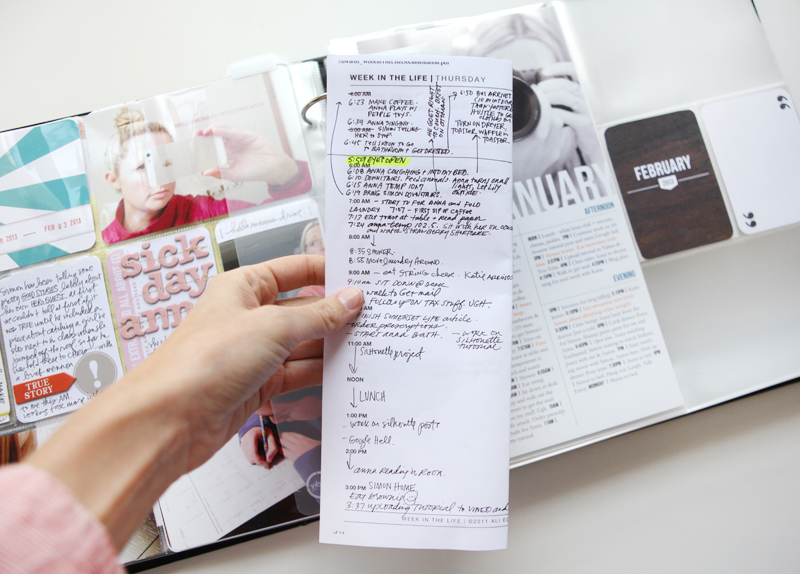
I also took the Daily Sheet I used for writing down the happenings and folded it in half and slipped it in between the printed pages in the 6x12 page protector.
A couple other ideas to consider:
Cut the template in half and use it as two, 6x6 pages. These could also be added to Project Life or could be used in a smaller album.
Bring the 2, 6x12 pages together for a single 12x12 layout. This could be done in Photoshop by adjusting the canvas size or you could print them out and adhere them to a sheet of 12x12 cardstock.
Here's a closer look at each page:


NEXT MONTH | I'll be doing February on the 27th or 28th and will post a reminder a week before.
SUPPLIES | DAY IN THE LIFE 2013 | JANUARY
Click on the images to link to the products.
SHARE A LINK TO YOUR DAY IN THE LIFE 2013 | JANUARY
You’re invited to include a link to your January Day In The Life page here. Please link directly to your post vs. your general blog link.


Comments
Sign in or sign up to comment.
44 comments
The wine text is hilarious, love that you included it!! Your DITL looks great so far, you are always so inspiring!!
Replies
Sign in or sign up to reply.
oh this is a super idea... totally missed out in Jan. no biggie thought. can't wait to begin this month :)
Replies
Sign in or sign up to reply.
Is there a way to see each side of the layout separately, and larger? This is a project I'm really interested in trying, but I'm having a hard time visualizing the result. I've done Week in the Life before, but never something where I'm writing down specifics throughout the whole day, and with specific times attached to it.
Replies
Hi Jennifer - I updated the post to include each of the individual pages. There's definitely no rules with a project like this. I use the free Daily Pages download as my guide.
Sign in or sign up to reply.
I just need to comment and say thank you for the tutorial video....seriously. I work 2 jobs and have the technical knowledge of a gnat....so I truly appreciate your tutorials. Thank you so much for taking the time to put them together!!!!!
Replies
Sign in or sign up to reply.
I ended up with 28 photos I wanted to show my day (very ordinary things) and am stuck on how to do that. Any suggestions?
Thank you for all you do for us....
Replies
You could always do a second insert with additional photos OR make the photo size smaller on the template to accommodate more photos. You could also use a bigger size page protector and just slip in the number of photos you want to use. Lots of options and possibilities.
Sign in or sign up to reply.
Love, Love, Love. Love the DITL project, the 6 x 12 template(s) and this January DITL insert. You gave me the idea to do this once a month also, but I was thinking to do this the 13th of every month, since it is 2013.
Ali, thank you for all the inspiration...you are the best!
Replies
Sign in or sign up to reply.
ali, could you have printed both of them on the same sheet of photo paper by turning it horizontally?
love this idea!
Replies
YES. Not sure why that didn't occur to me - would have made much more sense!
Sign in or sign up to reply.
Hey Ali
Love this. Your templates are so clever and look great in the 6 x 12 page. Now I'm wishing I'd hopped on board and joined the fun. But it's never too late right!
Replies
Never too late!
Sign in or sign up to reply.
Hi Ali,
Great post and so much inspiration! Planning on doing a day in the life with your template soon! Love the black and white picture.
Replies
Sign in or sign up to reply.
Love it! I will definitely make my Day in a Life from time to time this year! I'm totally convinced. Thanks a lot for the inspiration Ali.
Replies
Sign in or sign up to reply.
Hi Ali
Can't wait to watch the video tutorial for the layered template because it is just so so informative and helps us 'newbies' get to know how to work with these fab designs you come up with:-)
Thank you again!!
Have an awesome weekend:-)
Replies
Hi Jo-Anne - it sounds to me like you need to adjust the windows/how you are viewing the different things you have open in the program at the same time. You need to be able to see the layered template to be able to use the move tool to drag and drop your photo over onto it. Try going to "Window" and then "images" and select "float all windows" and see if you can then see both the photo and the layered template.
Hey Ali, any thoughts for me on this one?
i opened photoshop elements and selected the collage template i wanted to use. All the layers were showing on the right hand side of the screen. I then selected the layer i wished to place a photo in and then went to 'open' and selected my photo. The minute i clicked 'ok' all the layers on the right hand side disappeared and the photo was automatically set as the 'background' layer.
ok - so now i am 'stuck'
Just watched the video tutorial.
Ok then................have got the stamps and brushes down to a fine art but think i'm going to need a few extra lessons for working with layered templates and collages:-)
off to practice because i really want to do this project!!
Thanks for that Ali! Will definately give it a try.
Sign in or sign up to reply.
Ali---I documented a day in the life on Tues (for Jan) and only took about 20 photos and thought...well that's not enough so phooey on it...now I realize I do have enough...so this is my weekend project!
Thanks!!!!
Replies
Sign in or sign up to reply.
Ali,
I was awake and restless about an hour and a half early last Thursday morning (super unusual for me) so I decided to get out of bed. I went online to catch up on some of my blogs and that's when I saw your plans for DITL this year and that THAT was the day you'd be documenting your January. I wasted no time in printing my daily sheets and got to documenting! It was such great providence that it worked out because I usually don't go online in the mornings until I get to work; by then I would have already missed several photo opportunities :)
I have always loved following along with your week in the life stuff, but it's just not practical for me to think I can make any albums beyond what I already do with Project Life. I LOVE that these pages can just go right into what I already do with Project Life. It will be really neat to have 12 of these to look at once the year is over.
Thanks, as always.
Replies
Sign in or sign up to reply.
[...] This post also shared on Ali Edwards’ January DITL Link Share. [...]
Replies
Sign in or sign up to reply.
hi ali,
did you get a new printer? i always thought you used the epson 1800. if so, do you love it?
have a great weekend!!
-stacy
Replies
Hi Stacy - I don't think I ever used the Epson 1800 (I could be wrong as I've had a few different models over the years). I used to use a HP Photosmart oversized printer and then switched to the Epson R2000 a few years ago. Great printer.
Sign in or sign up to reply.
[...] Day In The Life 2013 | January (+ Video Tutorial For Working With Layered Templates) [...]
Replies
Sign in or sign up to reply.
Thanks for sharing this Ali. I had originally thought it would be too big a task for me but having a little more detail in the everyday is completely awesome. Kicking myself that I didn't do this when my son was at kindy. (He just started school and life is so different).
Replies
Sign in or sign up to reply.
Hi Ali great idea!! I love love love it. I bought all the templates but just wanted to ask (sorry if you already posted the answer somewhere) but what font did you write on the photos. It's so neat and crisp. I am having trouble with the fonts I use on photos as most of them don't turn out really crisp.
Anyway thanks again.
Replies
That one is Bebas Neue (same as used on the template).
Sign in or sign up to reply.
I love this, Ali! Great idea. If only I felt motivated to actually do PL, but I will save this for my Week in the Life album that I'll do later this year :) Thanks for sharing this!
Replies
Sign in or sign up to reply.
I love this. So much less intimidating than a whole week captured. Putting it on my calendar for 2/27:)
Replies
Sign in or sign up to reply.