Today You | Scrapbook Layout
Tags: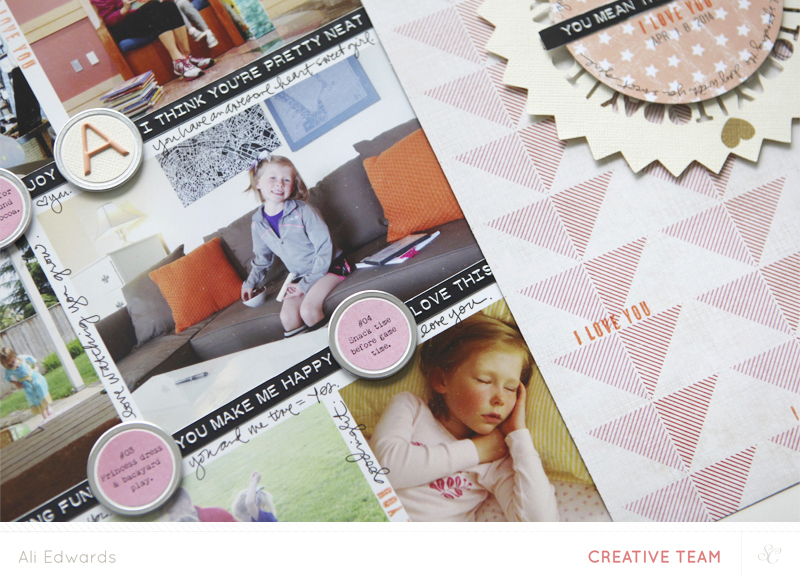
A storytelling theme I used to employ regularly for layouts was "today you" - here's one of Anna from back in 2011.
I thought about that theme a week or so ago when Anna had the day off from school and I decided it was going to be "Anna & Mama" day. After dropping Simon off at school we headed over to Starbucks for a kids hot cocoa and a lemon pound cake and I just started taking photos with the intent of focusing on capturing some of the different things that happened for her over the course of the day.
Basically it was a quicker version of Day In The Life without the pressure of trying to capture every little detail (not that I really worry about that anyway but I bet you know what I mean).
When it came time to document the story I decided to work with the Camelot Scrapbook Kit from Studio Calico. I include products from that kit, from the SC Project Life® kit and from one of the add-on kits, and from my stash of supplies.
I love this kind of layout.
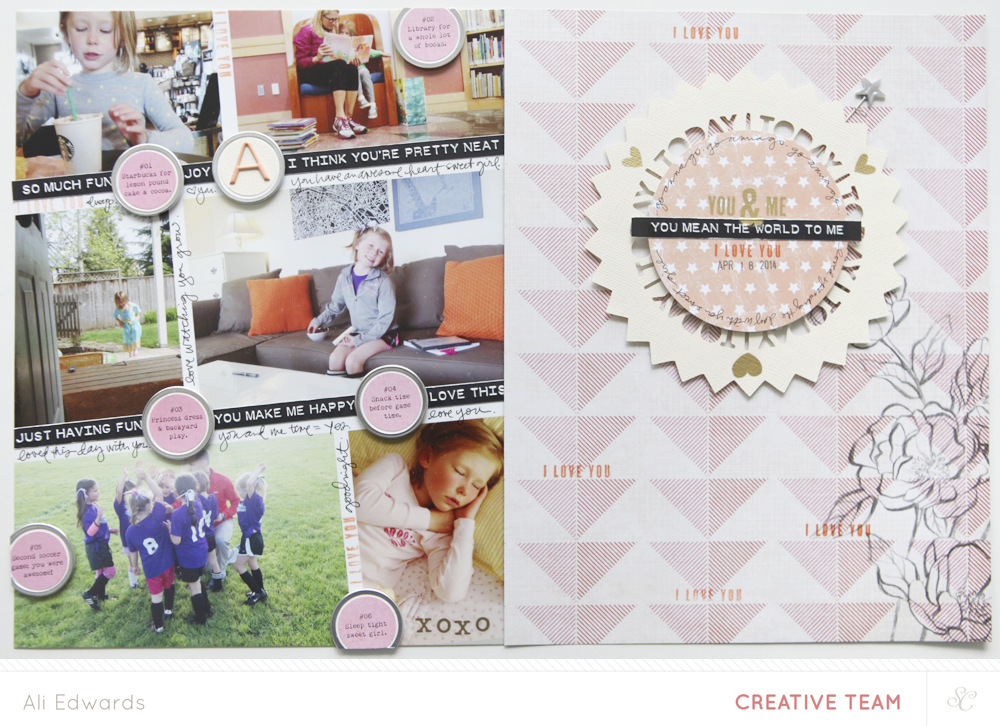
This layout is a 2-page, 8.5x11 layout.
I'm liking doing two page spreads right now that include most of the content on one page and some playful designs on the second page. It's a nice way to get to include a little bit of everything I like.
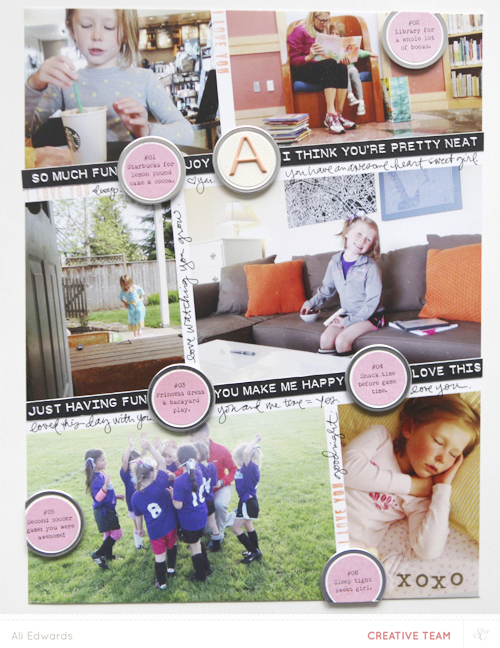
To begin this page I created a digital layered template that features the photos on the diagonal. You can easily achieve this same look by printing out 4x6 photos with white borders and adhering them on a diagonal on an 8.5x11 sheet of cardstock.
I used Avery Metal-Rimmed Circle tags to create little journaling circles that give a short description of each photo.
In Photoshop I created a bunch of 1-inch circles and added my text inside each one. That got printed on pink pattern paper from the Camelot scrapbook kit. I used a 1-inch circle punch to get the nice little circles that fit just right inside those circle tags.
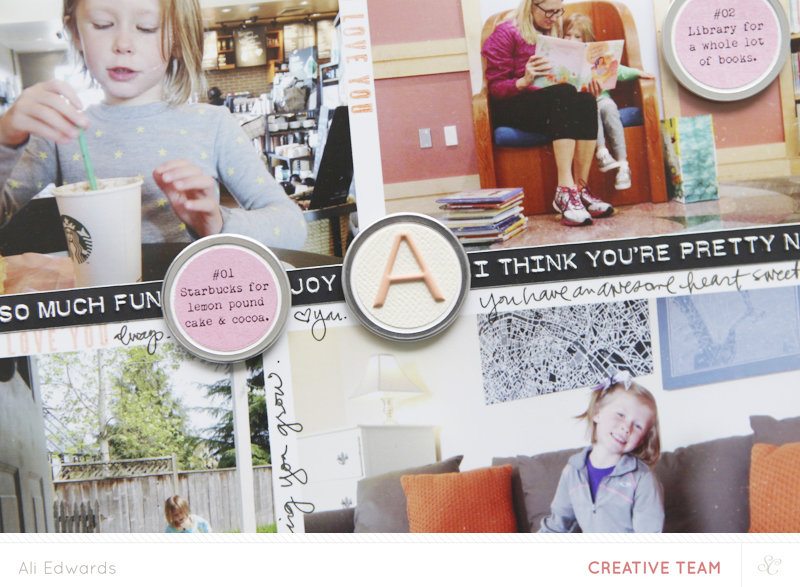
I used foam squares to adhere the circle tags. I love the little bit of lift that comes from those squares.
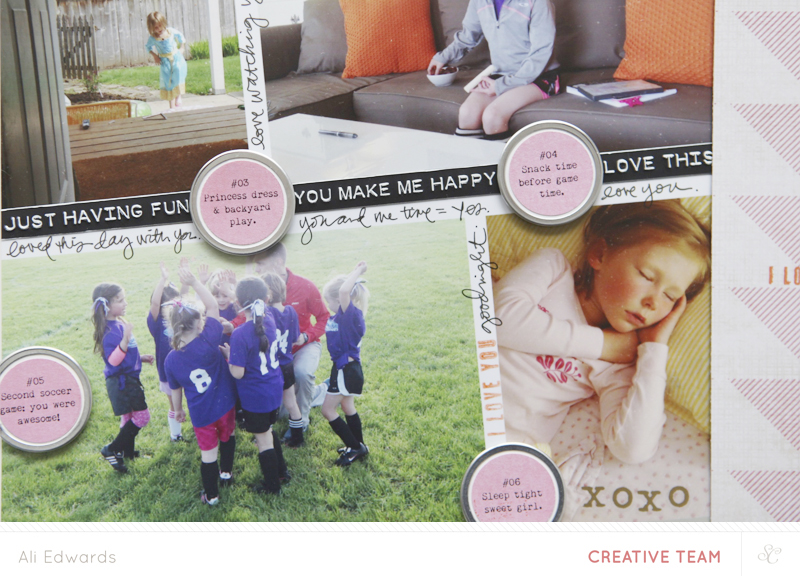
The black phrases are from this awesome set of label-stickers from Cosmo Cricket.
The "I Love You" stamp is included with the Project Life® kit. I used Orange Color Theory ink for stamping it on top of the pattern paper.
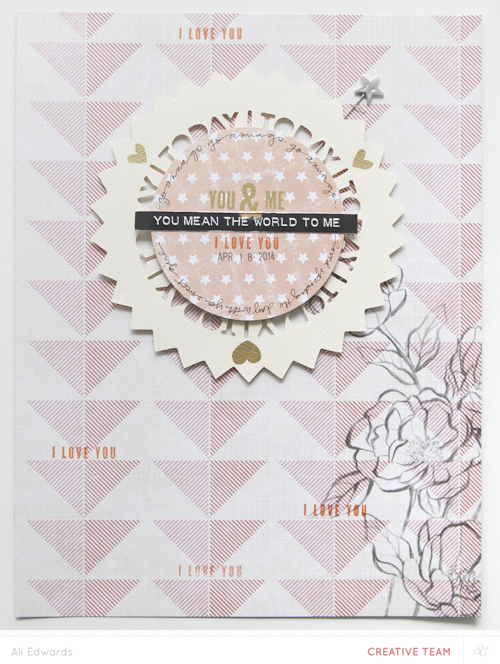
That awesome background pattern paper is from Basic Grey and is included in the main Scrapbook kit.
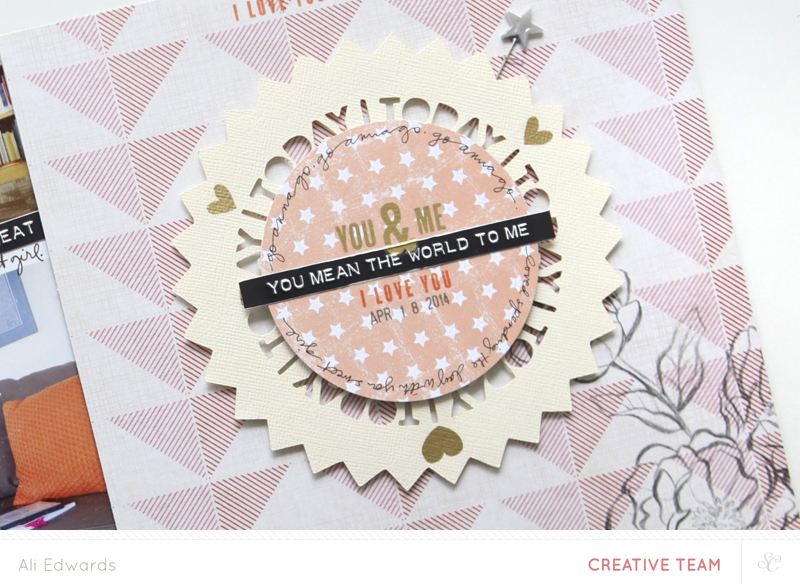
For this title design I used one of the designs from my Daily Starburst set. I opened and traced and cut it with the Silhouette software and then adhered it to my page with foam dots. I've got a video tutorial right here if you're interested in learning how to trace PNG files (super easy) for use with the Silhouette.
On top of the Silhouette added a 3.5 inch punched circle of star pattern paper that comes with the Scrapbook Kit. The gold rub ons (hearts & text) and the metal star are also included. I added the date with a rolling date stamp and did a little writing around the outside of the circle.
ACTION ITEMS/IDEAS
Document the day of someone you love - or yourself. Don't make it complicated - even just the highlights as you move from one thing to the next captures a slice of their life.
Create a 2-page layout that includes photos + words on one page and play with product that supports your story on the second page.
Go slanted. Try tilting your photos and embellishments and working on a diagonal to change things up.
SUPPLIES
Click on the images to jump to the products.


Comments
Sign in or sign up to comment.
16 comments
I love the idea of the circles and the journaling! This is so awesome. Looks like it was a great day. Michelle t
Replies
Sign in or sign up to reply.
This layout turned out awesome! I'm a huge fan of 2 page spreads, and the diagonals and circles go really well together. Also, that photo of Anna asleep is the cutest!
Replies
Sign in or sign up to reply.
Lovely LO! I like your idea of all the photos on one page. Great 2 pager- keep 'em comin', please!
Replies
Sign in or sign up to reply.
totally plan to copy this layout.
Replies
Sign in or sign up to reply.
love everything about this layout. Thanks Ali!
Replies
Sign in or sign up to reply.
Love this. Really think I need a silhouette
Replies
Sign in or sign up to reply.
Love this and I don't even have a girl! Those are a great group of photo's- glad they came together in a layout.
Replies
Sign in or sign up to reply.
Love this Ali! I'm wondering about the photo of you and Anna at the library...did you set up a tripod or have someone take the photo? A lot of my photos don't include me because I don't want to ask someone else to take the picture and feel a bit awkward setting up a tripod. If you used a tripod, did you feel funny at first and how did you get over it?
Replies
No tripod. I just set my phone on a shelf across from us and set the timer. I use an app called Gorilla Cam that includes a self-timer.
Sign in or sign up to reply.
Wow Ali, I love this layout!!! I will be doing one for my daughter. Have you used the new Fuji instax printer? If you have do you recommend it?
Replies
I haven't had a chance to try it yet but I plan too!
Sign in or sign up to reply.
Beautiful layout, Ali! I'm definitely going to try putting my photos on the diagonal.
Replies
Sign in or sign up to reply.
Just so you know you are really selling me on so many products right now!! Those tags - I'm finally giving in, although they aren't available here - lucky my hubby is in US & Canada right now!
Love the mix of the one side content other side fun too.
Replies
Sign in or sign up to reply.
Ali & Katie
Good Morning. I purchased your starbursts and cut them out on the silhouette but mine did not come out in one piece like yours - how do I fix it so the words and outline are all one? Hope this makes sense?
Replies
Hi Laura (next time please email us as we don't always check back through the comments on all the older posts :)) - after tracing the object, select the whole thing and go to Object/Release Compound Path. This will make it so you can delete any extra elements that might remain from the trace (like the inside of the circle). After you do that select all the parts again and go to Object/Make Compound Path to group it all back together again. Let us know if you have more questions!
Sign in or sign up to reply.
[…] this layout from a couple weeks ago? You can check out the full post […]
Replies
Sign in or sign up to reply.