December Daily® 2023 | Story 21 + 22

Welcome back to December Daily® 2023 and my 21st and 22nd stories!
I hope you had a lovely Christmas and I'm excited to dive back in to my storytelling as I wrap up my album this week.
I'm combining story 21 and 22 together as a home for an overnight adventure I took with some of our kids up to Seattle to see Macklemore in concert. I'd been looking forward to this event for months and had the best time with all the teenagers.
Here's the process video:
Here's what I did on my Table Of Contents:


This is a good example of how sometimes I'm looking at the numbers as dates and sometimes I'm thinking about them as stories. Don't get caught up in that (numbers vs. dates) - just tell the stories you want to tell!
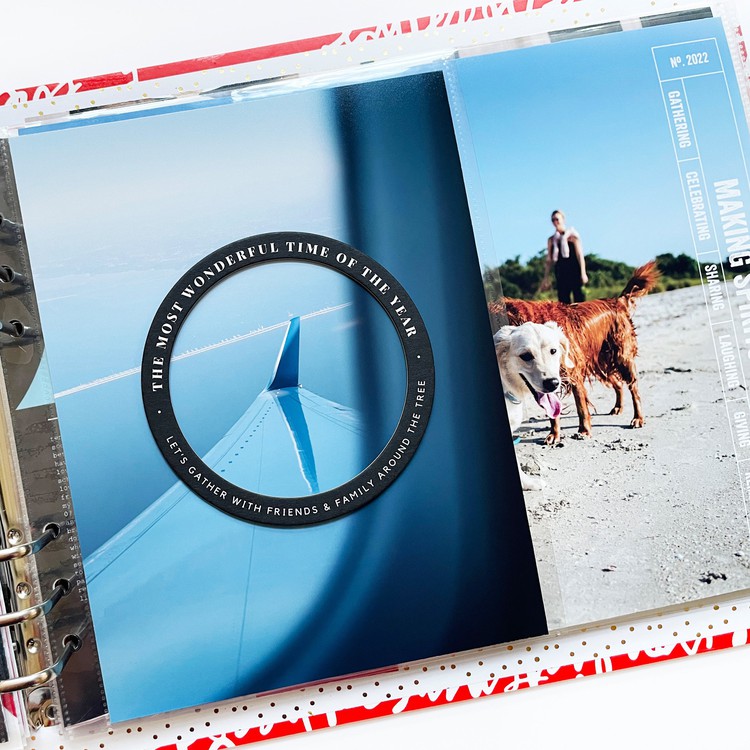
For this entry in my album I started with a photo from Seattle Center:

On top of the photo (measures about 8 inches x 8.25 inches and is adhered to a photo from Story 20) I added black chipboard numbers, a plastic ampersand embellishment from my stash, and chipboard phrase from the Main Kit.

I used the Bold Foil Quill Freestyle Pen to add the gold foil dots onto the chipboard numbers before adhering them to the photo.

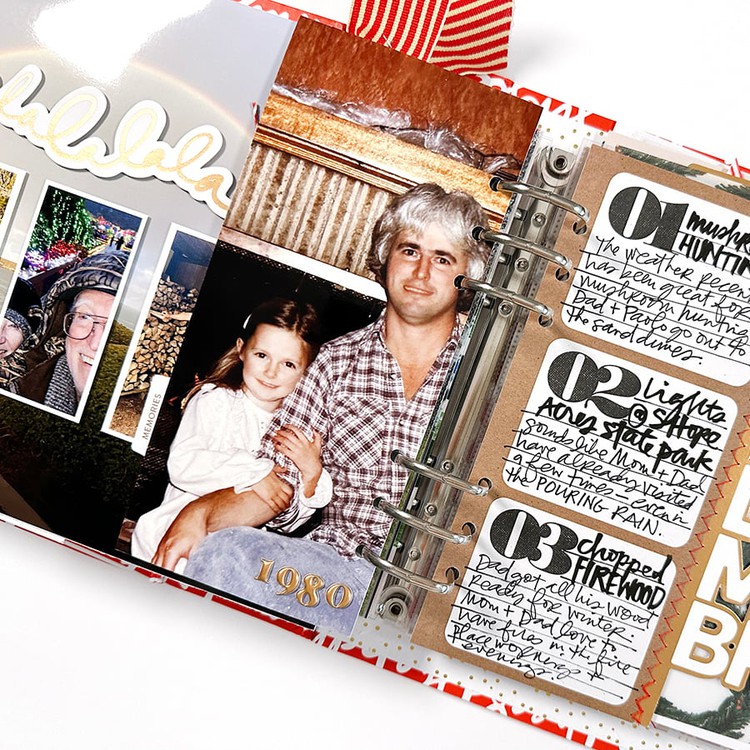
The next page in the spread is part of a large, flip-open that will reveal a big collage of photos along with two 3 inch x 4 inch page protectors. This photo measures 10 inches x 8.25 inches. On top of the photo I added the die cut word "awesome" from a previous Story Kit.

I used a 1 inch circle punch to punch a partial circle along the inside edge to designate a spot for your finger when you fold open the page.

When you open up the photo enlargement you find a big collage of photos and the two page protectors.
I saved the photo collage layered template I created for this page for you to download. I did it twice for the number of photos I wanted to include. The full width of what I created here after you put it all together is 20 inches wide.
Download the layered template here.
Here's what it looks like on my desk:

I created a hinge to bring these pages together using a full sheet of basic printer paper (see the details in the video).

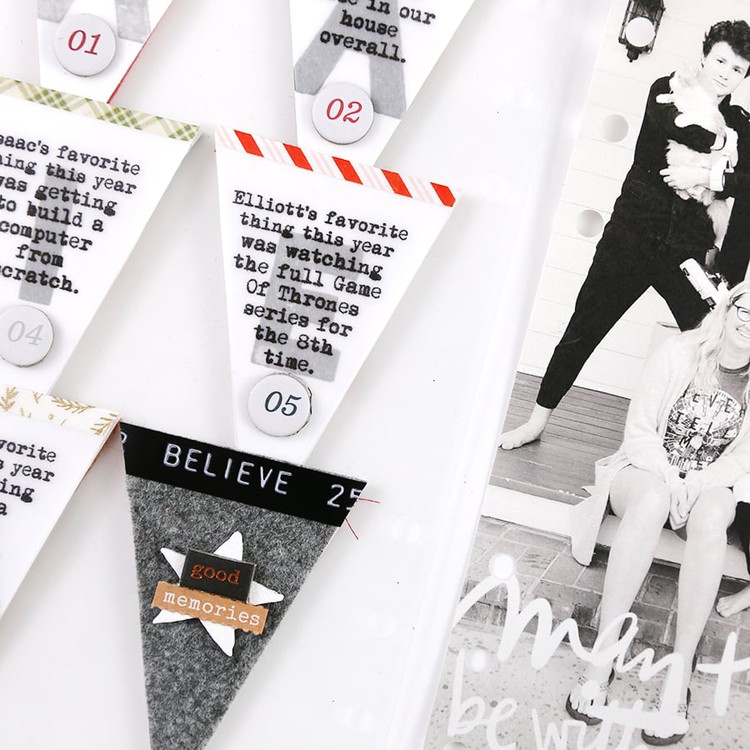
I liked pairing the big collage of photos with the 3 inch x 4 inch page protectors. I was able to add a few more photos and have space for all the -ing journaling cards from the Main Kit.

Handwritten journaling is so fun especially when mixing in that bright red POSCA paint pen.


Those 3 inch x 4 inch pockets are great for things like hotel room keys, screenshots of funny text messages, and embellishments. I used a couple of the die cut labels to add a few more details from this adventure.
Here's a look at the full photo collage spread. I love that a collage like this can incorporate photos from throughout our adventure.

SUPPLIES
- December Daily® 10x8 Album
- December Daily® Tab Stickers
- December Daily® Main Kit (digital available)
- December Daily® Specialty Journal Card Pack (digital available)
- December Daily® Die Cut Labels (digital available)
- Freestyle Foil Quill Pen Bold
- December Daily® Canvas Circles
- Red POSCA Paint Pen
- Brush Pen
- Slick Writer
- Bakers Twine


Love it! So much fun! I got a crop-a-dile for Christmas and I can’t get the eyelets to set right. The back doesn’t spread out correctly. Any tips?
Play around with turning the pieces that come together to scrunch the eyelet - on mine there is a block that has different shapes that you can turn.
Thank you!
Sign in or sign up to comment.
I love that you used your Ticketmaster email for a photo. I need to do that for our family's early Christmas gift from my mom back in October (SIX! The Musical...which is amazing) and our family trip to see The Nutcracker. Looks like y'all had an amazing time!
Sign in or sign up to comment.