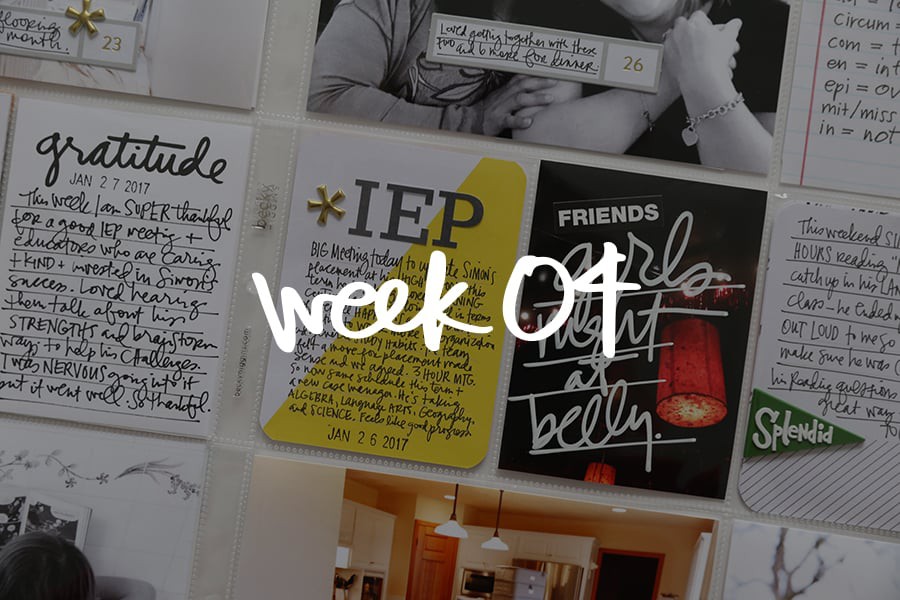
Project Life® 2017 | Week Thirteen

Thanks for following along this week as I shared my last five weekly spreads in Project Life®.
I recently shared details and photos from our Spring Break adventures and today I'm showing you how I took those stories and photos and added them to my Project LIfe® album.
Here's a look at Week 13:

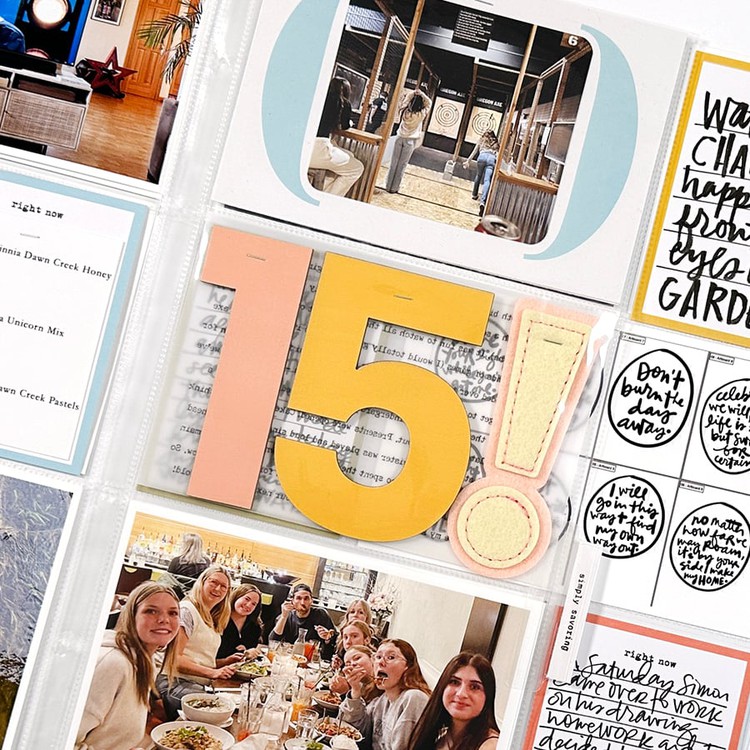
To tell the story of this week I created custom journaling cards using a "spring break" word art digital stamp from the March Digital Kit (still available). After printing out those cards onto Neenah Bright White Paper I used the new Days Of The Week Large Initial Stamp Set to add the day of the week to each card. Ink colors used include Columbia, Olympia, Tillamook, and Deschutes.
If you are interested in learning more about using digital products in/on your paper projects make sure to check out my Hybrid workshop which covers all the basics.

On each card I added space to identify the "kid in charge" and "activities." This made it super easy and direct when I went to add my words.
Here's a closer look at each side of the spread:

Title pattern card is from the Bond Story Kit™. Yellow pattern paper added to the Gratitude card is from the March Digital Kit.

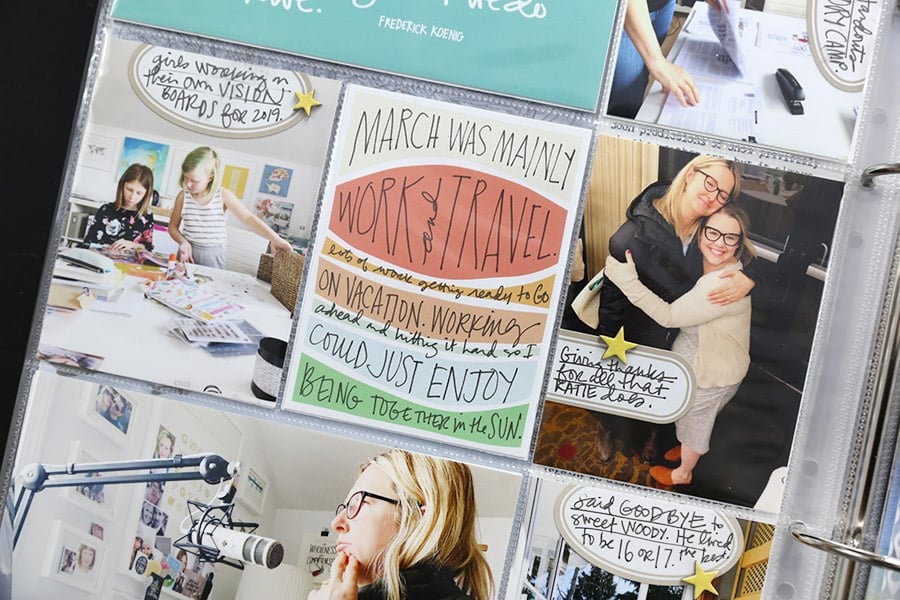
As you might have seen in my original post about our adventures I decided to keep all my photos black and white. I loved all the big group shots I was able to get during the week - getting most of the kids in the frame. I also decided to not add any embellishments to my photos this time - nice and simple.

For my Gratitude card for this week I used the We R Memory Keepers Typewriter. There are definitely mixed reviews out there about this typewriter but I'm really enjoying using it. I would say with any typewriter that you can't expect perfection (part of the charm) - the main thing to ask yourself is whether you can pick up a vintage one and get the same results. Katie has had great luck finding vintage typewriters at our local Goodwill and then finds ribbons to match online.

For Spring Break we had all the kids here from Monday through Friday and then they headed off to their other houses for the weekend. To "show" that in my album I printed color photos for Saturday and Sunday and also changed up the style of journal cards for the weekend.

I printed these digital cards from the March Digital Kit on Neenah Bright White paper using my Canon MG7720 printer. This is a great, relatively inexpensive printer for printing digital products.

Hope you are having a great week!
SUPPLIES USED REGULARLY IN PROJECT LIFE® 2017
- Project Life Design A Page Protectors
- Project 52 Fresh Core Kit (anything with rounded corners)
- Past Story Kits™
- Rolling Date Stamp
- 12x12 Project Life® / Heidi Swapp / Black & White Album
- Week By Week Word Art
- Gratitude 3x4 Notepad
LOOKING FOR MORE PROJECT LIFE® STORYTELLING INSPIRATION?

Check out my Storytelling With Project Life® workshop that is now available as a self-paced workshop. Topics include:
- Lesson One | A look back at many of my past Project Life® albums (2010-2015) with individual video walk-throughs. The take-away from this lesson is the opportunity to learn from the past and reflect on what's worked and what's not worked to create a plan for right now.
- Lesson Two | Process exploration. Setting expectations, creating a plan for yourself (key word here being "YOU") and setting yourself up for success by establishing a storytelling mindset. This content will be specific to telling stories in Project Life®.
- Lesson Three | Specific storytelling ideas, encouragement, and inspiration to spark stories.
- Lesson Four | Working with products in Project Life®.
Shop This Post


Love this and the idea of having a day for each kid to be in charge! Need to remember that for when my little one is old enough!
Sign in or sign up to comment.
Love your pages, always ;)
Can I ask you how do you put this little lines to know where to cut on the paper that you printed???
thank you Ali
I had the same question. Is that something one can do in PSE?
I use Illustrator to add the Crop Marks. This thread might help if you are using Elements: https://forums.adobe.com/thread/1175917
Sign in or sign up to comment.
LOVE IT!!! Everything about this layout!! So glad I have the physical, stamp AND digital kits! Sooo, I'm wondering how you added the OTHER lines -- the vertical in between "SPRING BREAK" and the stamped initials for the weekdays. Also, the horizontal line above and below "kid in charge". I looked at the physical/digital stamps and don't see those lines. Again, something you can do in PS (not Elements). Thanks!
You can totally draw lines in Elements - I did these in Illustrator - but they line tool in Elements can be used to create both vertical and horizontal lines to separate out the word art.
Sign in or sign up to comment.
Just bought that kit. I was hemming and hawing, and when I saw it in action, that sealed the deal. Thanks for demonstrating it's versatility. LOVE this spread.
Thank you!
Sign in or sign up to comment.
Have thoroughly enjoyed all of your project life posts this week! They always inspire me to get my projects done and to find new ways to utilize all of the amazing products in my stash. Thanks so much for sharing them - looked forward to a new one each day!
Thank you!
Sign in or sign up to comment.
Still catching up after my trip to Cuba, I love seeing your PL spreads. Always helps to see others whom inspire me getting weeks done! I love the journaling cards for each staycation pick! Thanks for sharing Ali!
Sign in or sign up to comment.