Week In The Life™ 2020 | Getting Started Bringing It All Together + Monday In My Album
Tags: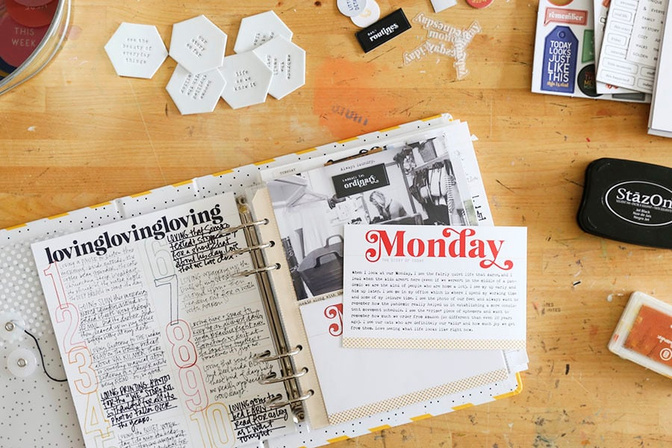
After taking a little breather away from my Week In The Life 2020 project I'm back at it again!
In today's post I'm sharing a look at Monday in my album along with a video that talks about what I do when I begin this process of working in my album. I hope you find it helpful as you start, continue, and finish up your project.
A couple things to remember as we get started:
This project for me has always been more about words + photos than creative play.
There isn't a right or a wrong way to get all your memories into your album. What works for me might not work for you and that's just fine.
This is the first time I've done this project when the kids weren't here the majority of the week. I'm really glad it ended up working out that way - it's a look at part of our life that happens every other week.
I don't always know where I'm going when I start this part of the process and I'm okay with that. You'll see me work through that in the video below.
Check out this video which details how I got started with Monday:
Here's a look - via still images - at how I'm getting started in my album and my completed Monday:
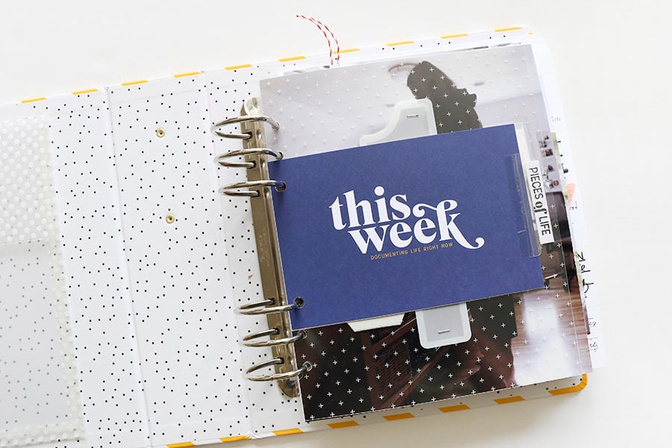
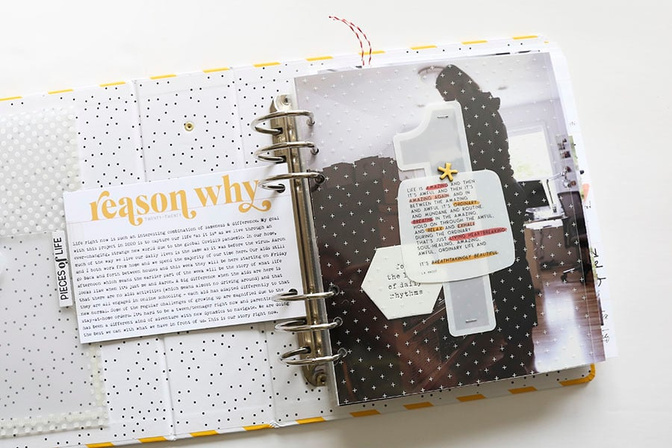
I started my album with the title card from the kit and a reason why card on the back.
During the Week In The Life Prep Day online event I included a Reason Why download. You can still gain access to that full day of content here.
Each of my days of the week also begins with a transparency divider (included with the album) + plastic number + some additional embellishment. For Monday I included one of the plastic phrases from this set.
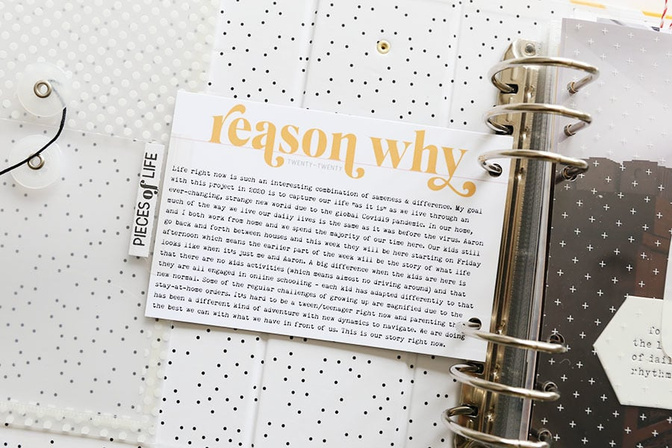
I love using a "reason why" as an opportunity to set the stage for my storytelling this year. Yes it's always going to be about documenting life right now, but it's also an opportunity to introduce your reader to what's happening globally.
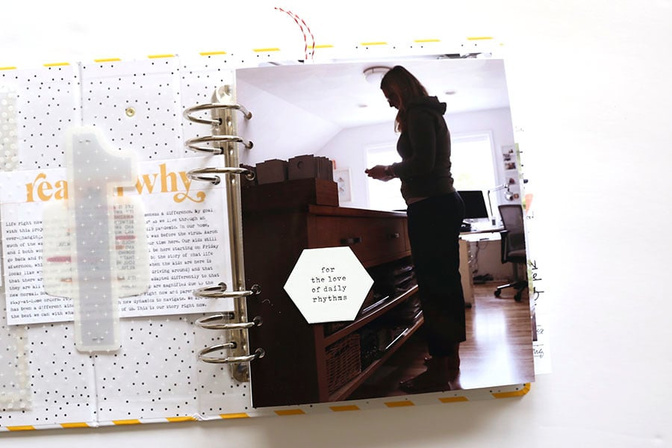
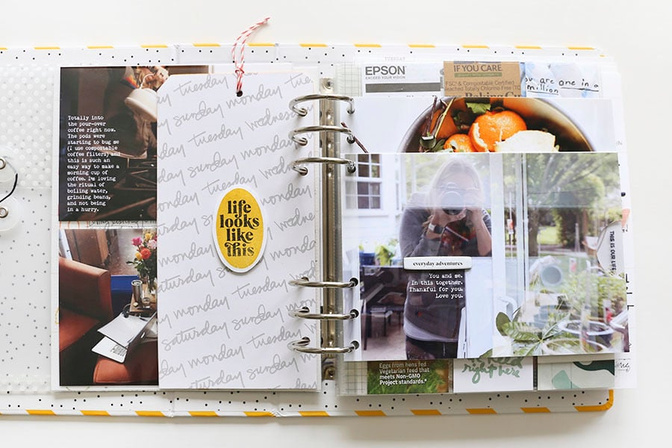
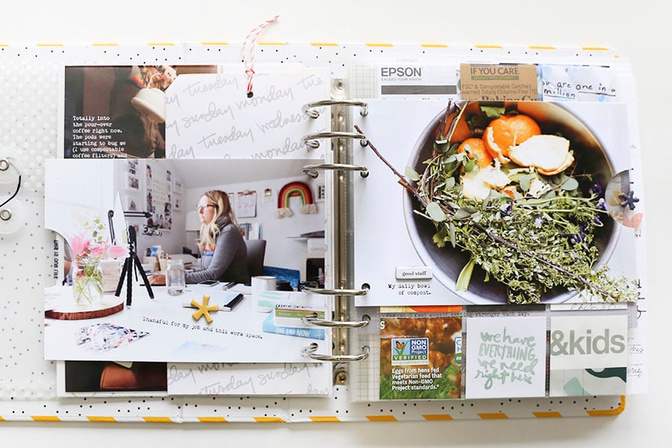
For Monday I printed one full page photo (same size as the page protector - 7 inches wide x 8.25 inches tall) and added one of the pleather hexagons on top. I'll do the same thing for each day of the week.
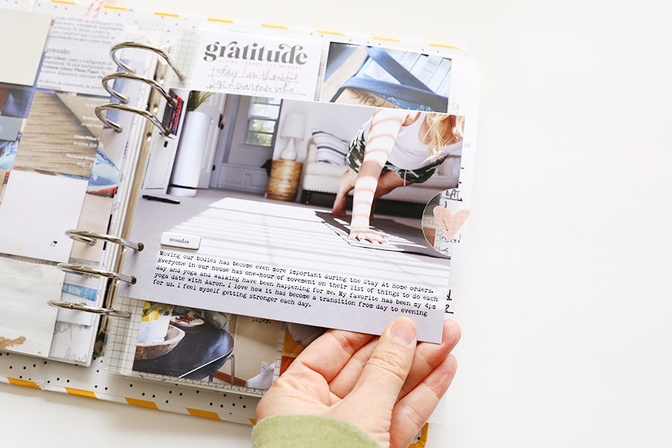
Adhered to the back of my full page photo is my "loving" journaling.
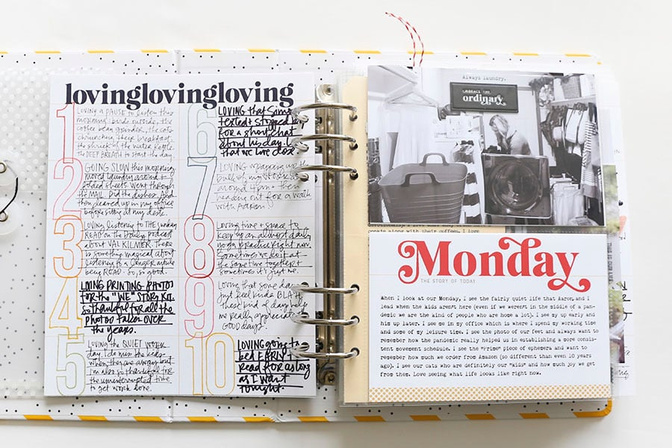
This year I decided to use a specific "story lens" for each day of the week. Monday was "loving" and I recoded these thoughts on the actual day itself. I loved writing things down as I went about my day and loved having it all done when it came time to work on my album.
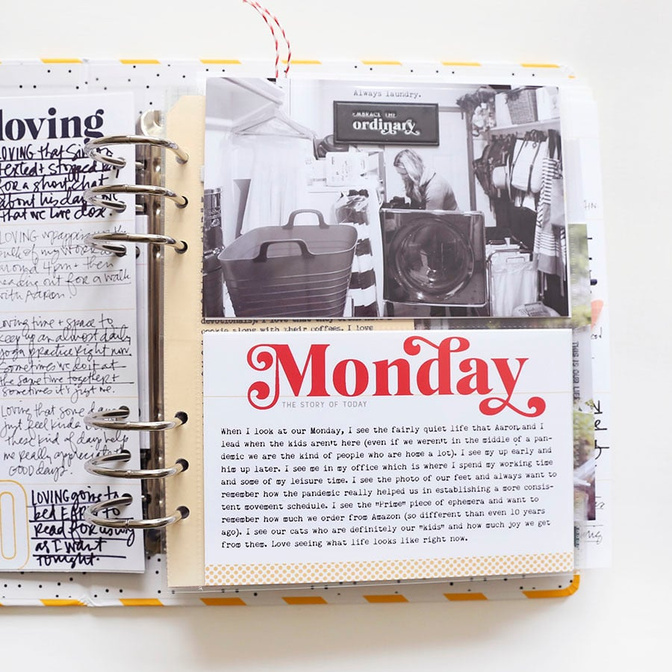
I decided to use these day of the week cards from the AE Mini Kit to record what I want to remember when I look at my photos from the day. I like having a combination of "in-the-moment journaling" alongside a paragraph that's a little more reflective (this obviously helps if you leave a bit of distance between your documenting week and putting your project all together). I used the digital journal cards to add my text onto the card before printing.
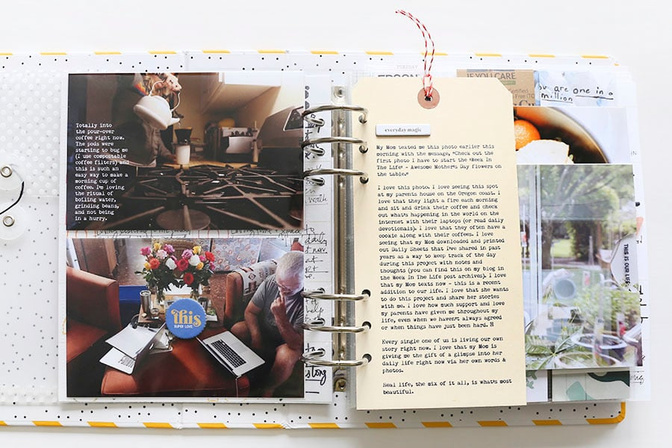
On Monday my Mom sent me a photo (she was doing the project too) that I ended up sharing on Instagram. I took what I wrote in that post and copied and pasted it onto a 4 inch x 8 inch tag. I ran this tag through my printer while it was temporarily adhered to a 8.5 x 11 inch piece of paper.
I usually do a test first to make sure it's all lined up and then I run it through with the tag adhered to the background paper to get the text onto the tag. You can do the same thing with journal cards.
After printing I punch holes using a 6-hole punch and then tackled the back.
On the back of the tag I used one of the pattern papers from The Good Old Days Pattern Papers and cut it to fit. I created my own embellishment using the Label Stamp + the Memories Of Right Now stamp sets along with Honeyman (yellow) + Staz On inks.
I also added red/white twine through the top hole of the tag.
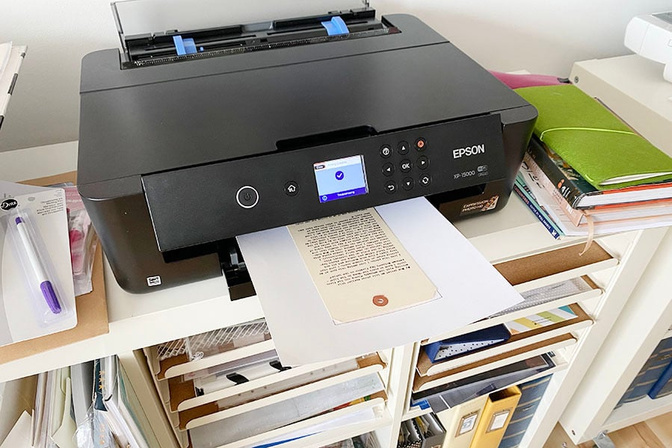
For Monday I printed six additional photos. Rather than go with the standard 4x6 photo size I decided to go bigger and used my Epson PictureMate PM400 to print 5x7 photos.
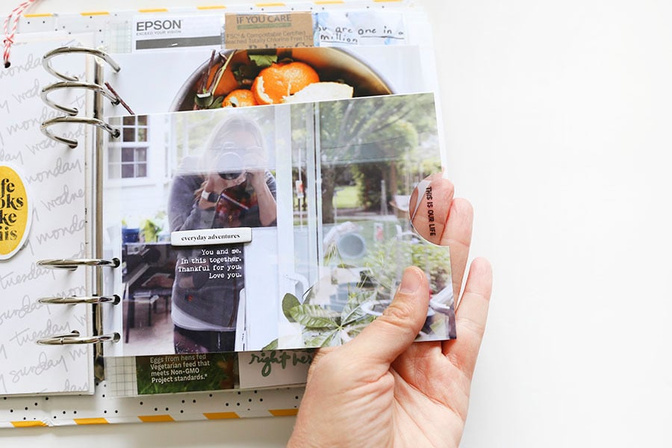
I adhered these photos that live outside the page protectors back to back. I used a 1.5 inch circle punch to punch out a half circle (after adhering) and then added a small piece of Grafix Plastic Sheet in between the two photos. On this first photo I stamped "this is our life" onto the plastic using black StazOn ink. This is a fun way to add just a little something different to these back to back photos. You could also add Avery Index Tabs along the top.
Another set of photos adhered back to back and given the same 1/2 circle punch treatment. On top of the plastic sheet piece here I added a chipboard asterisk to the front and the back.
You can also see how I've added chipboard pieces to my photos - generally right above any printed text on the photo.
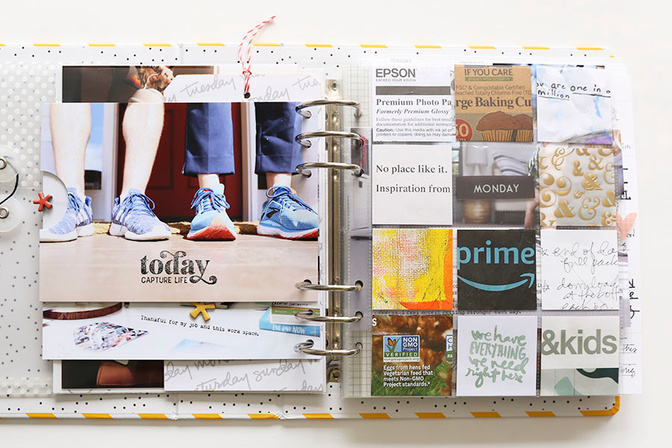
I left off journaling on some of my printed photos to leave some space for embellishments. On top of this photo I stamped using the "today capture life" stamp.
The next page for Monday is a 2x2 page protector. I am using one of these for each day and I totally loved being on the look out for random pieces of paper, packaging, etc. to punch/cut up and add to these pockets. Random bits of life. I used this 2 inch x 2 inch Passport punch for easy punching.
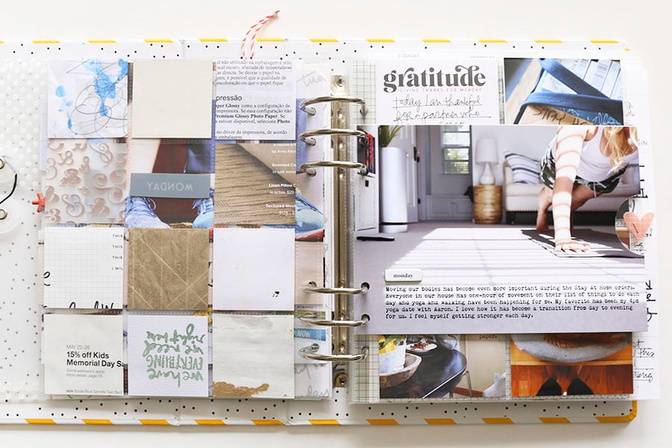
I decided to leave the back of the 2x2 pockets empty. Many of the things I punched have some random bit of something on the back.
For the 1/2 circle punch out on this set of 5x7 photos I added one of the small plastic hearts from the kit.
Love mixing up what I'm adding to these punched spaces.
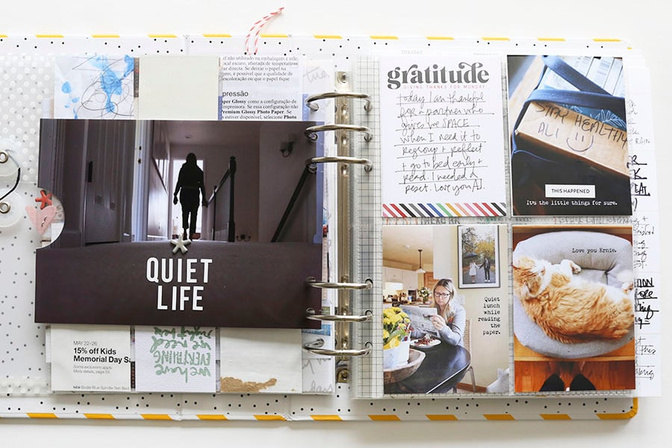
On my last 5x7 photo for Monday I used letter stickers from the Week In The Life Sticker Book.
You can also see where I handwrote my daily gratitude on the 3x4 card (I did this for each day during the actual week).
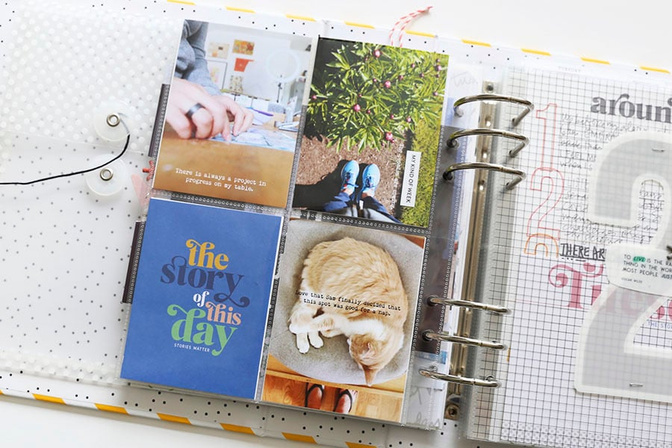
Monday ends with my 4-pocket, 3x4 page protector. Each of these photos includes a line of text. On top of some I also added a word/phrase sticker.
Thanks for joining me as I get started on this process. I'll be working day by day and sharing my progress with you here on my blog.
SUPPLIES
Epson PictureMate PM400 Printer (for 5x7 and smaller)
If you'd like to learn more about my approach to this project check out the 2020 Week In The Life Prep Day online event. It covers a lot of the basics and is a great introduction/refresher to various parts of the project.


Comments
Sign in or sign up to comment.
5 comments
Love this: you are always so inspiring with new ideas. I like the punched circles and the plastic inserts idea. As you said that you and Aaron had not completed the interview sheets, and you might not, it struck me that a reader (one of your children perhaps) might be really interested in what you thought on the same topics as them at this time. I encourage you to strike while the iron is hot for those two missing pieces of your week. Thanks again for all the effort you put into these projects.
Replies to chiswickmum
Sign in or sign up to reply.
Hi! This is my fourth time doing this project since 2010 and I LOVE the way it provides a detailed time capsule of our lives. I look back at my WITL albums and can FEEL what our lives were like at that time. Thanks for your dedication to helping people tell their stories! It matters.
I noticed you are still using aperature. I thought at one point you were going to switch to lightroom, so curious if there is there a reason you stayed with aperature?
Replies to mtnmama125
Because I'm waiting until the literal last minute. Ha. It never feels like the "right" time and I did try to begin to move my library over and ran into a variety of issues that I haven't had time to dive into deeper.
Sign in or sign up to reply.
Ali, you mention adhering things in several places, like the patterned paper to the tag...what product do you use to do this (adhere), and can you add in a link? Thank you.
Replies to AnnaMariePea
Hi! I use Scotch Dot N Roller for that.
Sign in or sign up to reply.