Day In The Life™ 2021 | Bringing It All Together
Tags: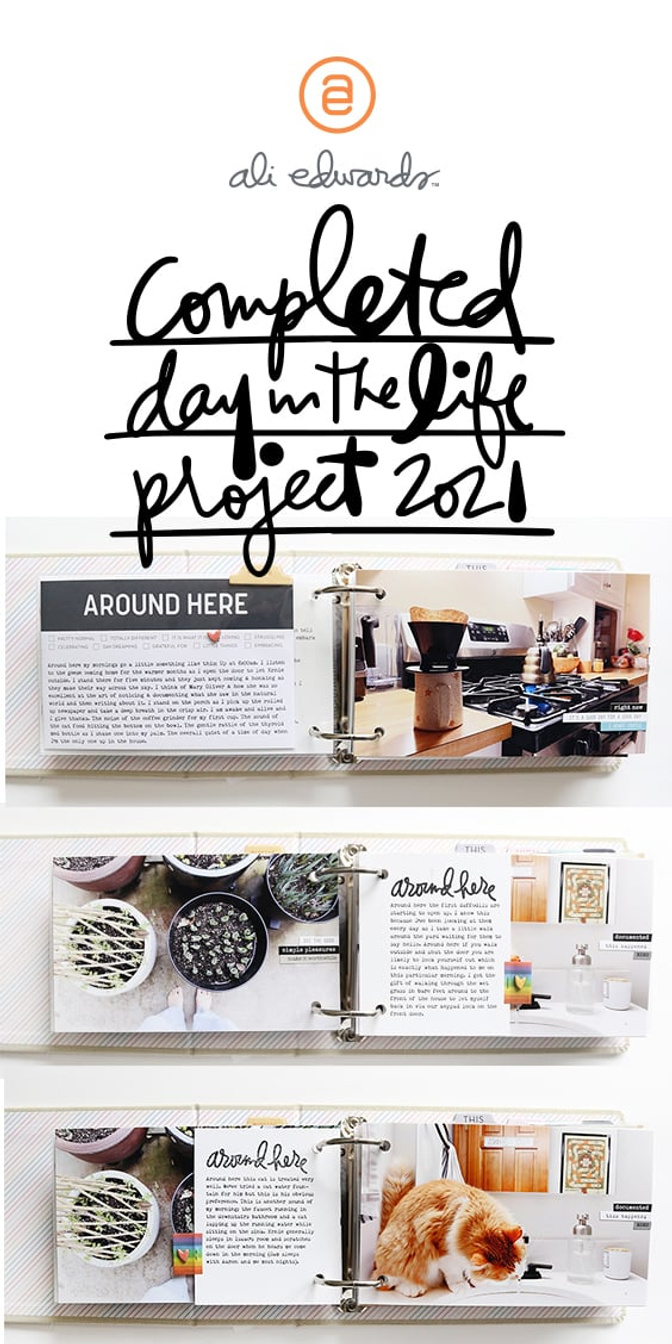
In this week’s Craft The Story video (Episode 11) I’m sharing my process for bringing together my words + my photos into my 2021 Day In The Life™ album.
It's been really fun to see how people have been telling the story of their day. I love seeing the variety of different approaches - there's room for all kinds of different ways to document your story.
When I started looking at how I wanted to bring my content into this album I decided that I wanted to include more than nine photos (nine was the original number based on the "around here" cards from the kit). As you'll see below I ended up adding in even more journaling - words + photos for the win. I knew I wanted to keep this project fairly simple in terms of the overall design so I came up with a little formula for myself to follow to make space for the words and photos I wanted to include this time.
Let's dive right in to the process video (supplies + links listed at the bottom of this post):
Here's a look at my album via images. I'll be adding to this album later in the year after the second documenting day that will happen some time in the fall.
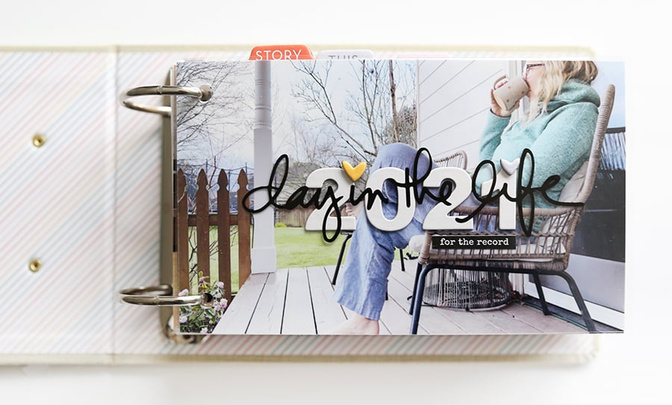
I started my album with the "day in the life" transparency (this was included with the album) and added two of the tiny chipboard hearts to dot the "i's" in the title.
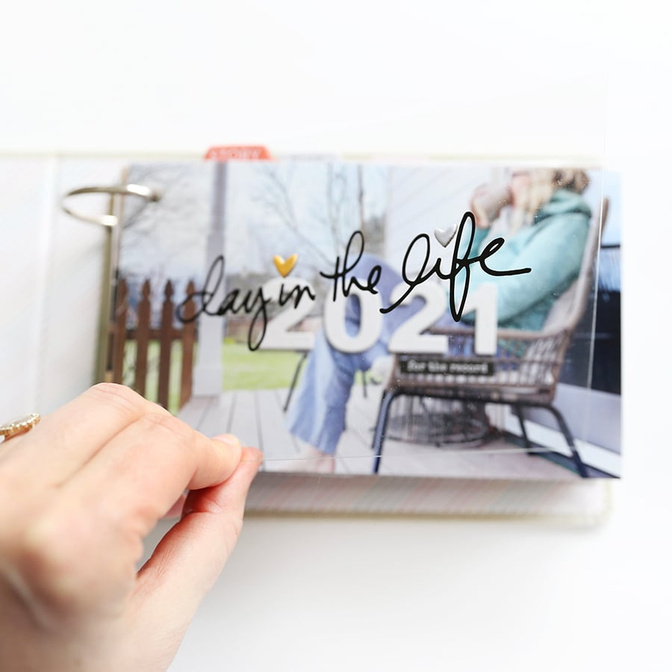
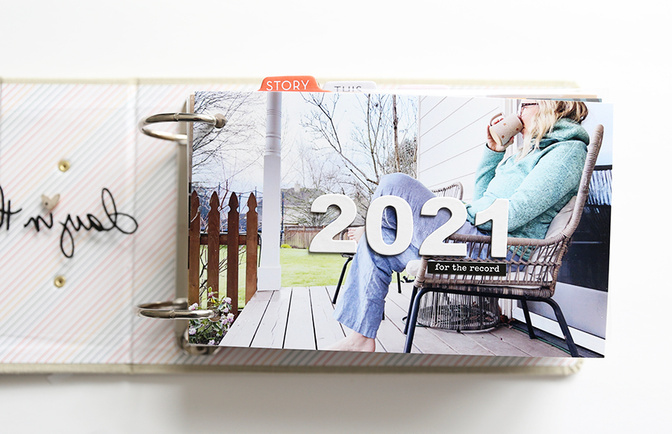
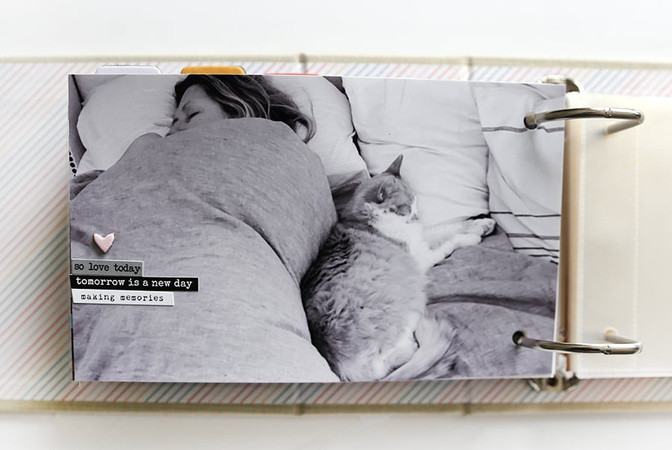
I printed my photos to be 7 inches wide x 4.25 inches tall and on top of this one I added Storytelling Basics White chipboard numbers and a word/phrase sticker.
I used this We R Memory Keepers hole punch for my holes this time.
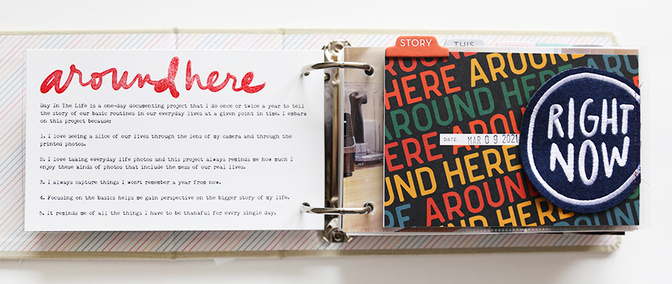
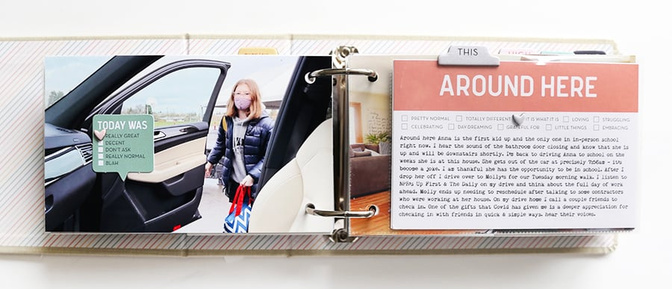
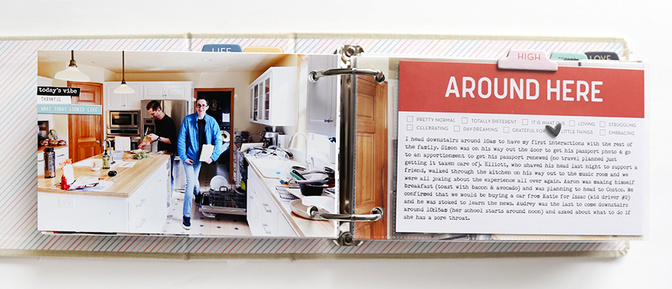
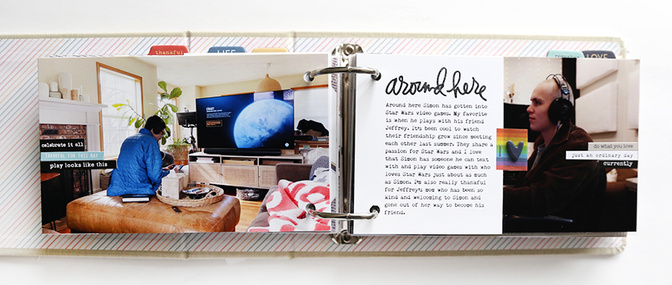
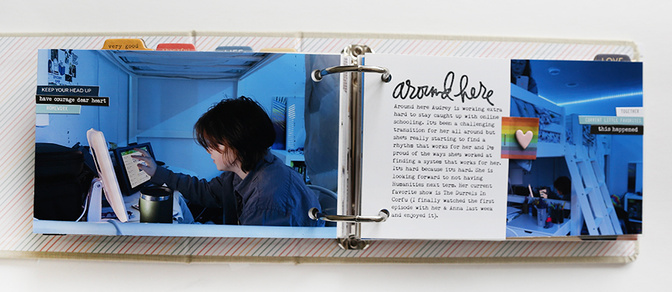
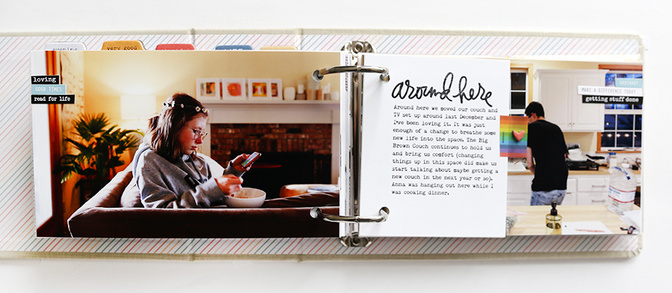
For this project I decided to add a reason why page that is adhered to the back of my first photo. I added a large "around here" stamp (coming soon with the Week In The Life™ release).
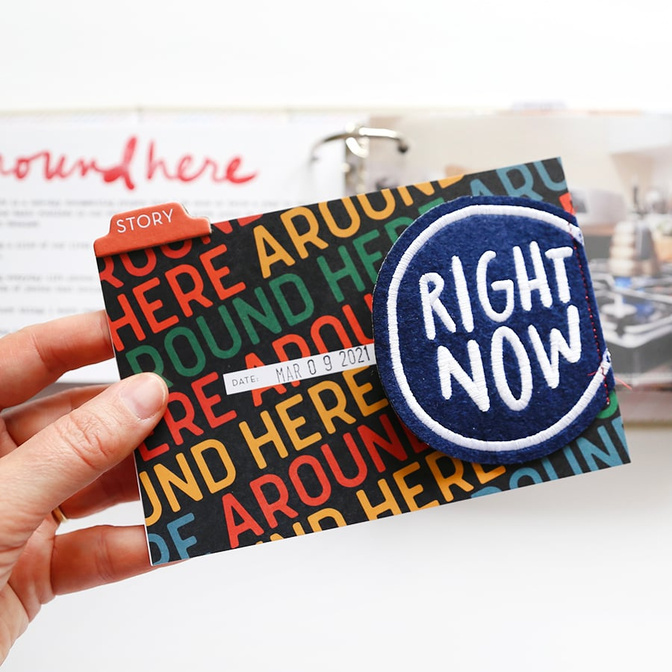
I added the date and one of the large fabric circles (stitched) on top of my title card. I'm planning to use the rest of those large circles on a traditional layout in the coming months.
At the top of this card you can also see where I added the chipboard tabs. I added ten of the chipboard tabs to my five page protectors holding the "around here" journal cards. I added a chipboard to the front and to the back of the cards (see this process in the video).
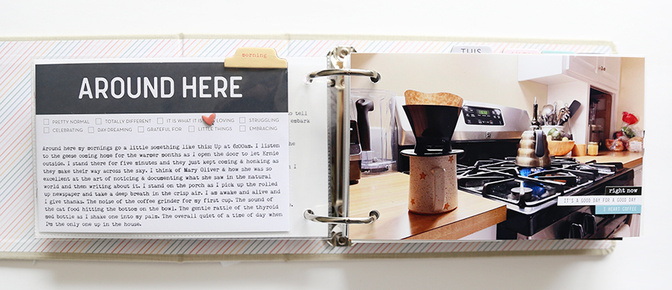
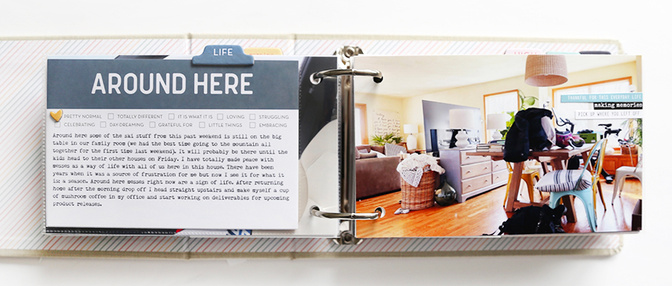
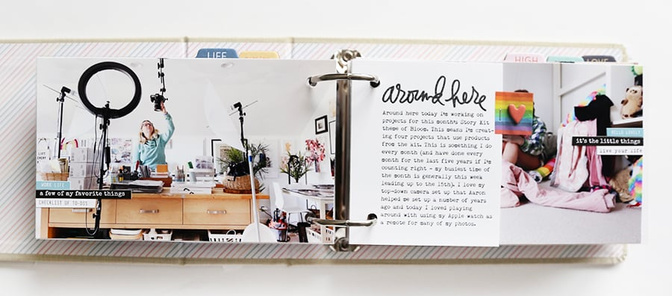
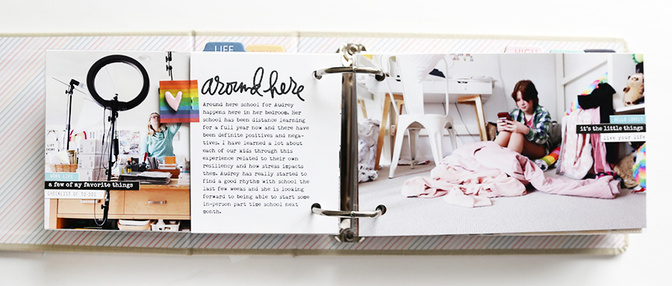
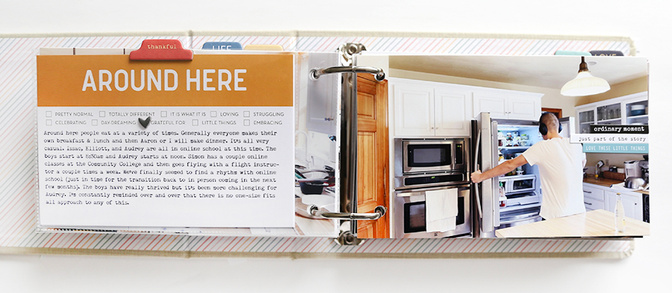
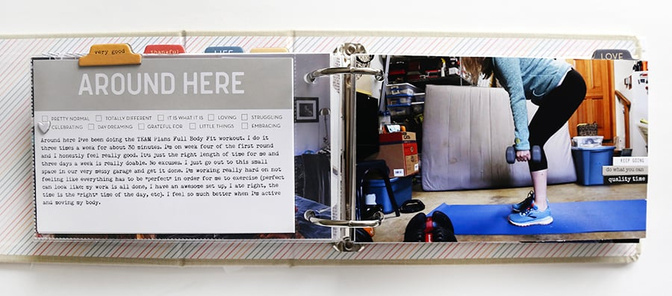
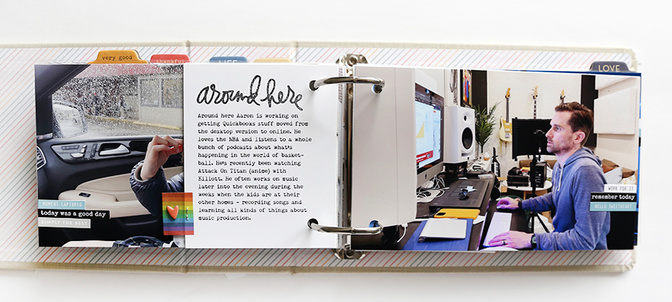
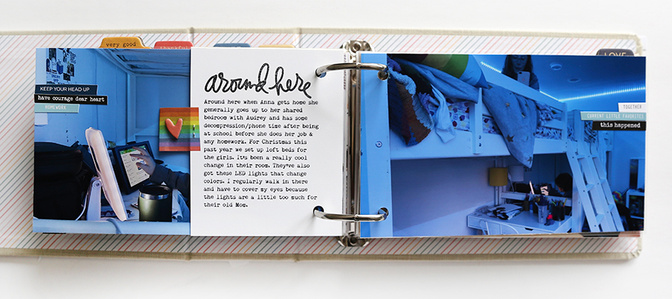
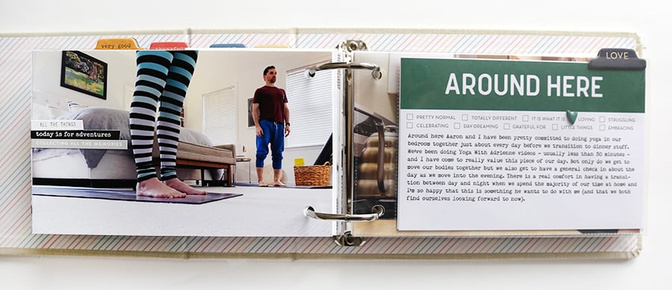
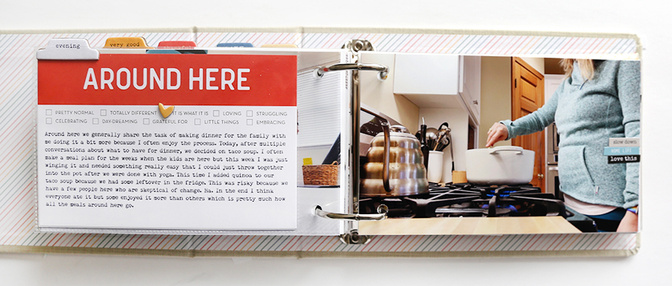
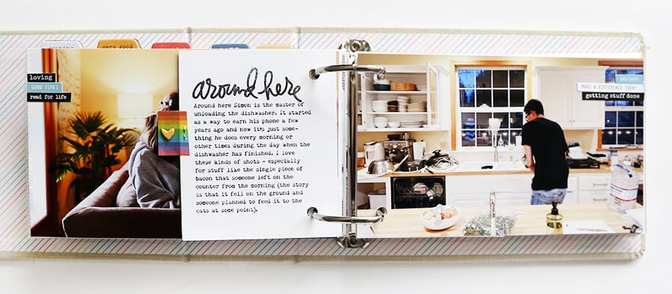
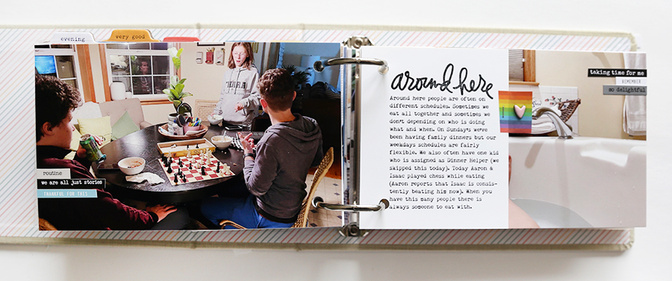
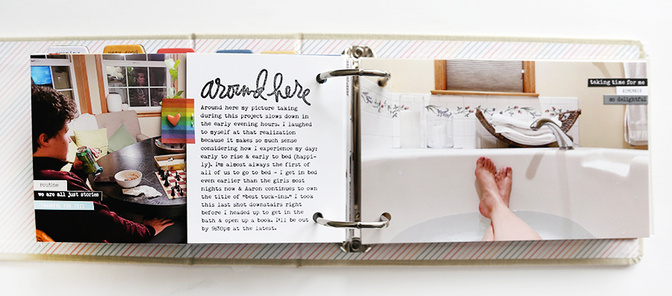
From there my album follows a straight-forward design formula. I added journaling directly to the "around here" cards by running them through my printer. On top of those cards I used the mini chipboard hearts to check the box below the title. On each of my photos I added three word/phrase stickers from my stash.

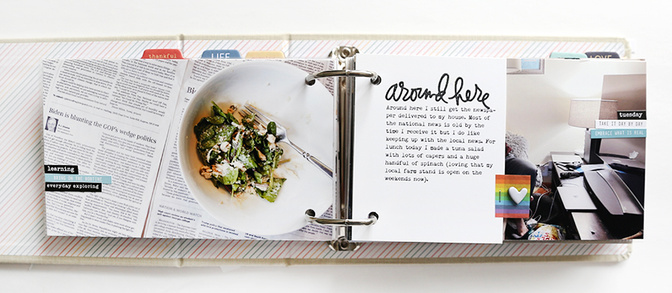
In between all my photos I added more words. I was so happy to write up a little something to go along with each one of my photos this time. I set these up in Illustrator (with borders for easier cutting) and left space along the edge for hole punching (you'll see me make a mistake related to this in the video + then fix it) and adhered my journaling back to back.
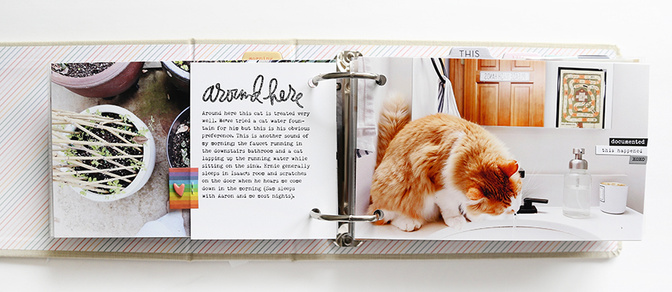
Along the outside edge of each of these smaller journaling cards I added a folded over piece of rainbow stripe washi tape. I stapled it in place and then added a chipboard heart to the front and the back.
And repeat.
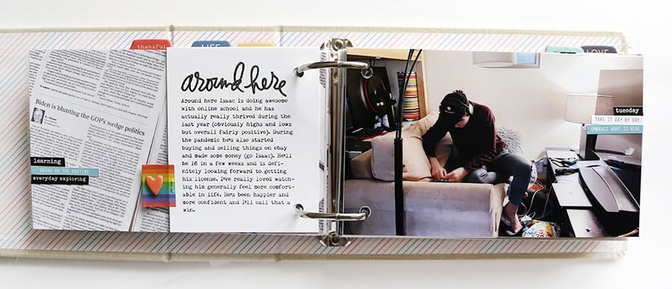
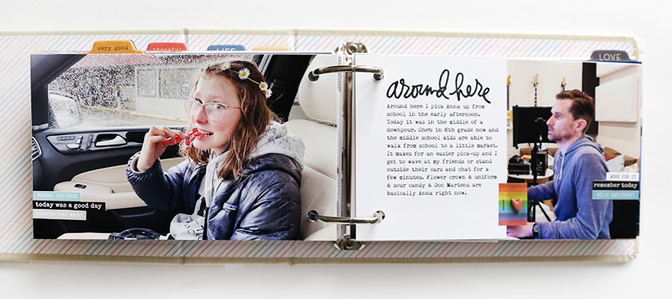
I did add one of the speech bubbles on top of this photo of Anna and then decided to leave the rest for the second documenting day later in the year.


SUPPLIES
Day In The Life™ 2021 Kit + Album (digital options here)
Large "Around Here" Stamp (coming with Week In The Life™ release)
Prompts Story Stamp (includes small "Around Here" stamp) | Digital version available here.
Assorted past word/phrase stickers
Rainbow Stripe Washi Tape


Comments
Sign in or sign up to comment.
10 comments
Love the simplicity, Ali!
Replies to StudioM
Sign in or sign up to reply.
Ali, I’m really enjoying these videos, thank you for taking the time to do these! Your album turned out fantastic- it was great to watch it all come together!
Replies to audmac
Sign in or sign up to reply.
Love as always :) The rainbow washi looks like it might be pretty close to the ones on scrapbook. com. I just did a search and some came up ;)
Replies to laceyweeks
Sign in or sign up to reply.
Your album is so inspiring! What a treasure for your family to have all the details of their life.
I would love to see how you set up text boxes in PS Elements so that the journaling fits correctly on the journal cards and how to add crop marks for printing.
Have a wonderful weekend :)
Replies to sharylgolson
Sign in or sign up to reply.
A question as I put mine together - will we be able to buy more of the 4x6 page protectors for this album when the second 2021 Day in the Life comes around, or should I ration them?! :)
Replies to SarahGiles
I'm asking the team about this (but I would ration just in case personally).
Thank you!
Sign in or sign up to reply.
I have used Epson's paper (and not much else) for years because I love the thickness of it and how smooth it is--but I have not been happy with my stamping! I always thought it was the ink or the stamps... I should have realized that it could have been the paper all along! What do you normally use for paper?
Replies to nicoleseitler
Generally I've been using Neehah Bright White.
Sign in or sign up to reply.
На портале представлено множество обзоров онлайн-казино и игровых автоматов, что помогает лучше понять особенности каждой платформы. Пользователи найдут детальные рекомендации по стратегиям ставок и полезные советы для новичков. Особенно интересно то, что на https://soldo.com.ua размещены прямые ссылки на проверенные площадки и подробно описаны правила игр. Сайт наполнен доступной и полезной информацией, которая будет полезна как новичкам, так и опытным игрокам.
Replies to Alex1234
Sign in or sign up to reply.