December Daily® 2022 | Story 21 + Story 22

I hope you had a lovely holiday! We had a simple family-centered time and I'm so thankful for a little break for all of us.
I'm back today with stories 21 and 22 in my 2022 December Daily® project.
I'm sharing these two together because they came together at the same time as I was planning out Story 21.
Also, in case you missed it, we are currently running an end of year sale with all kinds of past kits and kit components brought back + on sale! Check out all the options here. Subscribers save an extra 10% off sale prices with code VIP10. Terms: Offer valid on orders from the End of Year Sale 2022 category for subscribers only. Code valid thru 01/03/2023 at 11:59pm EST. Must enter code at checkout to receive offer. Refunds will not be issued for forgotten or misused promo codes. Code not valid on previous purchases. Offer is subject to change. Not valid on gift cards.
Let's dive in:
Here are some still images:

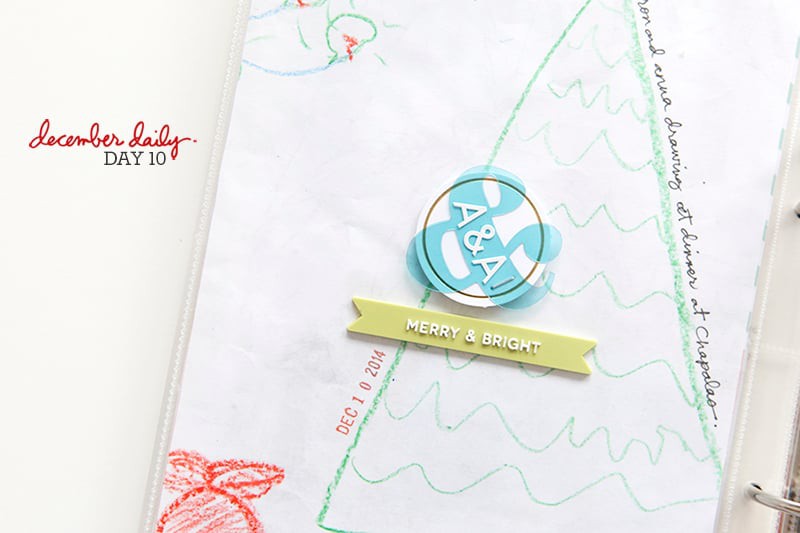
I took this photo earlier in the month and have been waiting to add it in to my project. While I love seeing trees lit up and twinkling I also really like seeing them in the daylight.
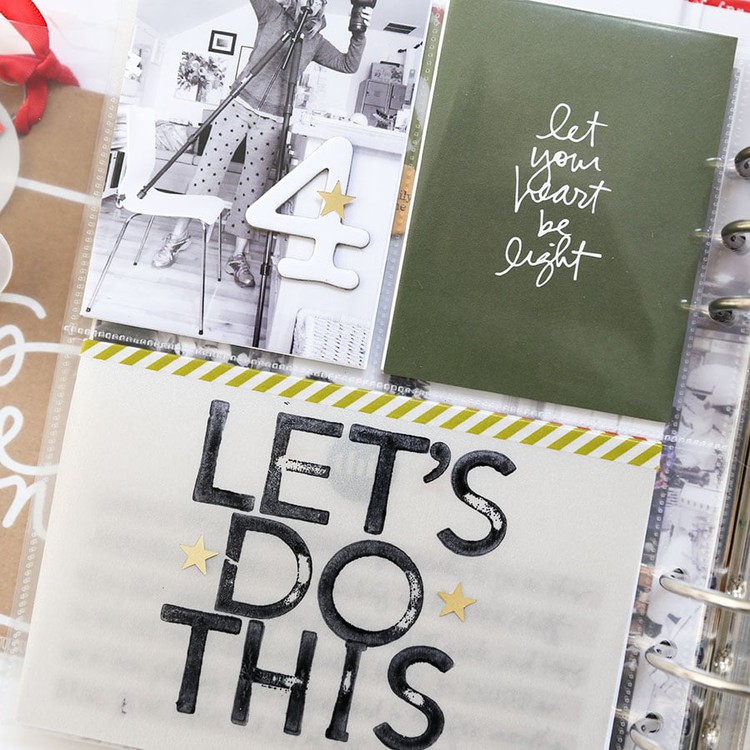
I decided to pair this full page photo with a 3x8 transparency + the tree die cut.

Along the outside edge I added some washi tape from my stash to cover up the fact that this photo was a bit smaller than the previous page.
I love having journaling that talks about basic details of the season like this - I will totally enjoy reading this back again to myself next year.

To go along with my full page photo I used one of the 3x8 transparencies as a home for story 21 and for story 22 on the back. I sized my text boxes to 2.25 inches x 6.5 inches tall which left some room to peek through the transparency to the next page.
At the top of my journaling I added a canvas strip with a red stitch on top.

I cut off the holes from the tree die cut and then ran it through my sewing machine to attach the tree to the transparency. Along the outside edge I added a tab sticker and then adhered the chipboard 21 using rolling adhesive.
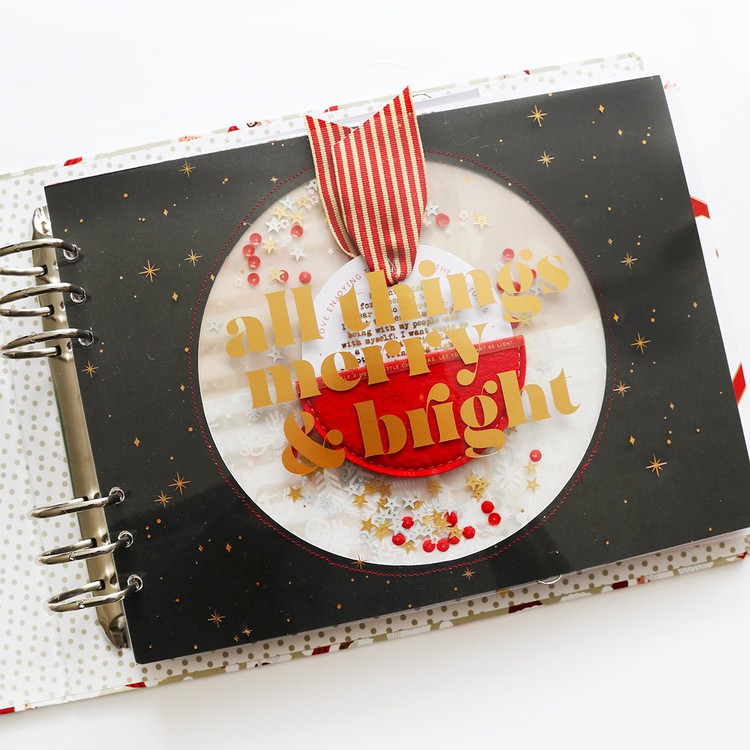
STORY 22

Before stitching the tree to the transparency I added the photo to the back and trimmed it out to the same shape. The photo I printed was 3 inches wide x 8.25 inches tall.
Along with the journaling I added the "22" using numbers from the Main Kit and hole punched our Christmas card to add it to the album.

I also added another one of those plastic glitter stars from my stash.
SUPPLIES
- December Daily® Main Kit (digital available)
- December Daily® 10x8 Santa Album
- Epson XP15000 Printer
- We R Memory Keepers Hole Punch
- 3x8 Journal Card + Transparencies
- December Daily® Die Cut Page Inserts
- December Daily® Canvas Phrases
- Tiny Attacher
- Red Line Tape


Very cool!
Sign in or sign up to comment.
I love your pages even more this year!
Sign in or sign up to comment.
Love how you put a photo at the back of the tree die cut!
Sign in or sign up to comment.