Week In The Life™ 2021 | Special Guest Linda Jordan

Hi! I’m Linda and today I’m going to share with you a look at my completed Week in the Life 2021 album and a little about my process. This is my seventh year documenting a week in my life and every year I learn a little more about how to make this project work for me.
During the documenting week I focused on taking my photos and typing out my words using the Day One app so that when I was ready to put my album together my words were already all typed out. My first step in putting my album together was to select & edit my photos. I did all of this on my iPad using the Color Story app. After my photos were edited I worked on getting everything in my album.


I used a design formula to help my album come together so each day followed the same basic pattern. This made it easy to put the album together in an “assembly line” so, instead of working on one day at a time, I did one element at a time, e.g. the first photo of each day. This simplified the process because I was able to repeat the same steps seven times and allowed me to work on elements out of order so I could do what was inspiring me at the moment.
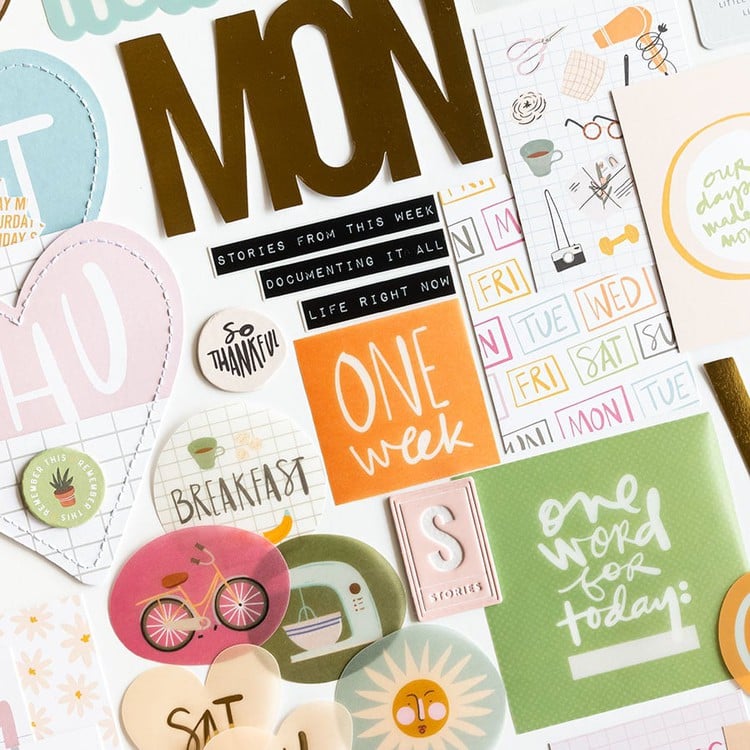
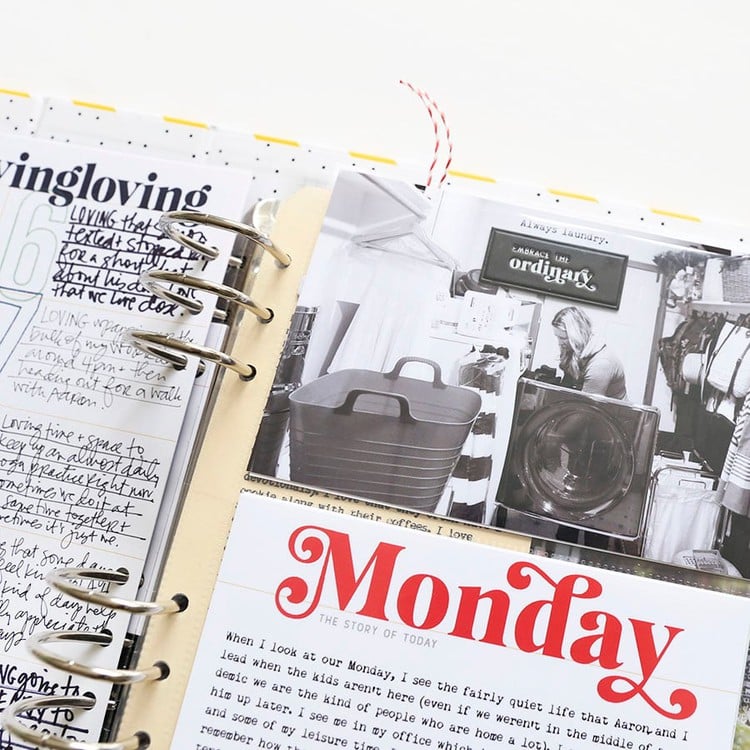
This year I decided to not use any divided page protectors and just adhere my pages back to back. My base pages ended up 6.625 inches by 8 inches and I included a few smaller inserts. I started each day with the day of the week transparency & a full page photo. Then I added the bulk of my journaling printed out with the “Monday Looks Like This” from the 4x6 cards in Ali’s mini kit & the 3x8 kraft daily sheets. I allowed this title card to dictate the color that I used for the rest of the embellishments for each day.


After my journaling, I added the rest of my content using a variety of layered templates sized to the full page & a smaller inserts with singular enlarged photos. In addition to my photos, I added a few craftier elements. My favorite page was created by watercoloring on watercolor paper with the color of the day and, after it dried, printing the daily overlays on top. On top of these pages I added a cut down divided page protector to include an interactive pocket. Inside the pocket I added the “5 pieces of the story” card to include a few more details backed with another photo.
I also created a half circle page that followed the same formula each day to document my daily outfit paired with the half circle transparencies. Underneath the transparency I stamped out the day of the week in a coordinating ink color. On the back of these pages I added a photo cut to the half circle shape. During the week I had fun looking for items to photograph that would be fun cut to this shape which included plates, pizza, the wheel of a bike, and my cat curled up in a circle.


I used two of the layered templates Ali offered this year to add more of my content to each day. The first included six iPhones that I used to document various screenshots. Secondly, I used the template that had space for 10 photos designed to look like polaroids which gave me the opportunity to add a lot more photos (I take so many photos with this project, so I am always looking for opportunities to add more into my album).
I didn’t necessarily include my photos during the day in chronological order, instead I chose photos based on the size and orientation that I would like them printed. Typically, I added my favorite photos as enlargements, and the smaller photos included those that told more of the story, but weren’t necessarily great photography.


I added the rest of my photos by creating two daily photo collages in PSE. I varied the sizes and layout of the photos each day depending on how many additional photos I wanted to include. On these pages I added in embellishments from the digital version of the Paislee Press mini kit. I had a lot of extra photos on Monday and Saturday so, for both of those days, I added an additional insert with an extra full page photo paired with an additional photo collage. Using a design formula definitely helps bring the album together, but sometimes you need to break your formula to make it work for your album.
Finally, I ended each day with a large stamped phrase paired with a photo. I had a lot of fun stamping out a few words for each day and creating a bit of a craftier album than I had done in the past for this project. I only added minimal embellishments to the album at the end, instead allowing the photos & words & craftier elements to be the focus.


A full flip through can be found on my IGTV @lindalovescreating. I hope you enjoyed this peek into my album & find some inspiration to go finish your album!


I really enjoyed your approach and consistency - especially the stamped big words! Love your album!
Sign in or sign up to comment.
I love the 4x6 photos by themselves out of the protector and I also like the idea of all the journaling this way. Thanks for sharing!
Sign in or sign up to comment.