DIY Transparency Dividers

Hi everyone. My name is Kelly Ishmael, and today I am sharing some techniques and tips for working with the digital versions of transparency dividers - specifically the 10x8 Transparency Dividers included in the 2024 Week in the Life™ digital release.
Like I shared in the video above, one of the most common questions we get is how to replicate the look of transparency dividers when the text or graphics are designed in white. The limitation (and frustration) lies in the fact that most home-use or desktop inkjet printers do not possess the ability to print the "color" white. For most of these types of printers, white is the absence of color rather than a color itself. If you have ever tried to print something white on a transparent background, this is why it has come out of the printer with nothing on it.
So today I am sharing three options for using these digital files to create your own transparency dividers.
Option 1 - Creating a Photo Overlay with Photoshop
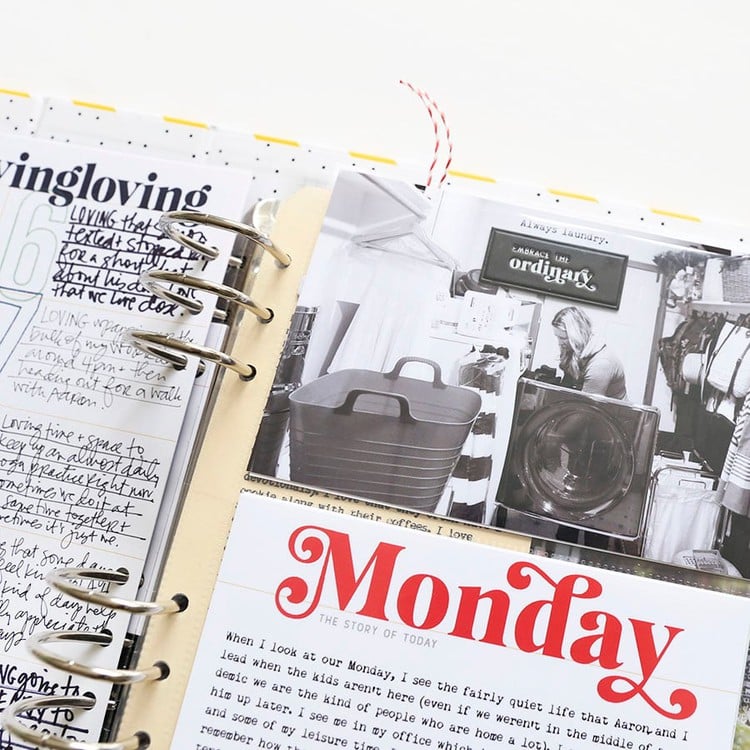
The easiest way to use a digital transparency is to create an overlay on a photo. Especially for transparencies with white designs, this approach gives the same basic look without having to use a Silhouette or Cricut.

I am sharing my process below using Photoshop, but I believe this process is very similar in Photoshop Elements.
Option 2 - Creating an Inkjet Print in a Different Color
Another simple option for using a digital transparency is to print the design in a color other than white. In the example below, I printed the transparency with my Inkjet printing using black ink - obviously it's a different aesthetic, but still looks great.

In this process video, I am sharing how I set up the transparency to print. But since everyone's computer/printer set up is a little different, your process might be different.
A couple of notes: 1) It is really import to let the ink dry completely before putting it in your album or manipulating it in any way, and 2) the faint horizontal lines in my printed example above are not from the digital file - they are mostly likely due to needing to clean my print heads.
Graphi Clear Film for Inkjet Printers
Option 3 - Using Vinyl With a Digital Cutting Machine
For the most realistic version of the transparency dividers (as compared to the physical product), you can use a Silhouette or a Cricut to cut the designs out of vinyl and then adhere that onto a piece of clear plastic.

We have included *.studio3 and *.svg format cutfiles in the download for each of the dividers, but I am sharing how I set up the cut in Silhouette Studio if you would like to see more about that process. I am also sharing how I applied the vinyl to my clear plastic.
For reference, the Silhouette cut settings I used for the Oracal vinyl are:
- Blade Depth - 2
- Force - 10
- Speed - 5
Oracal 651 12x12 Matte Vinyl Sheets
Graphix 12x12 Clear Plastic Sheet
Full disclosure, this was a time consuming process and a real practice in patience, but I was super pleased with the final outcome.

I hope this gives you some ideas for using the digital transparency dividers or provides you with some help in the process. Please let me know if you have any questions in the comments and I'll do my best to help.
P.S. If you are new to hybrid scrapbooking, here are some great classes about working with digital products:


Kelly, Can you tell us what this font is (also found on the 6x8" binder)? I was hoping for a stamp set or digital stamp set for more cards.
hi! the name of the font is ‘aurochs’.
Thank you, Kelly! Love the videos.
Sign in or sign up to comment.
Great ideas, thanks Kelly. I am loving that black!
thank you! i really like it too!
Sign in or sign up to comment.
I love blog posts like these! Super informative, educational and inspiring. Thanks so much for sharing these techniques Kelly :)
thank you jessica! so happy to know these kinds of posts are helpful!
Sign in or sign up to comment.
Bravo! Amazing
Thank you for these videos!
Sign in or sign up to comment.
Love the idea of putting it over a photo!
Sign in or sign up to comment.